All posts by Tim

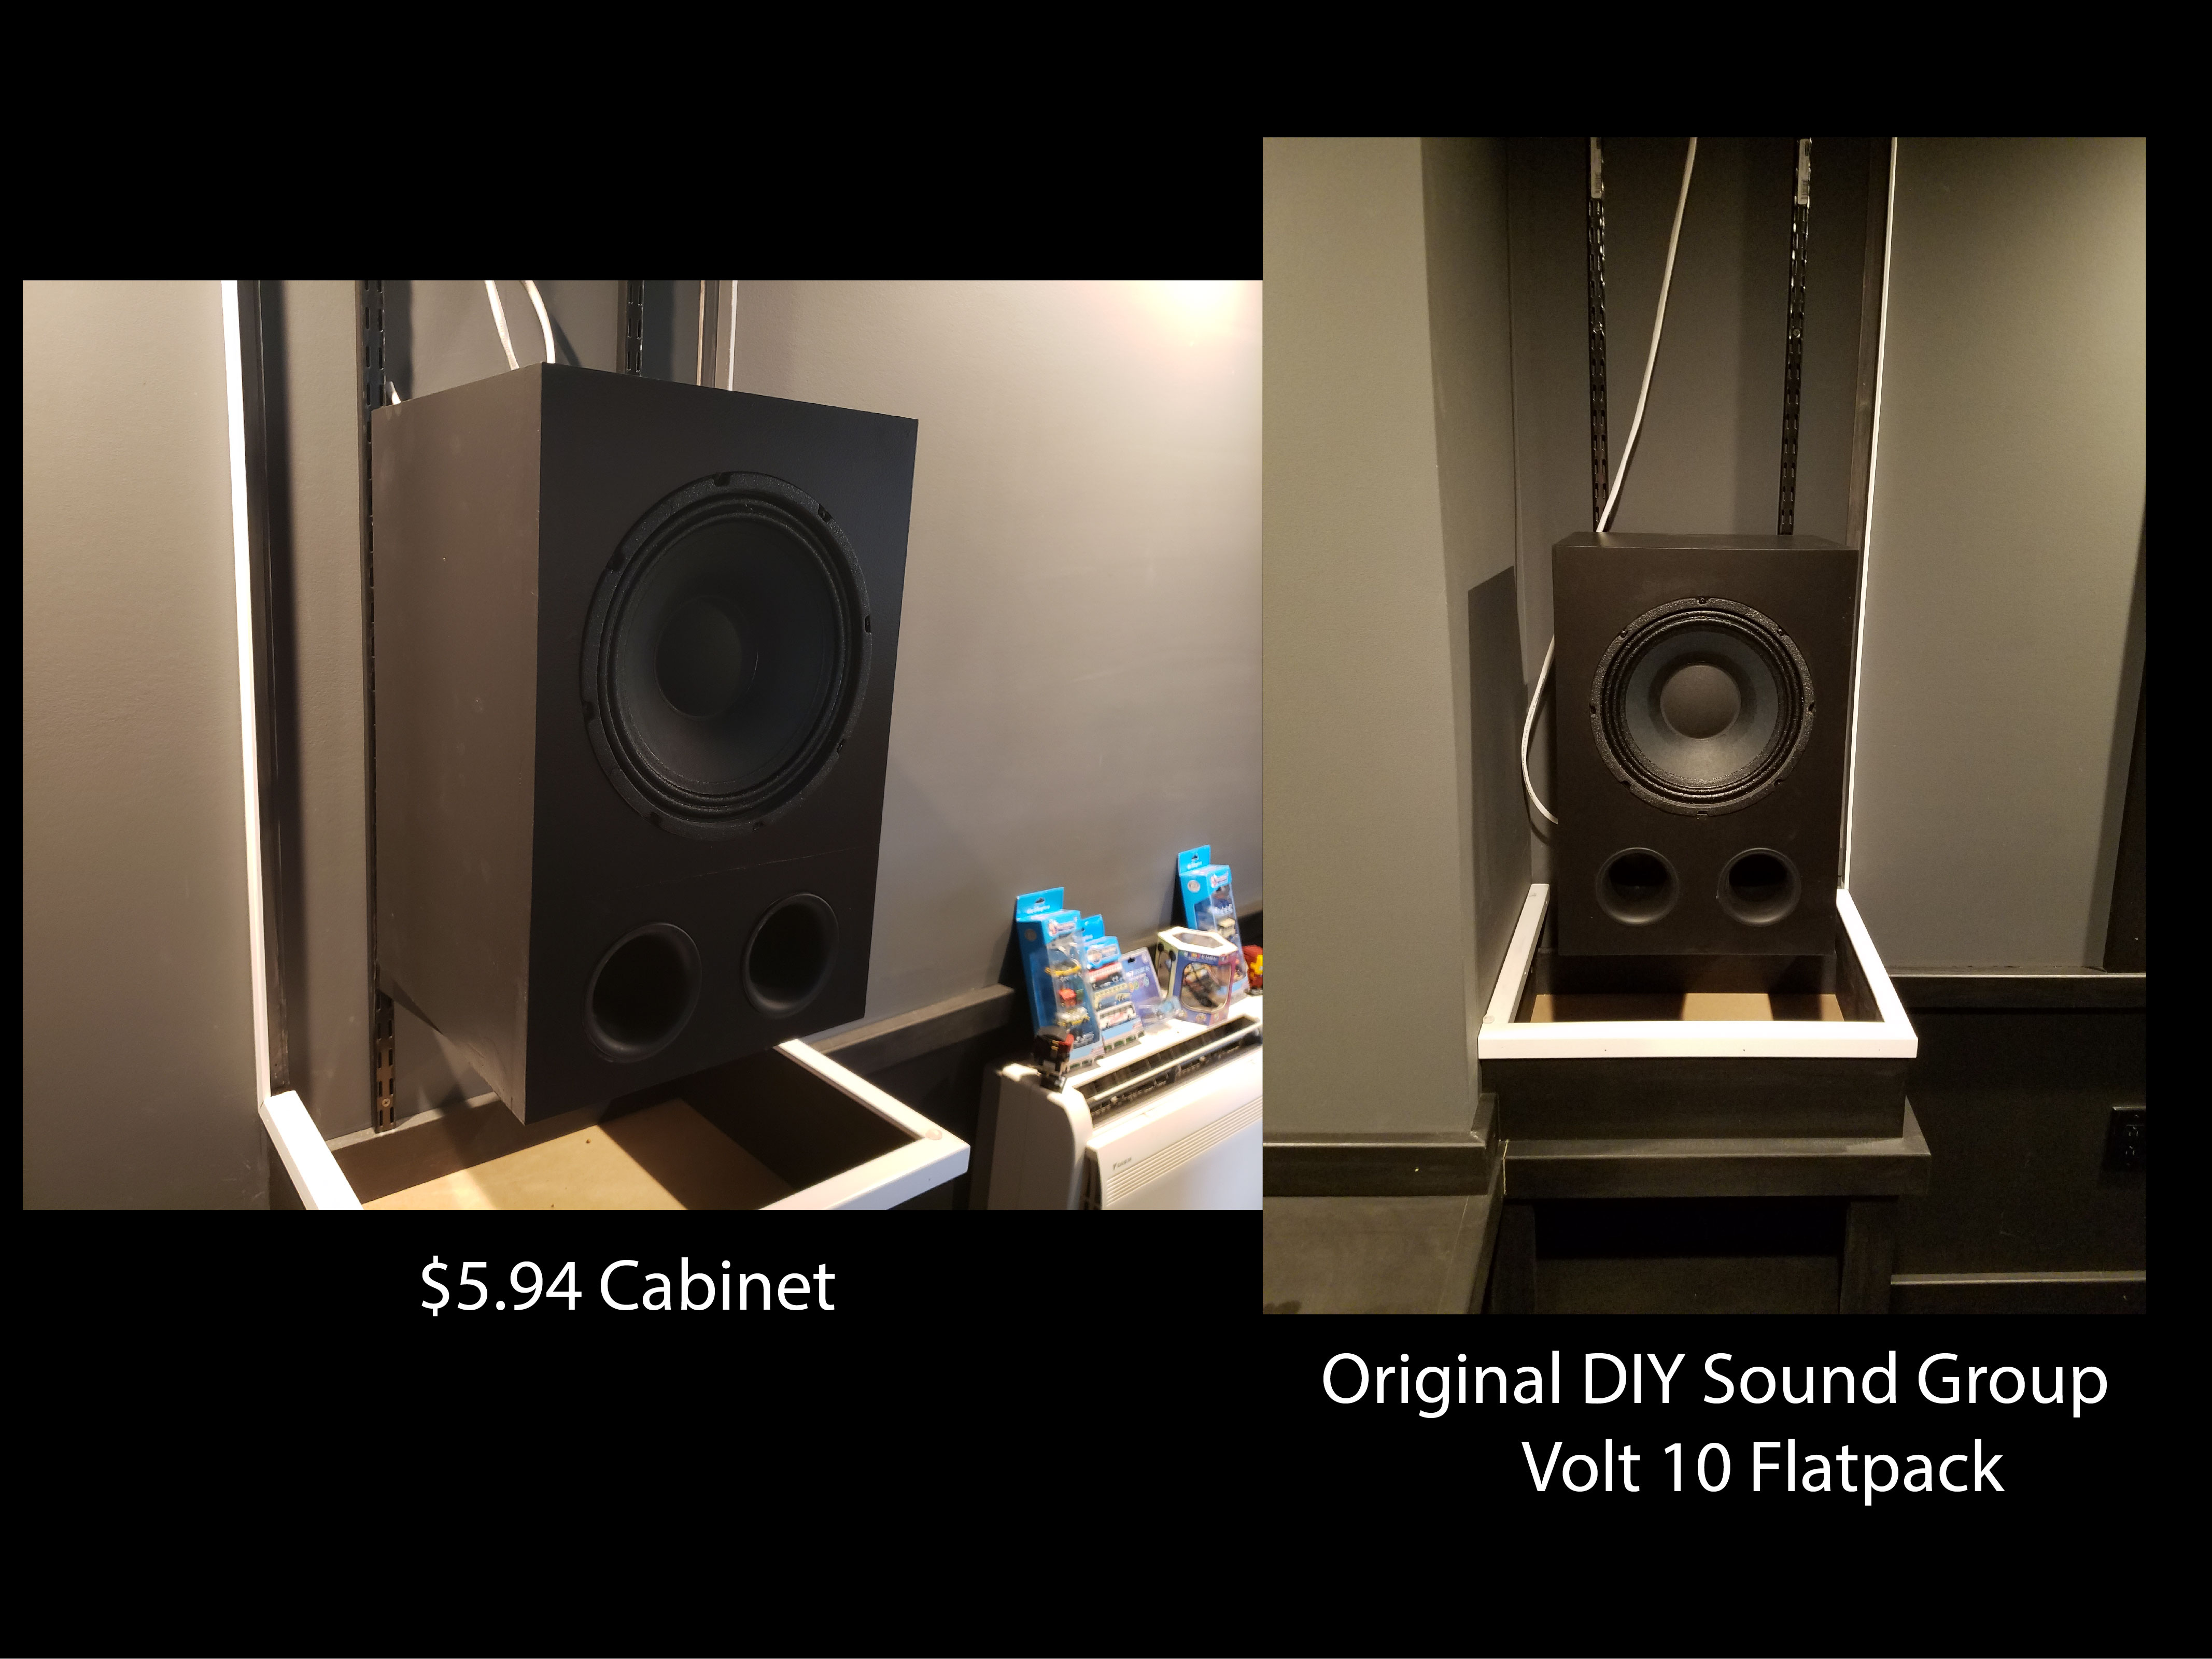
Comparison

Home Theater- How to Build Low Cost Speaker Cabinets

Want to know how to build a low cost speaker cabinet?

In this post I'll show you how I built these approximately 1 cubic ft. speaker cabinets for around $6 in wood.  But first a little back story...

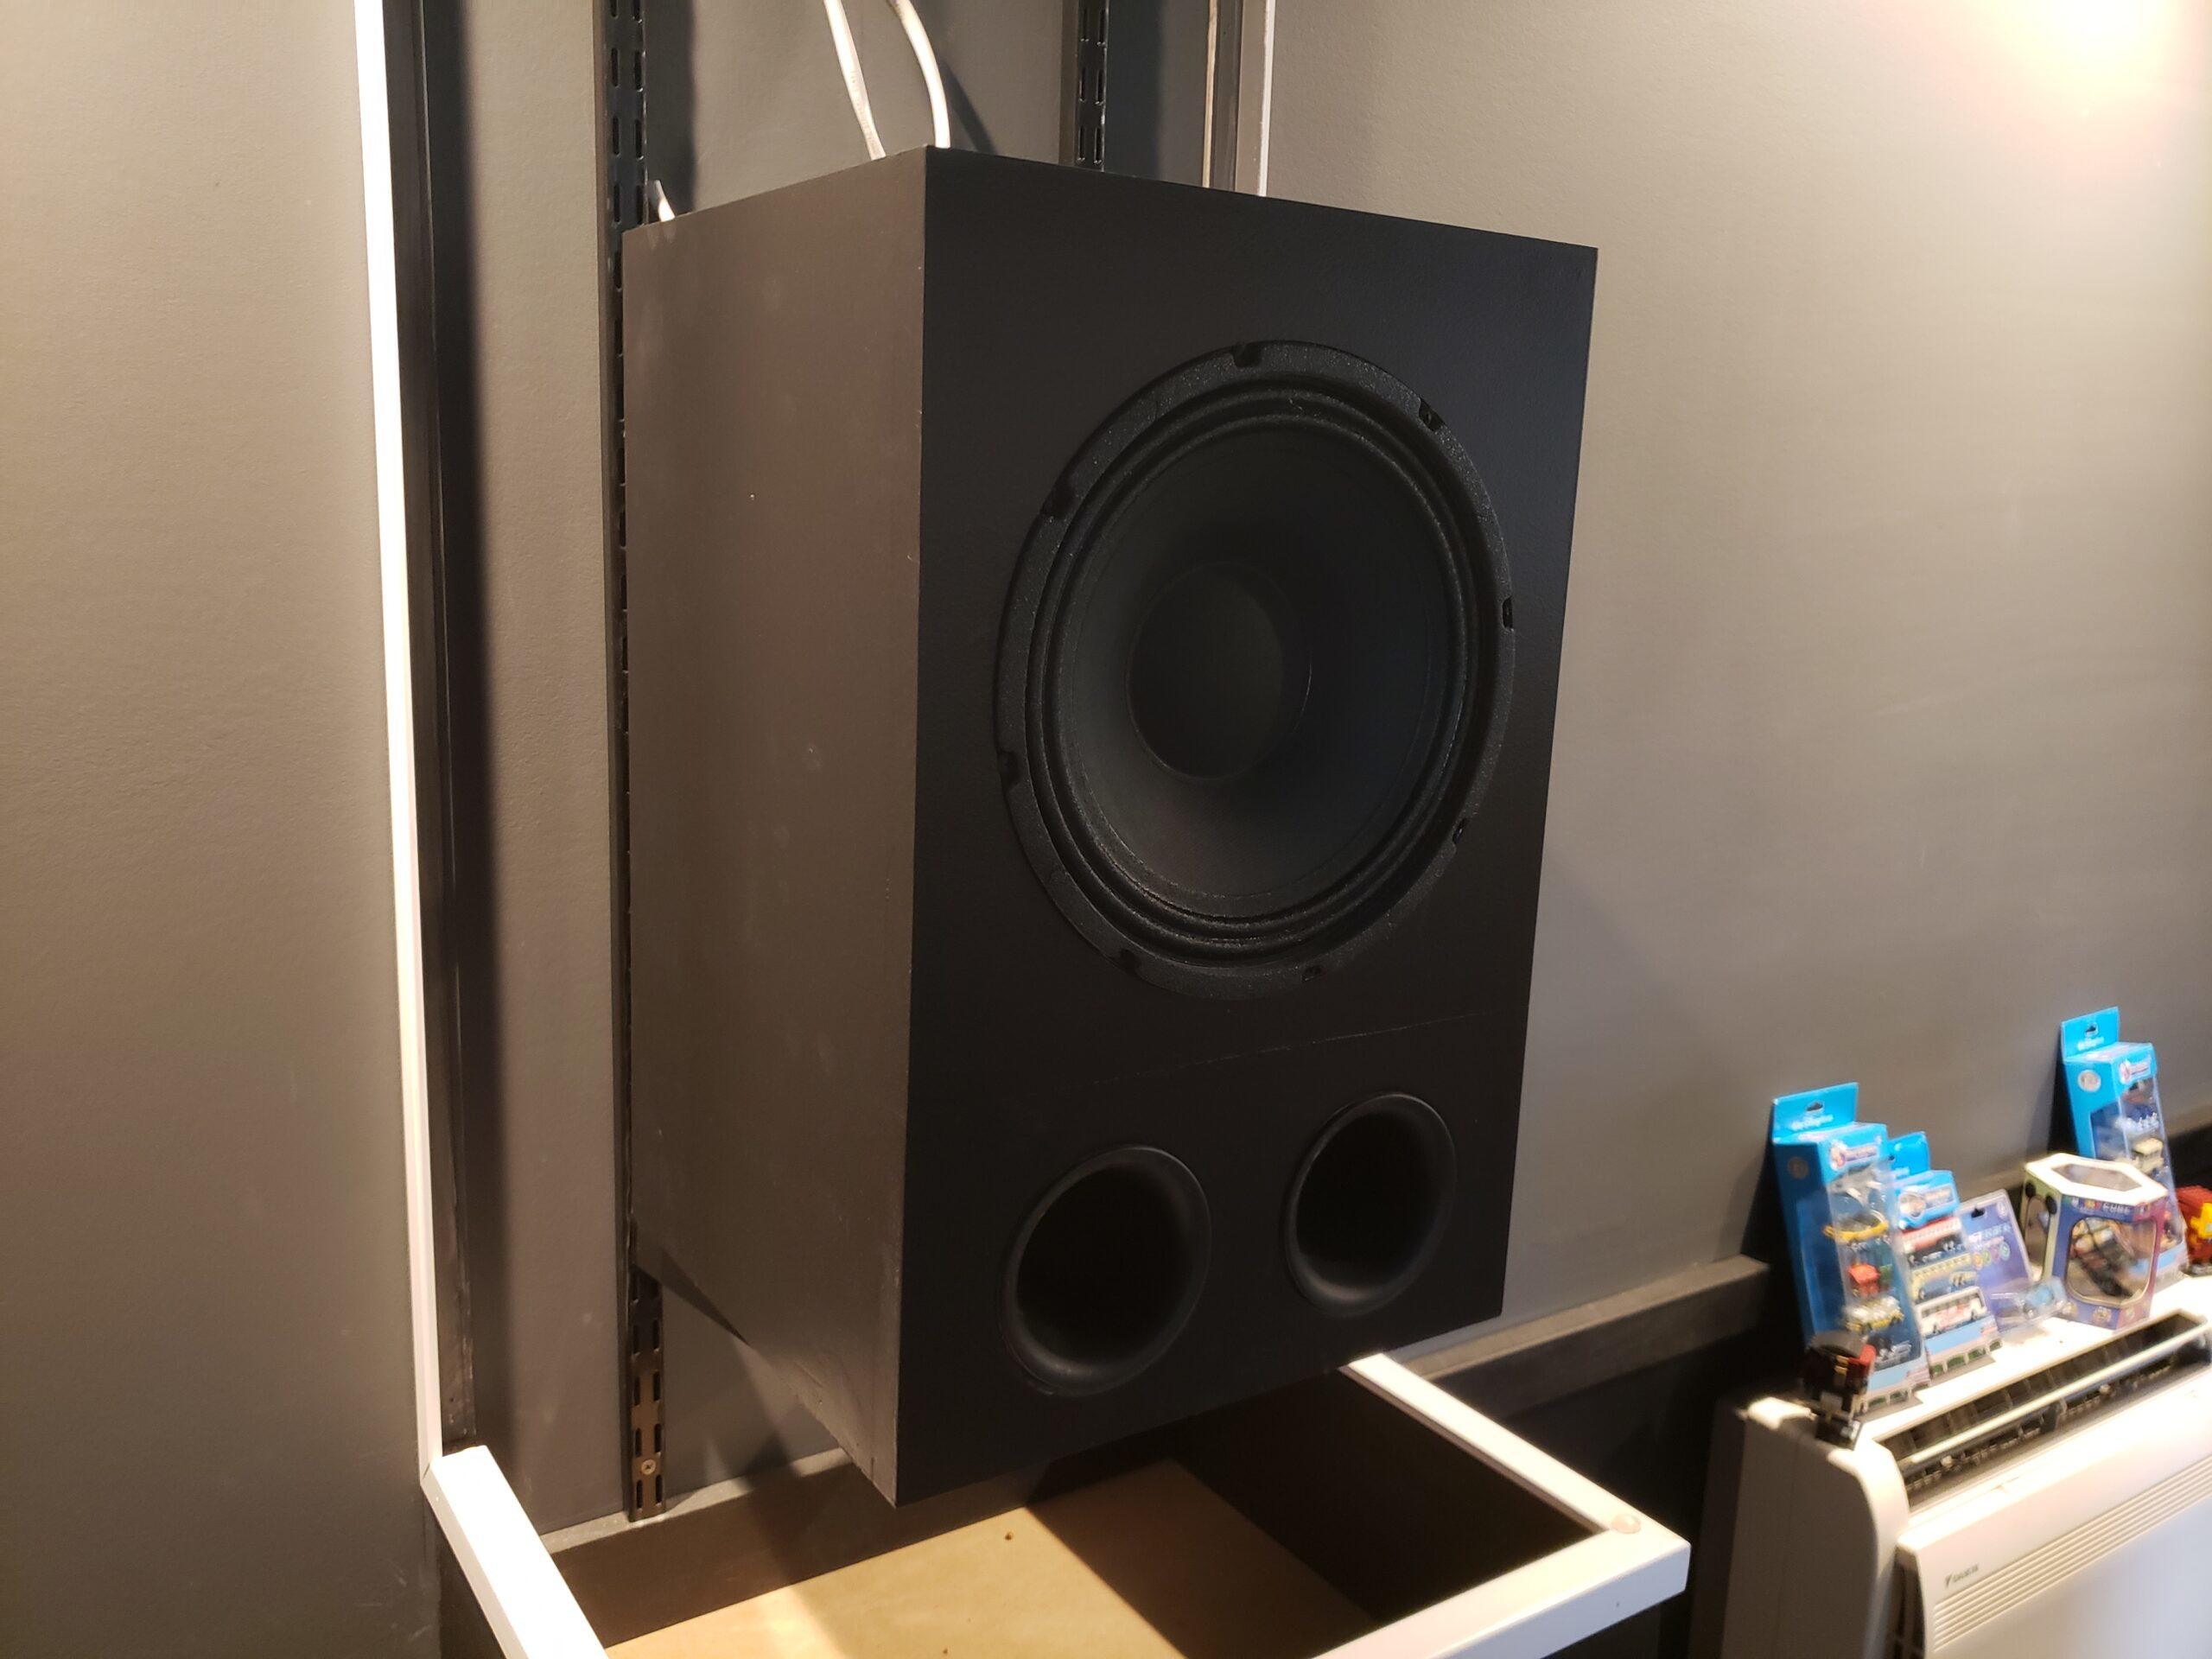
I've been using DIY Sound Group Volt 10 coaxial speakers for the surround speakers in my home theater, but since I needed 8 of them I didn't purchase them all at once. When I went to purchase my next batch, they had stopped producing the ported 10" cabinets, so I had to build my own. 

Below is a short walkthrough of how I did that for very little money.  

Speaker Cabinet Materials

The MDF

I found that I could get these Home Depot MDF shelves very inexpensively compared to purchasing sheets of MDF and they were much easier to work with. It worked out that I could build one cabinet with two shelves.  When I purchased them, they were only $2.97 each, so that is $5.94 for the MDF. If you include the ports and the connectors it's about $15 total. The price will vary over time and by location, but it's still a very inexpensive way to build a cabinet.

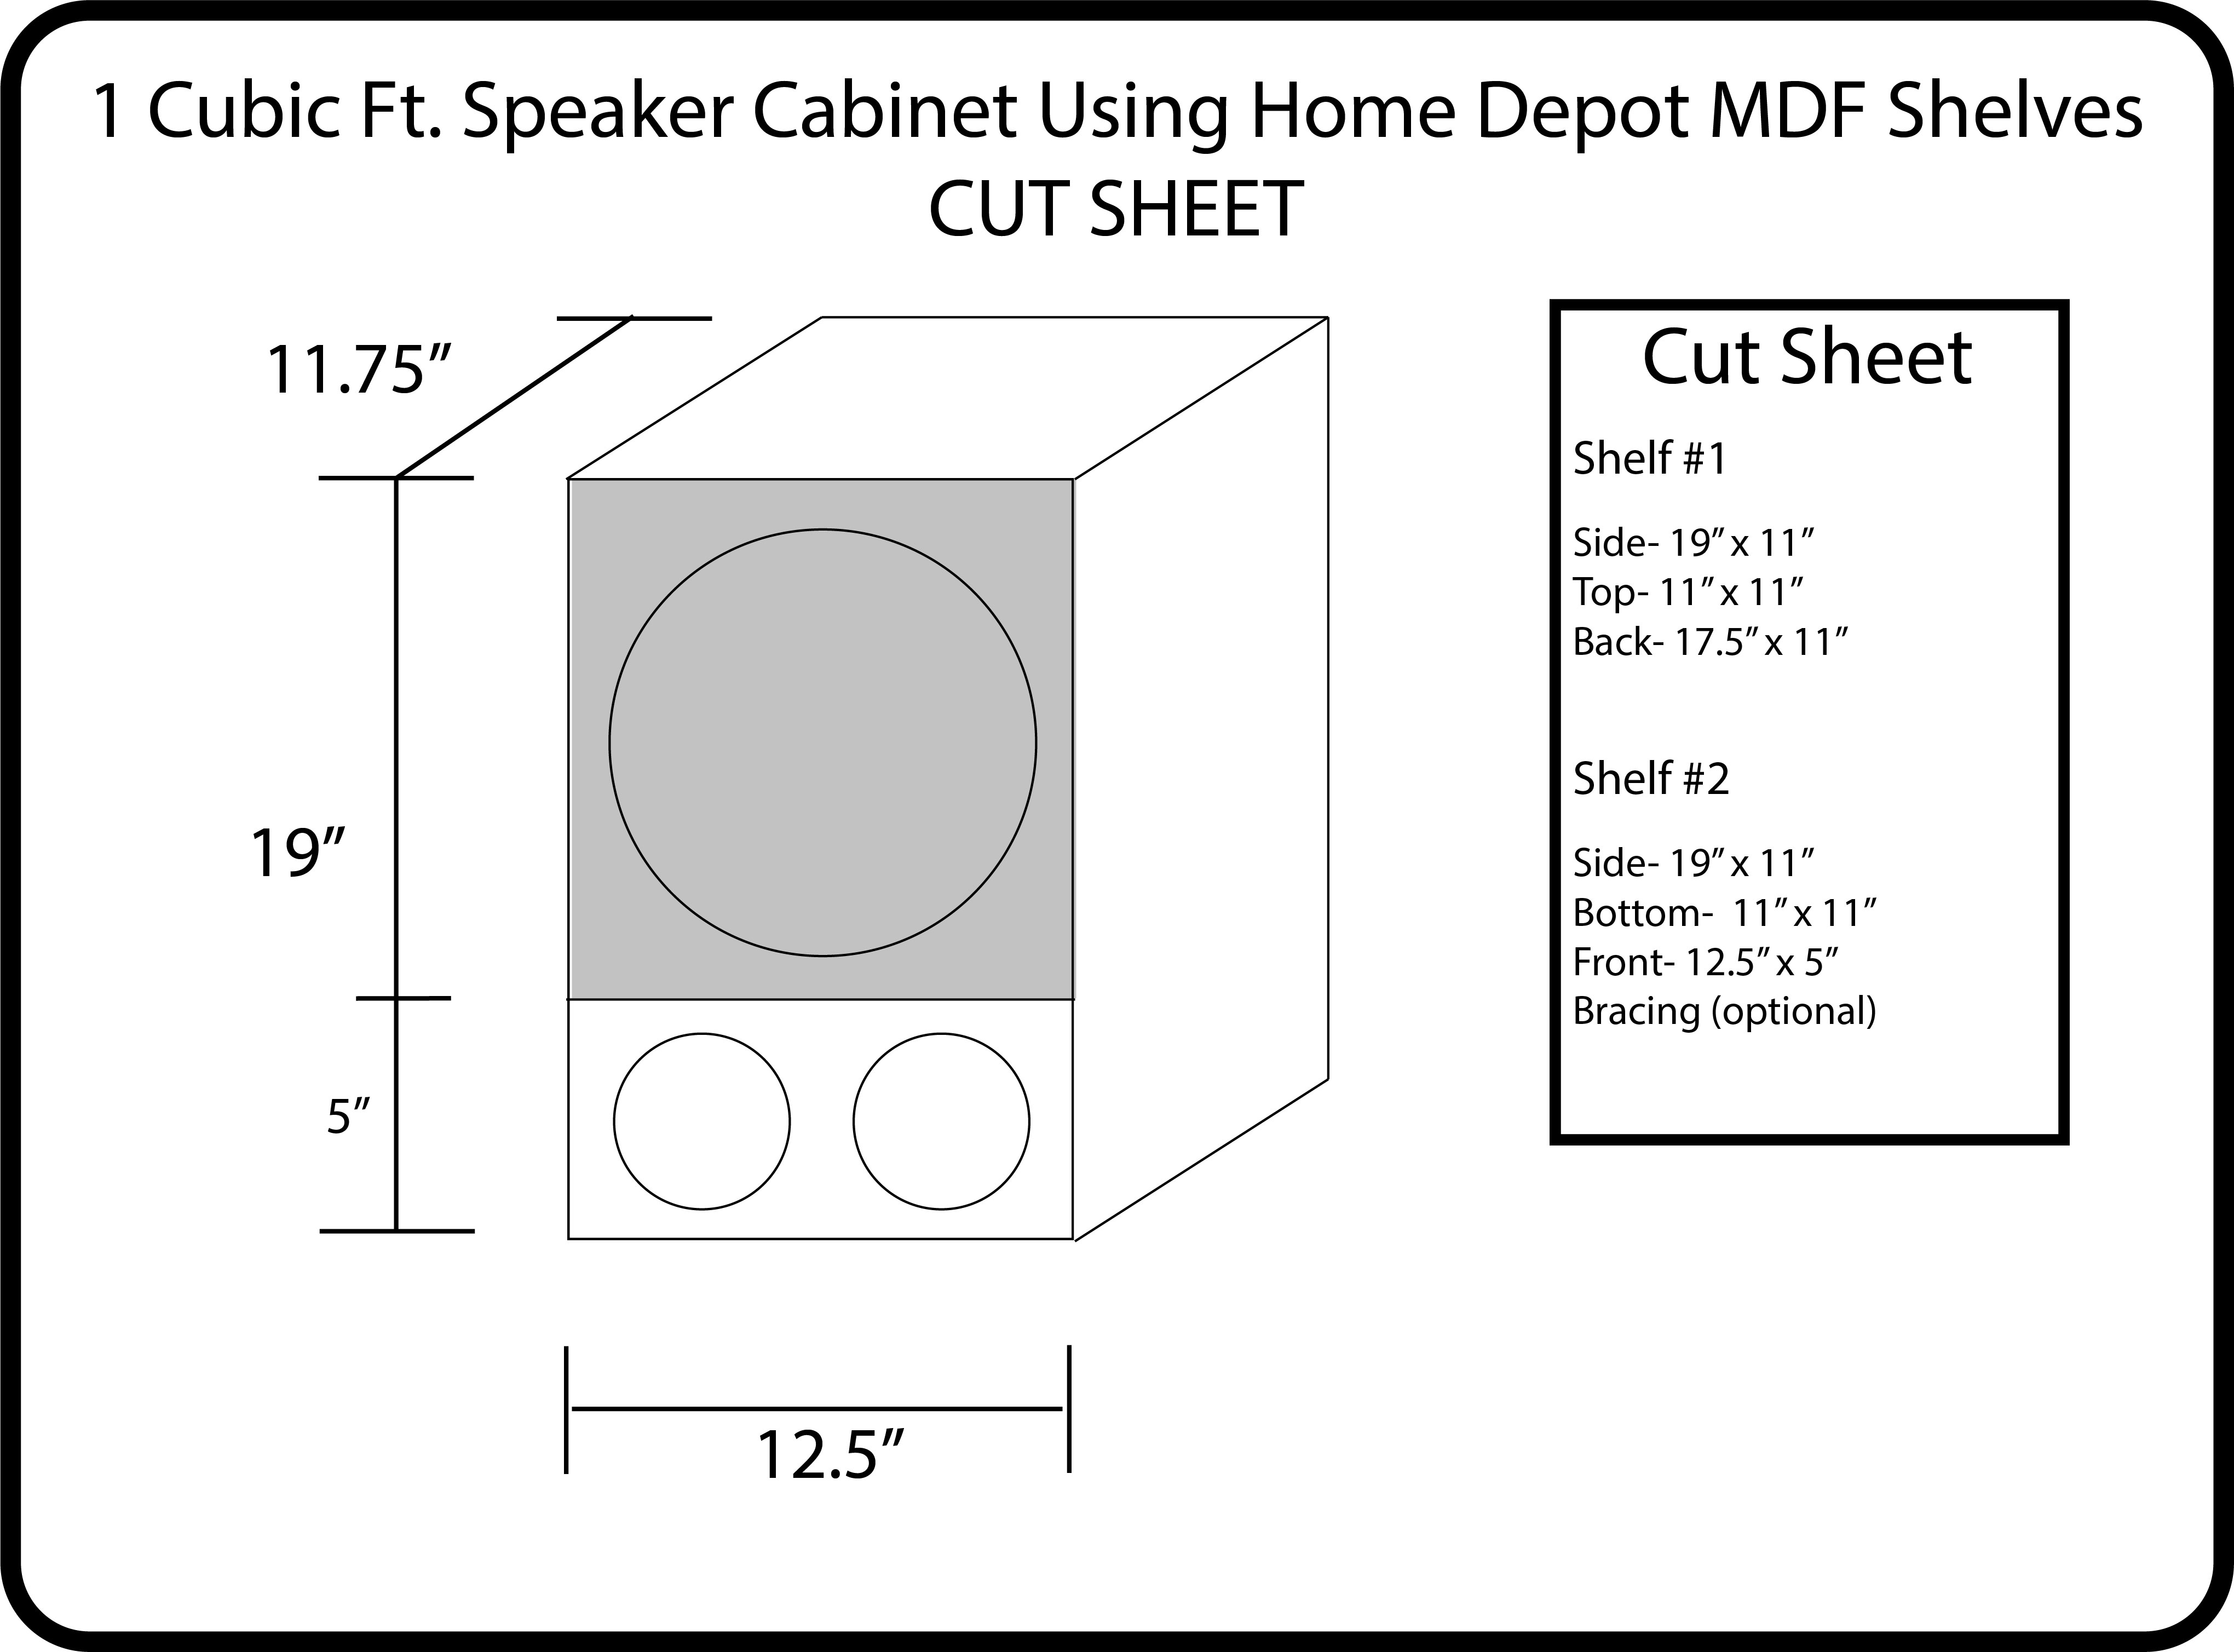
The shelves should be 11.25", so the first thing you want to do is to rip them down to 11". Be sure that you do that by cutting off the rounded over edge if the shelf has one.  It seems that they have some that are rounded and some that are not.

The Cut Sheet for a 1 cuft Speaker

Note that the Volt 10's come with a 14" x 14" speaker baffle (at least they used to), so I didn't need that part of the front.

Volt 10 Cabinets

Volt 10 Cabinets

Assembling the Speaker Cabinet

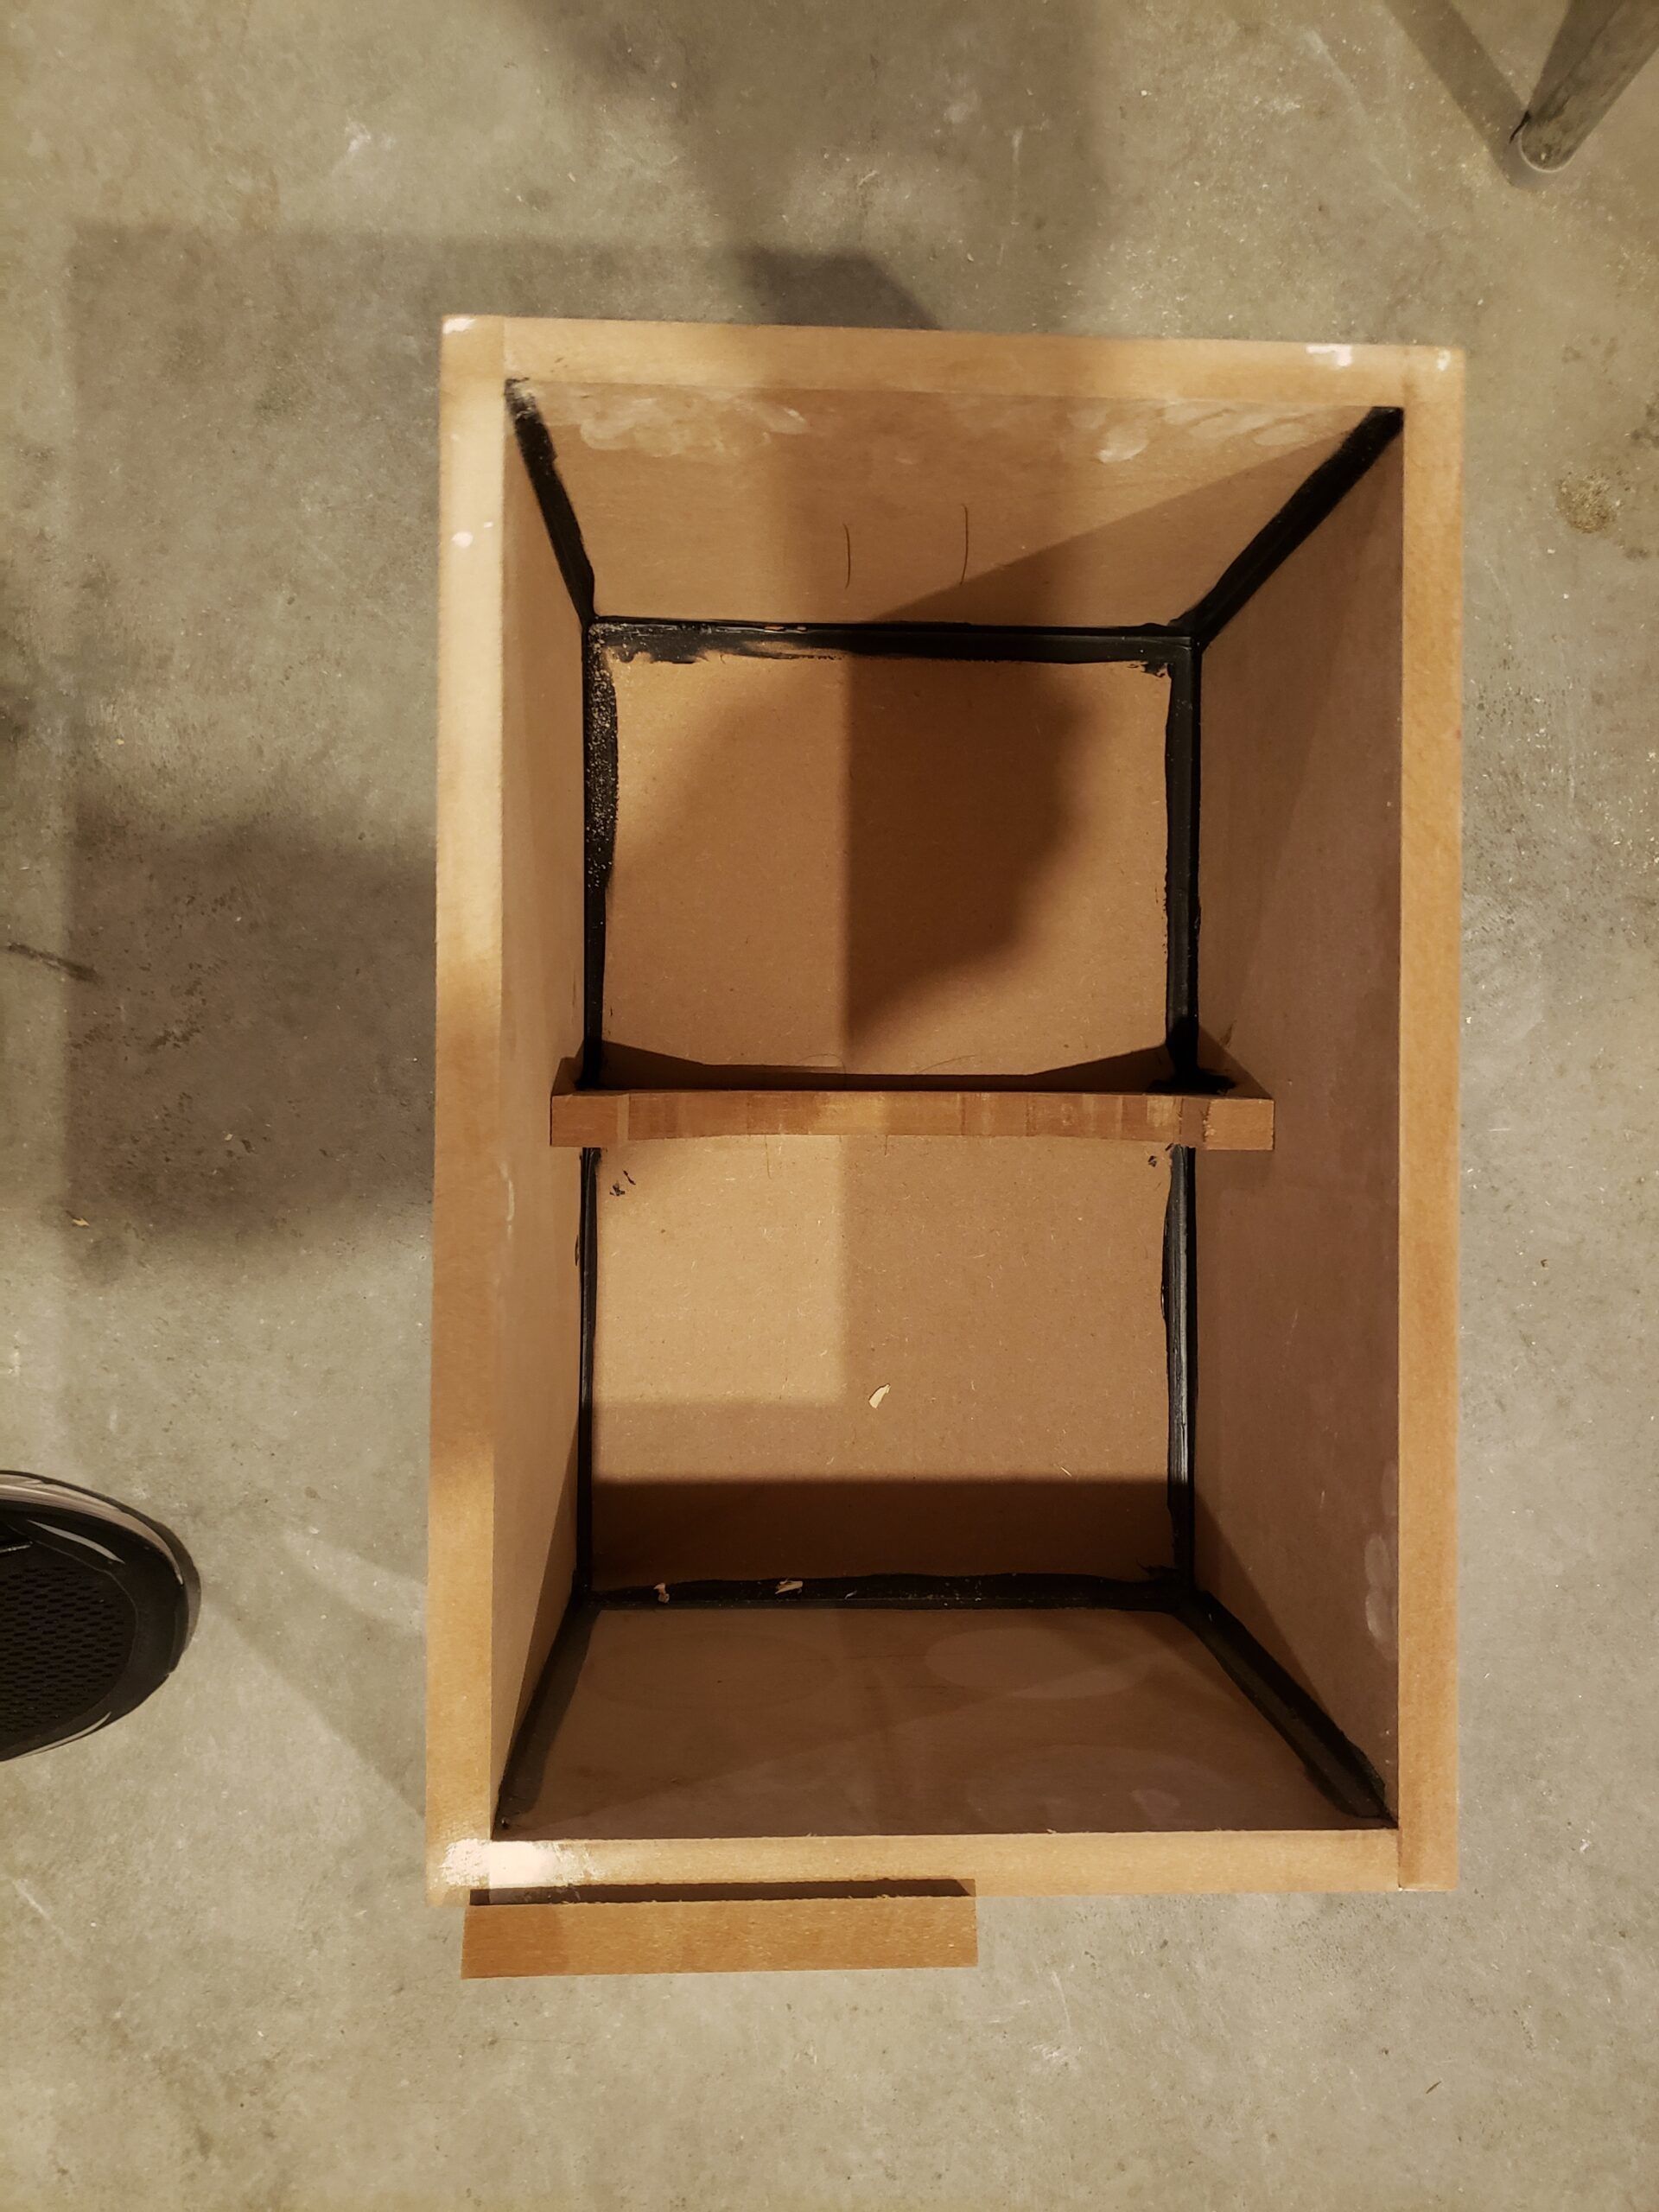
Assembling the cabinets is pretty basic.  You need to glue and clamp the pieces as indicated on the cut sheet above and the picture below.  Hold off on the front for now. I use a nail gun to help hold the pieces together while the glue dries.  If you don't have a nail gun, you can use finish nails or just the glue will work as well.  Just be sure you clamp them well and let the glue dry before removing the clamps.

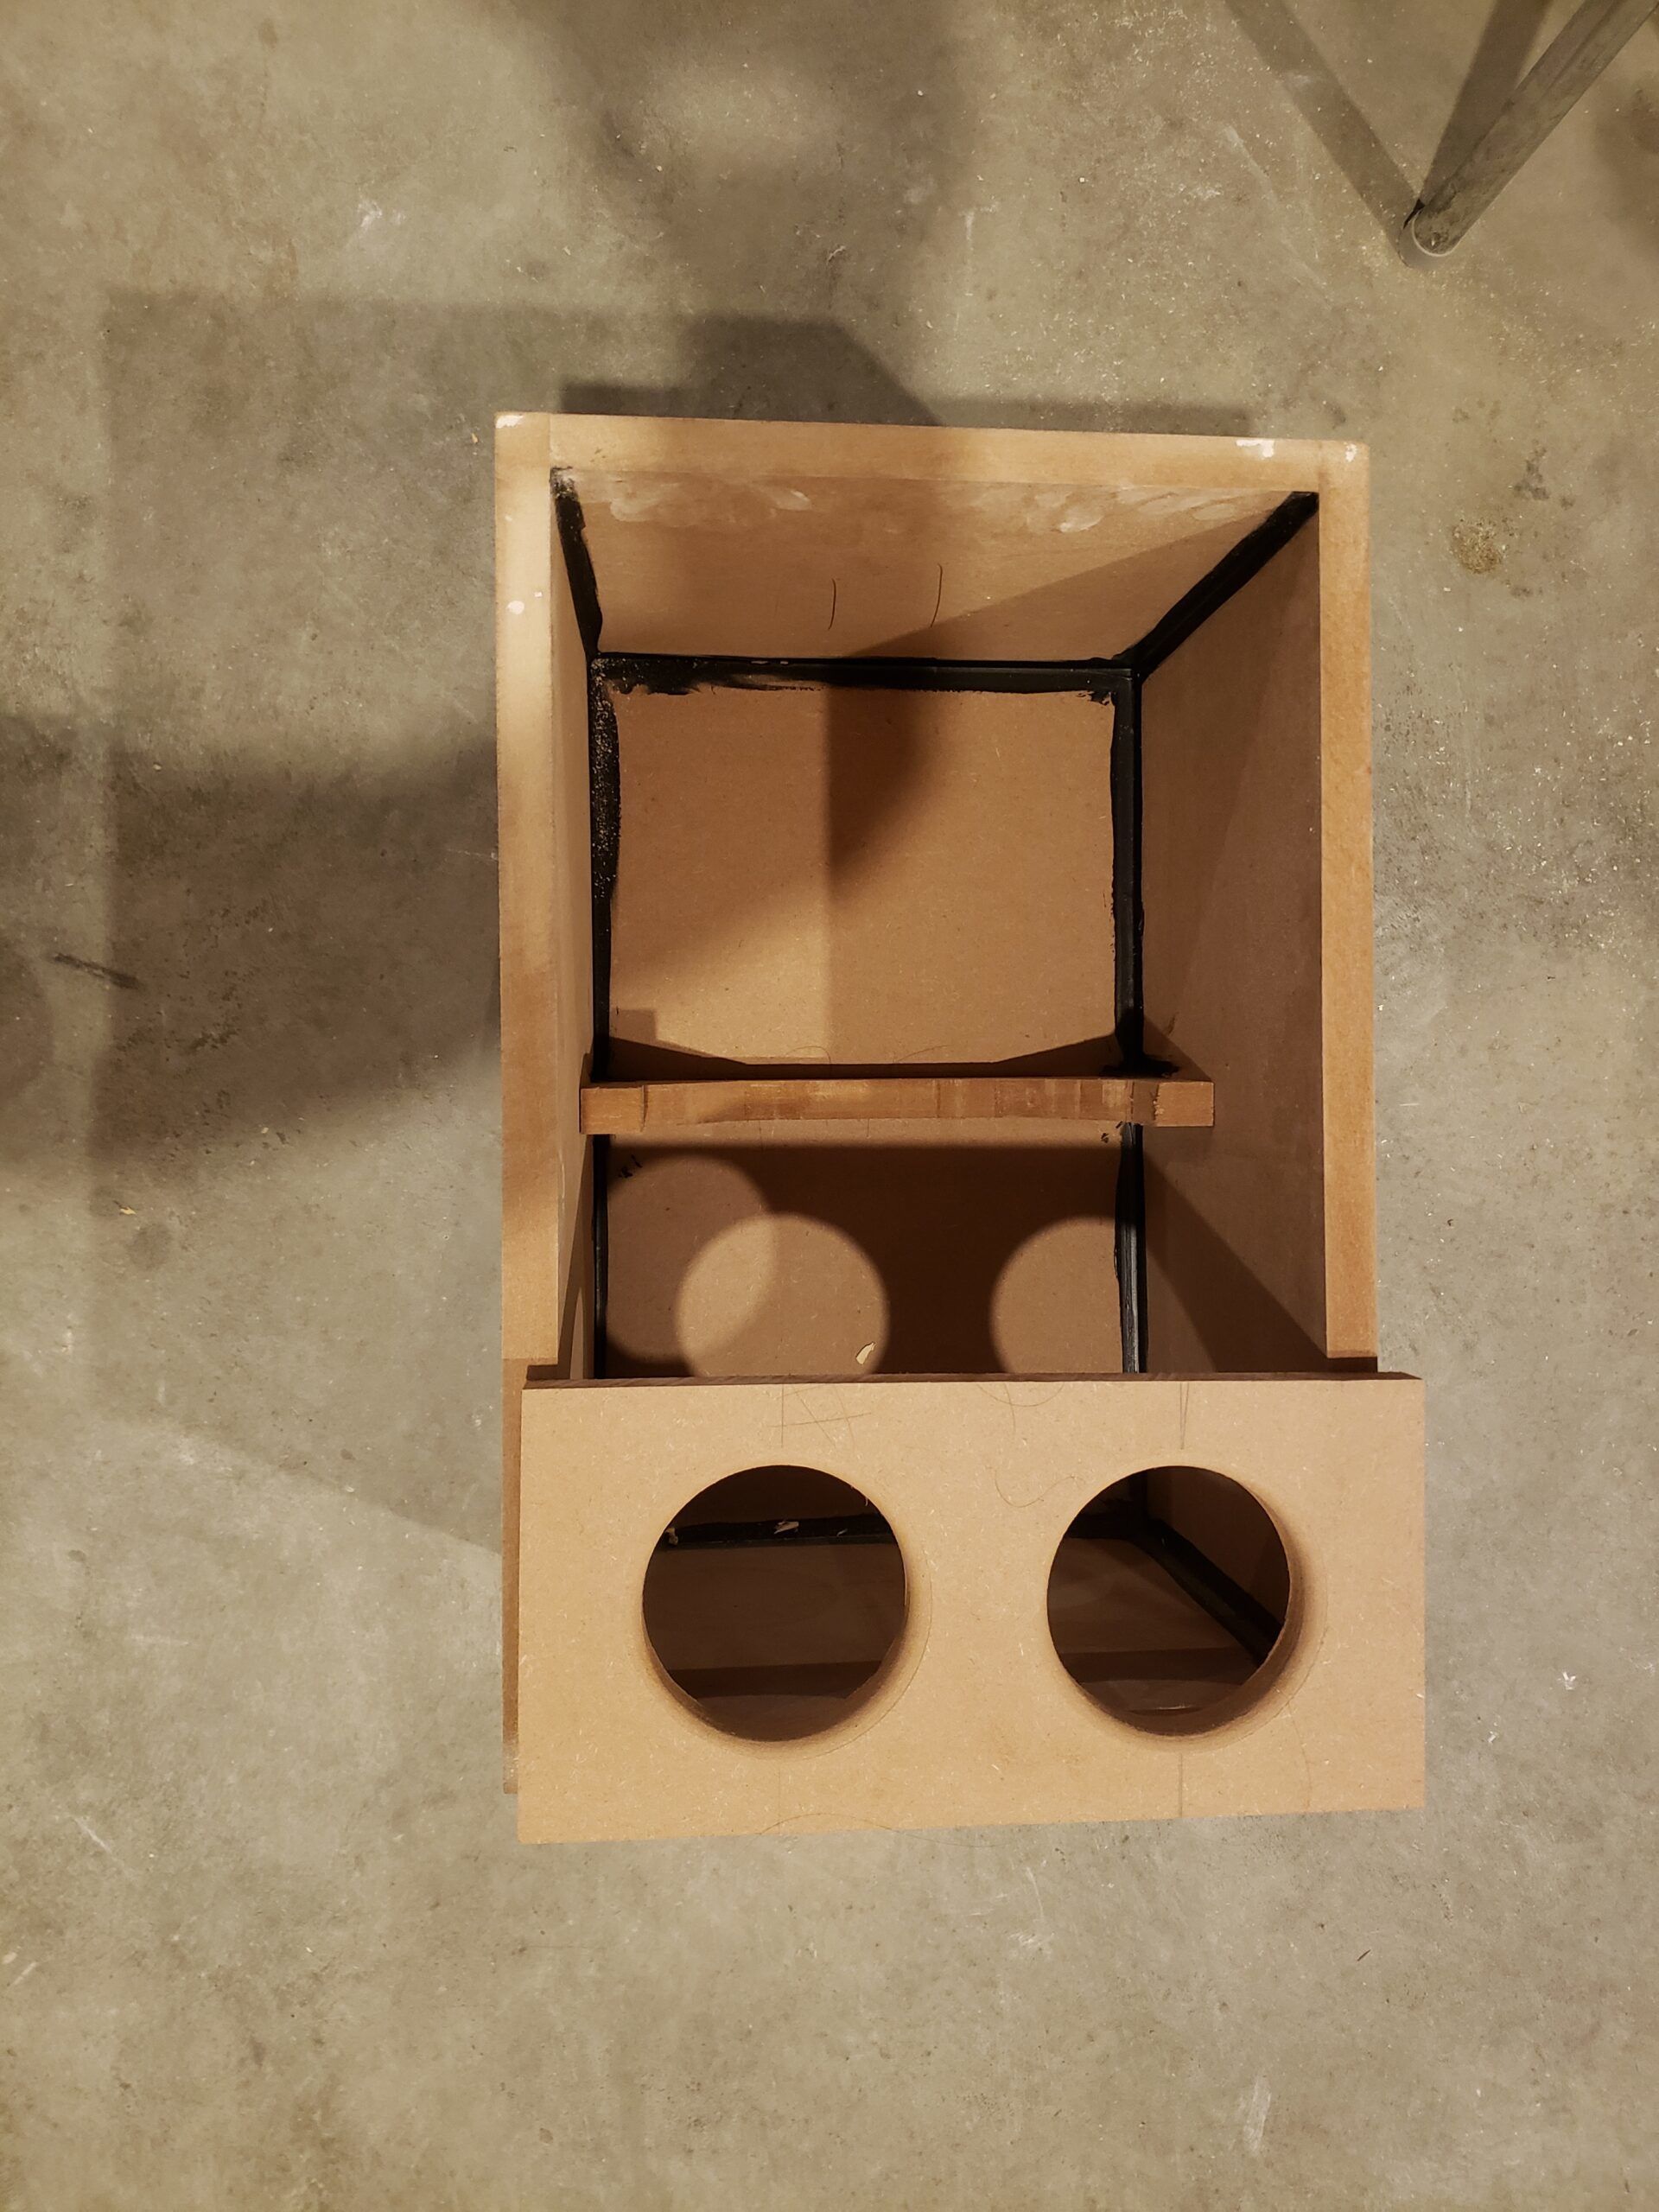
Use a 3-3/4" hole saw to drill two holes in the 5" piece.  They should be 3-1/2" in from the ends and centered vertically.

I like to caulk the inside of the cabinets to make sure they are sealed completely.

If you are building a Volt 10, then you will need to cut 3/4" off from two of the sides from the speaker baffle that is included with the kit so that it is 12-1/2" wide.

Assembled Cabinet

Assembled Cabinet

As you can see I used some of the extra wood from shelf #2 to create a brace. Be sure that this isn't going to interfere with the speaker.

Ports

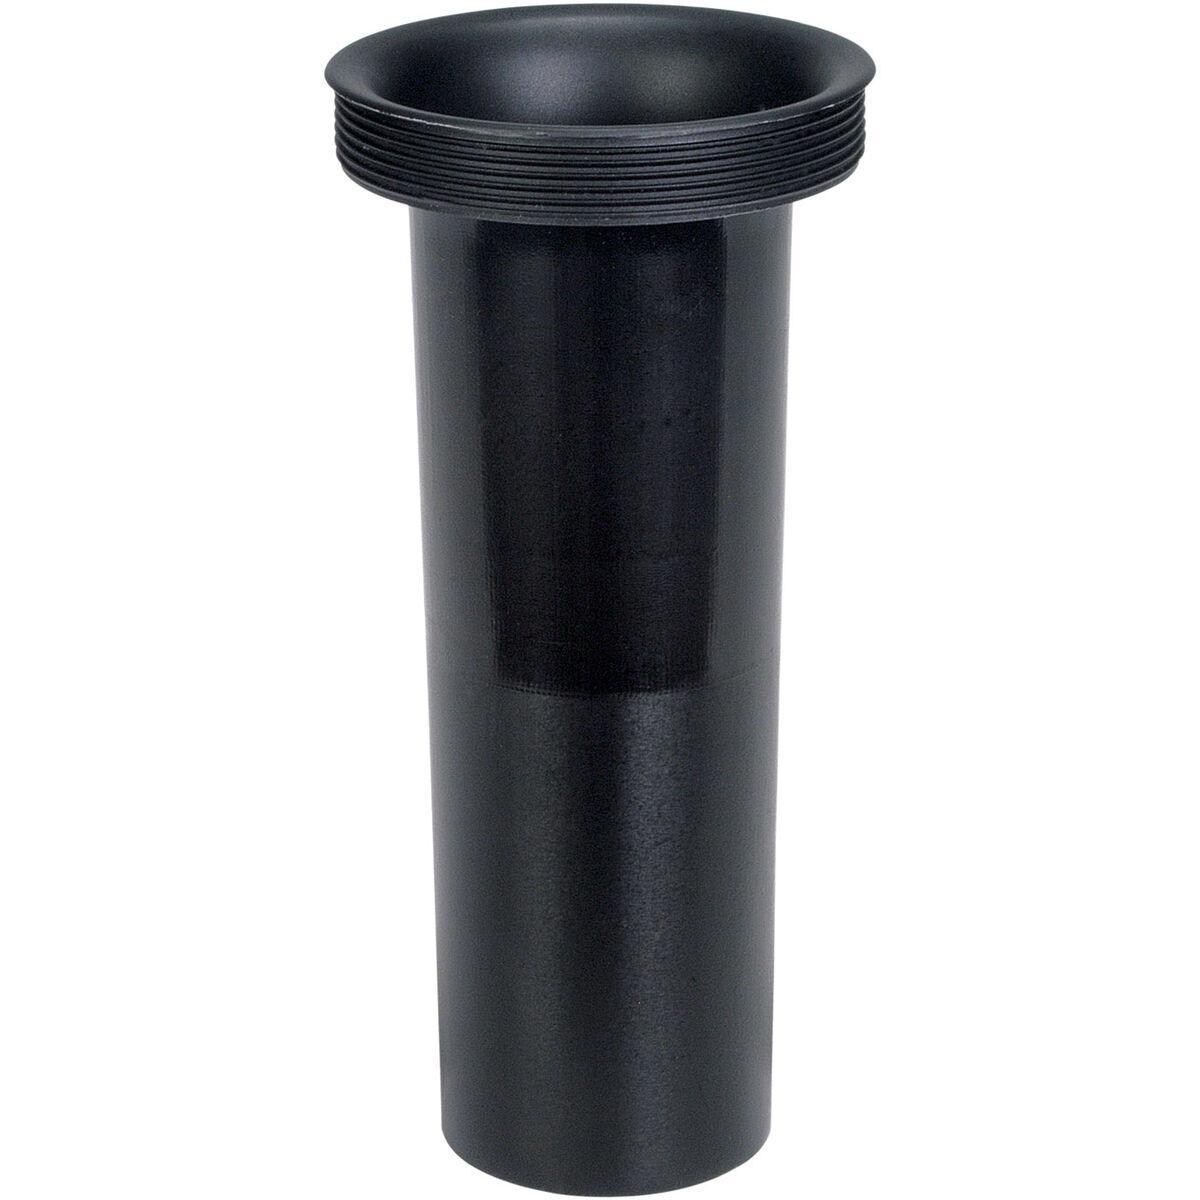
You don't have to use ports.  It really depends on what your driver is and what response you are looking for. I had started with ported cabinets and I wanted them to all be the same.  For any of you building Volt 10's, these are the ports that DIY Sound Group uses.

Cabinet with Port

Cabinet with Port

Again, this is variable depending on your situation but for me I cut the ports down to 5". They should compression fit into the hole you drilled.  Don't do that until after you have painted the cabinets.

Port

Port

Speakon Connectors

Speakon Connector

Speakon Connector

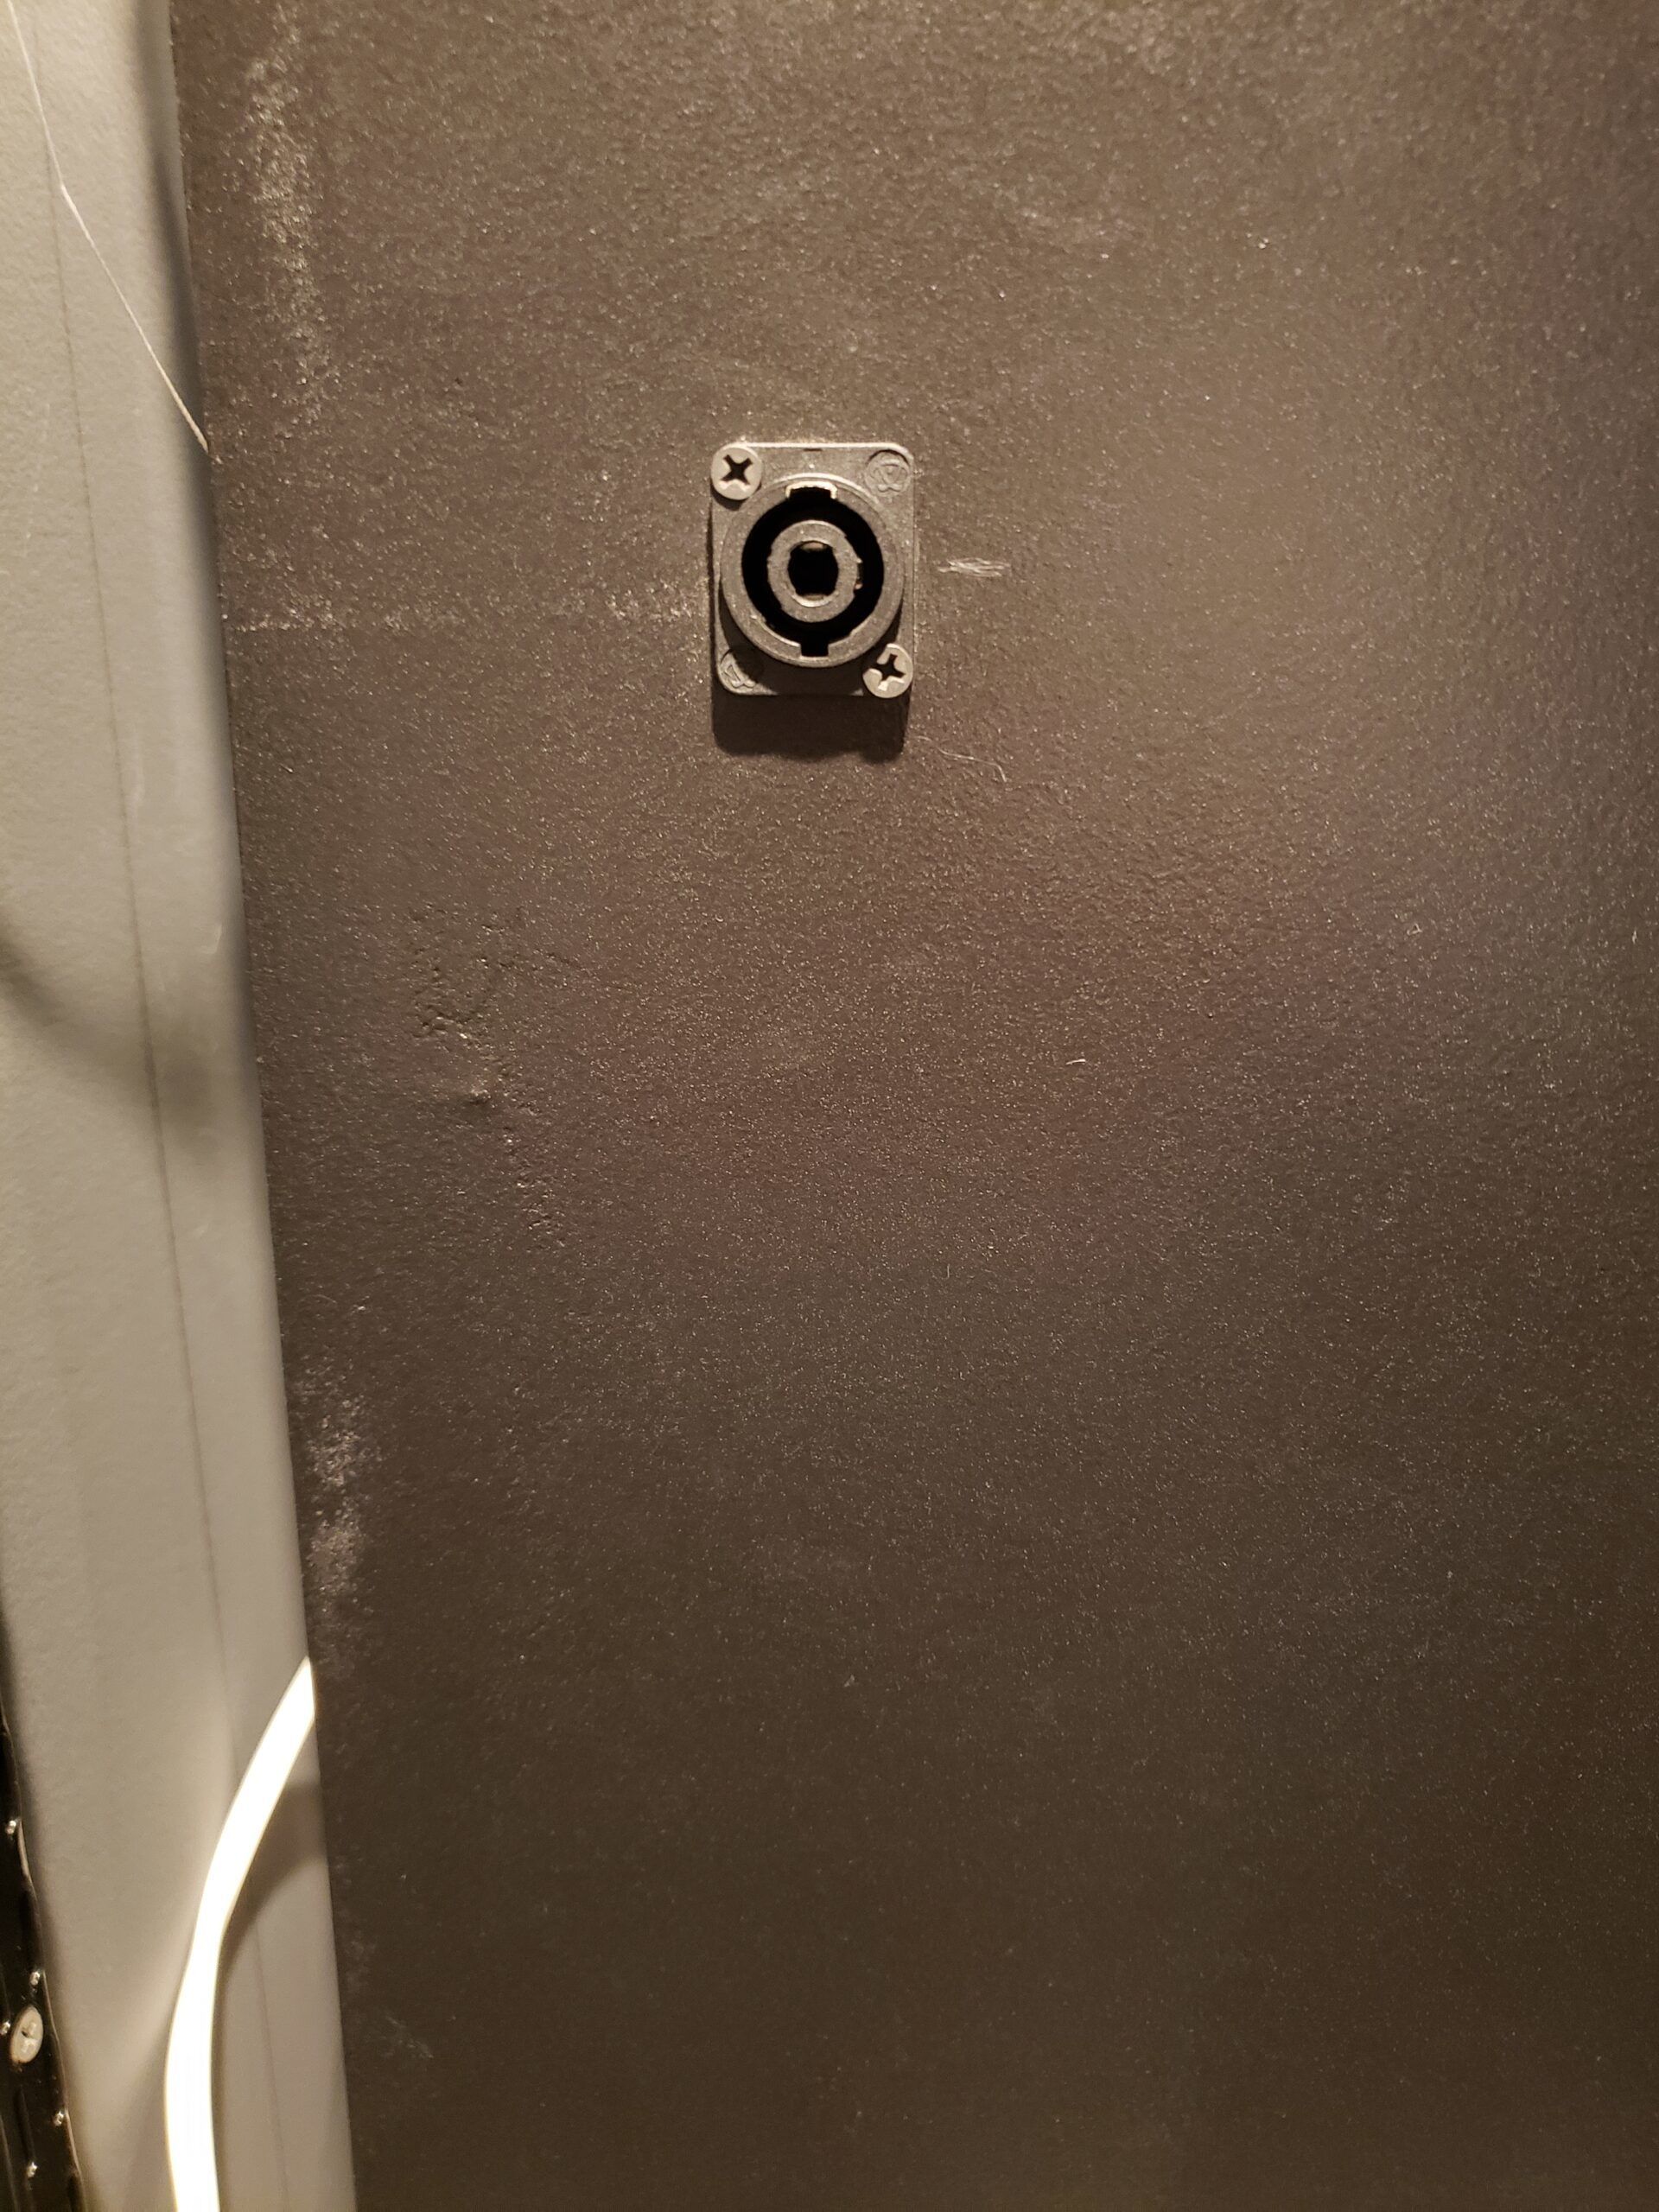
I like to use these Speakon connectors on my speakers. Drill a hole in the back of the cabinet and mount the connector.  These connectors have 4 terminals (+1, -1, +2, -2), so be sure that you wire it using the same terminals you use on the matching cable Speakon connector.  Use small spade connectors to run the wire from the connector to the speaker(s) or cross-over inside the cabinet.

Final Assembly

Assembled

Assembled

To finish up the build:

  • Attach the baffle and port board as you did the other parts of the cabinet, with glue and clamps. Be sure to let the glue completely set up.
  • Use smooth wood filer on the raw edges of the MDF. This will make for a better paint job. You can also use drywall compound.
  •  Fill in any imperfections with wood filler.
  • Once dry, sand the cabinet using high grit sandpaper
  • Paint to your liking
  • Depending on your driver, loosely fill the cabinet with Poly Fil, being sure not to cover the ports opening. Don't overfill.
  • Finally, mount the speaker and press in the ports.

Conclusion

These low cost speaker cabinets are great for DIY Sound Group Volt 10 speakers or any speaker that requires a roughly 1 cubic ft. cabinet. If you have any questions, please feel free to leave a comment either here or on my YouTube channel.

DIY Screen Masking System

Home Theater- DIY Automated Screen Masking System

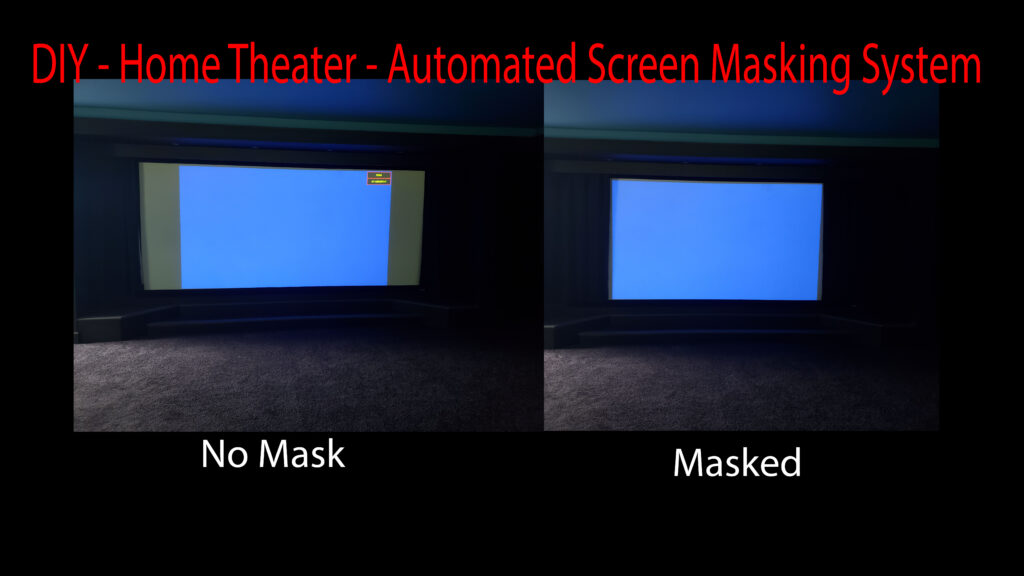
Anyone who has a wide format projection screen knows how annoying the white bars on the sides can be when displaying 16:9 content.  If you have looked into masking systems then you also know how expensive that problem can be to solve. 

In this post I show you how I built my own automated masking system that can also be used for automating a full screen curtain, for fractions of the cost of retail systems.

NOTE: Since purchasing my curtain motor, the manufacturer has come up with an even better solution.  Most of these instructions still apply, but you will see that they now have their own curtain headrails that will be easier to automate than the Home Depot headrails that I used.  I will provide links to their new kits, but note that they are little different than what I used.  I will also try to point out where there will be some differences.

Materials List

The Headrails

Headrail Mounted

Headrail Mounted

The headrails are metal channels that hold curtain hooks that slide back and forth across a rail.  They hold the curtain and allow it to easily open and close.

Measure the distance between the walls on each side of your screen.  If you don't want the curtain to go all the way to the wall, then use a number that matches how wide you want the curtains.  Be sure to have enough room on each side of the screen for all of the curtain material to fully clear the edge of the screen.  Also leave about 4 or 5 inches on each side for the motor and idler pulleys. (See image above)

Once you have that number, divide it in half. This is the length that you want to use for each of the headrails.  I used these Home Depot Headrails, but as I mentioned above, the motor manufacturer now offers their own headrails that look like they will be much easier to automate, so I would go with those.

Mount the headrail to the ceiling in front of your screen as shown below.  Be sure to leave enough room so that the curtain doesn't hit the screen frame. They should come with mounting brackets and instructions. The two headrails should come together at the center of the screen so that the curtains are equidistant from each end of the screen and meet in the middle.

The Motor and String

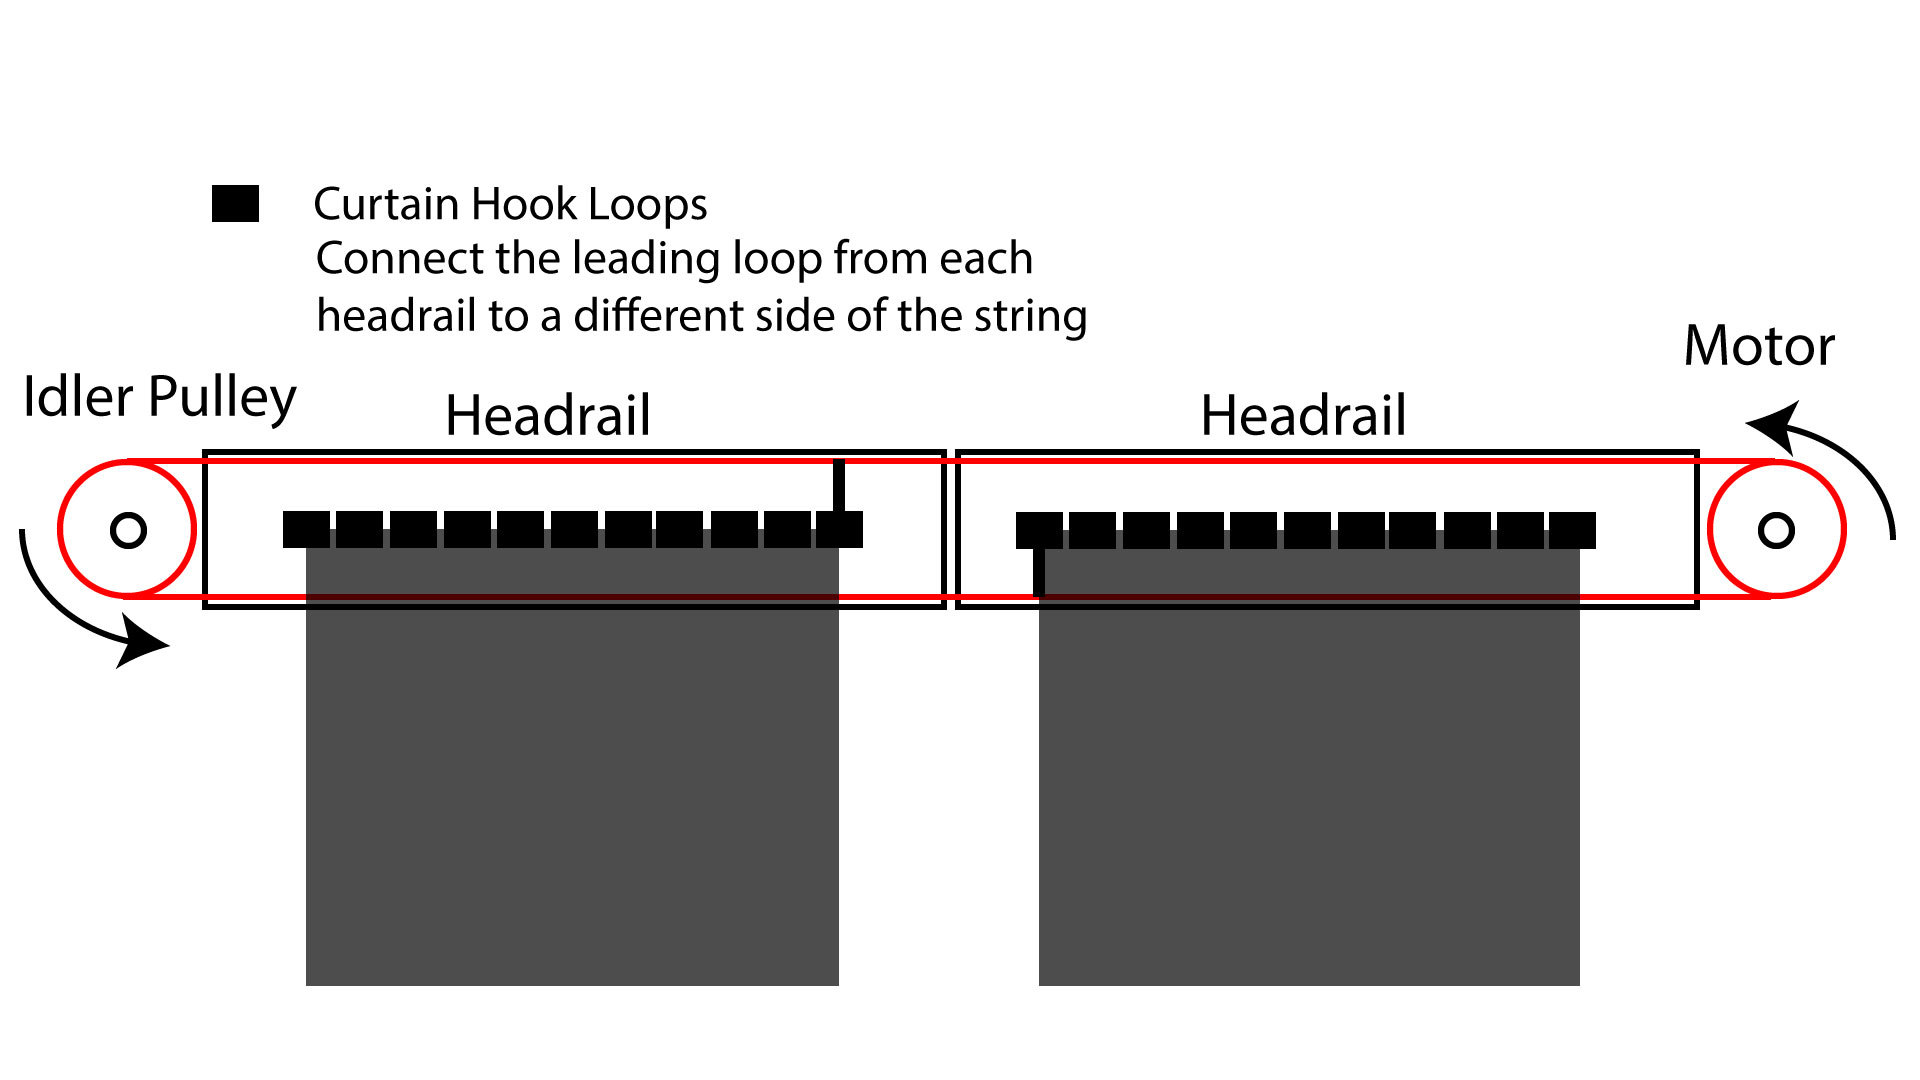
The curtain kit should also come with instructions, but below is how I connected mine.  Attach the lead curtain hook from each headrail half to a different side of the string.  This allows the curtains on each side to open and close at the same time.  

Headrail Layout

Headrail Layout

Wiring

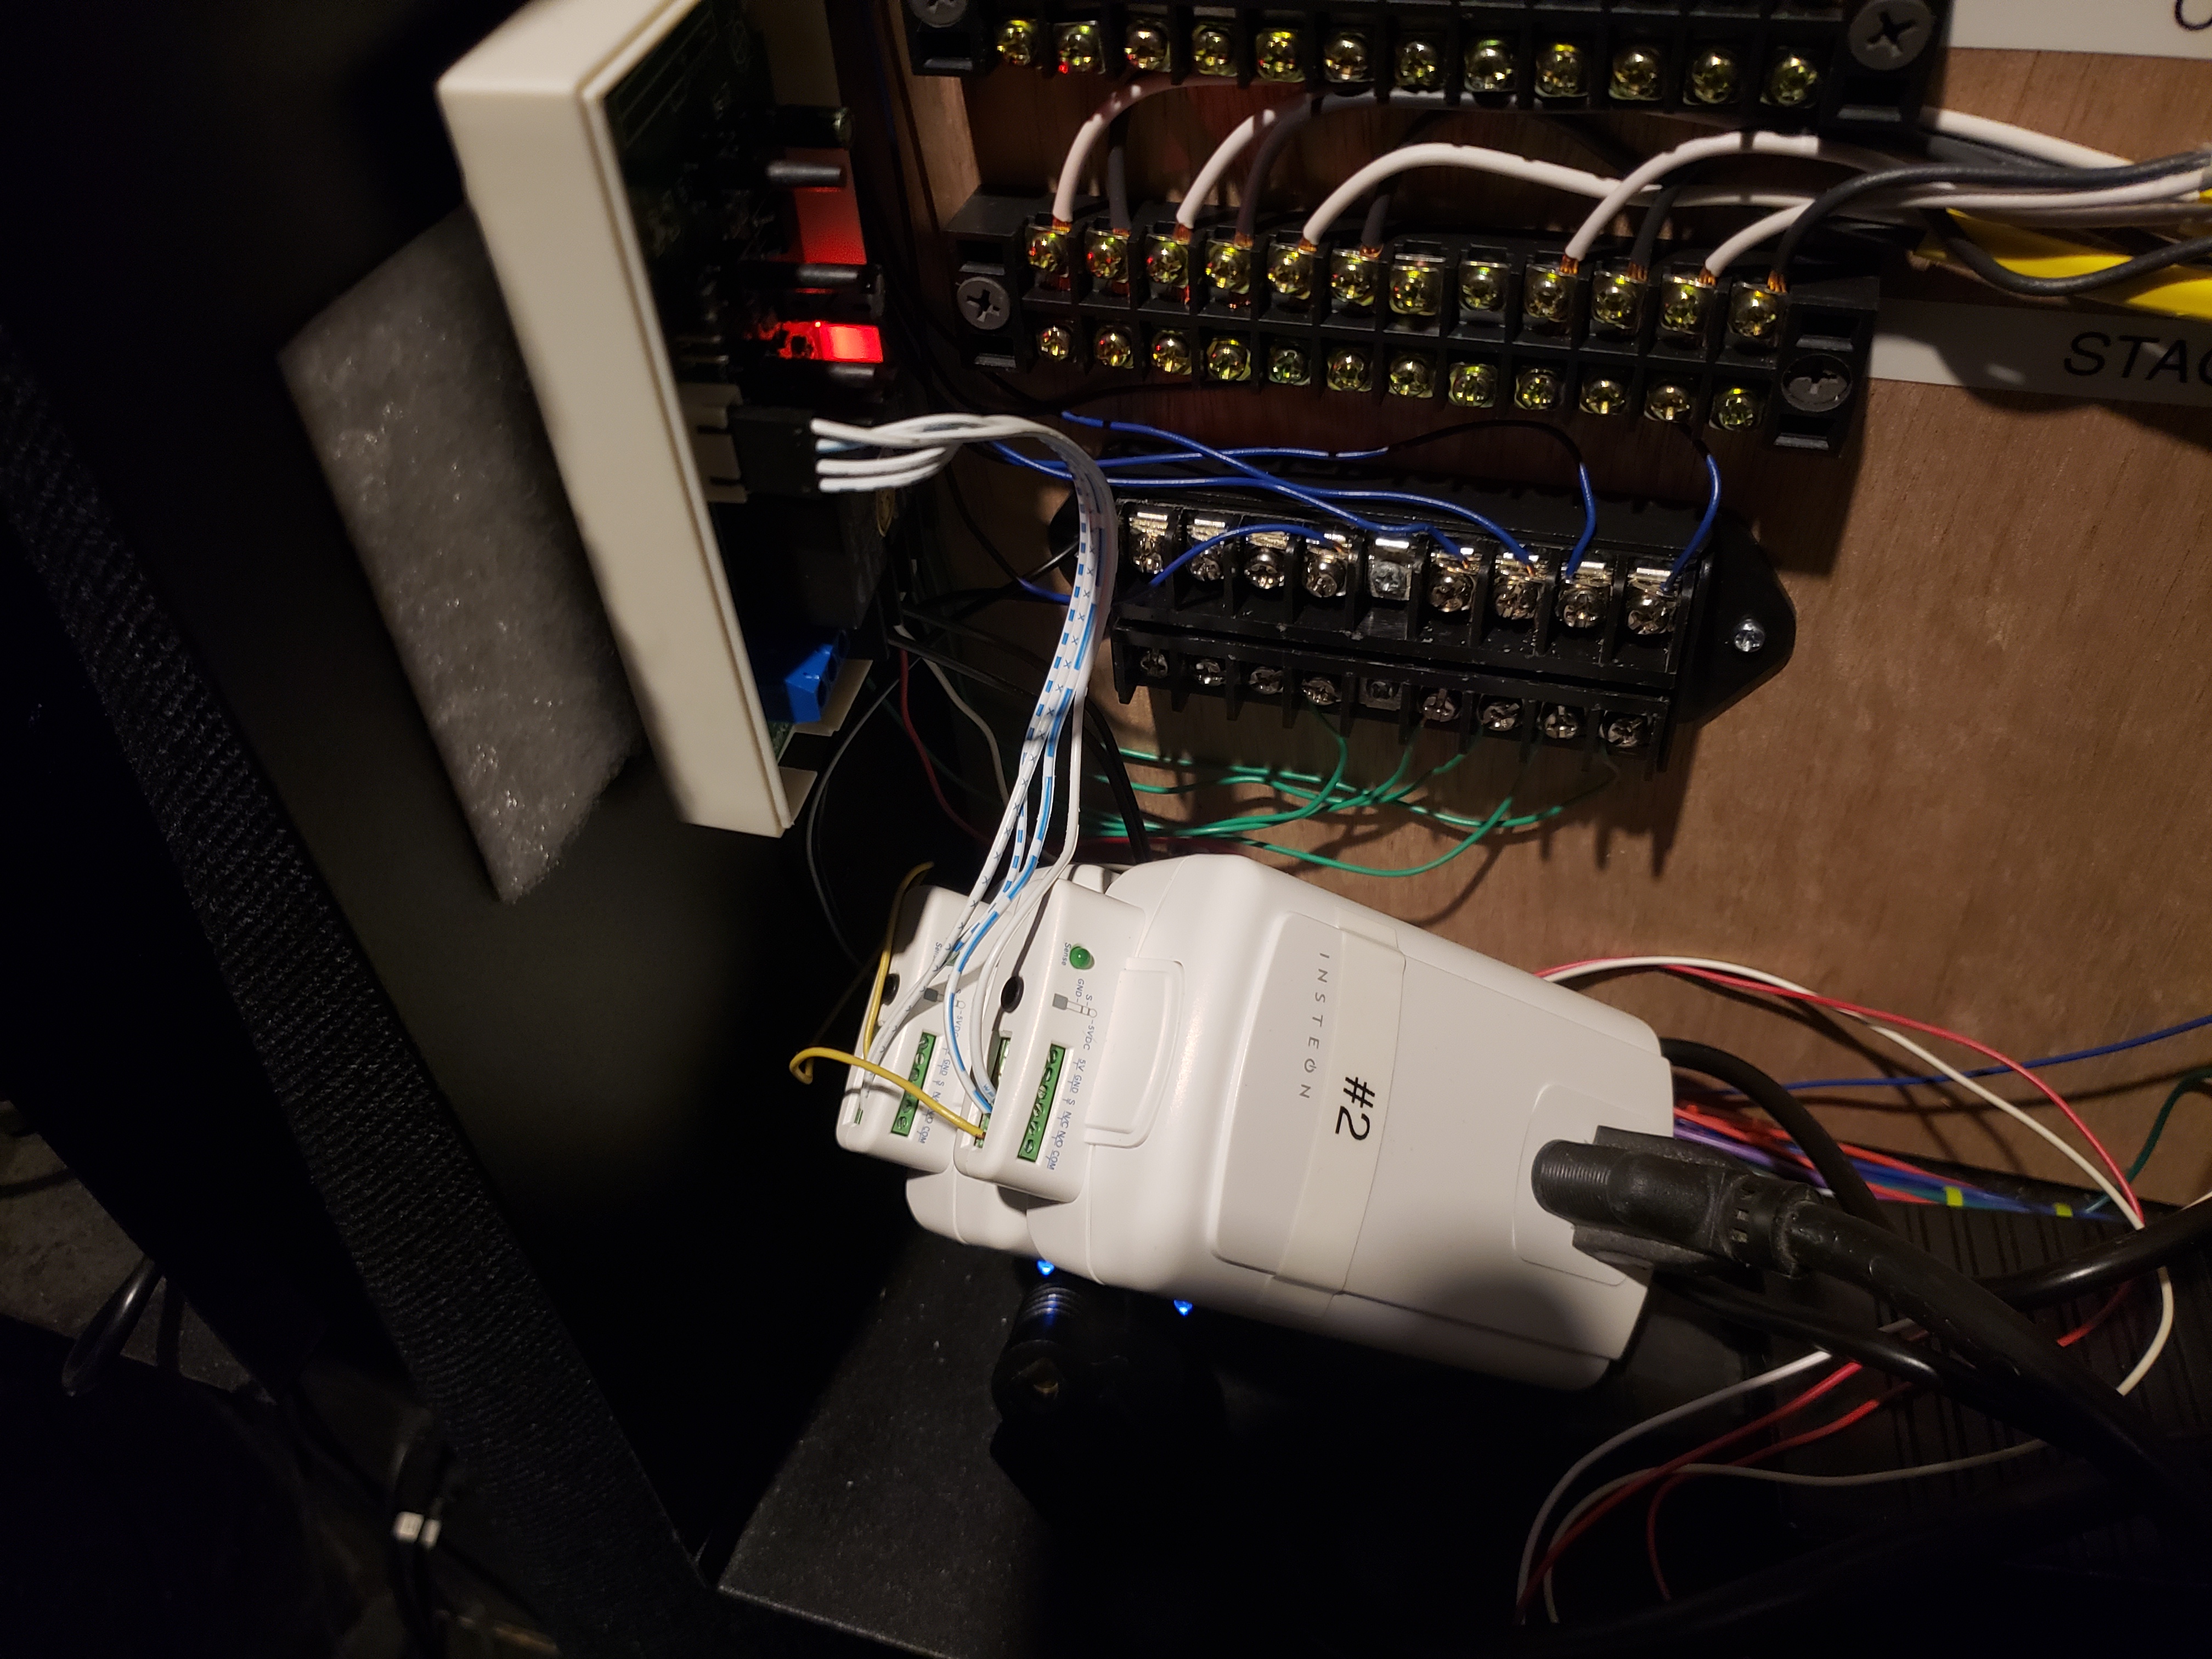
Electronics

Electronics

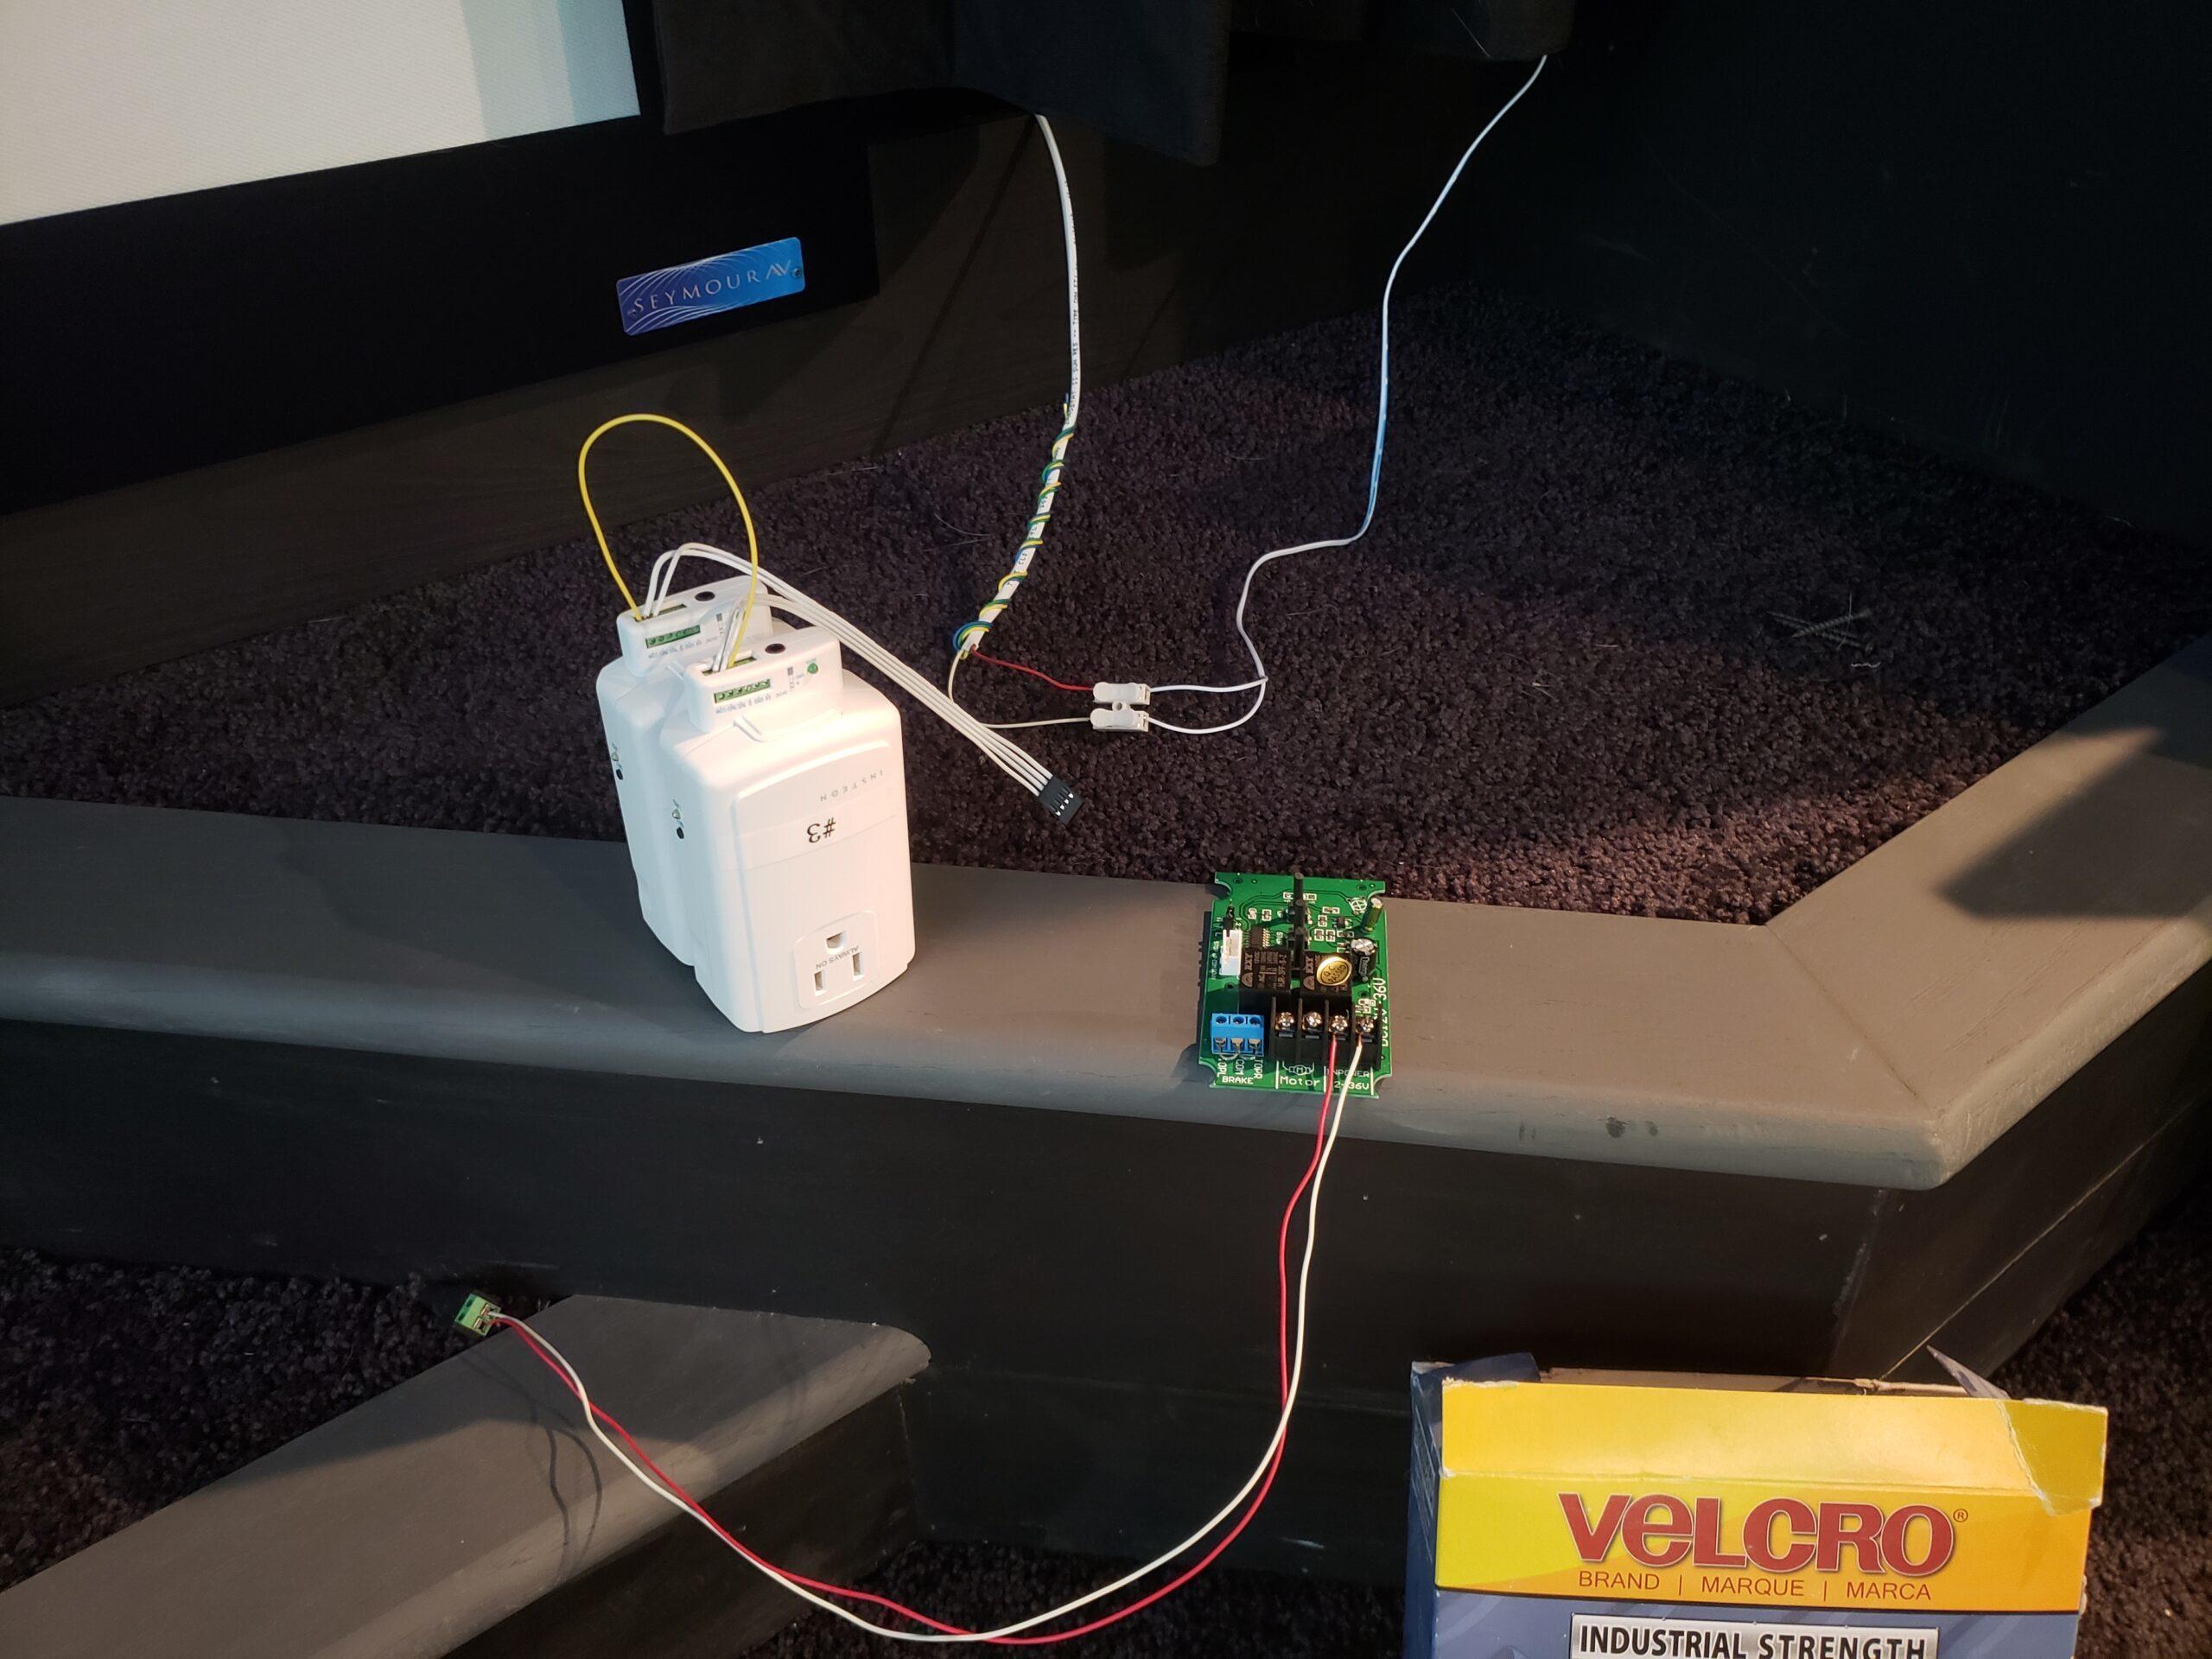
The wiring is exactly the same as it was for the automated roller shade project that I documented.  Here is a link to that video and blog.

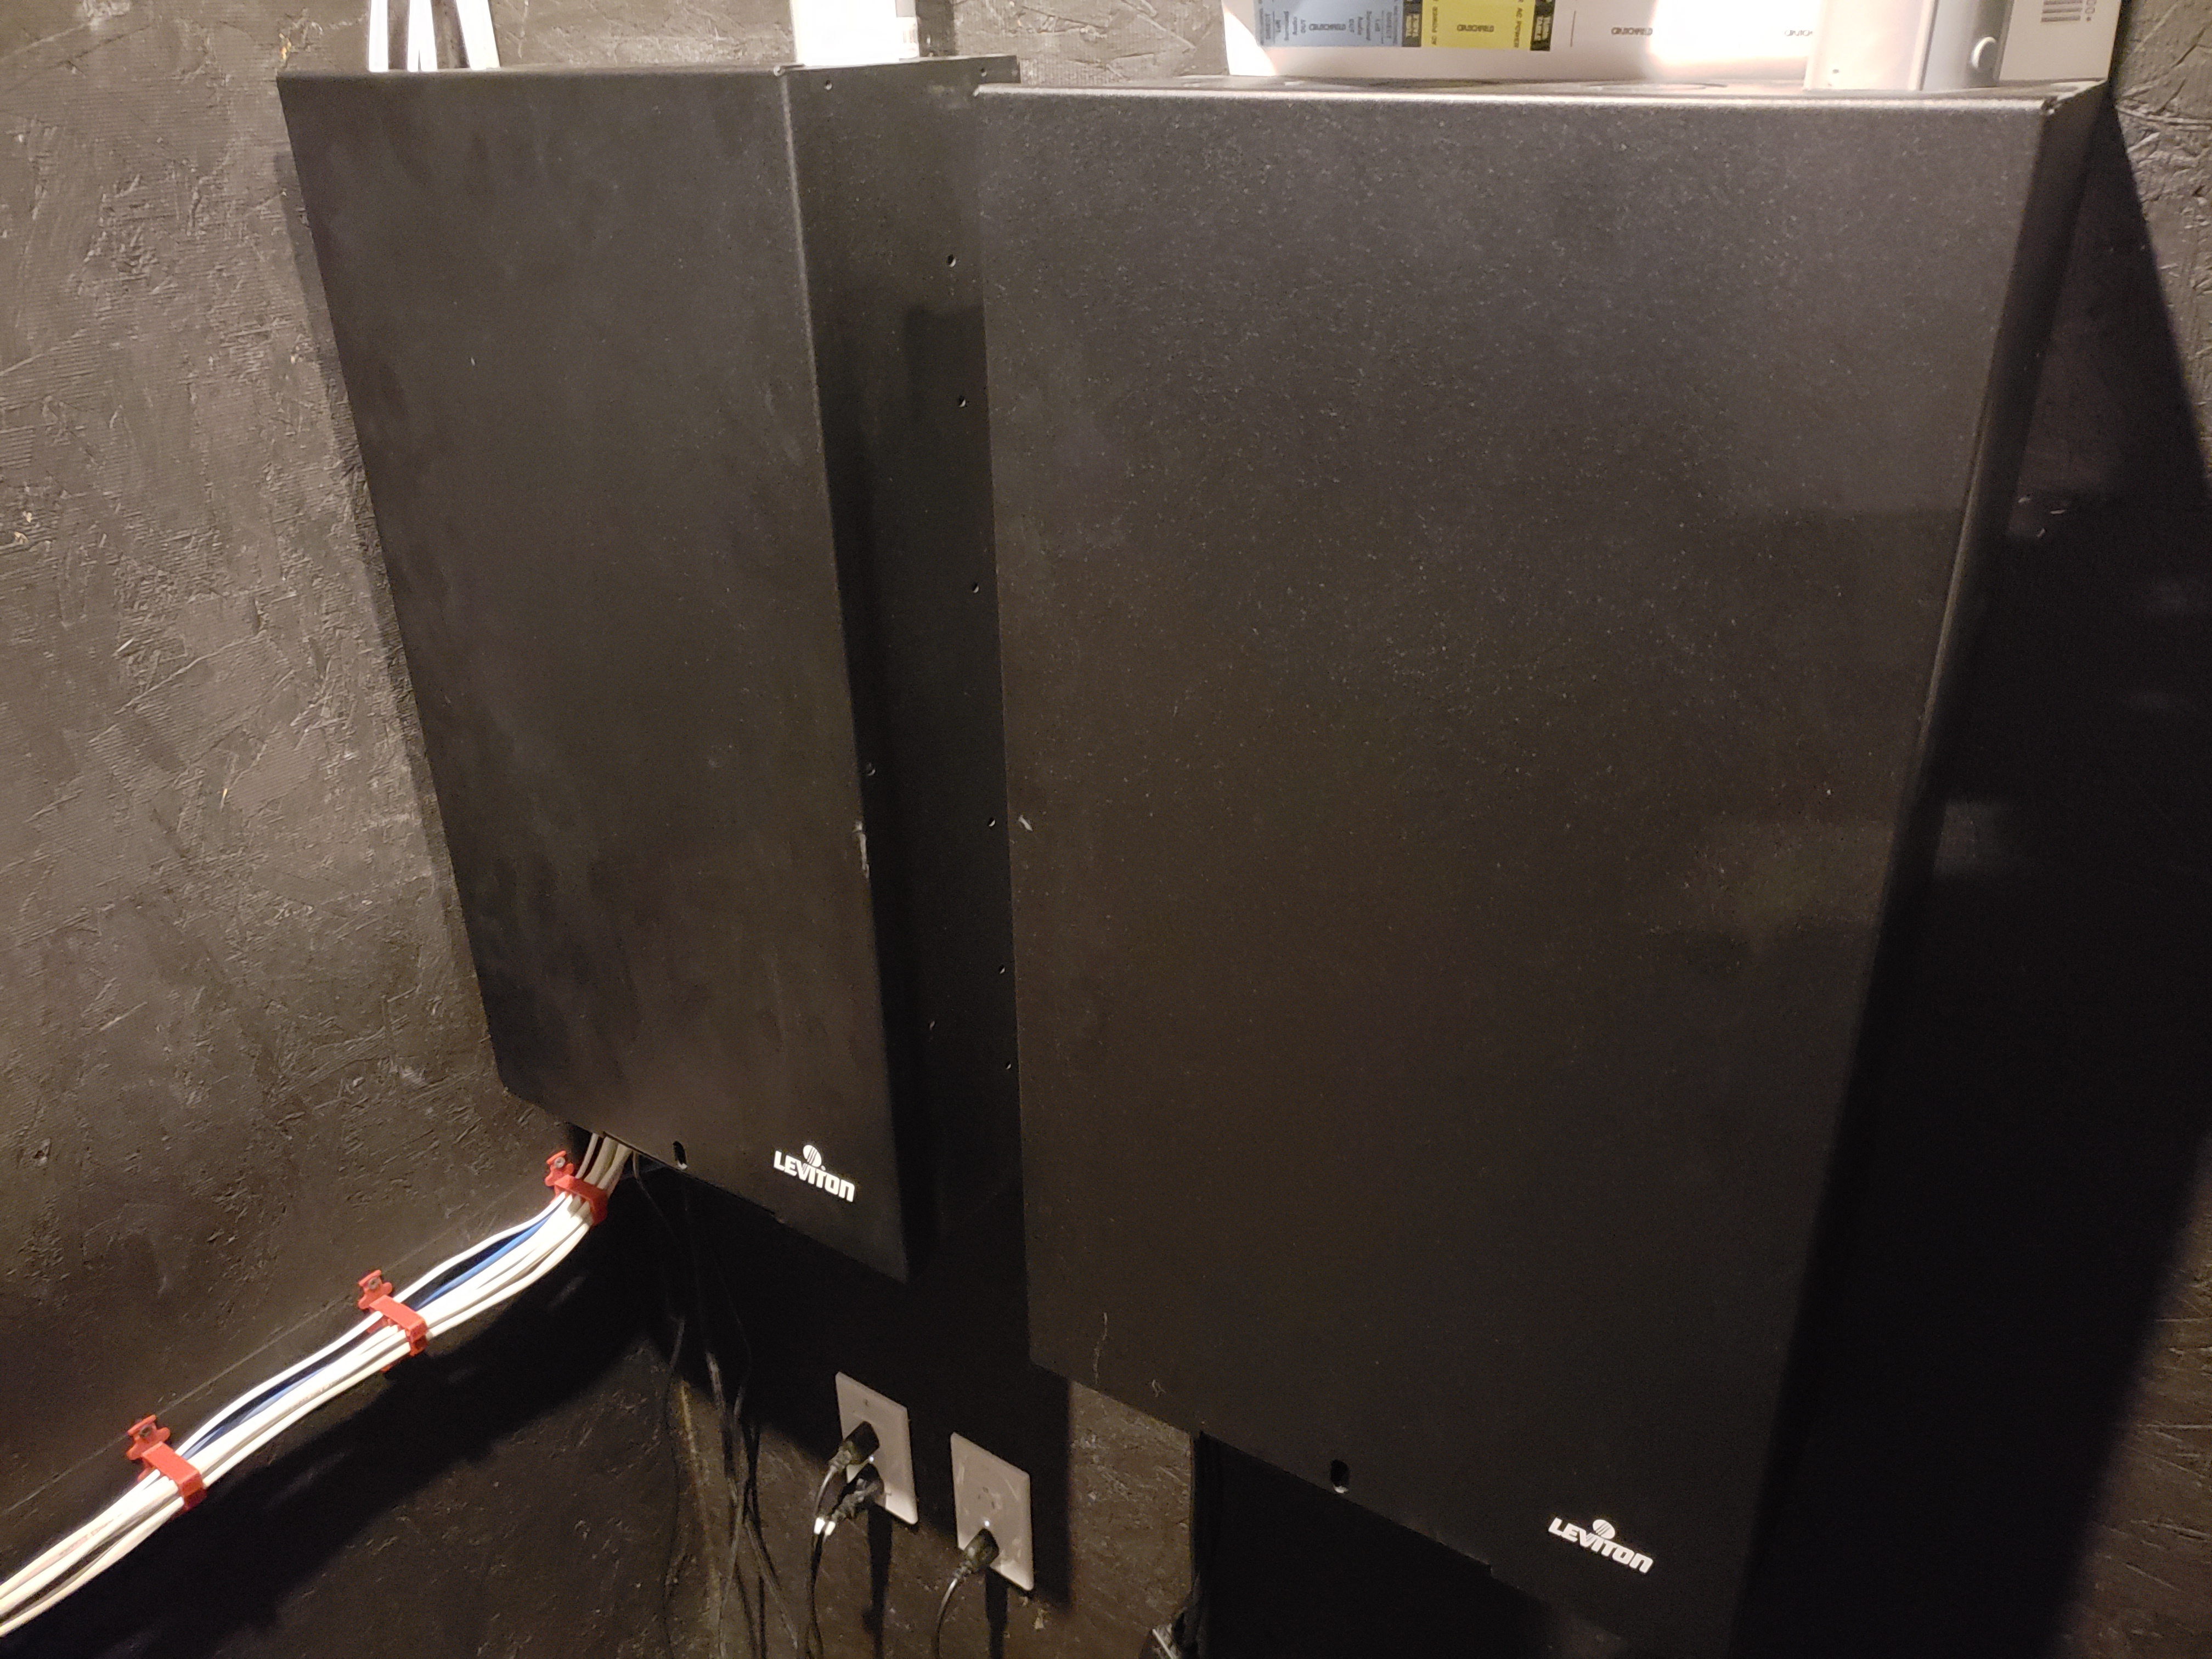
Run 18AWG thermostat wire from your screen location to an area where you can store the electronics.  This won't take much room, but you will need an outlet for the 12v power supply.  I use Leviton boxes in my home theater closet to house all of my low voltage lighting, blind control, screen curtain control and hidden door control.

Structured Media Cabinets

Structured Media Cabinets

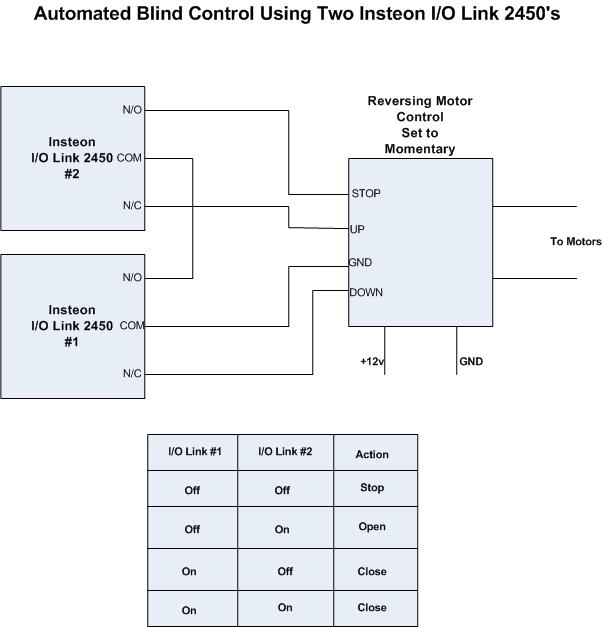
The image below shows how you will wire the two Insteon 2450s to the motor control in a way that allows you to open and close the curtains with your Insteon compatible home automation controller.

Insteon Blind Control Diagram

Insteon Blind Control Diagram

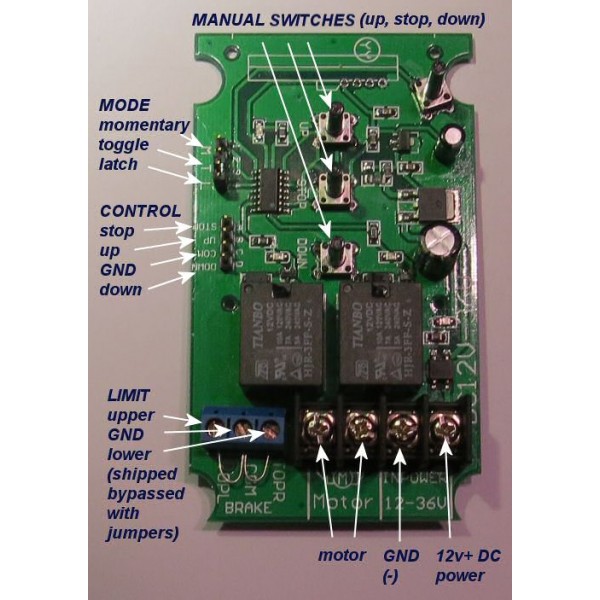
1 Ch. Blind Controller

1 Ch. Blind Controller

Blind Control

Blind Control

Programming the Motor

You need to set the travel limits on the motors, so that the curtains open and close to the proper locations. Use the 1 channel wall controller and the power supply to set the limits on each motor before permanently wiring anything.

These instructions can be found on Rollertrols site here.  For your convenience I have copied them below. Note that since we are controlling curtains, in this case up (upper) and down (lower) actually mean open and close limits.

Masking Only Note: If you are using this for masking only, then you would want the close limit to be set to the spot where the curtains are masking out the white bars on the side of the 16:9 content.

Full Curtain Note: If you want the curtain to close and cover the entire screen, then set the close limit to the point where the curtains are fully closed.  We'll handle the masking part with the programming later on.

The travel limits of these RollerTrolโ„ข motors can be set and changed at any time . The sequence is as follows:

Activating the Programming Mode:
  • Activate the motor in either direction with the UP or DOWN button of a switch or controller; we'll assume for these instructions that you will start with the UP button.
  •  While power is applied (the motor may not be running, if it has reached a travel limit), insert a screwdriver in the programming hole described in step 1 and hold the setting button down within six seconds of the power application start time. If you don't do it within 6 seconds, remove power, then re-apply power again (you'll have another 6 seconds to do it). Continue holding the setting button down until you hear a quick sequence of short beeps, then release the button. If the motor is running, it will stop, even though you are still applying power. REMOVE POWER FROM MOTOR.
  •  At this point, the motor has entered into its limit programming mode. Even though you have removed power, it will remember that it is in programming mode. You must complete the programming sequence or it will be permanently in programming mode.
  •  Apply power again for the UP direction, and it will continue running in that direction. Let it run until you are close to the desired UP position, then STOP it (do not let it go past the desired UPPER limit).
Setting the UPPER Limit:
  • At this point of the programming mode, and you have moved the motor so that it is close to the UPPER position limit (but not past). When you stopped it, you removed power from the motor, but it has an internal memory that 'remembers' that it is in settings mode. Activate the UP direction of the motor; the motor now enters the 'JOG' mode. You'll see the motor move in very short steps that are a small fraction of a full rotation. Alternate between UP and STOP modes until your motor is at the exact UPPER limit you desire.
  • The UPPER limit has been reached at this point, and the motor is still in 'programming mode', even though it is stopped without any power applied. The next step will be to press the DOWN button, which will set the UPPER limit into memory (you'll hear a confirming beep sequence), and it will also start the shade moving in the opposite direction. Do not press STOP until it gets close (but not past) the LOWER travel limit.
Setting the LOWER Limit:
  • At this point you have stopped the motor, ready to enter JOG mode. Press the DOWN button and you will see it move slightly; you are now in JOG mode.
  • Alternate between DOWN and STOP modes until your motor is at the exact LOWER limit you desire. Make sure it is stopped, with no power applied when you reach the desired LOWER limit.
  • To confirm the LOWER setting and exit the programming mode, press the UP button; you will hear a beep sequence. At this point, the travel limits for the motor have been set and the motor is now back in normal running mode and you should be able to test the full excursion. Repeat the above steps if you need to reset the travel limits.

We sincerely hope you enjoy using these advanced motors; if you have any questions, please feel free to contact us at any time!

Home Automation Controller Programming (ISY 944i)

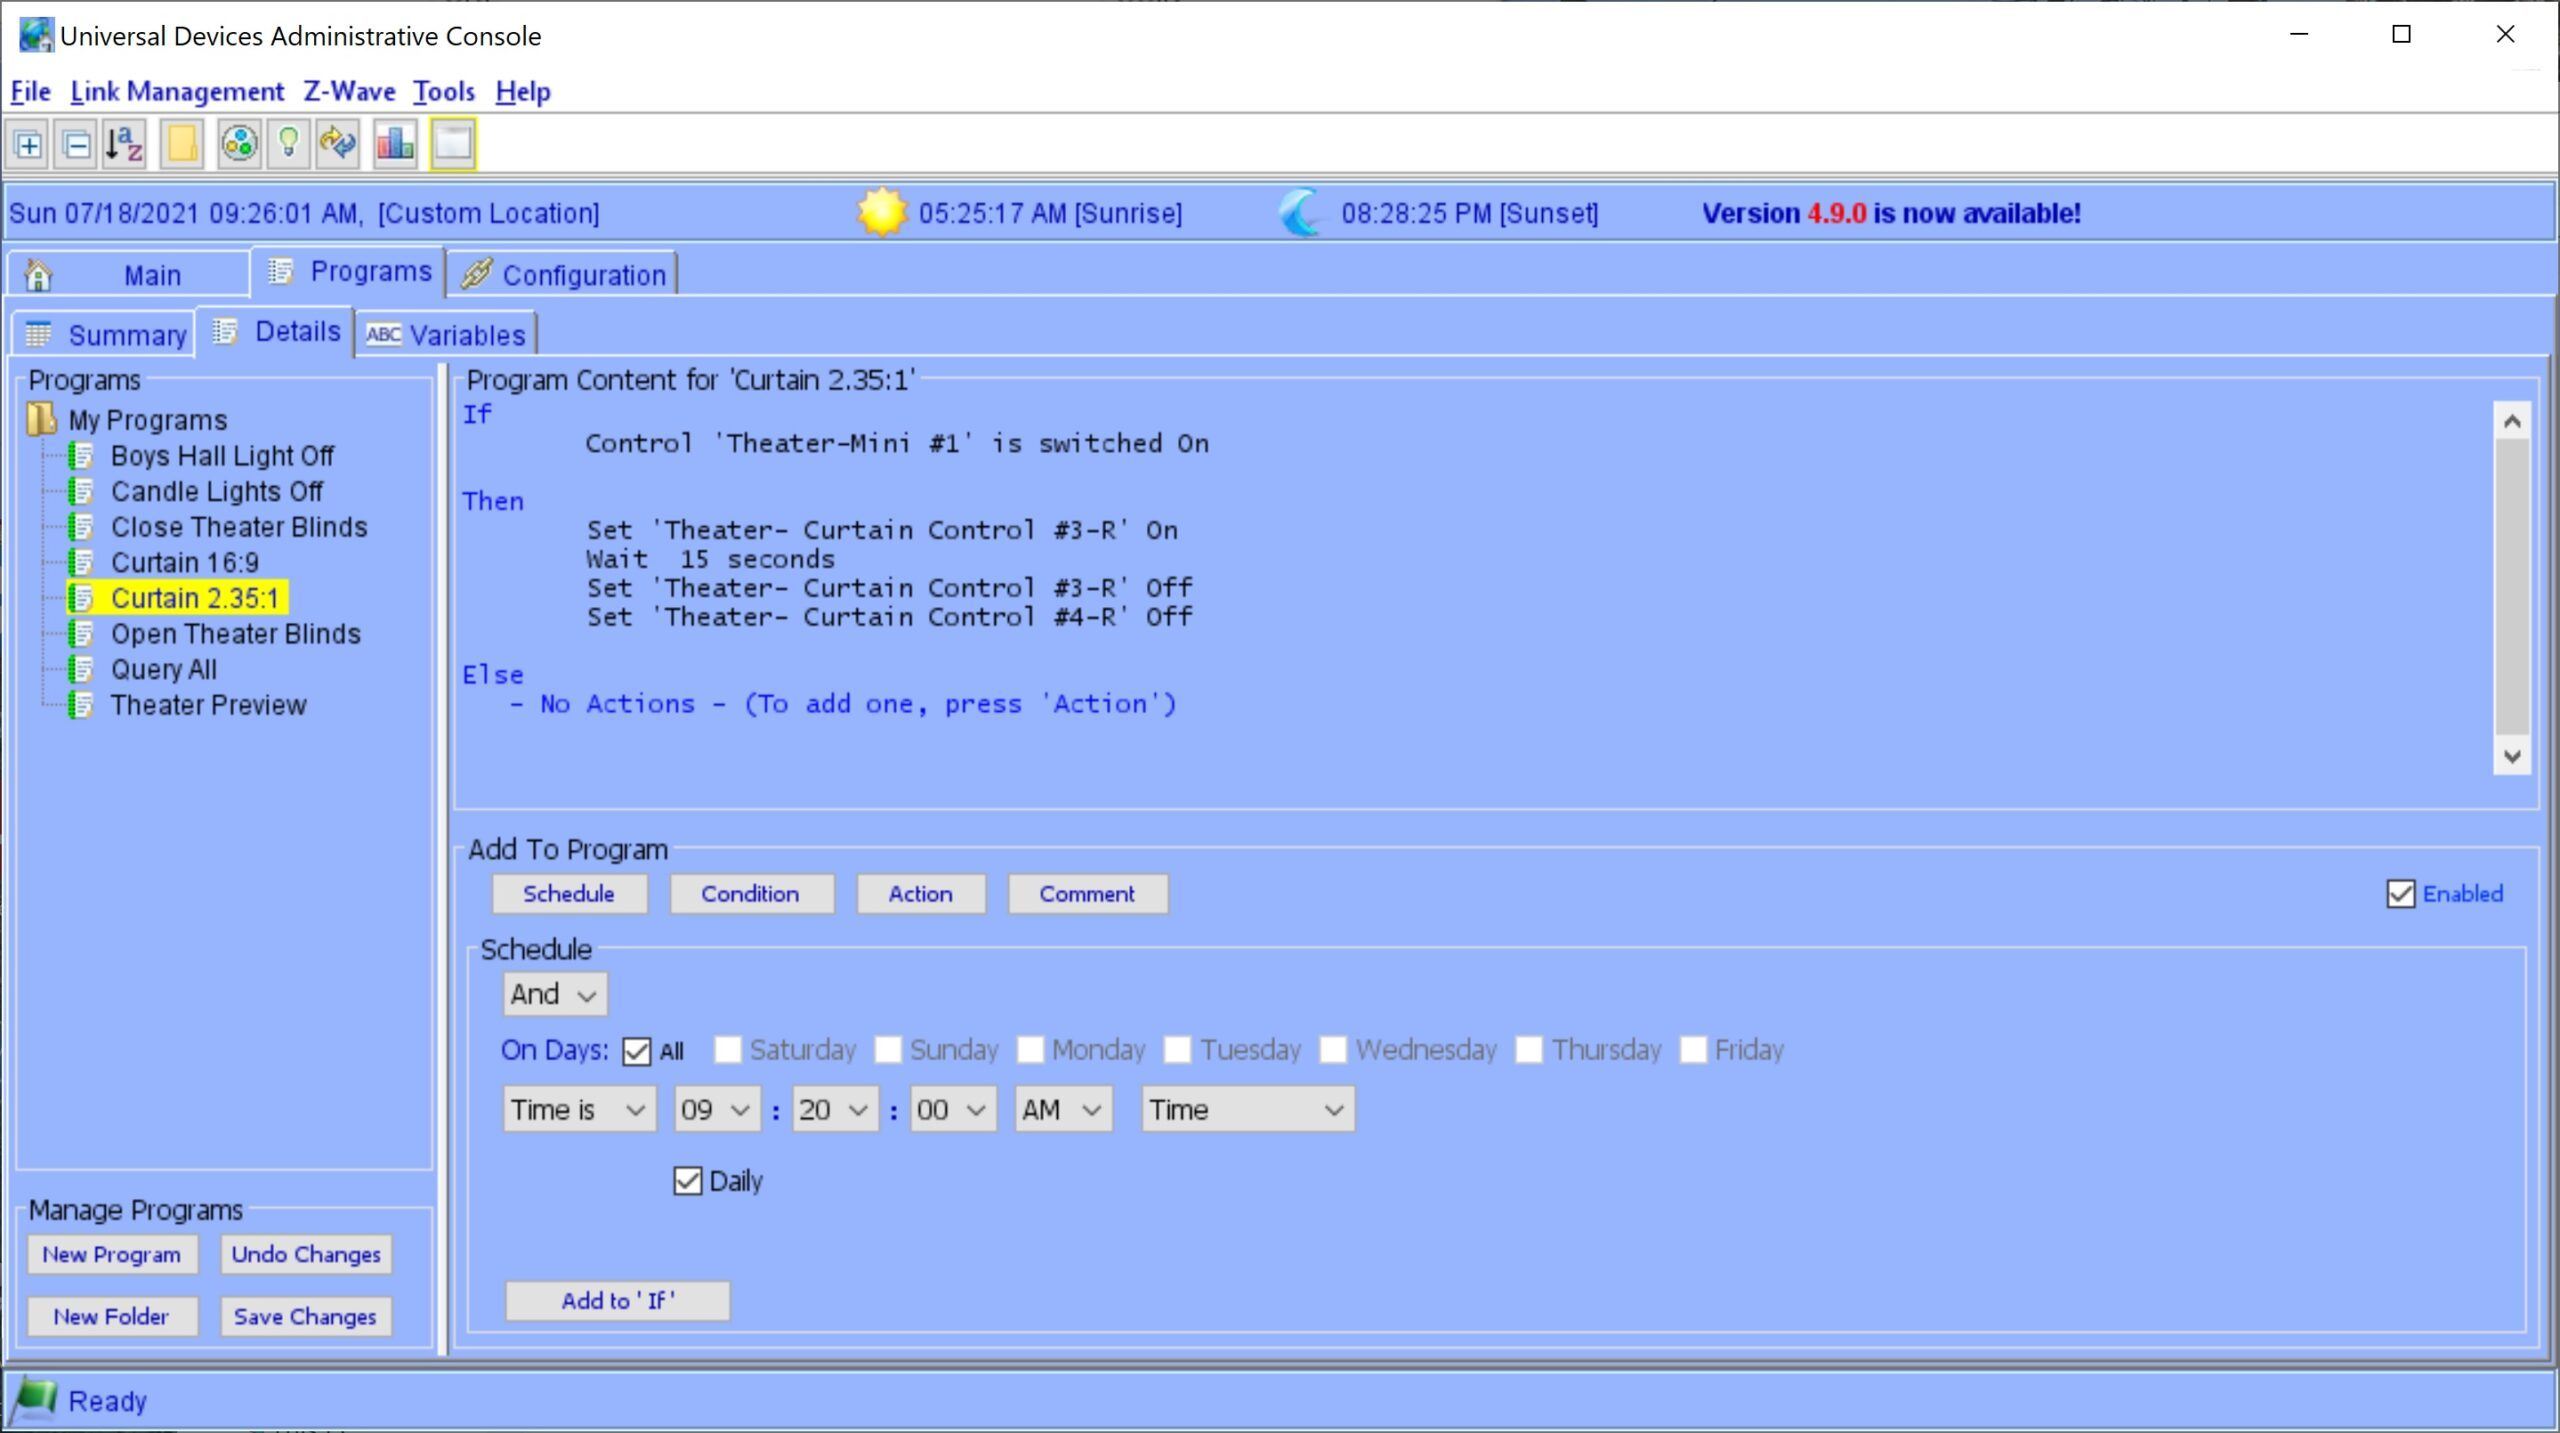
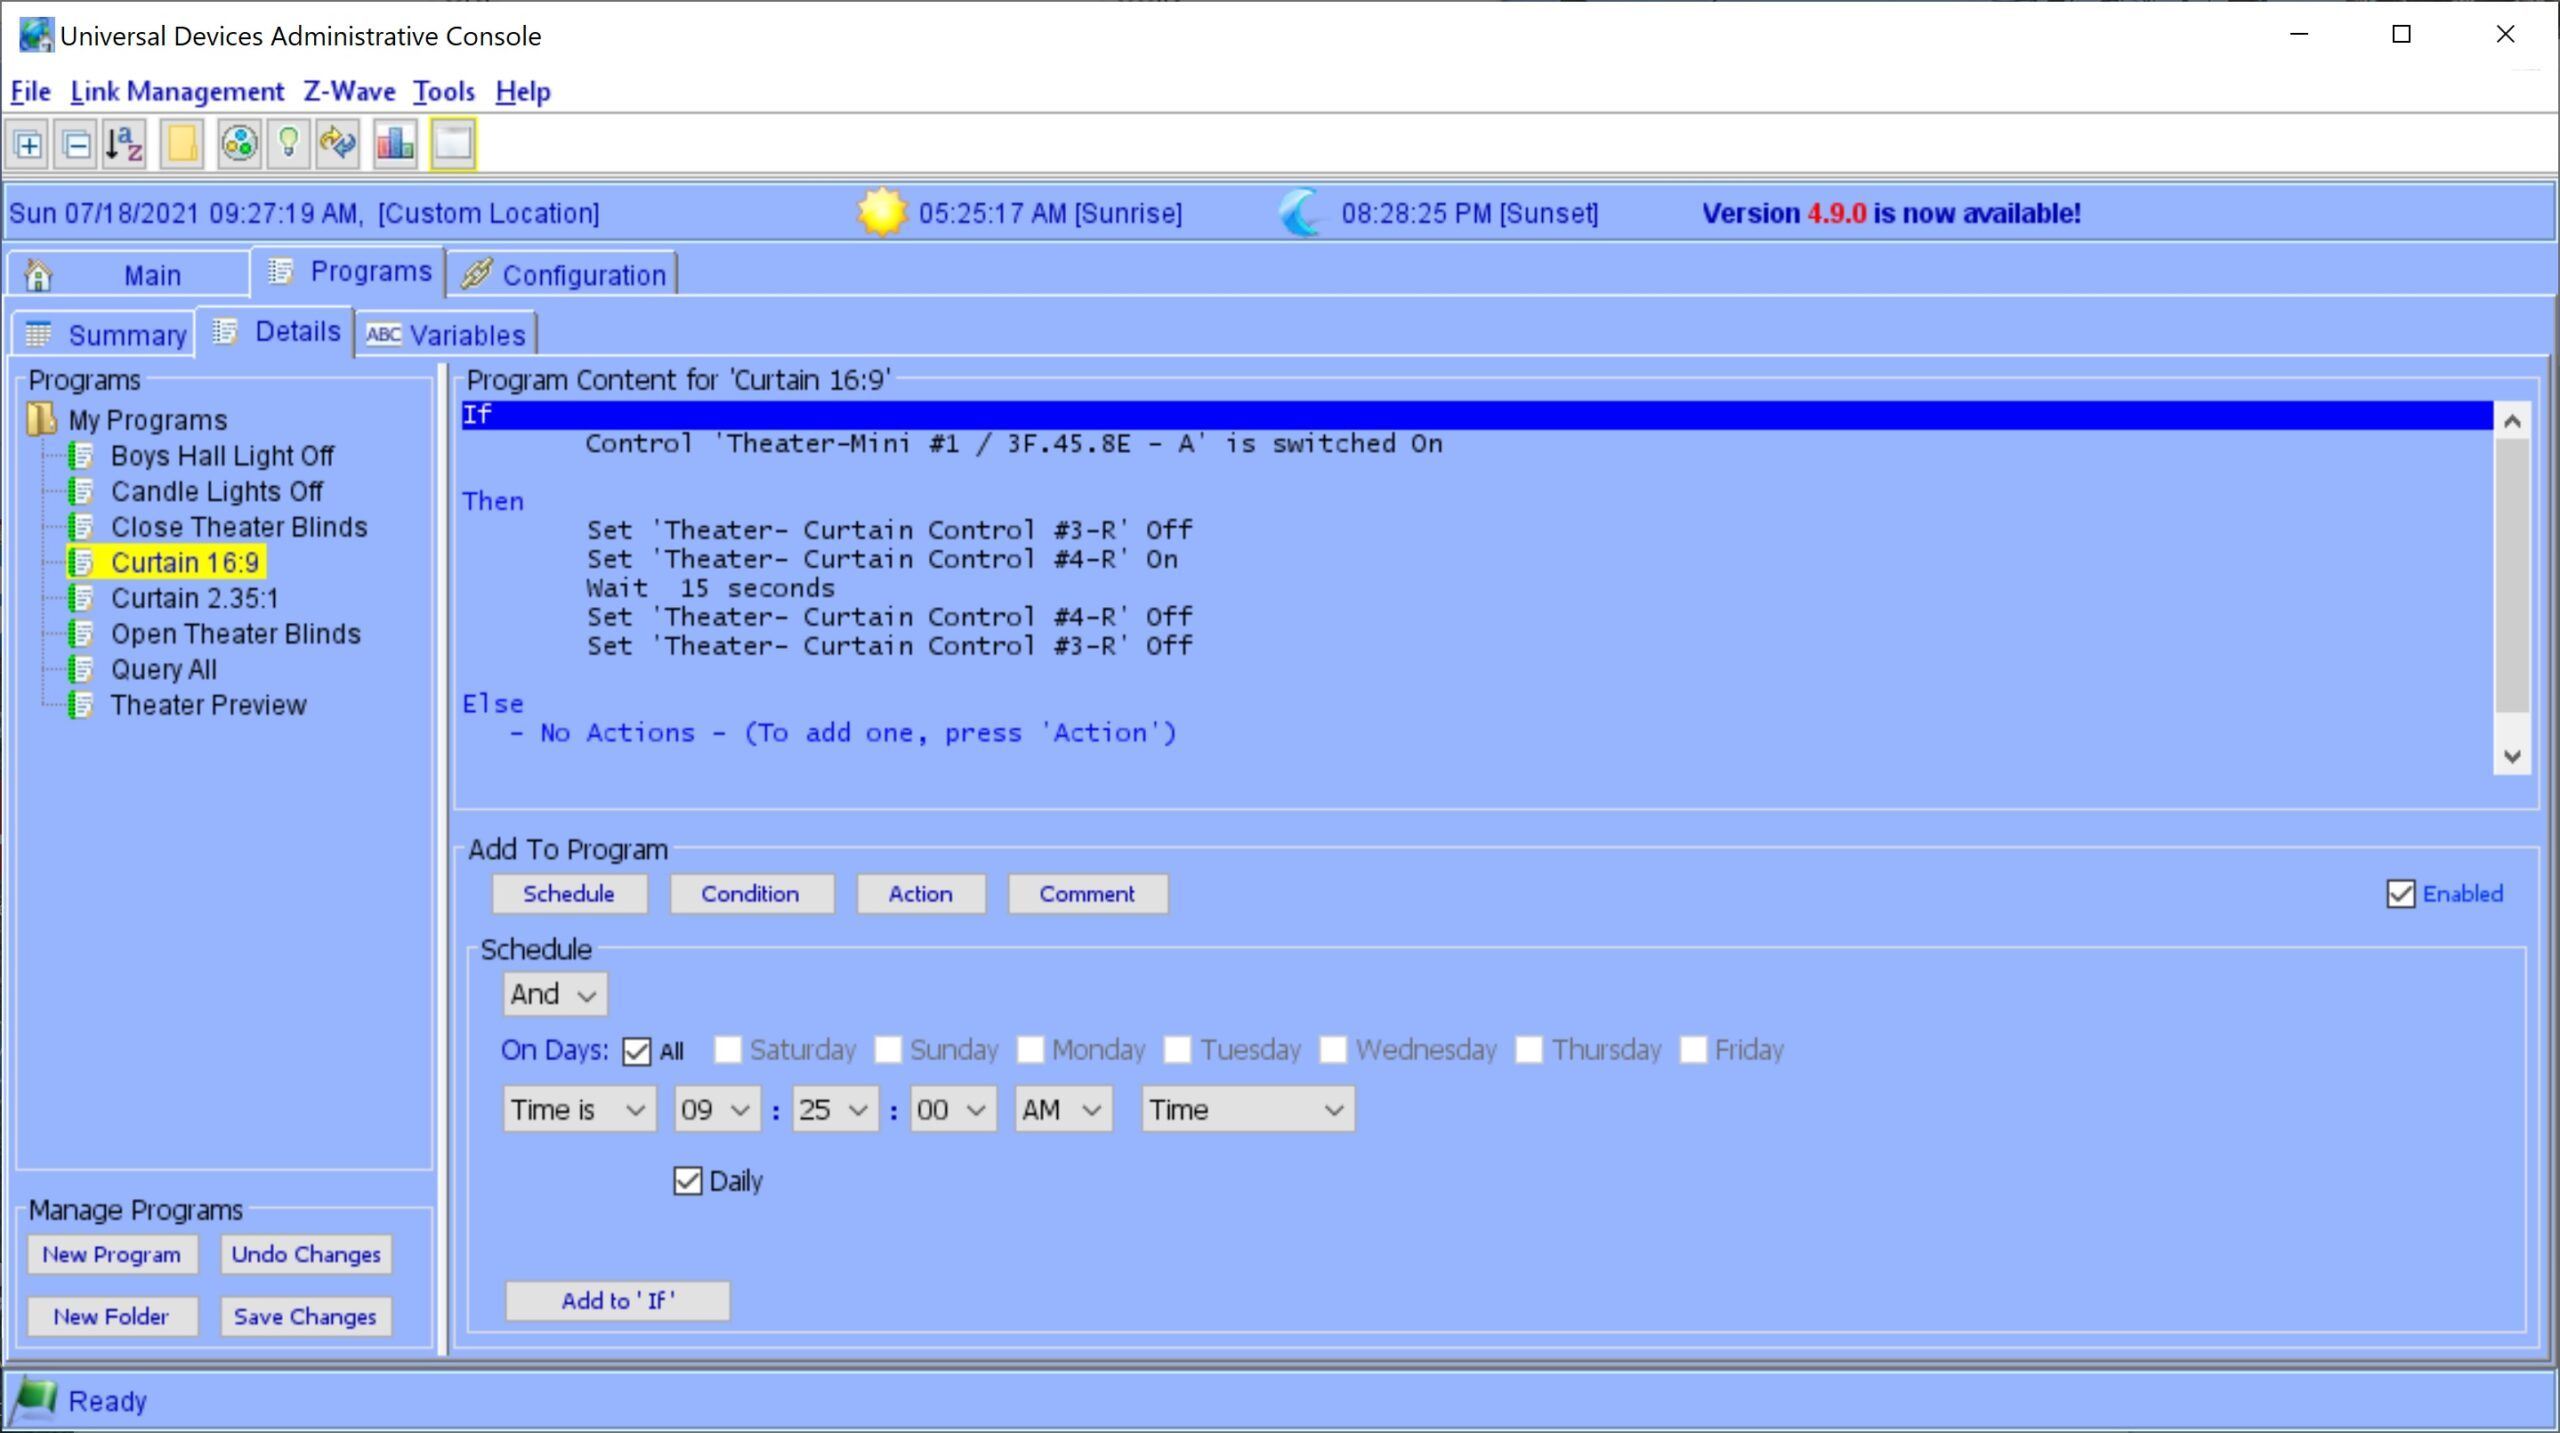
I use an ISY 944i home automation controller.  Below are the programs I wrote to open and close the curtain with the Insteon 2450s.  You will need to program your controller to do the same.

Fully Open

This is the 2.35:1 setting in my case. It's the setting you use to have the entire screen exposed. Make sure the program is active long enough for the curtain to reach the fully open motor set point that you set above when programming the motor.

2.35:1 Program

2.35:1 Program

16:9 Mode (or Fully Closed)

This step will be different depending on whether you programmed the motor set point to fully close the curtain or just close it to the 16:9 masking point.  

Masking Only: Mine is only used for masking, so I programmed the motor to stop at that point.  The home automation controller program for that is below.

Fully Close: If you want the curtain to fully close, then you would use this program to close the curtain, instead of using it as the masking setting.  To have it mask, you would create a program that fully opens the curtain and then begins to close the curtain on a timer. Have that timer stop the motor at the point where the curtain masks out the white bars on the side of the 16:9 image.

16:9 Program

16:9 Program

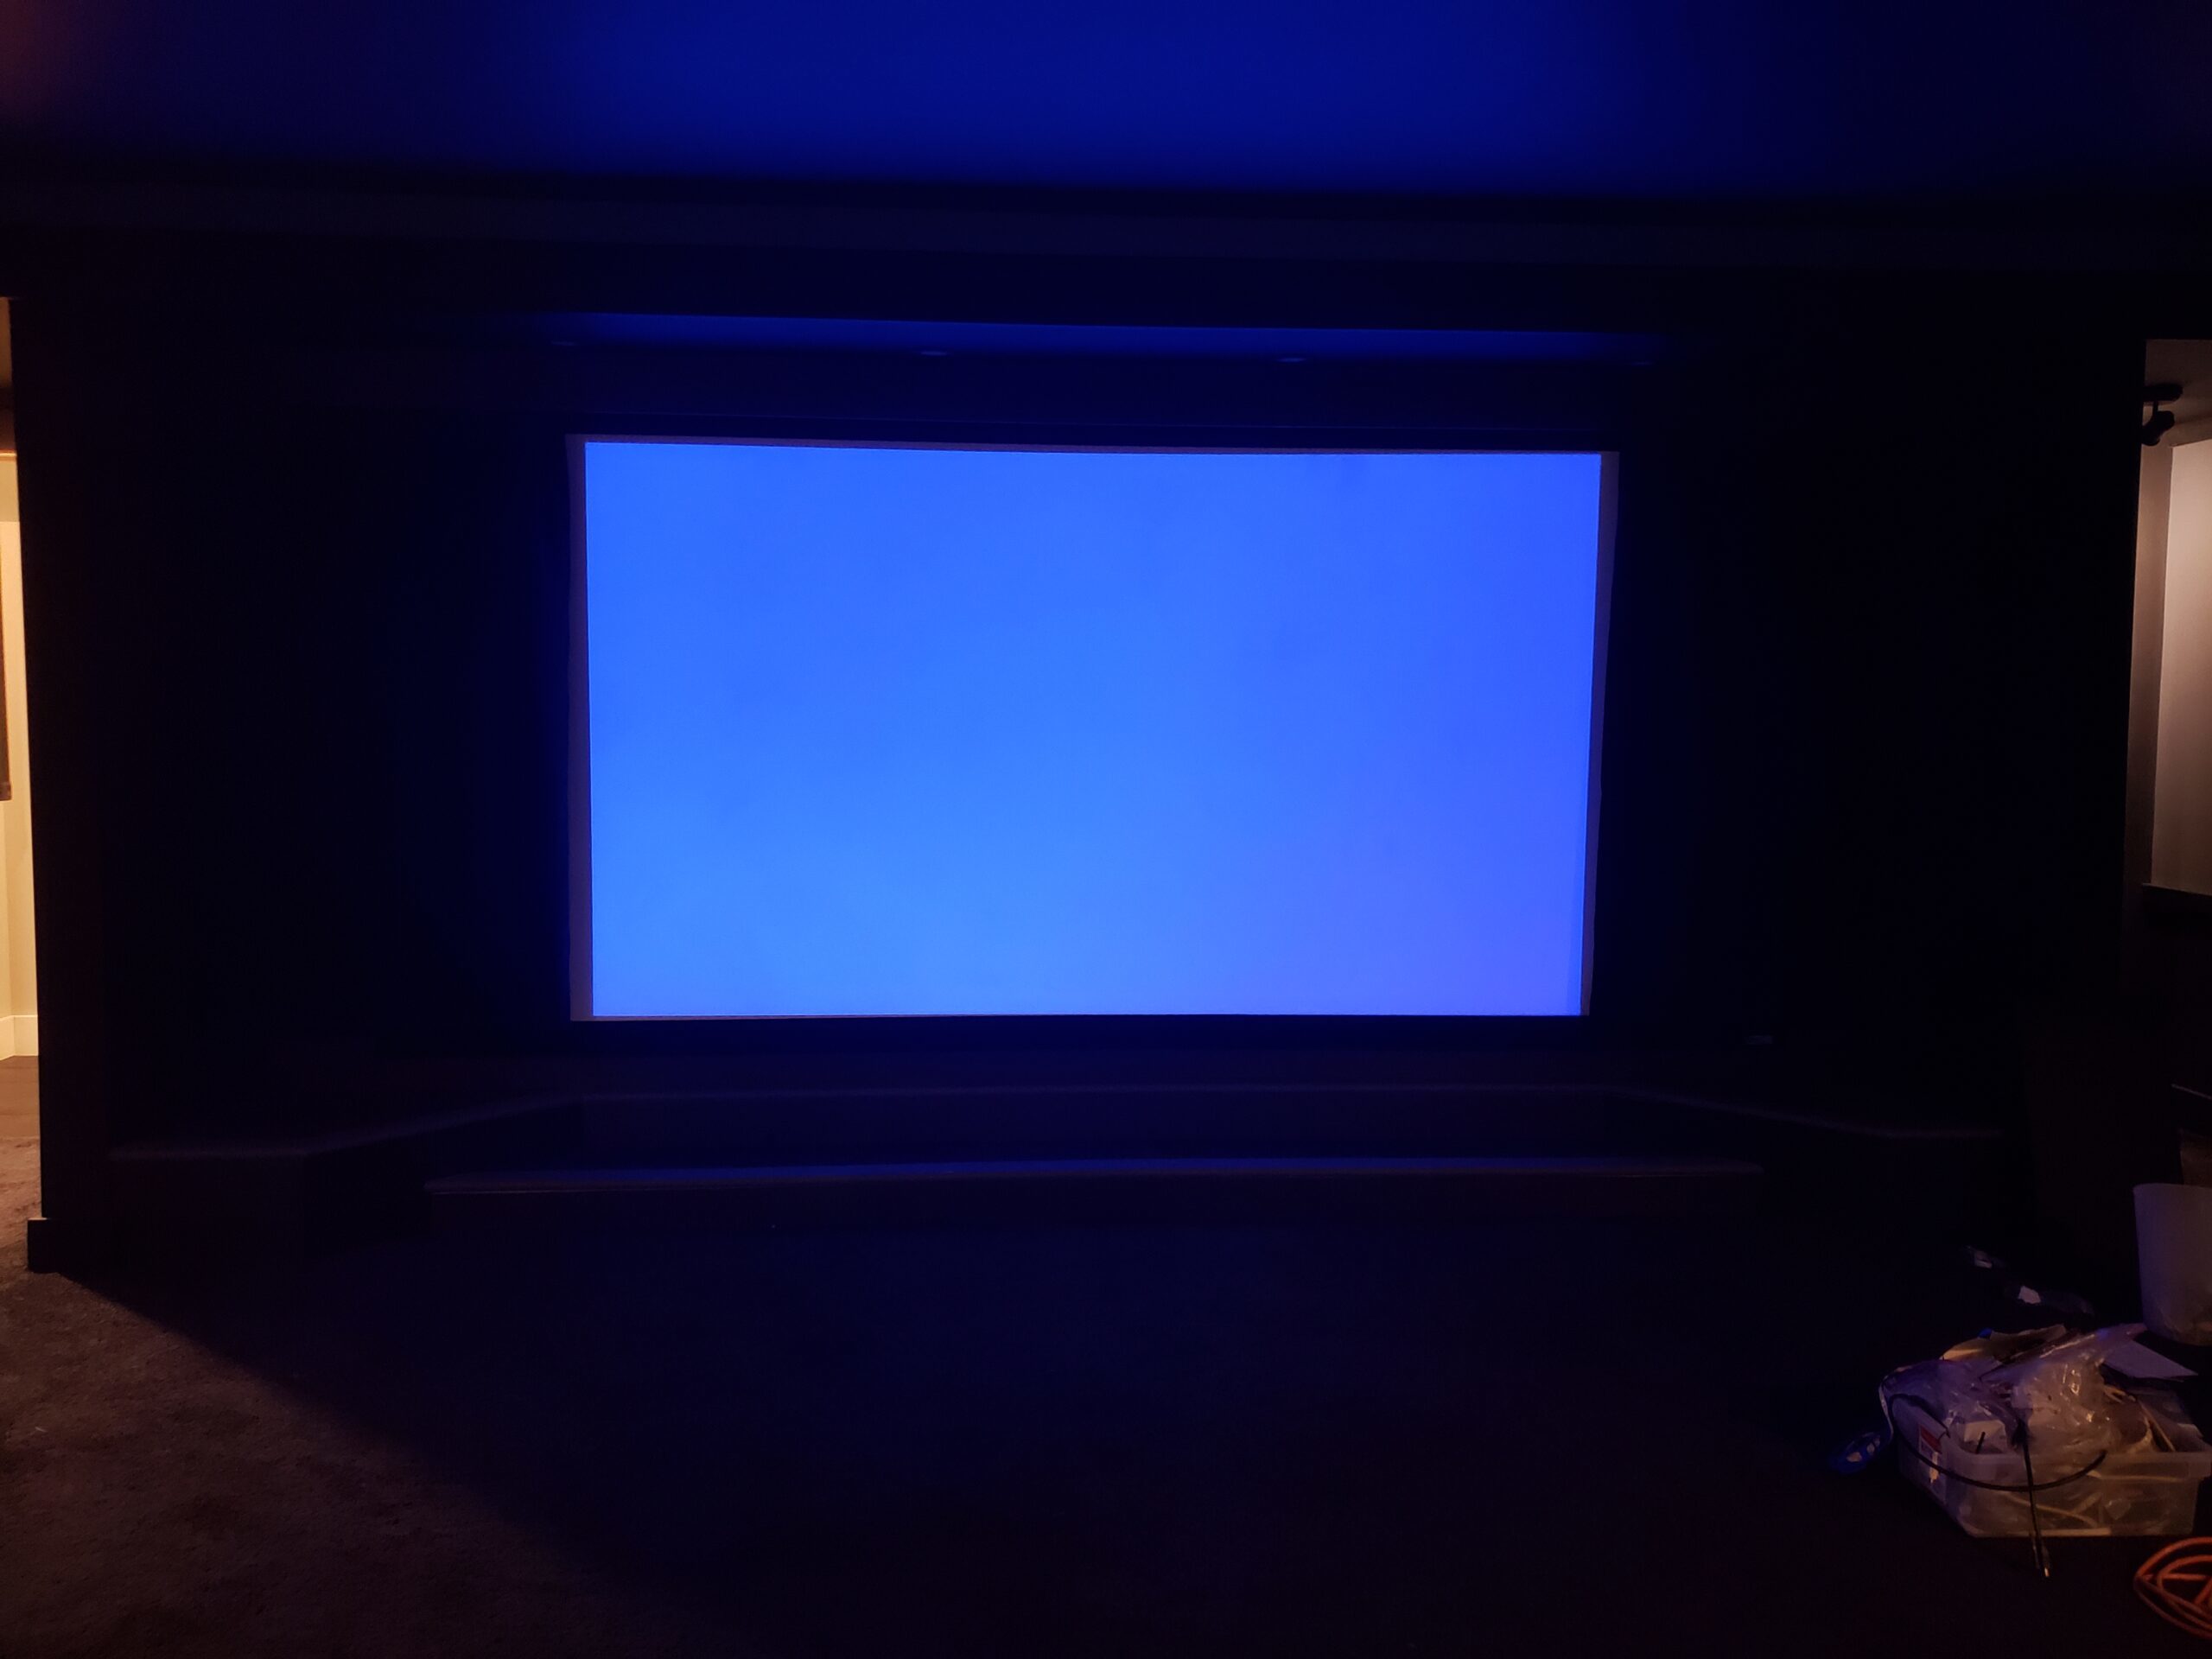
Masked Screen

Masked Screen

Conclusion

Another fun and cost saving home automation project for your home theater.  I hope this helps you to create your own automated masking system.  Please leave a comment and/or question either here or on the YouTube video. Thanks, Tim

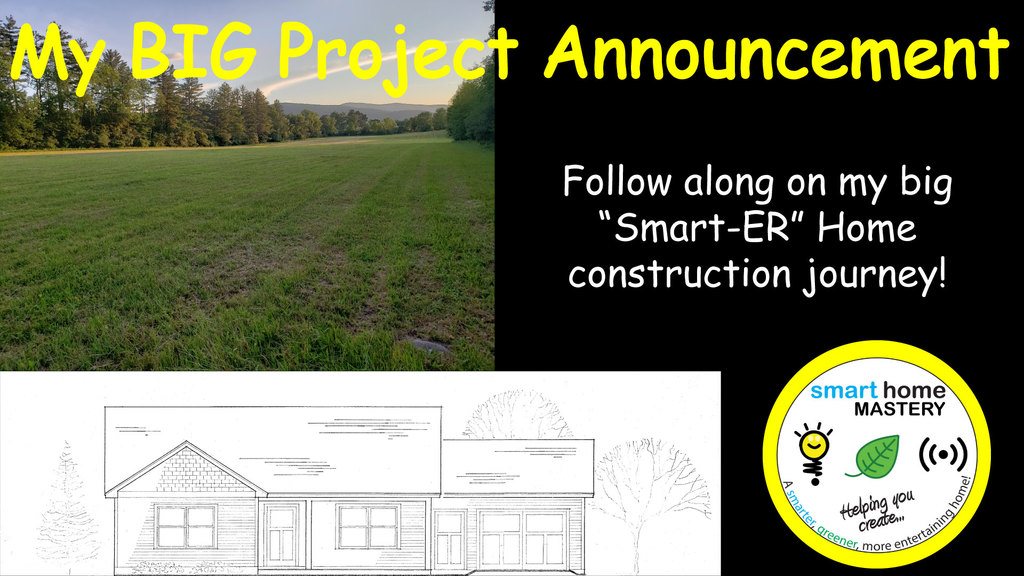
My BIG Smart-ER Home Construction Project Announcement

COAZEH- "cozy"

COAZEH

COAZEH stands for Communities Of Affordable Zero Energy Homes- That's the name of my new venture.  I'm out to prove that you can build affordable net-zero rental communities. You can find out more about that here...

The Plan

  • Purchase Land
  • Build net-zero rental homes as cost efficiently as possible
  • Rent them out as affordably as possible
  • Rinse and repeat in another area
  • Document the whole process

Purchase Land

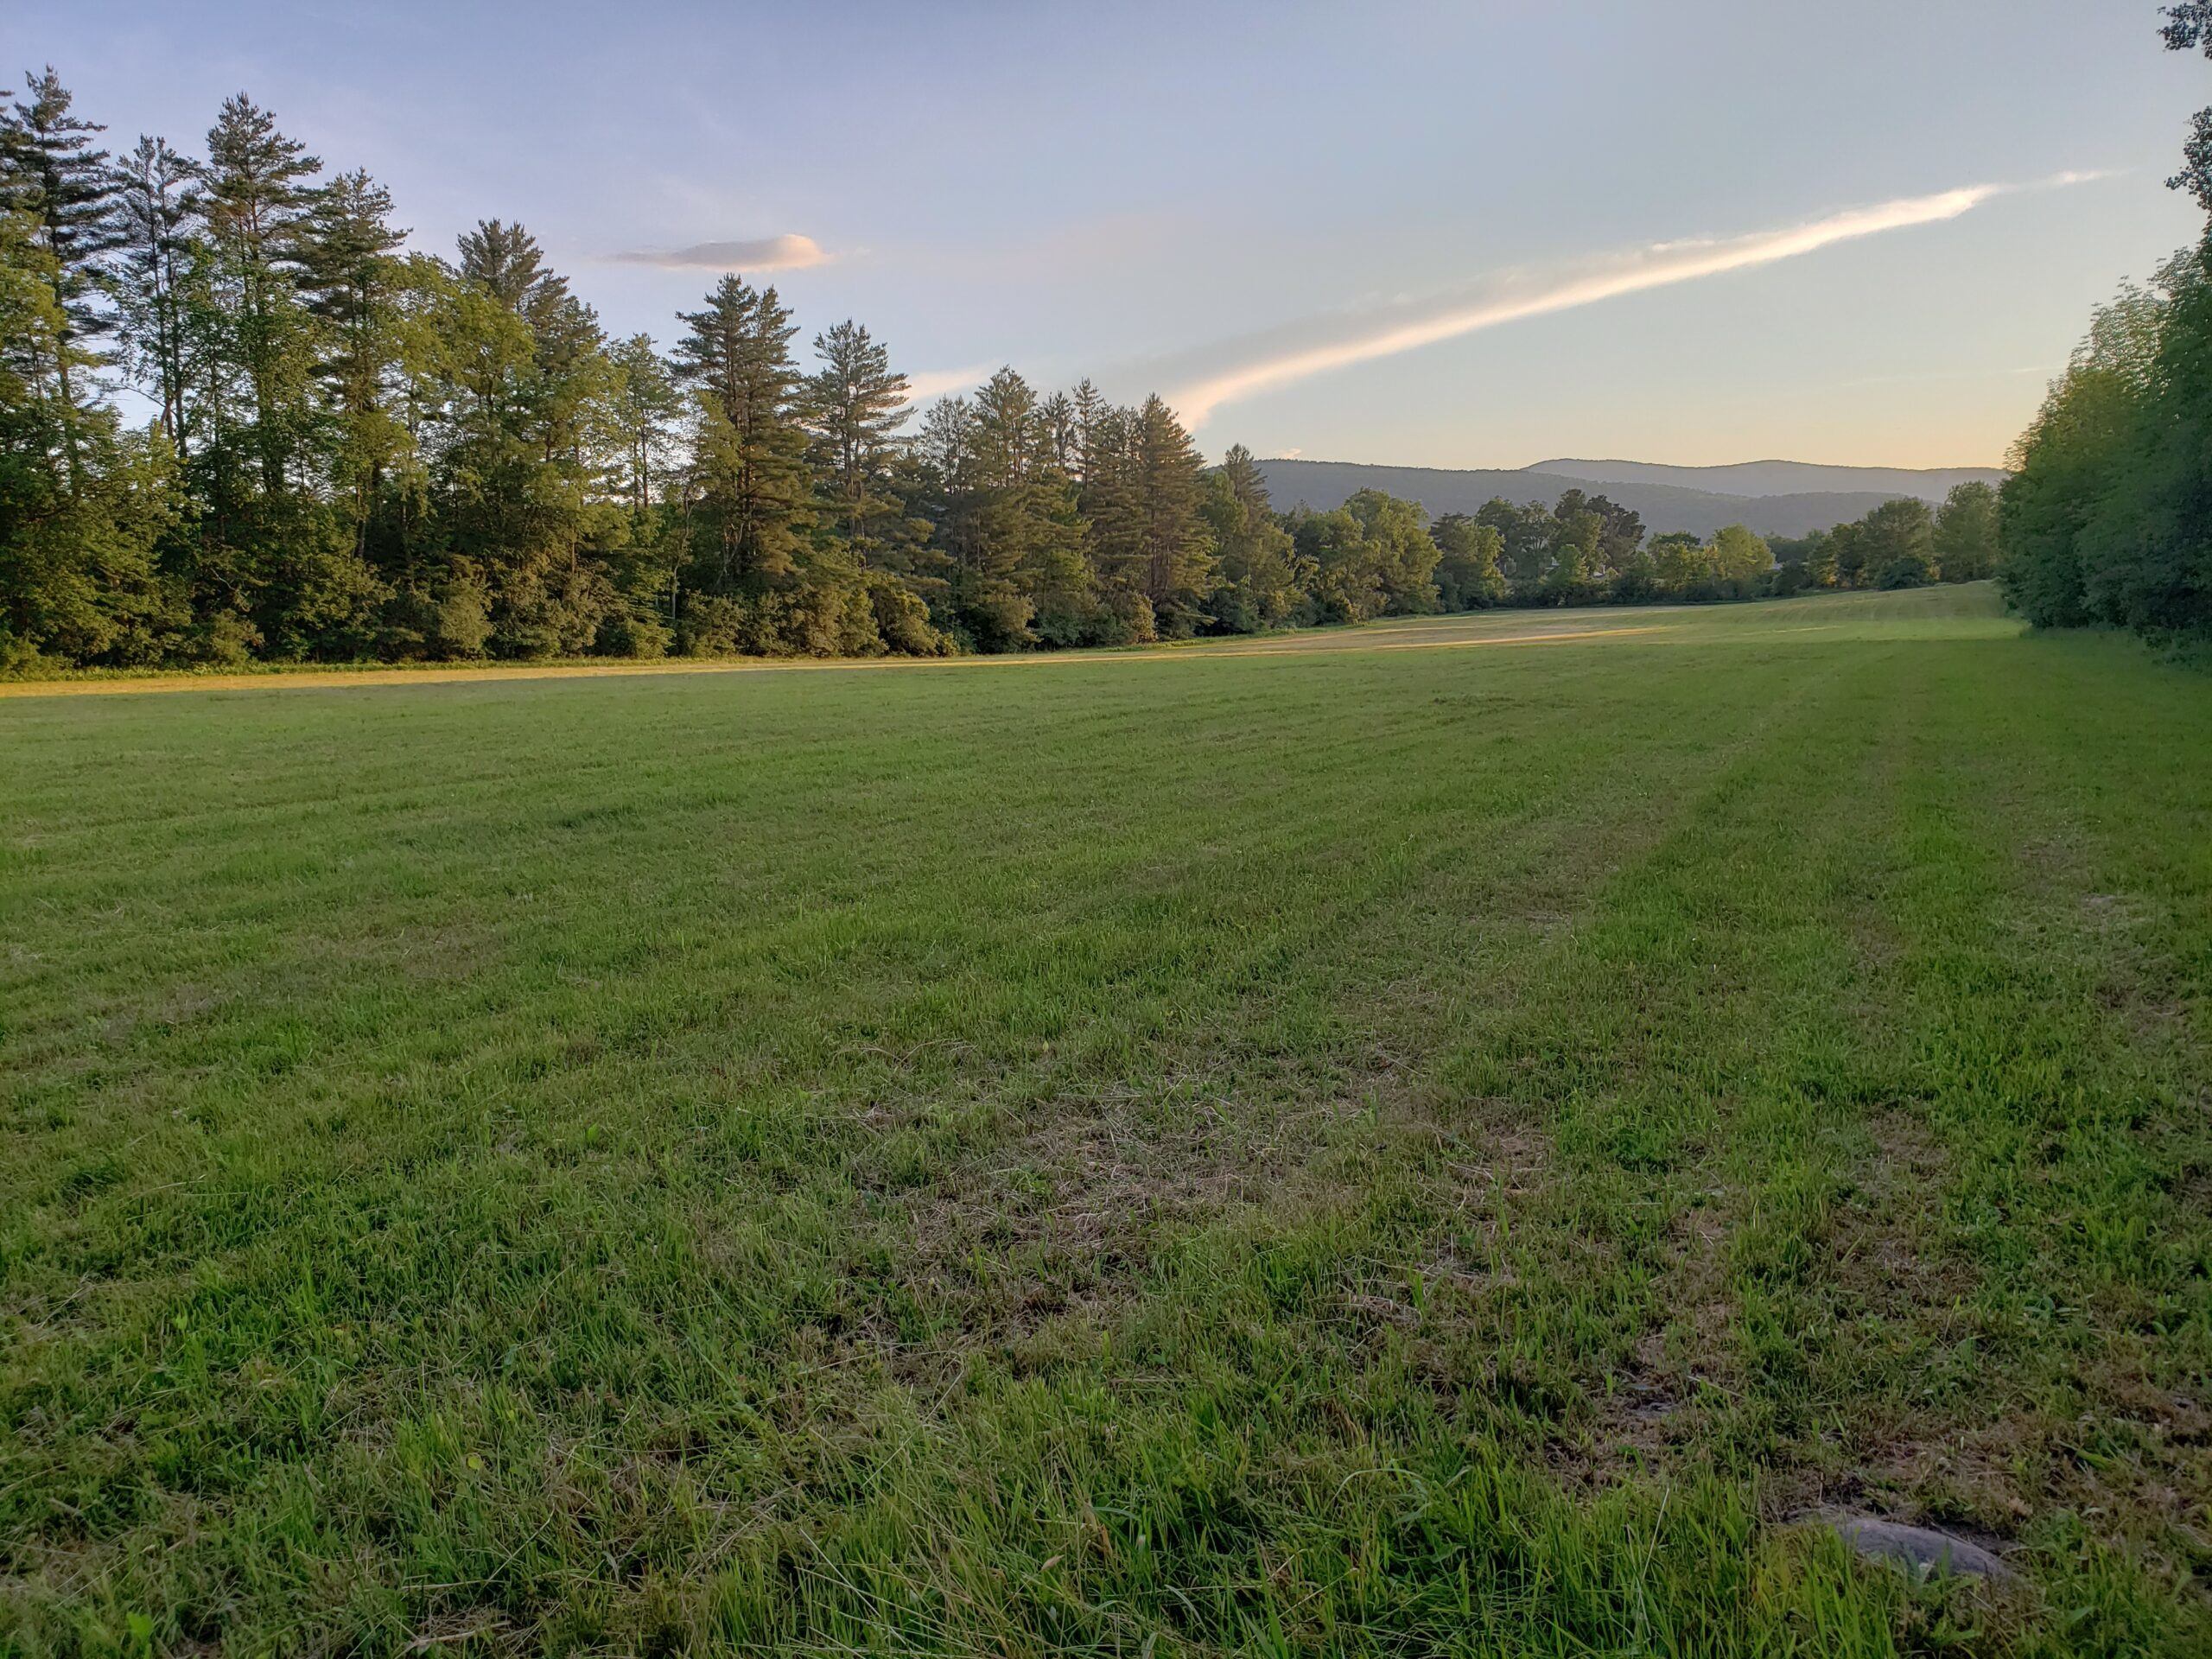
The Land

The Land

We recently closed on 105 acres of land in central Vermont.  It is a mixture of fields and woods with nice views of the Green and Taconic Mountains.  The picture above shows just one of the fields on the property.  Some of the property that we can't use will be sold off to help pay for the project and some of it will be left for the tenants to use.  The fields have great Southern exposure and will be ideal for roof mounted solar.  More to come on the land in future posts.

Building net-zero homes as efficiently as possible

I've been working with an architect and a group here in Vermont called Efficiency Vermont. They specialize in helping people build more energy efficient homes.  They have been a huge help with coming up with an energy efficient design, incentives, etc.

House-North Elevationv2

North View

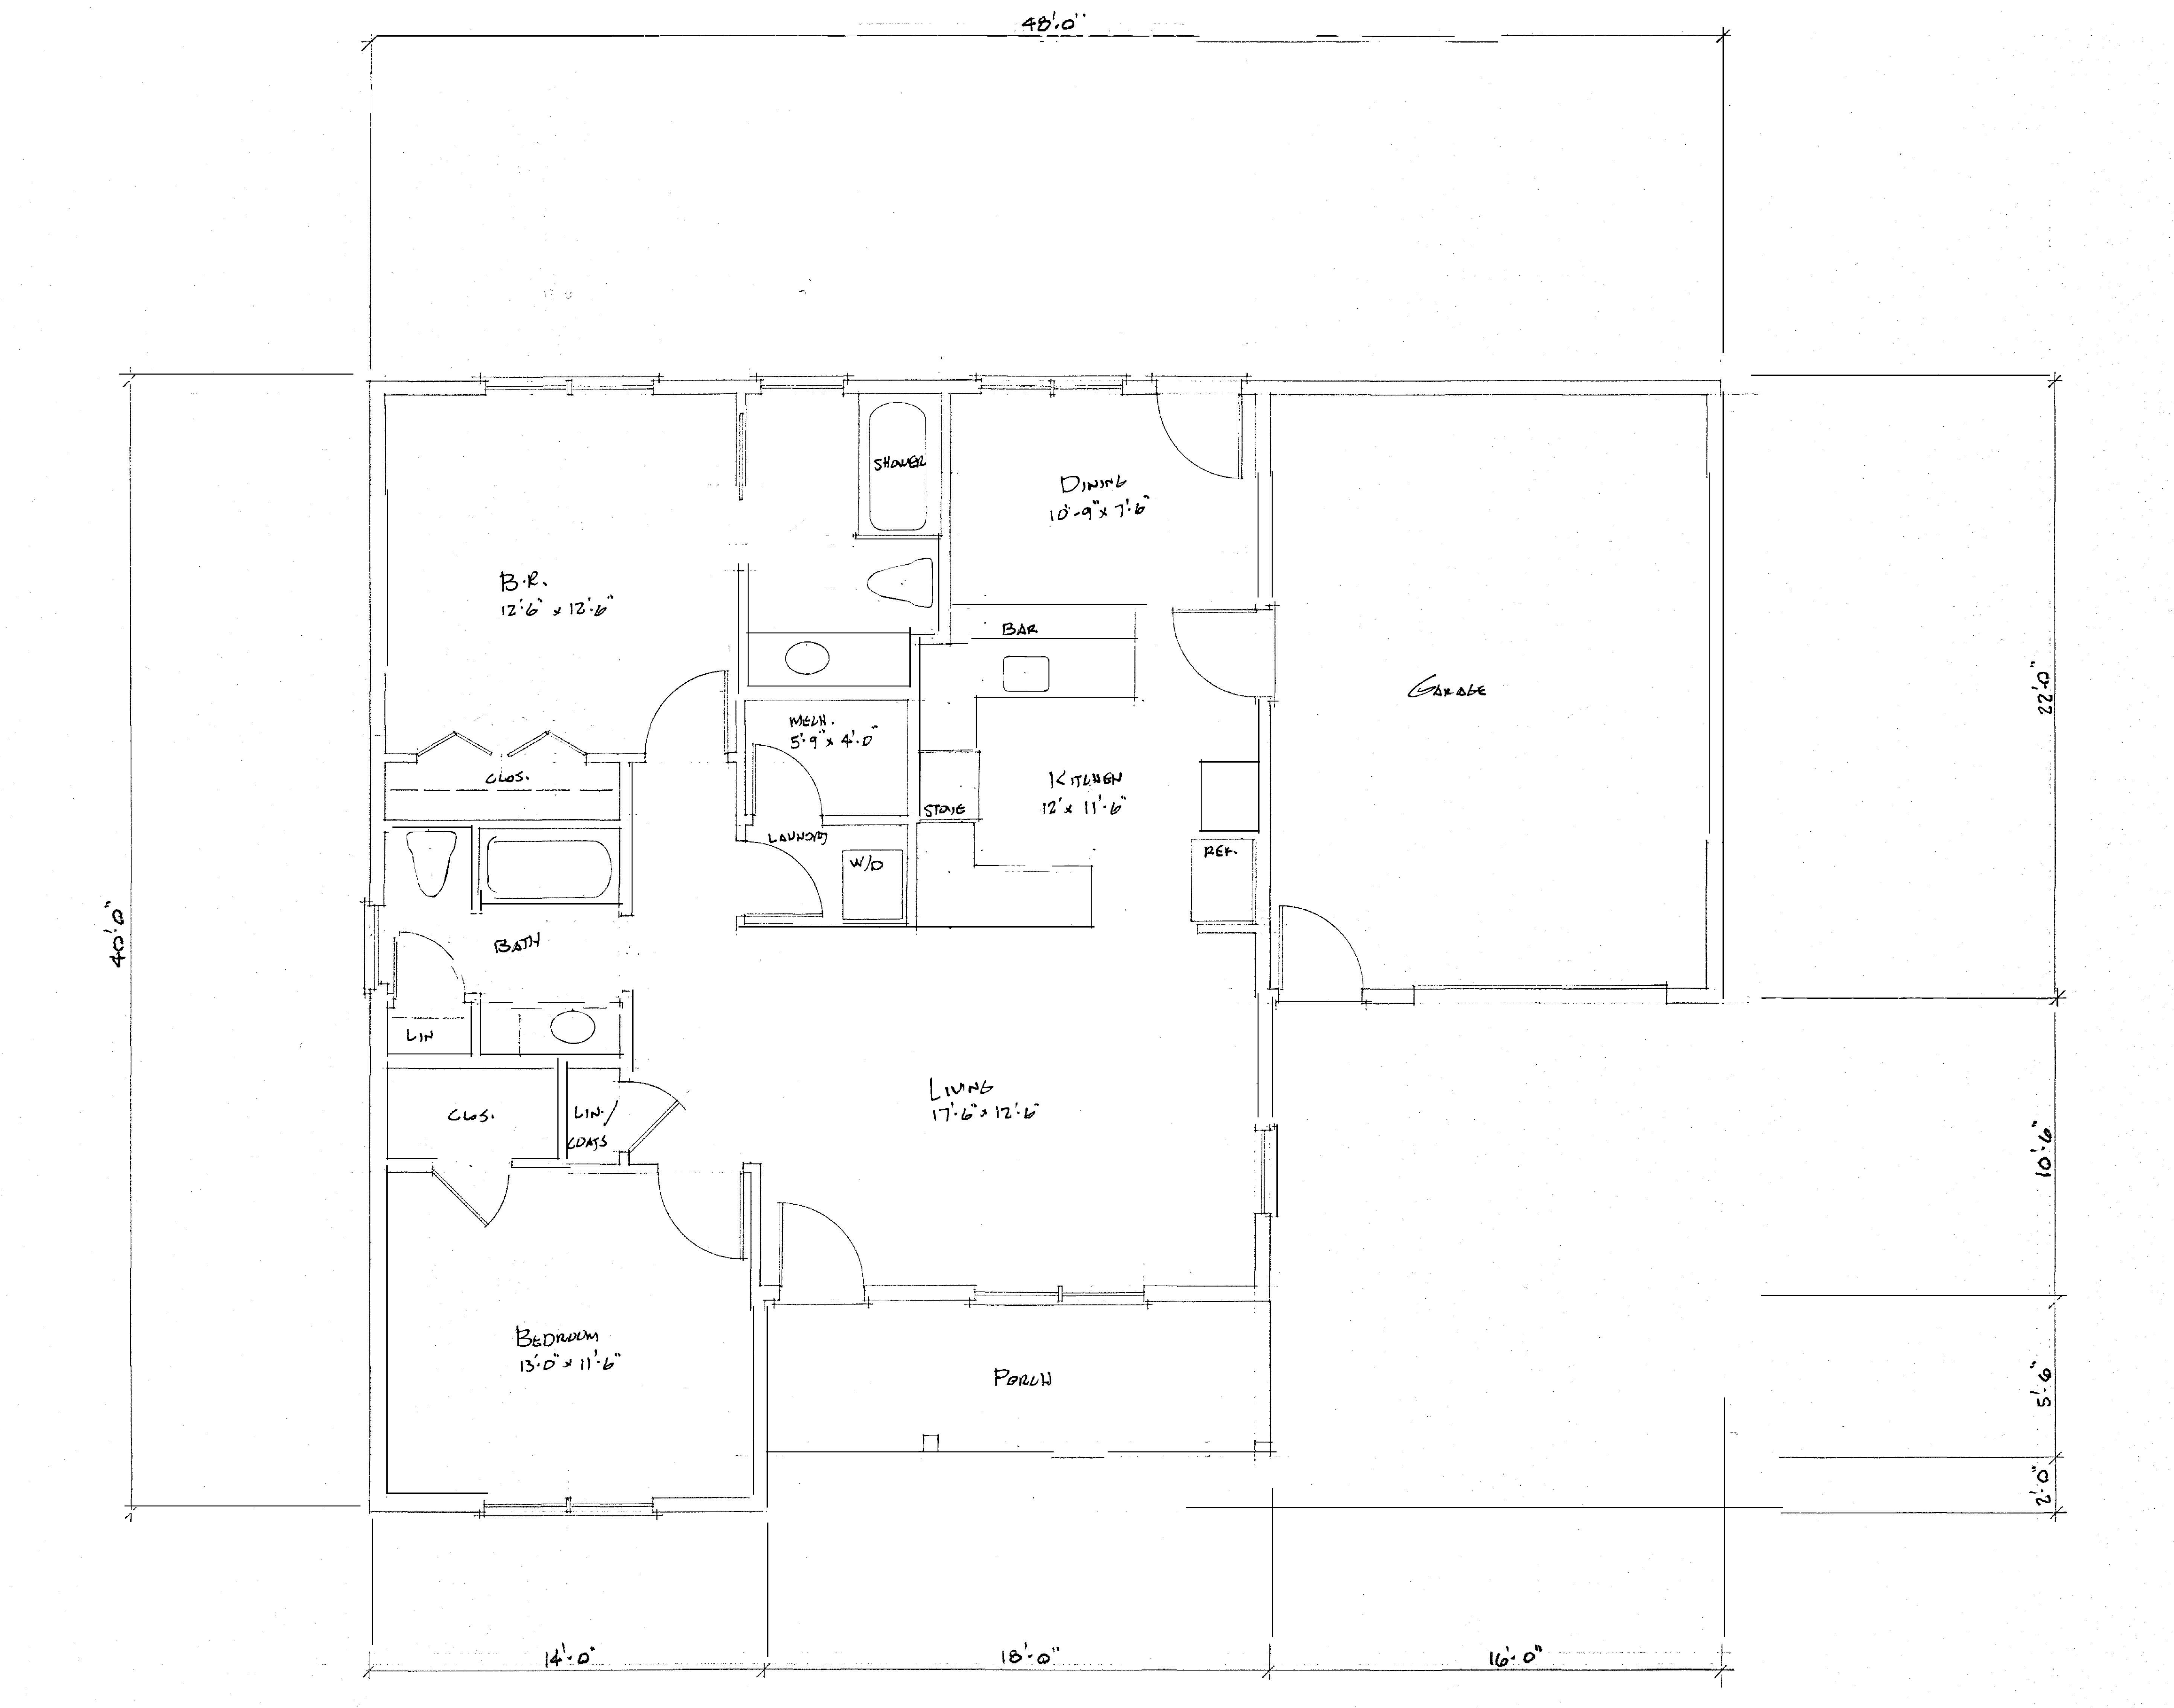
The homes will be small single level, single family, with two bedrooms, two bathrooms and an attached one car garage.

Floor Plan

Floor Plan

The floor plans will be very simple.  The one above isn't final, but should be close to what we will be building.  Again, to keep costs down, we're trying to keep everything simple.  I'll go into the details of these in future posts.

We're hoping to build these as inexpensively as possible, so that they are affordable to renters.  We're hoping to do that by:

  • Maximizing state and federal incentives- Vermont has incentives for green building and there are federal tax rebates as well
  • Taking advantage of economies of scale-  We're starting off with just two, so that we can get the expenses nailed down, but we'll be moving on to building several of these homes.
  • Sweat equity- I'm going to be performing all of the electrical, solar and battery work myself. 


Rent them out as affordable as possible

Of course we need to be able to rent these homes out in order to make a profit.  In this area of Vermont that rent can't be too high. Rent will include all of the electricity that the solar generates, which should be more than what they need.  That electricity will also provide all of the heat, hot water and air conditioning.  I won't go into a lot of detail in this blog as this is about the smart home technologies not real estate investing.

Rinse and repeat in another area

Once we get this development in central Vermont up and going, we'll move on to another area where there is a shortage of affordable single family homes and do it again.

Document the whole process

I plan on creating videos and blog post that go into the details of the Smart-ER Home technologies that are going to be used in these homes:

  • Energy Efficient Design
  • Solar
  • Battery Storage
  • Heat Pumps
  • Building Technologies 

So be sure to subscribe to my Smart Home MASTERY YouTube Channel so you don't miss a thing.

...and again checkout the COAZEH website for more general information about the project.

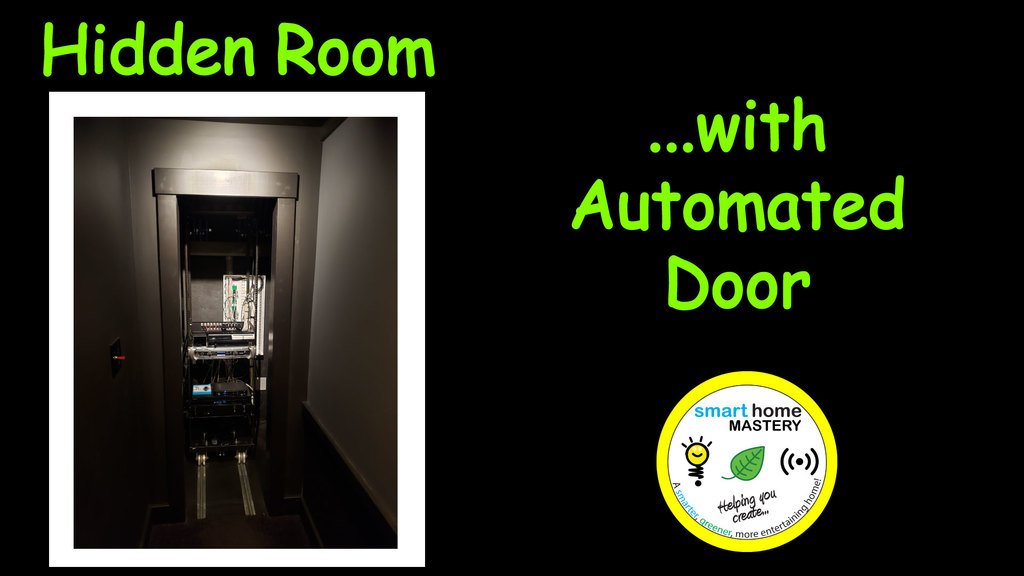
Building a Hidden Door Using a Linear Actuator

Why build a hidden door in your home theater???  Well, why not?  

When I first started building my home theater I had the idea of using my equipment rack as a hidden door.  Don't ask me why, I just thought it would be a really cool technical challenge, that would add a little something unique to my theater.  Here is how I did it...

Continue reading
Motion Sensor Featured Image.

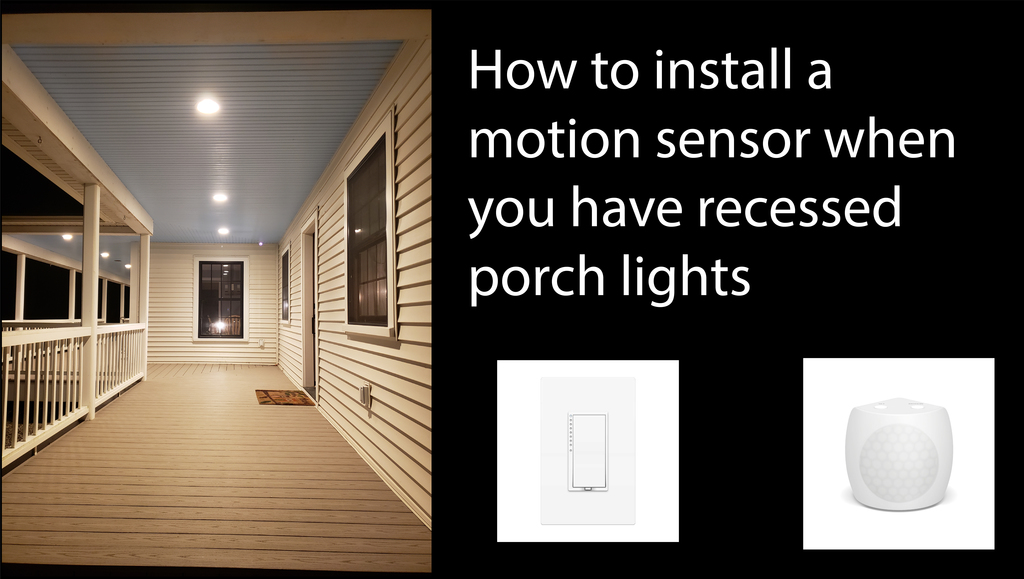
Motion Sensors- For Recessed Porch Lights

If you are like me and have a porch with recessed can lights, but want them to come on with a motion sensor, then this simple solution is what you need.  This will work for more than just recessed porch lights too, in fact, it will work with any light that uses a standard switch.

You can't add traditional motion sensors to recessed lights.  You also can't add a motion switch to your porch lights, because the switch is inside.  In this post I will show you how you can still have a motion sensor turn on your lights, even if you are using recessed lights.

Materials Needed

This solution requires only two devices:

Insteon Motion Sensor II

Insteon Motion Sensor II

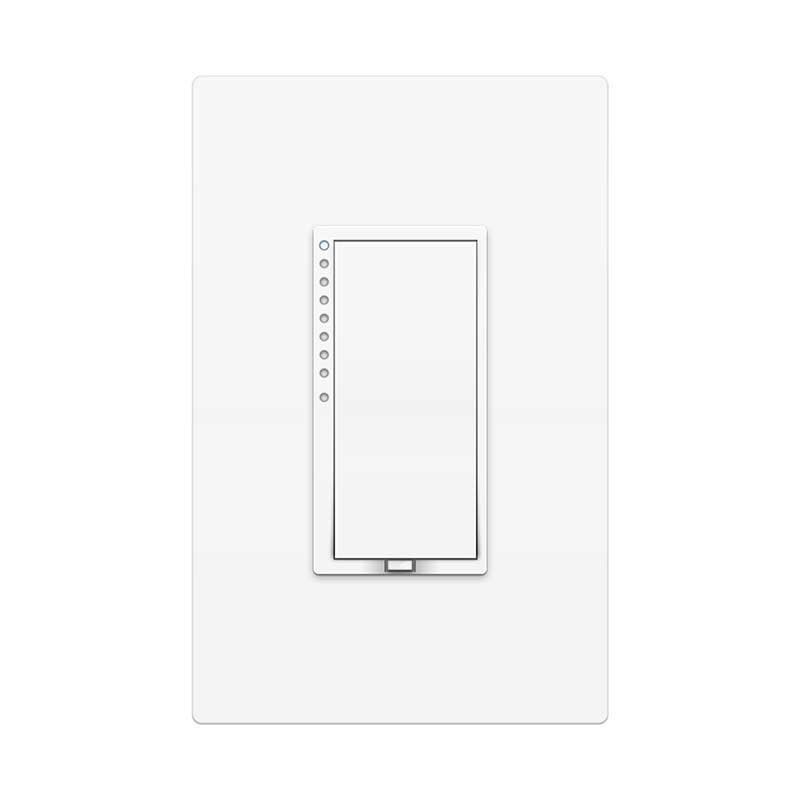
Insteon Dimmer

Insteon Dimmer

Instructions

This solution requires that you work with electricity, by replacing a switch.  If you are not comfortable with that, you should contact an electrician.

Never work on a live circuit.  Always follow the proper electrical codes for your area.

Vocabulary

Load Wire- The wire going to your light.

Line Wire- The wire coming from your electrical pane

Replacing the switch

The first step is to replace your porch light switch with the Insteon dimmer light switch.

  1. 1
    Make sure the power to the switch is off at the circuit breaker.
  2. 2
    Remove the plate and switch from the box.
  3. 3
    Using a wire nut, connect the black wire on the Insteon dimmer switch to the black line wire.
  4. 4
    Using a wire nut, connect the red wire on the Insteon dimmer switch to the black load wire.
  5. 5
    Using a wire nut, connect the white wire on the Insteon dimmer switch to the white neutral wires.
  6. 6
     Using a wire nut, connect the bare ground wire to the other ground wires.
  7. 7
    Install the new switch into the electrical box with the screws provided.

Linking the Motion Sensor to the Switch

Now we need to link the motion sensor to the switch, so that it can control it.

  1. 1
    Turn the power back on to the switch, by turning the breaker back on
  2. 2
    On Motion Sensor, press and hold the set button until its LED begins blinking green
  3. 3
    On the Insteon switch, turn on the lights by tapping the top of the paddle.
  4. 4
    Now press and hold the set button on the front of the Insteon switch until it beeps.  The light on the motion sensor should stop blinking.

The motion sensor should now control the switch.  To test it, simply tap the set button on the motion sensor.

Mount the Motion Sensor

The next step is to mount the motion sensor.  The Insteon motion sensor is wireless and battery operated, so it needs to be installed within 100ft of the switch.

  1. 1
    Locate a spot to install the motion sensor, so that when someone steps onto your porch, it will activate your lights.
  2. 2
    Using the hardware provided mount the motion sensor.  There are a few different moutning options available.

Conclusion

Using an Insteon motion sensor and switch is an easy way to add motion sensor capabilities to any light, but it works really well for recessed porch lights where you can't use a traditional motion sensor.  I hope this post helped.  Please see my YouTube Channel as well, and please leave a comment or question below.

Home Theater Columns

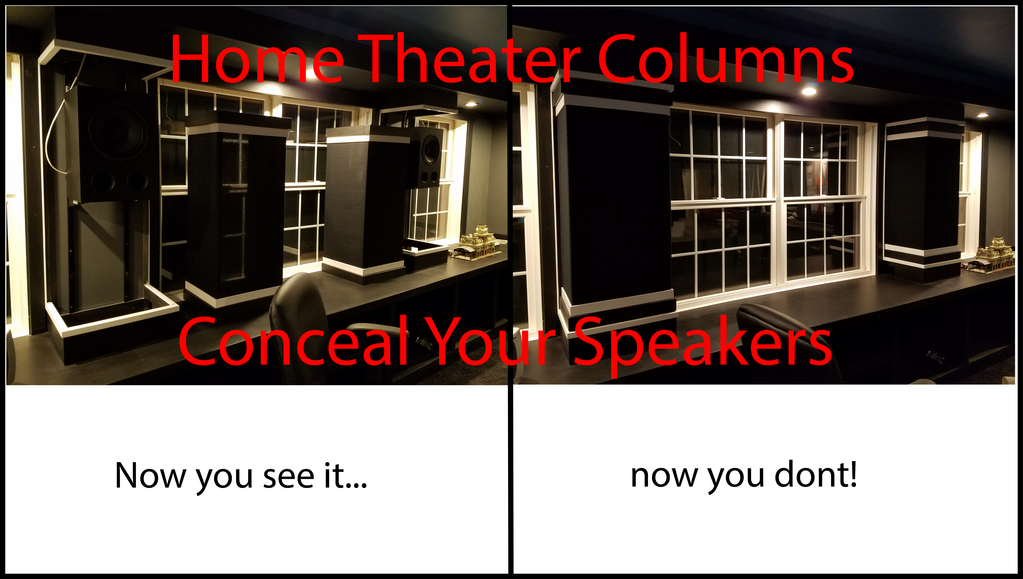
Home Theater Columns-How To Conceal Your Speakers

Building speaker columns for your home theater can be a great way to both conceal your surround speakers and provide some character to your room.  In this post, I will walk you through how I built easily removable speaker columns for my home theater and how they server multiple functions.

Continue reading
Home Theater Stage

Home Theater Stage- Building on the Second Floor

If your building your home theater on the second floor like me, you may have run into the same problem as me. How do I build my stage? Most home theater stage builds involve filling the stage frame with sand to give it mass to stop it from transmitting sound.

So how do you do that when your theater is on the second floor and you don't want to add tons of sand load?  This is how I did it and it worked out great.

The Stage Base

Rubber Mat

Home Theater Stage Base

Rubber Mat Under Stage

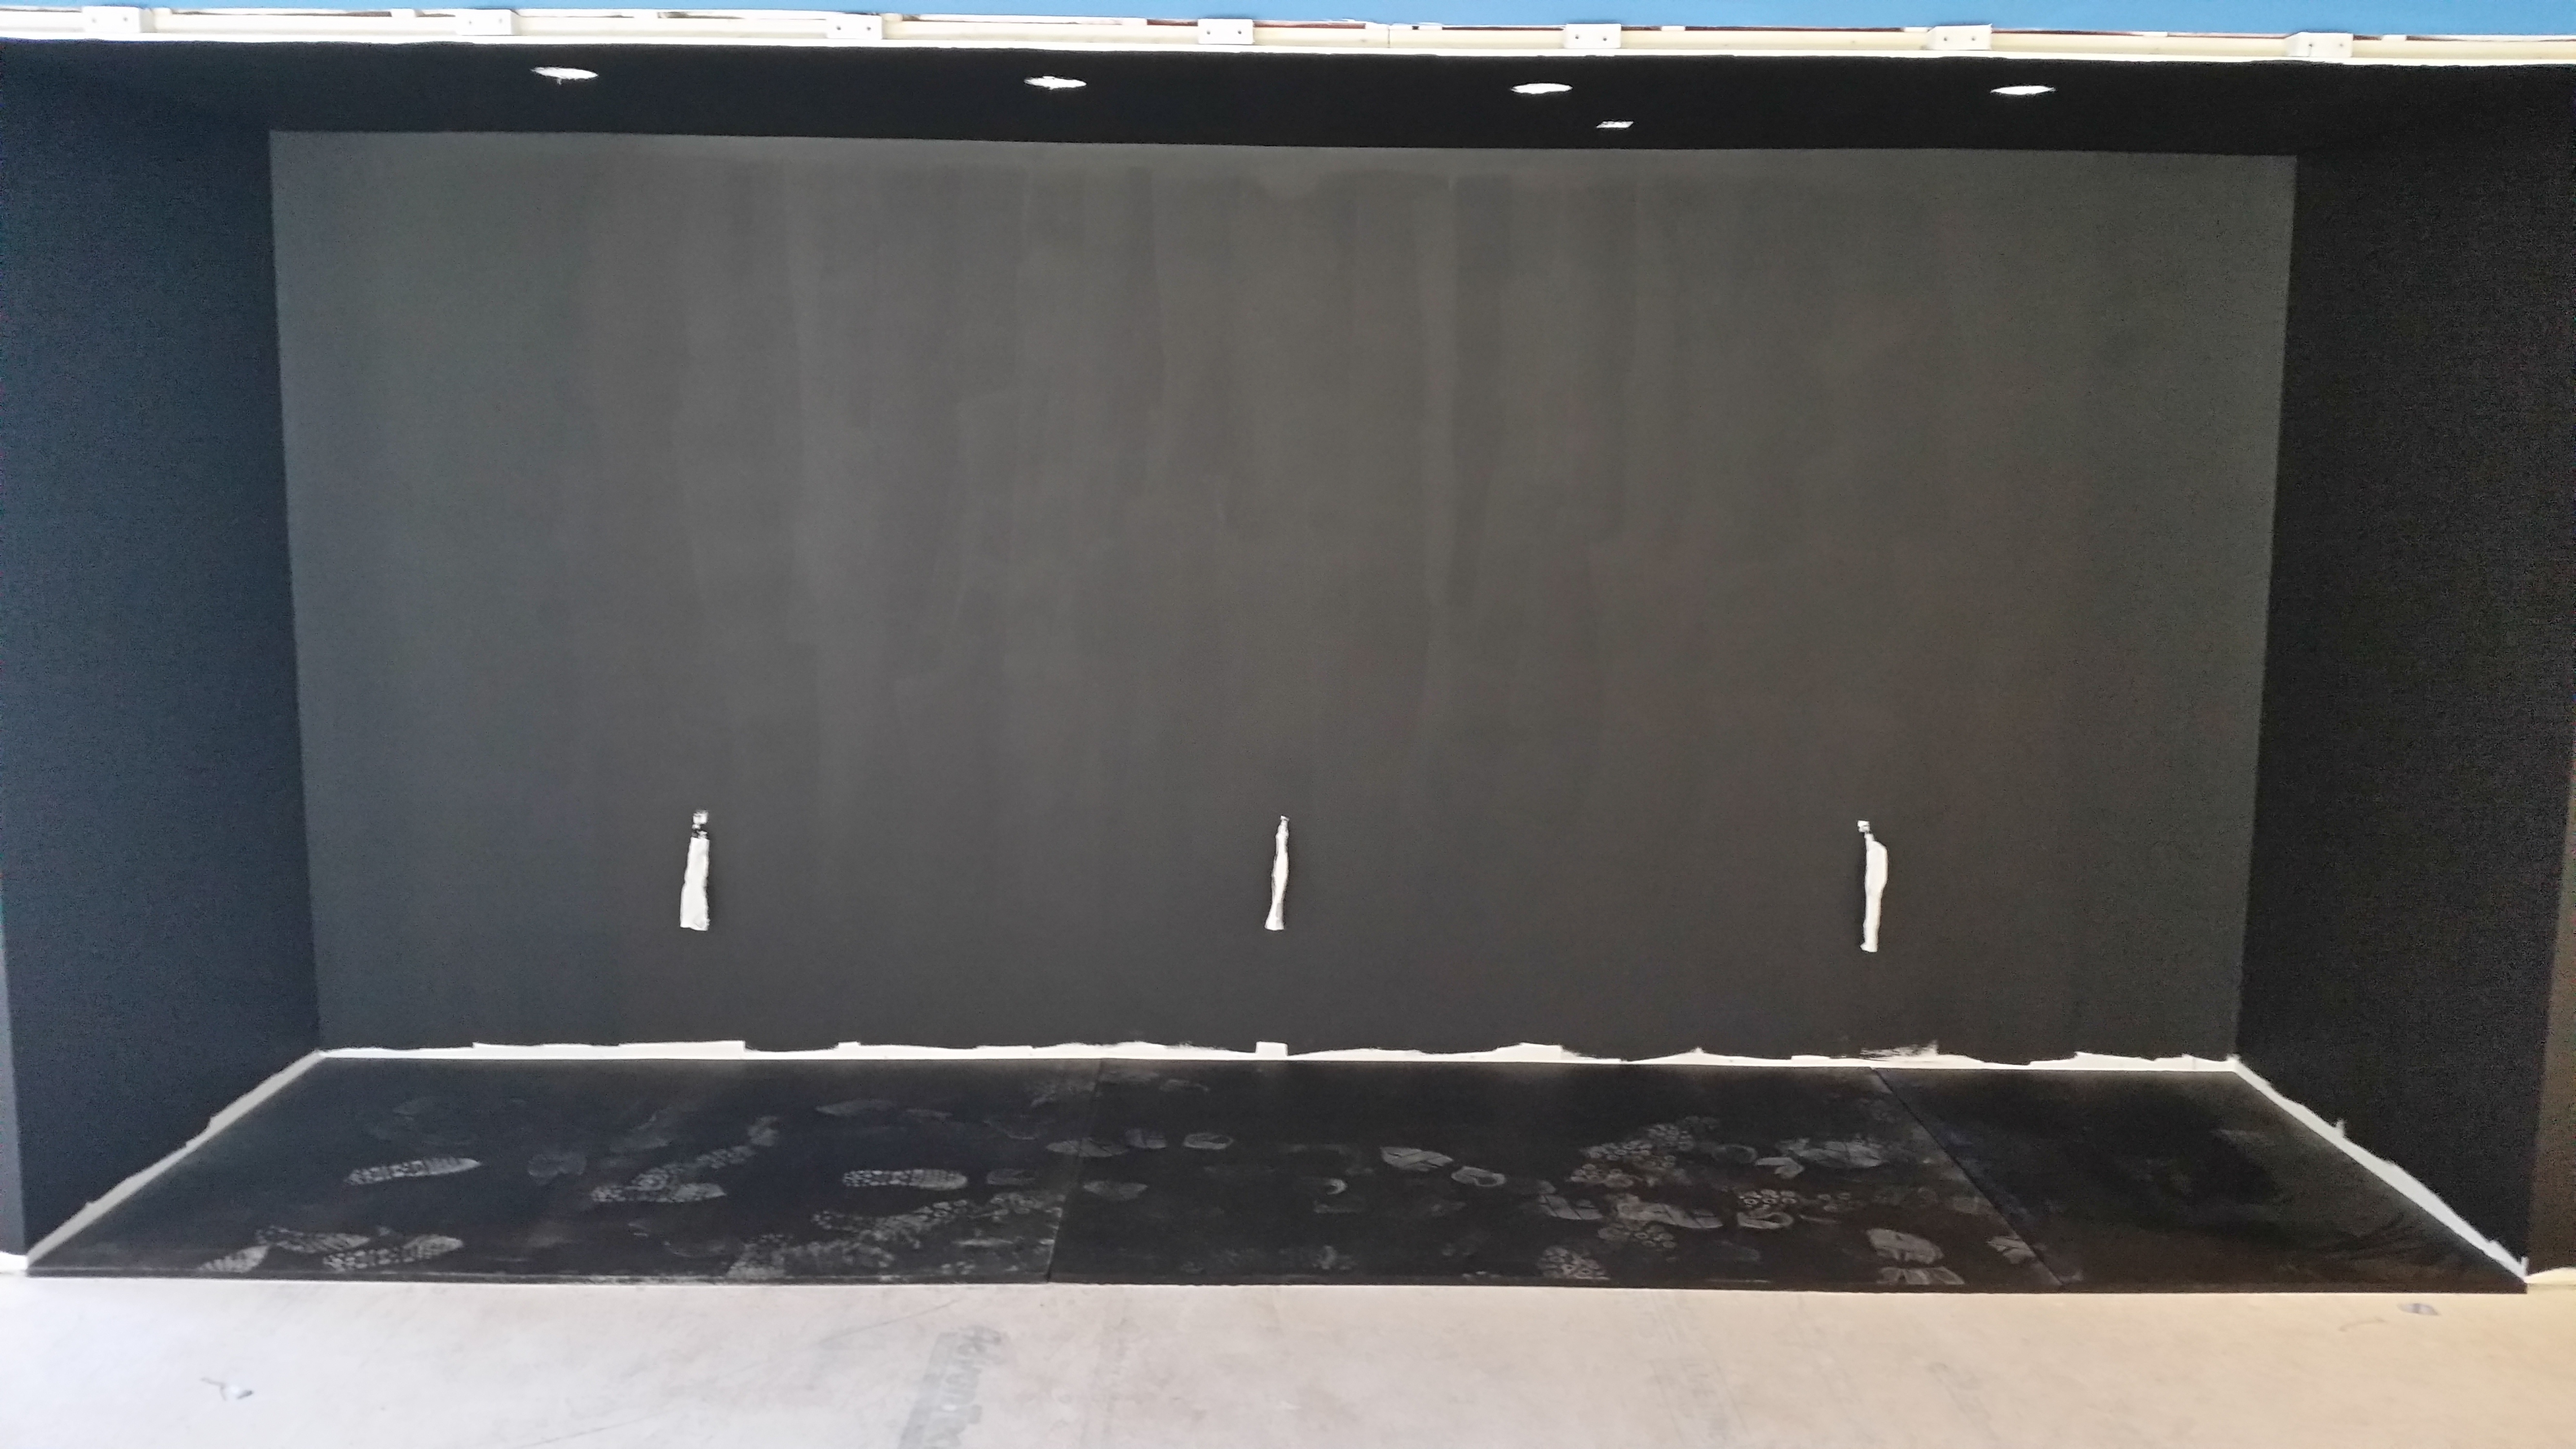
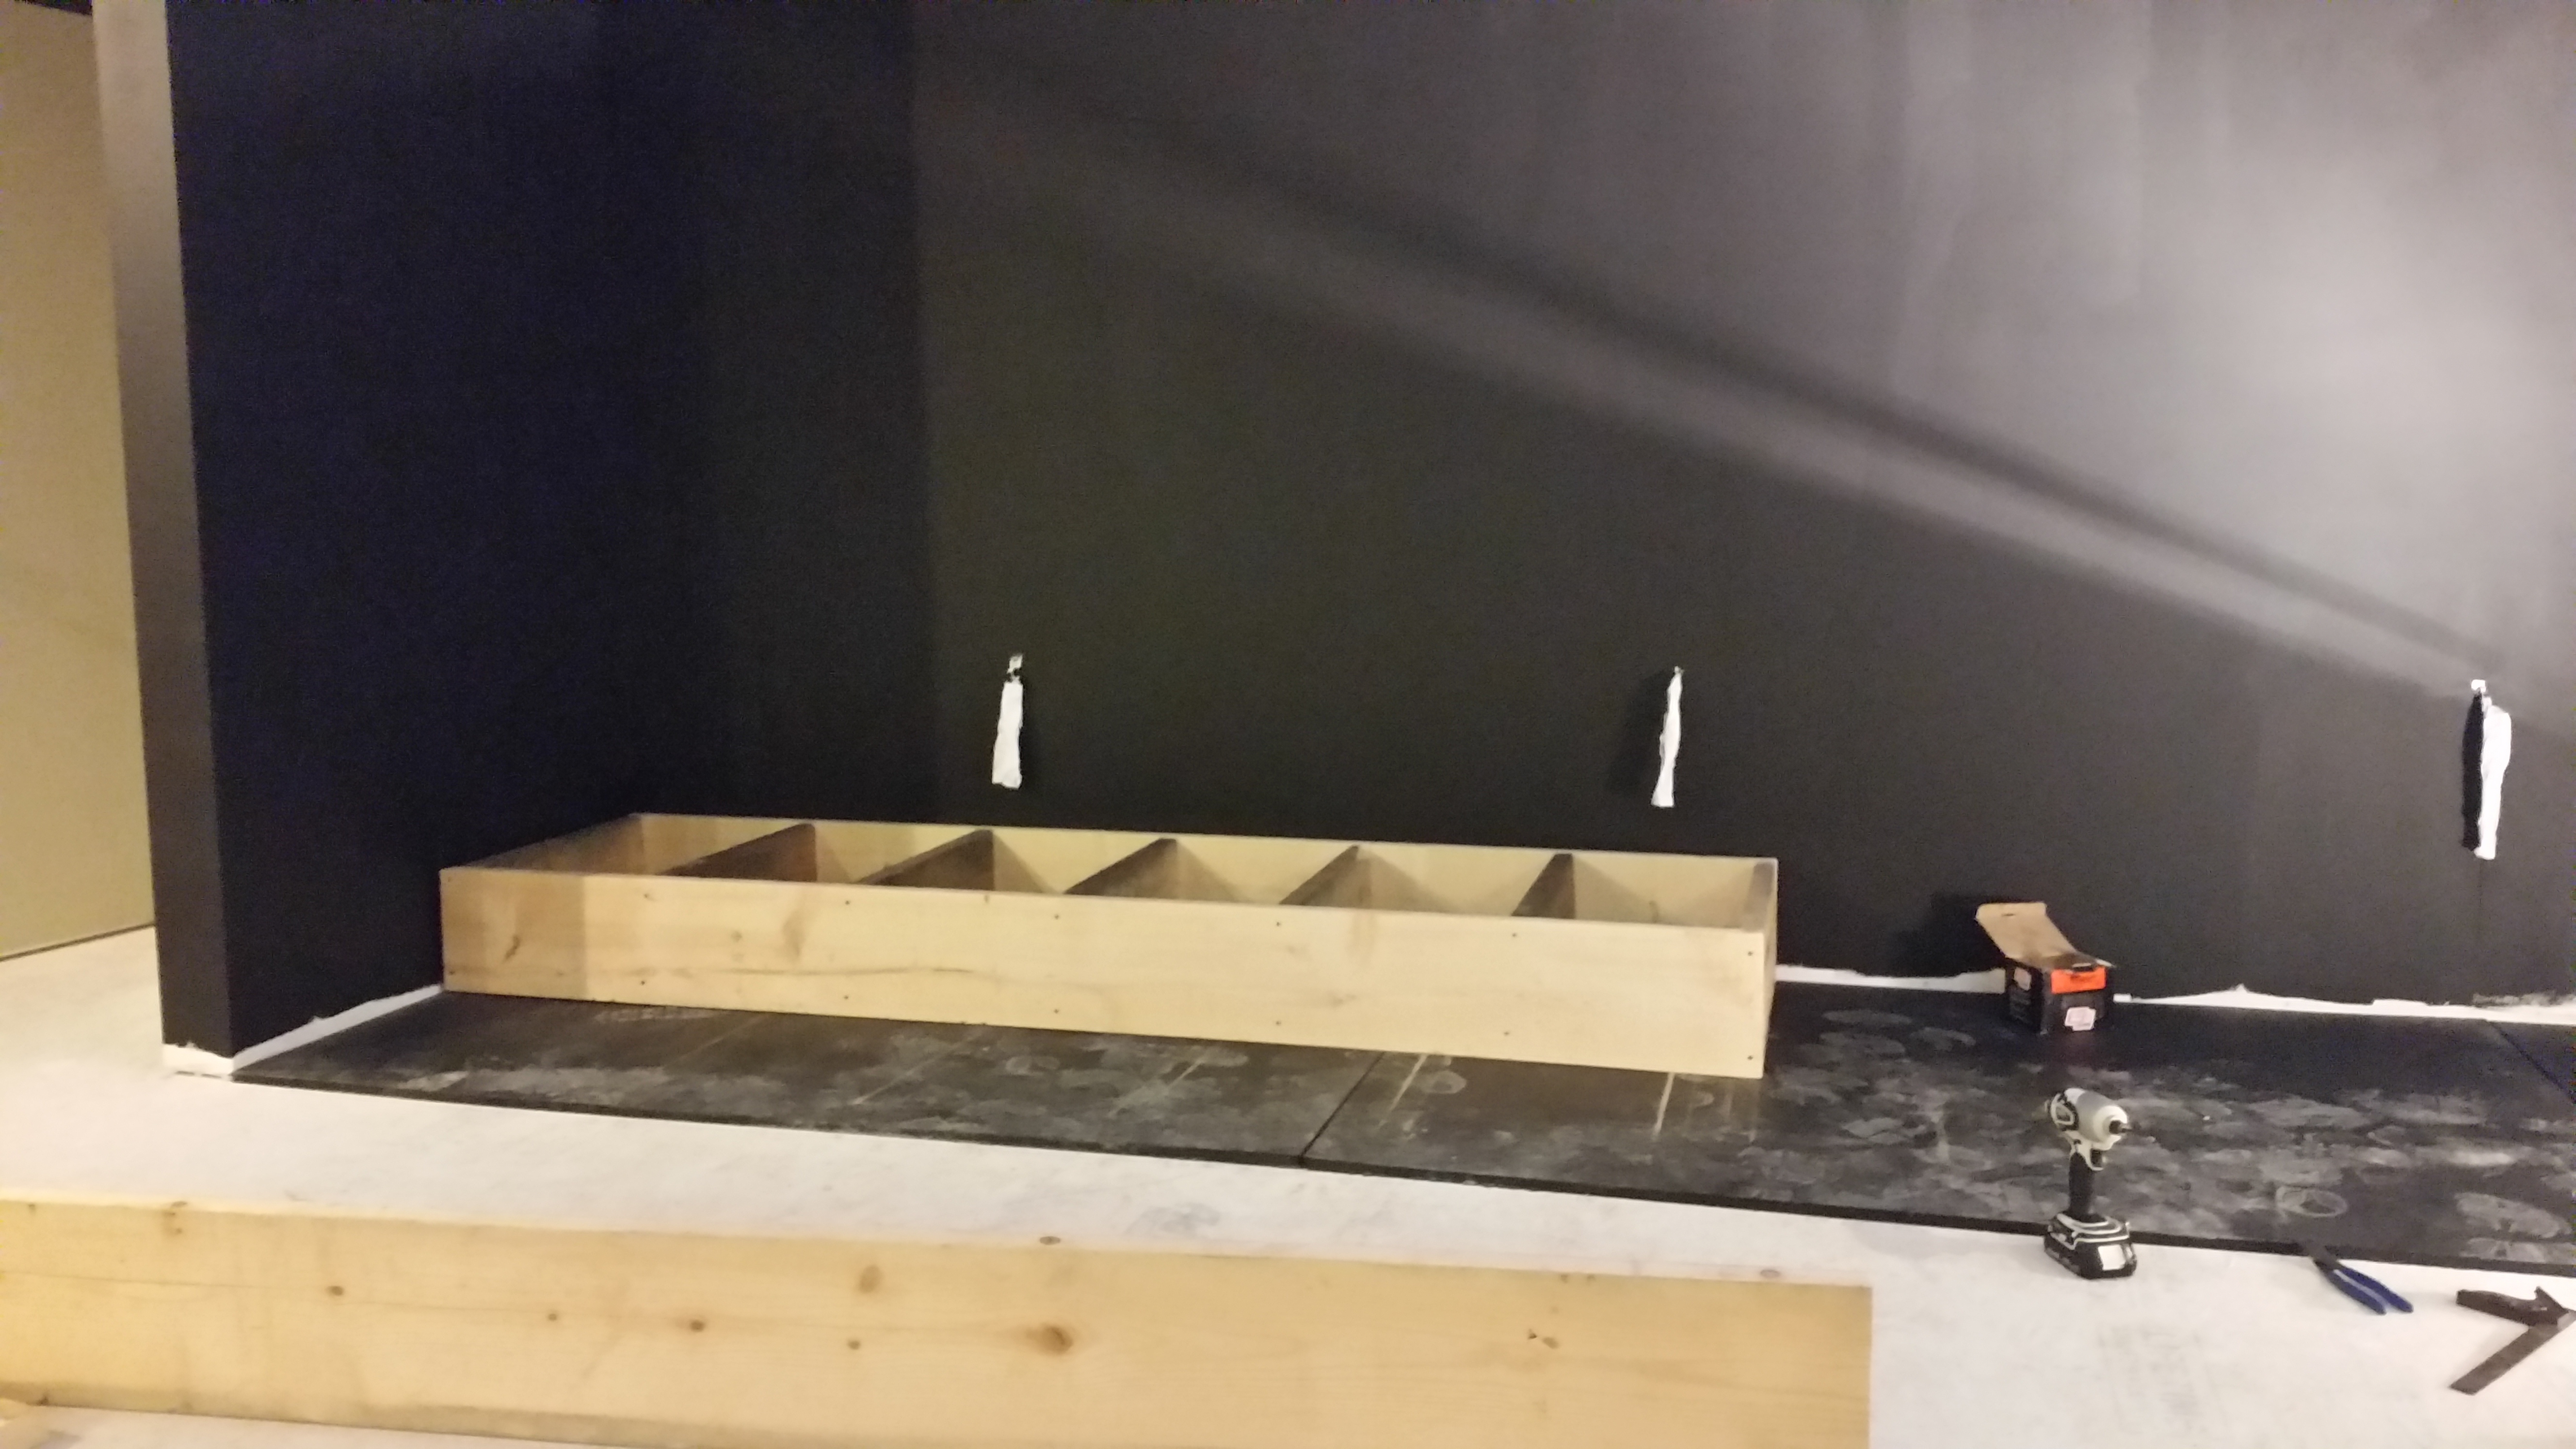
The first thing I did was to purchase 3/4" thick rubber mats from Tractor Supply and put them down where I was planning on building the stage.  These are the very heavy, so make sure you have help.

I found it easy to cut these with an oscillating tool.  This is the one I use and it works great.  Be aware that when you cut these, it will smoke and smell like burning rubber... because it is burning rubber.  

Home Theater Stage Framing

Main Stage

Home Theater Stage Framing

Stage Framing

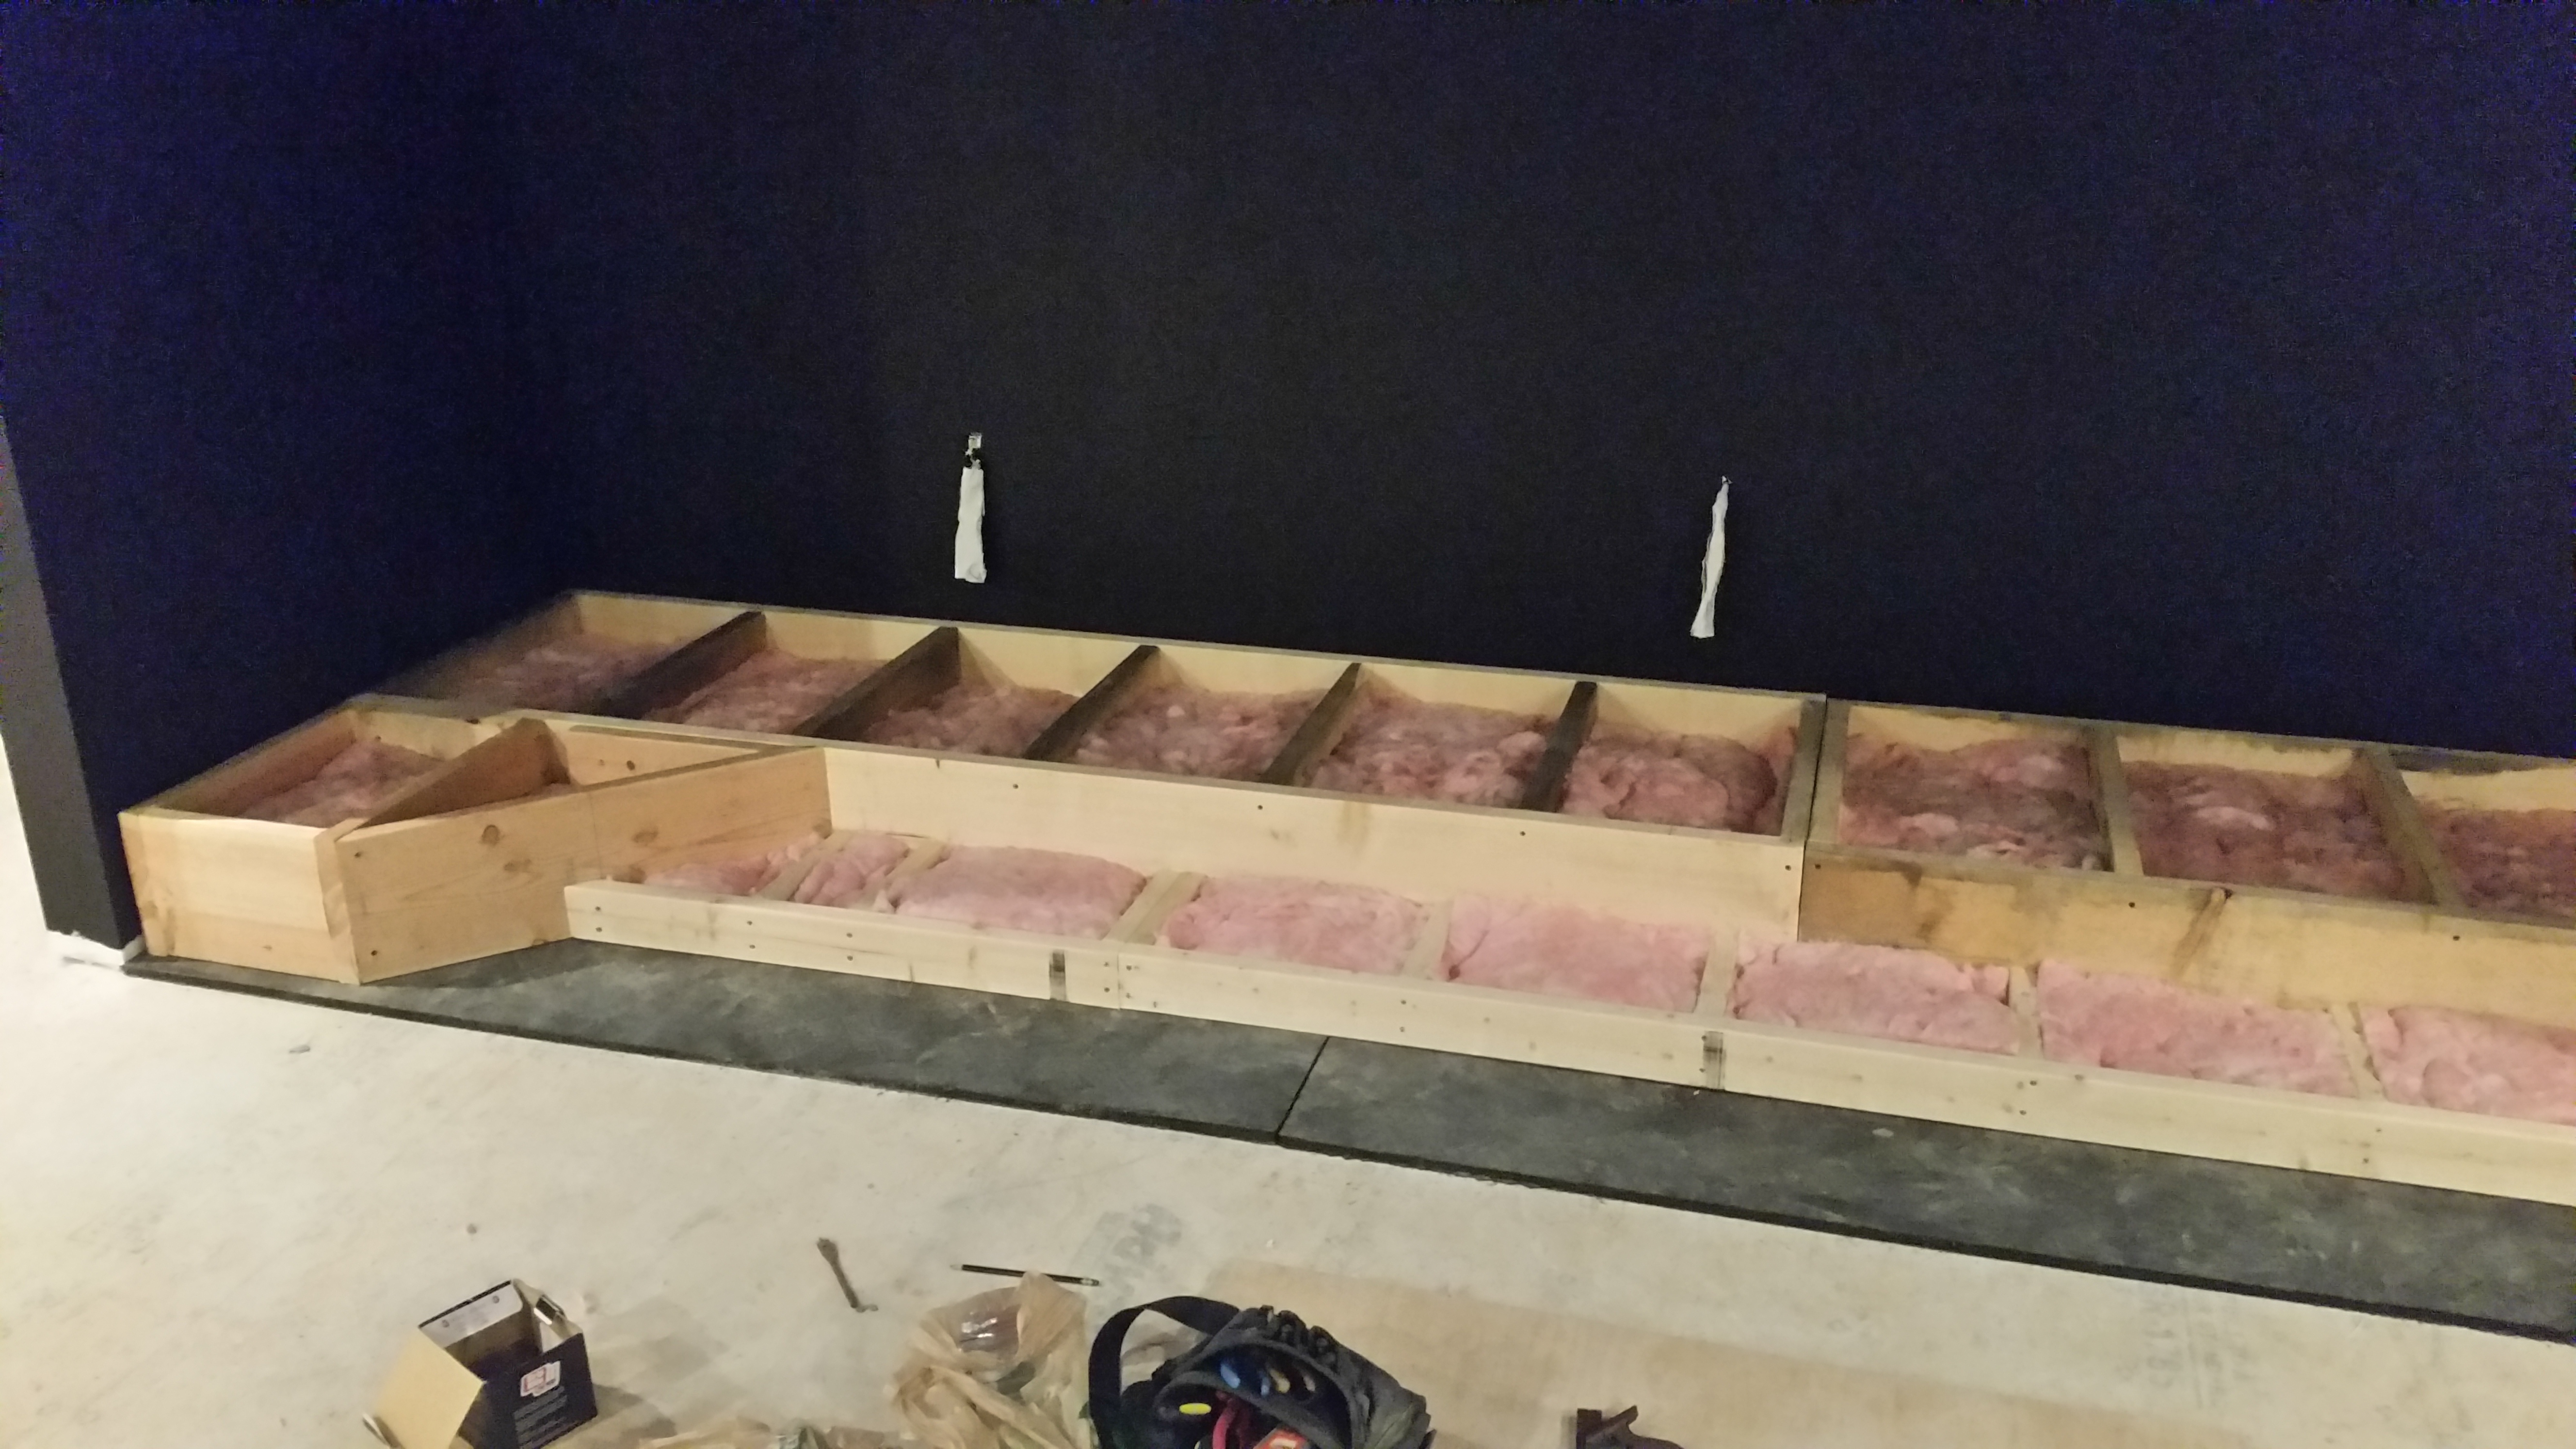
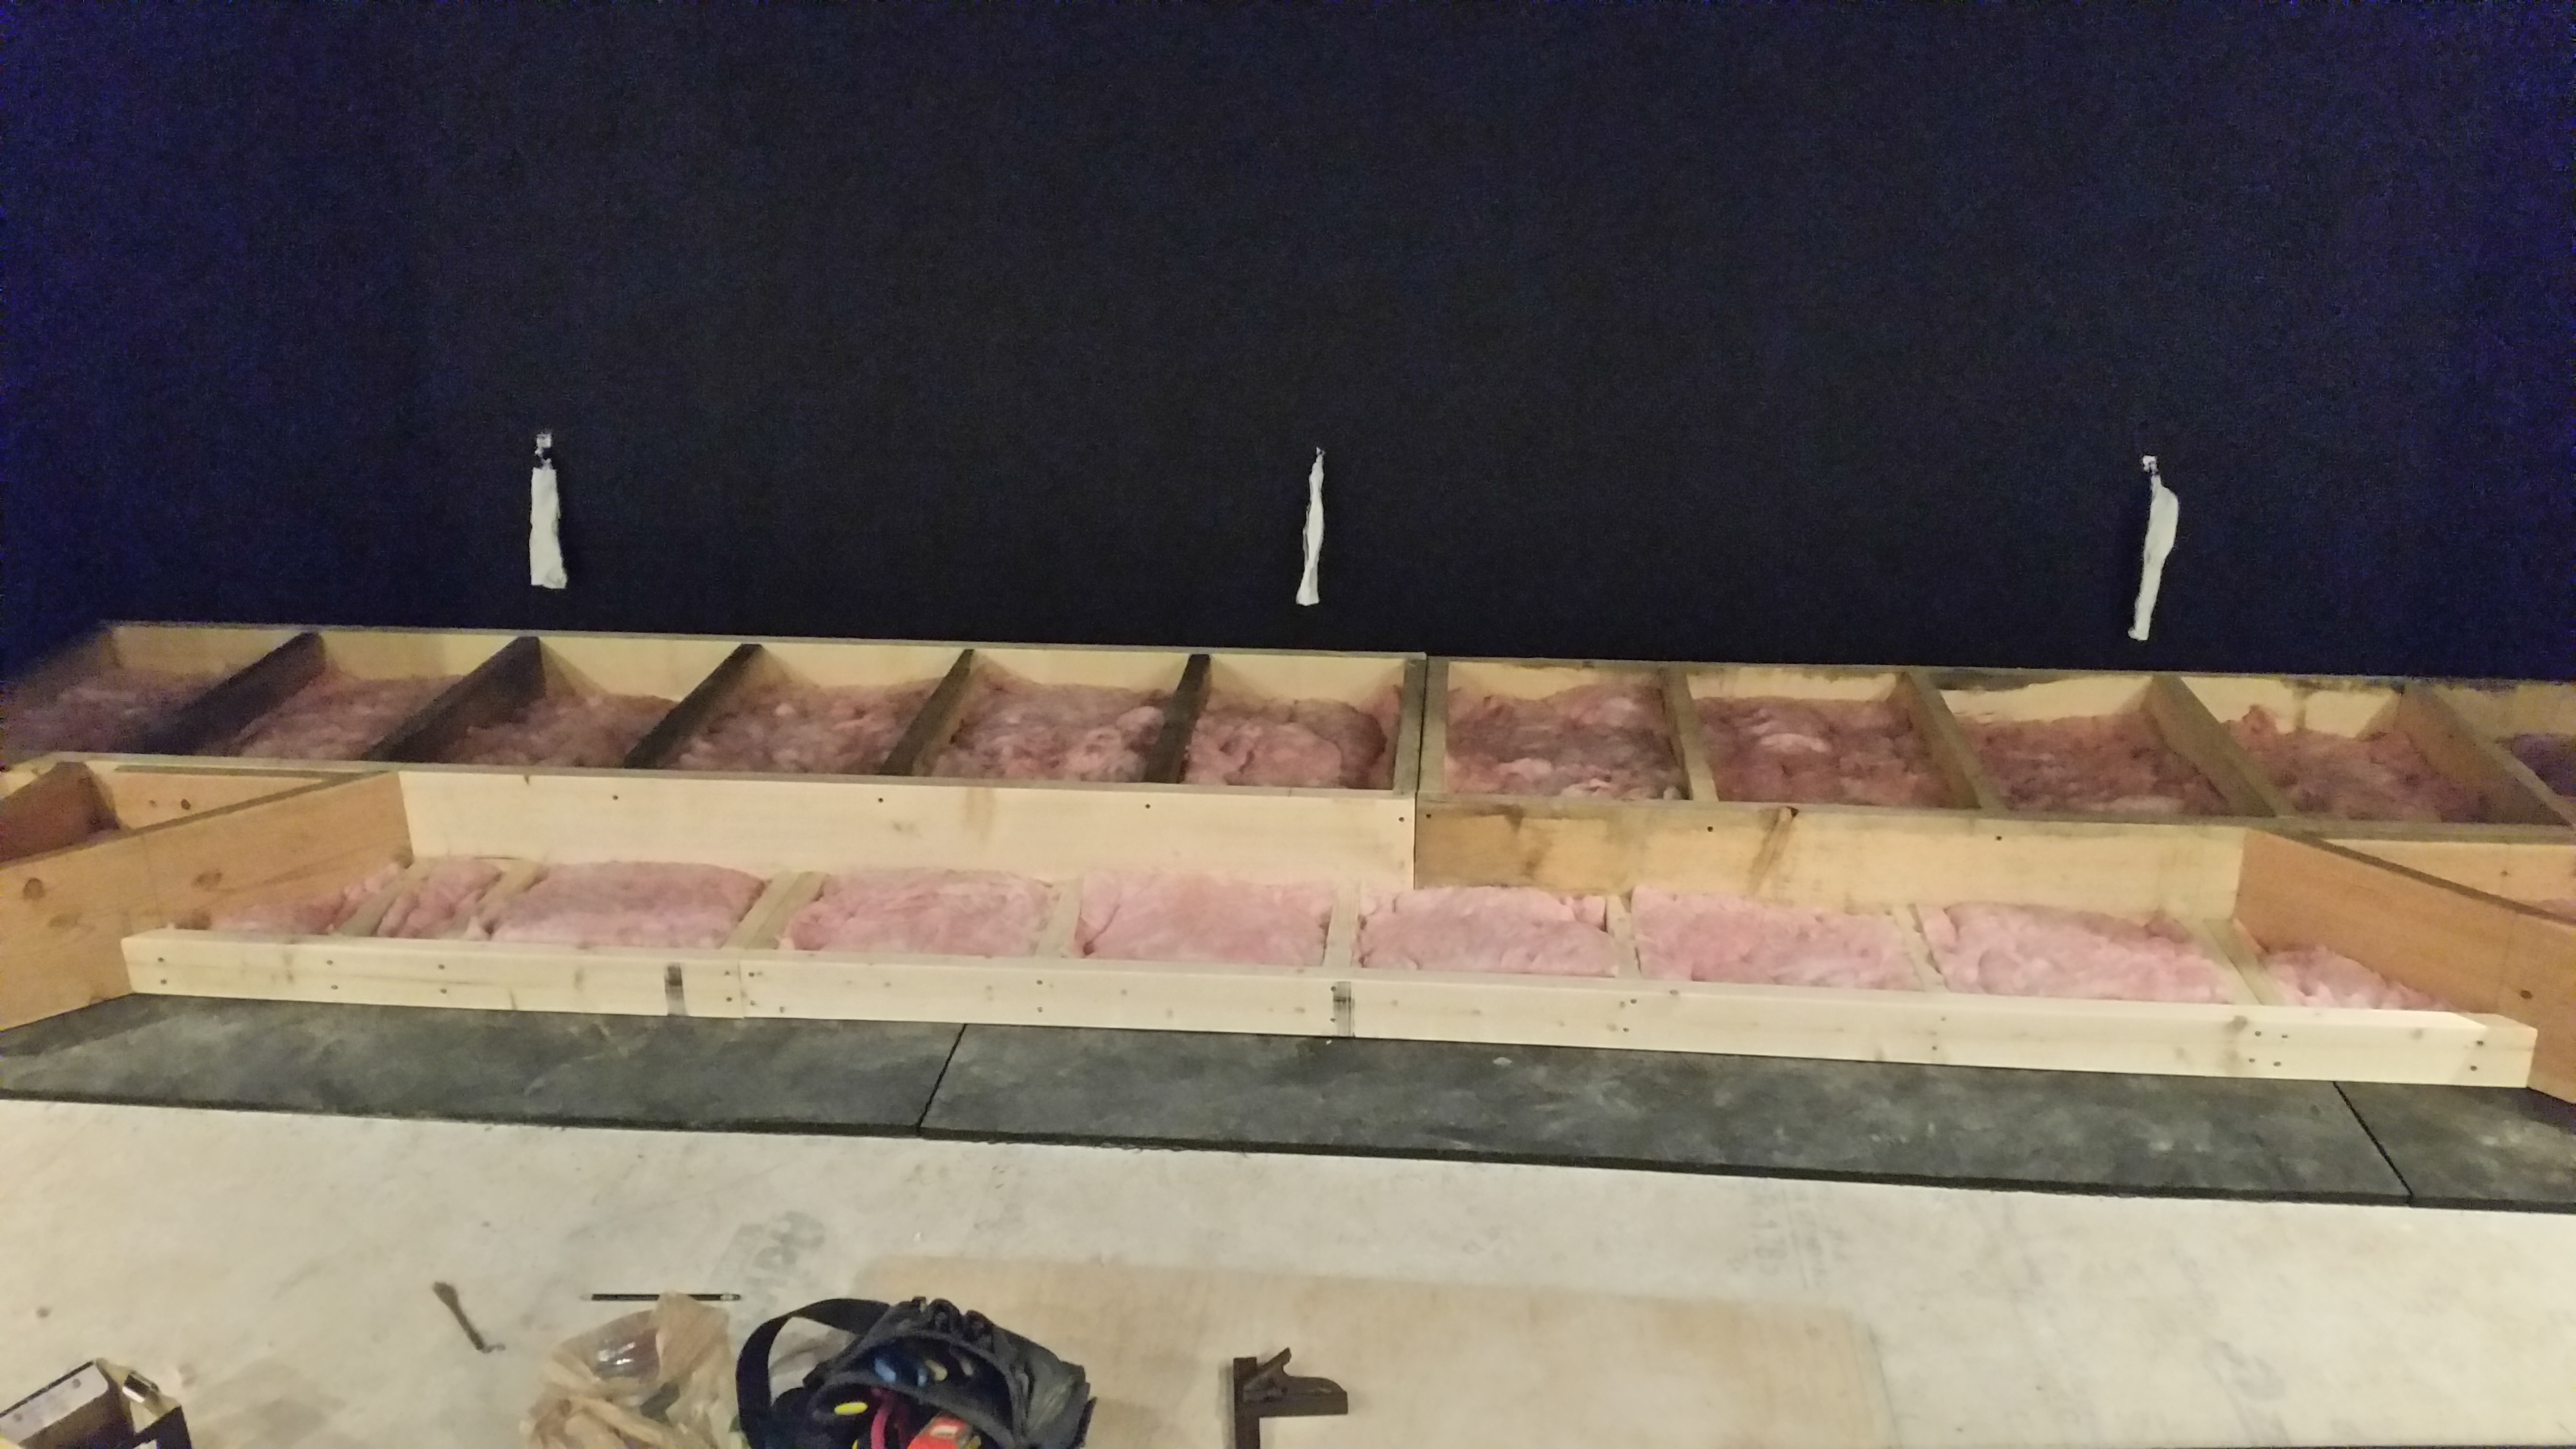
I built mine with 2" x 10" lumber and used standard 16" OC framing. Leave a 3/4" space between the frame and the walls. DO NOT attach the stage to the wall.  This will help keep bass from transferring to the wall from the stage.

Stage Step

Home Theater Stage Framing

Stage Framing

Once the main stage is built add 2" x 10" boxes to each end of the stage and run another 2" x 10" at a 45 degree angle back to the main stage. The size of these depends on your taste.  I made mine so that the step was roughly the same width as my screen (140").  Again, be sure to leave a 3/4" gap between the frame and the wall.

Next run a 2" x 4" between the two angled 2" x 10" 's and frame it out using the same 16" OC framing technique.   This creates a step for the stage. 

Insulating the Stage

Stage Framing

Stage Framing

Now you should have something that looks like this.  It's time to add fiberglass insulation in the cavities. Don't worry about filling them up all the way.  As long as it is 3/4 full that should be fine.  You are trying to prevent it from becoming a bass box.

Adding the Flooring

Home Theater Stage Flooring

Stage Flooring

Home Theater Stage Flooring

Stage Flooring

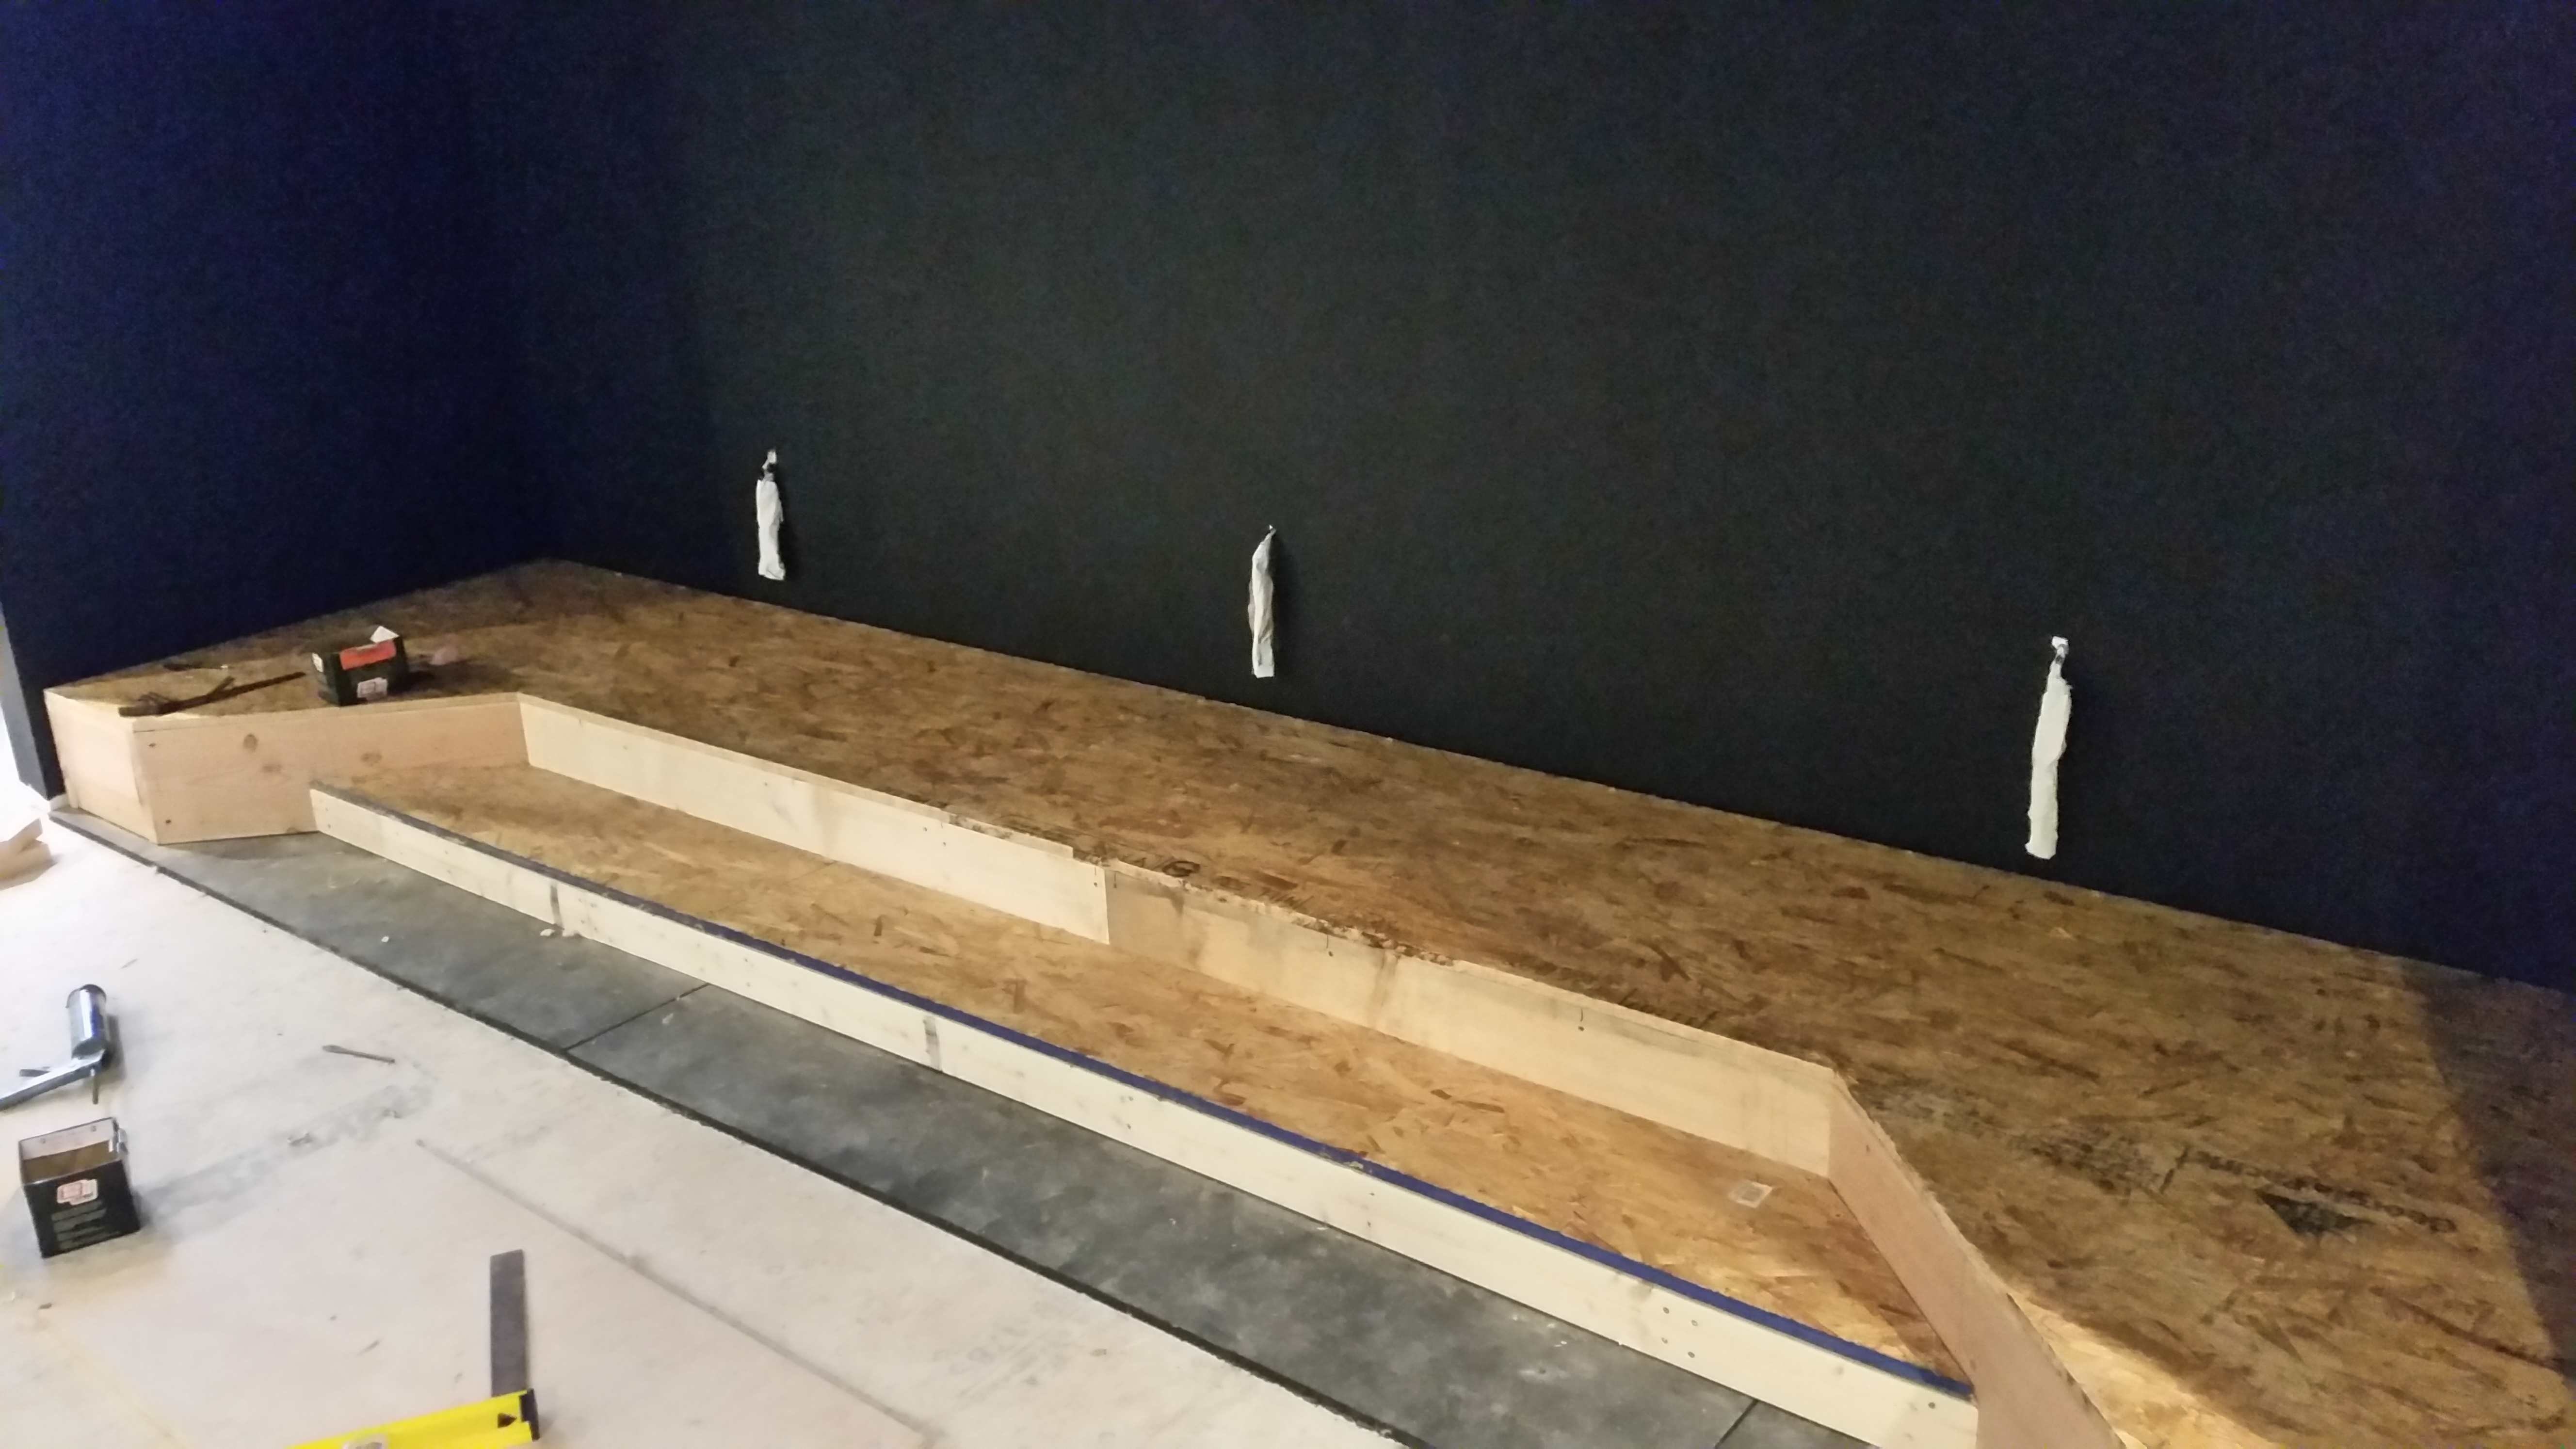
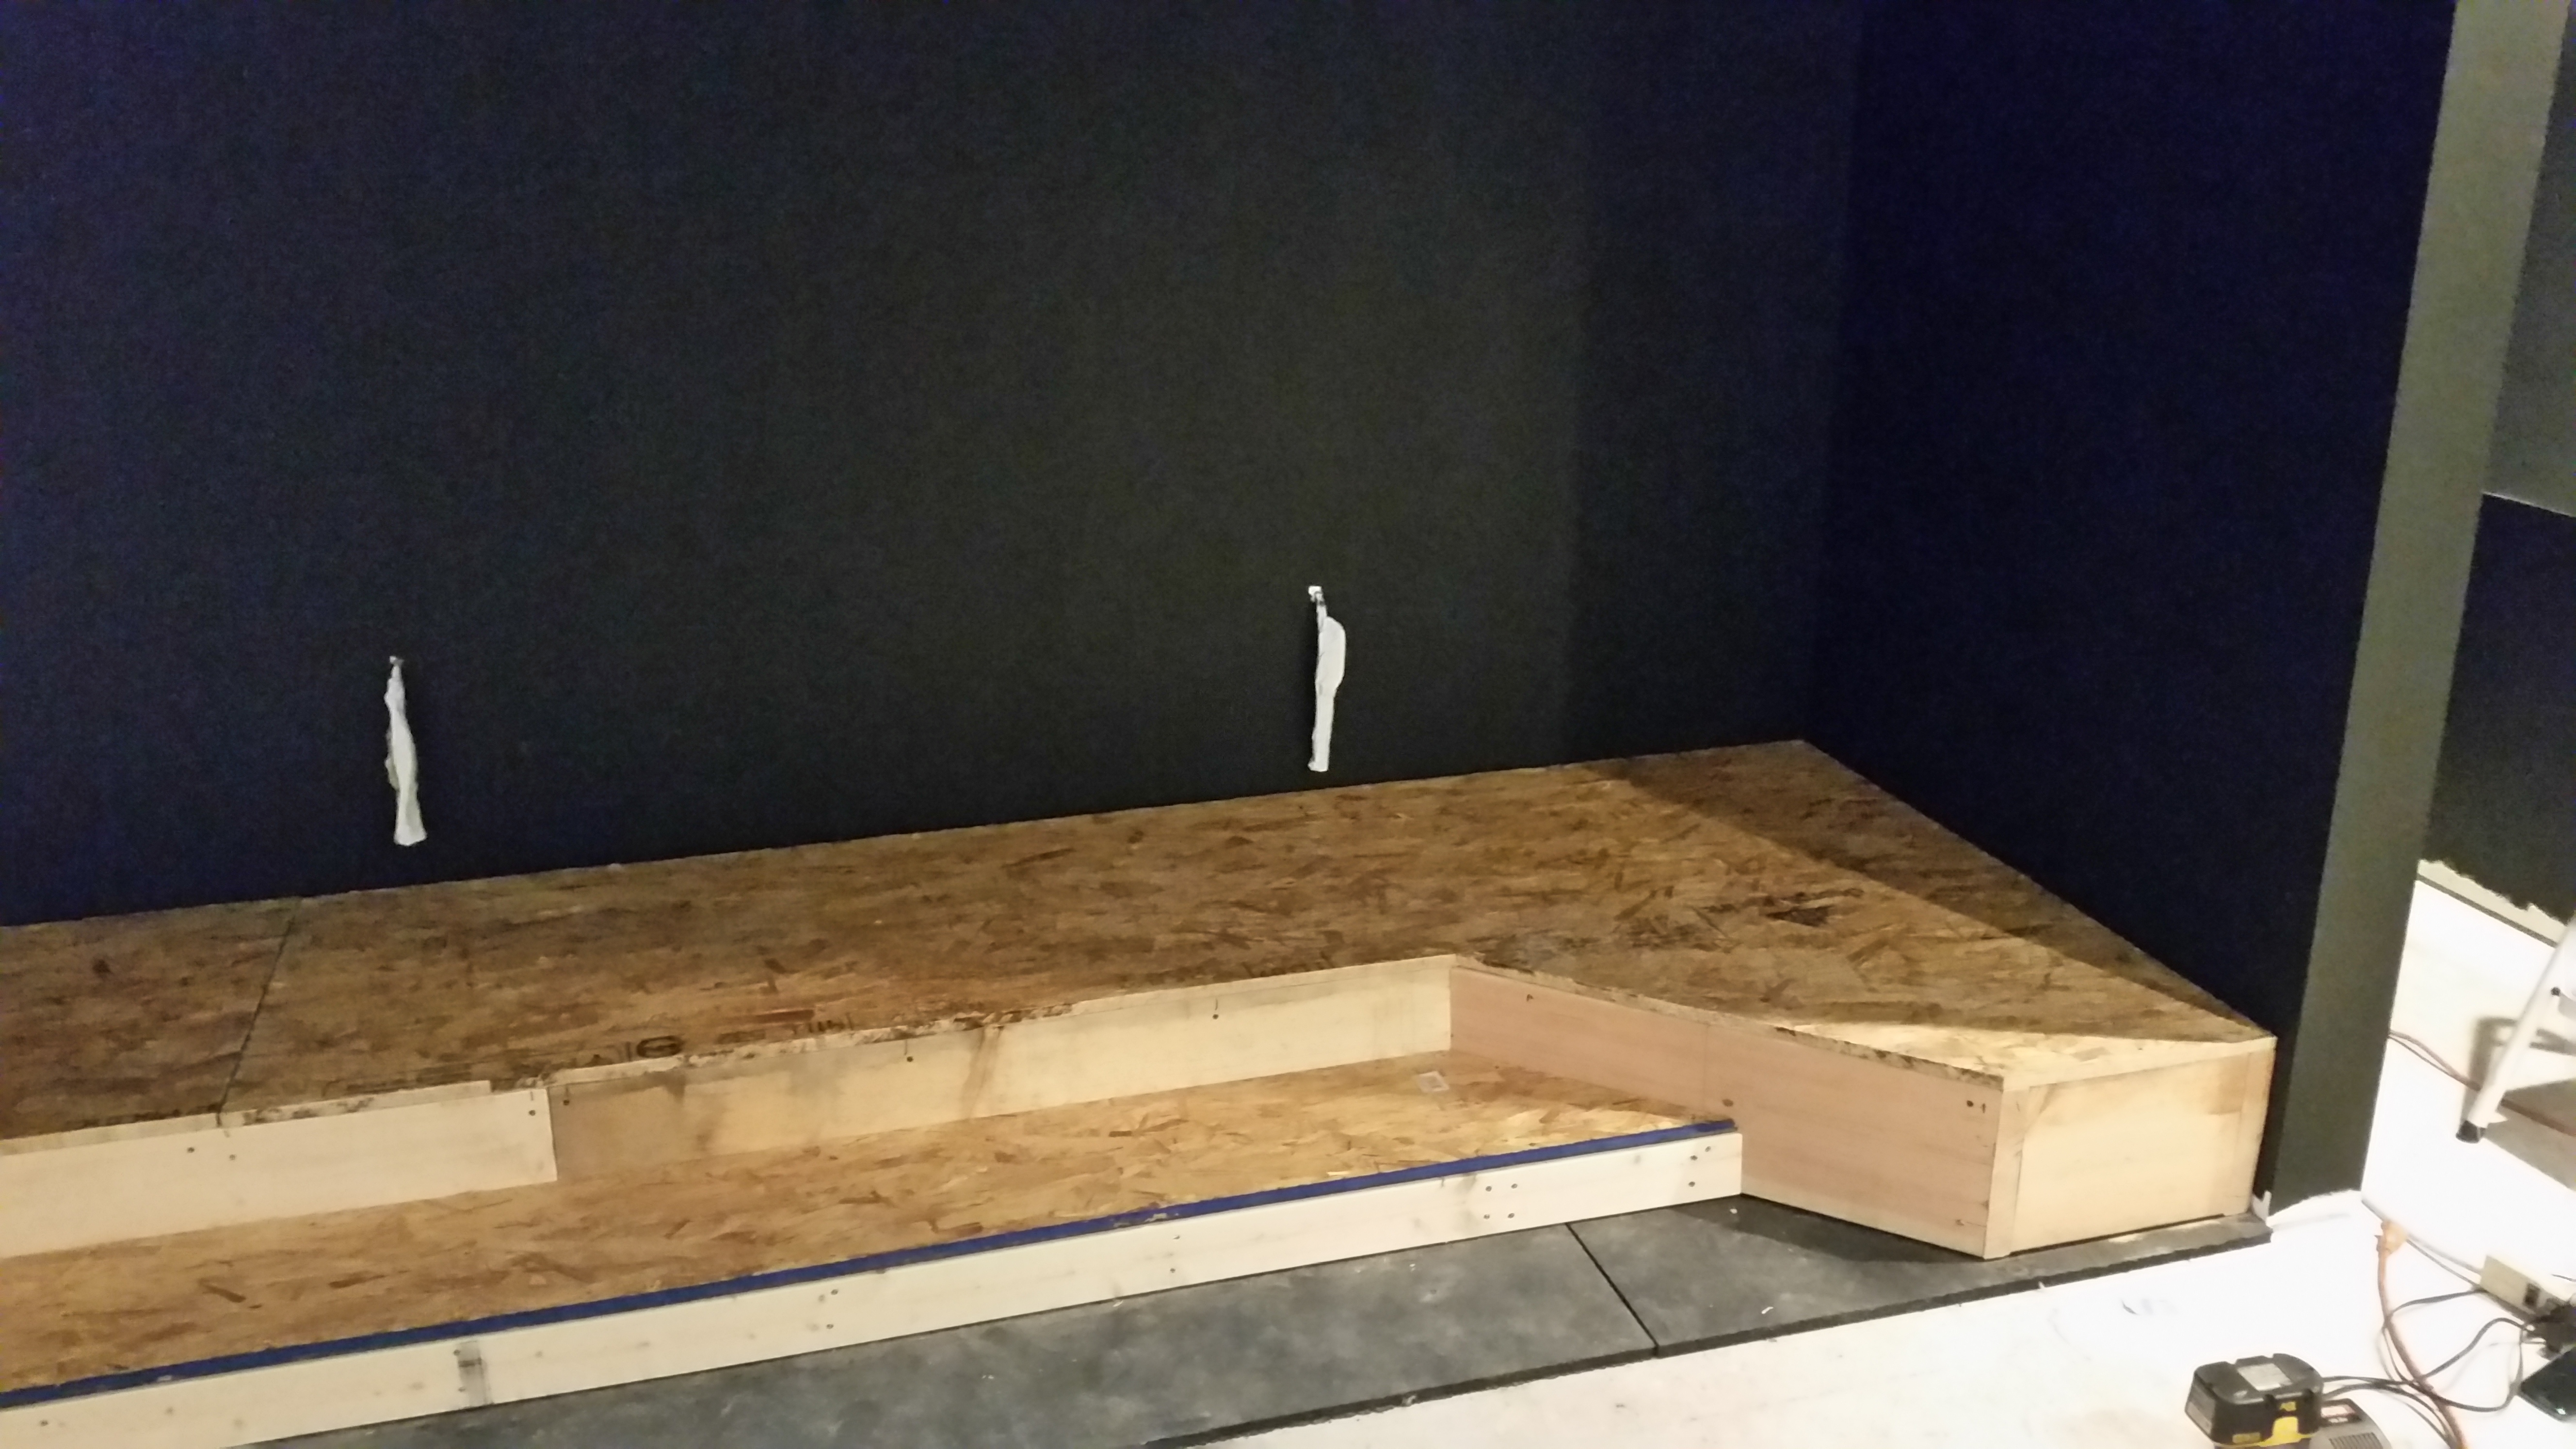
Glue and screw 3/4" sub flooring to the top of the framing.  I used sub-floor adhesive and 1-1/4" drywall screws.

Bullnose

Hardwood Bullnose

Hardwood Bullnose

Hardwood Bullnose

Hardwood Bullnose

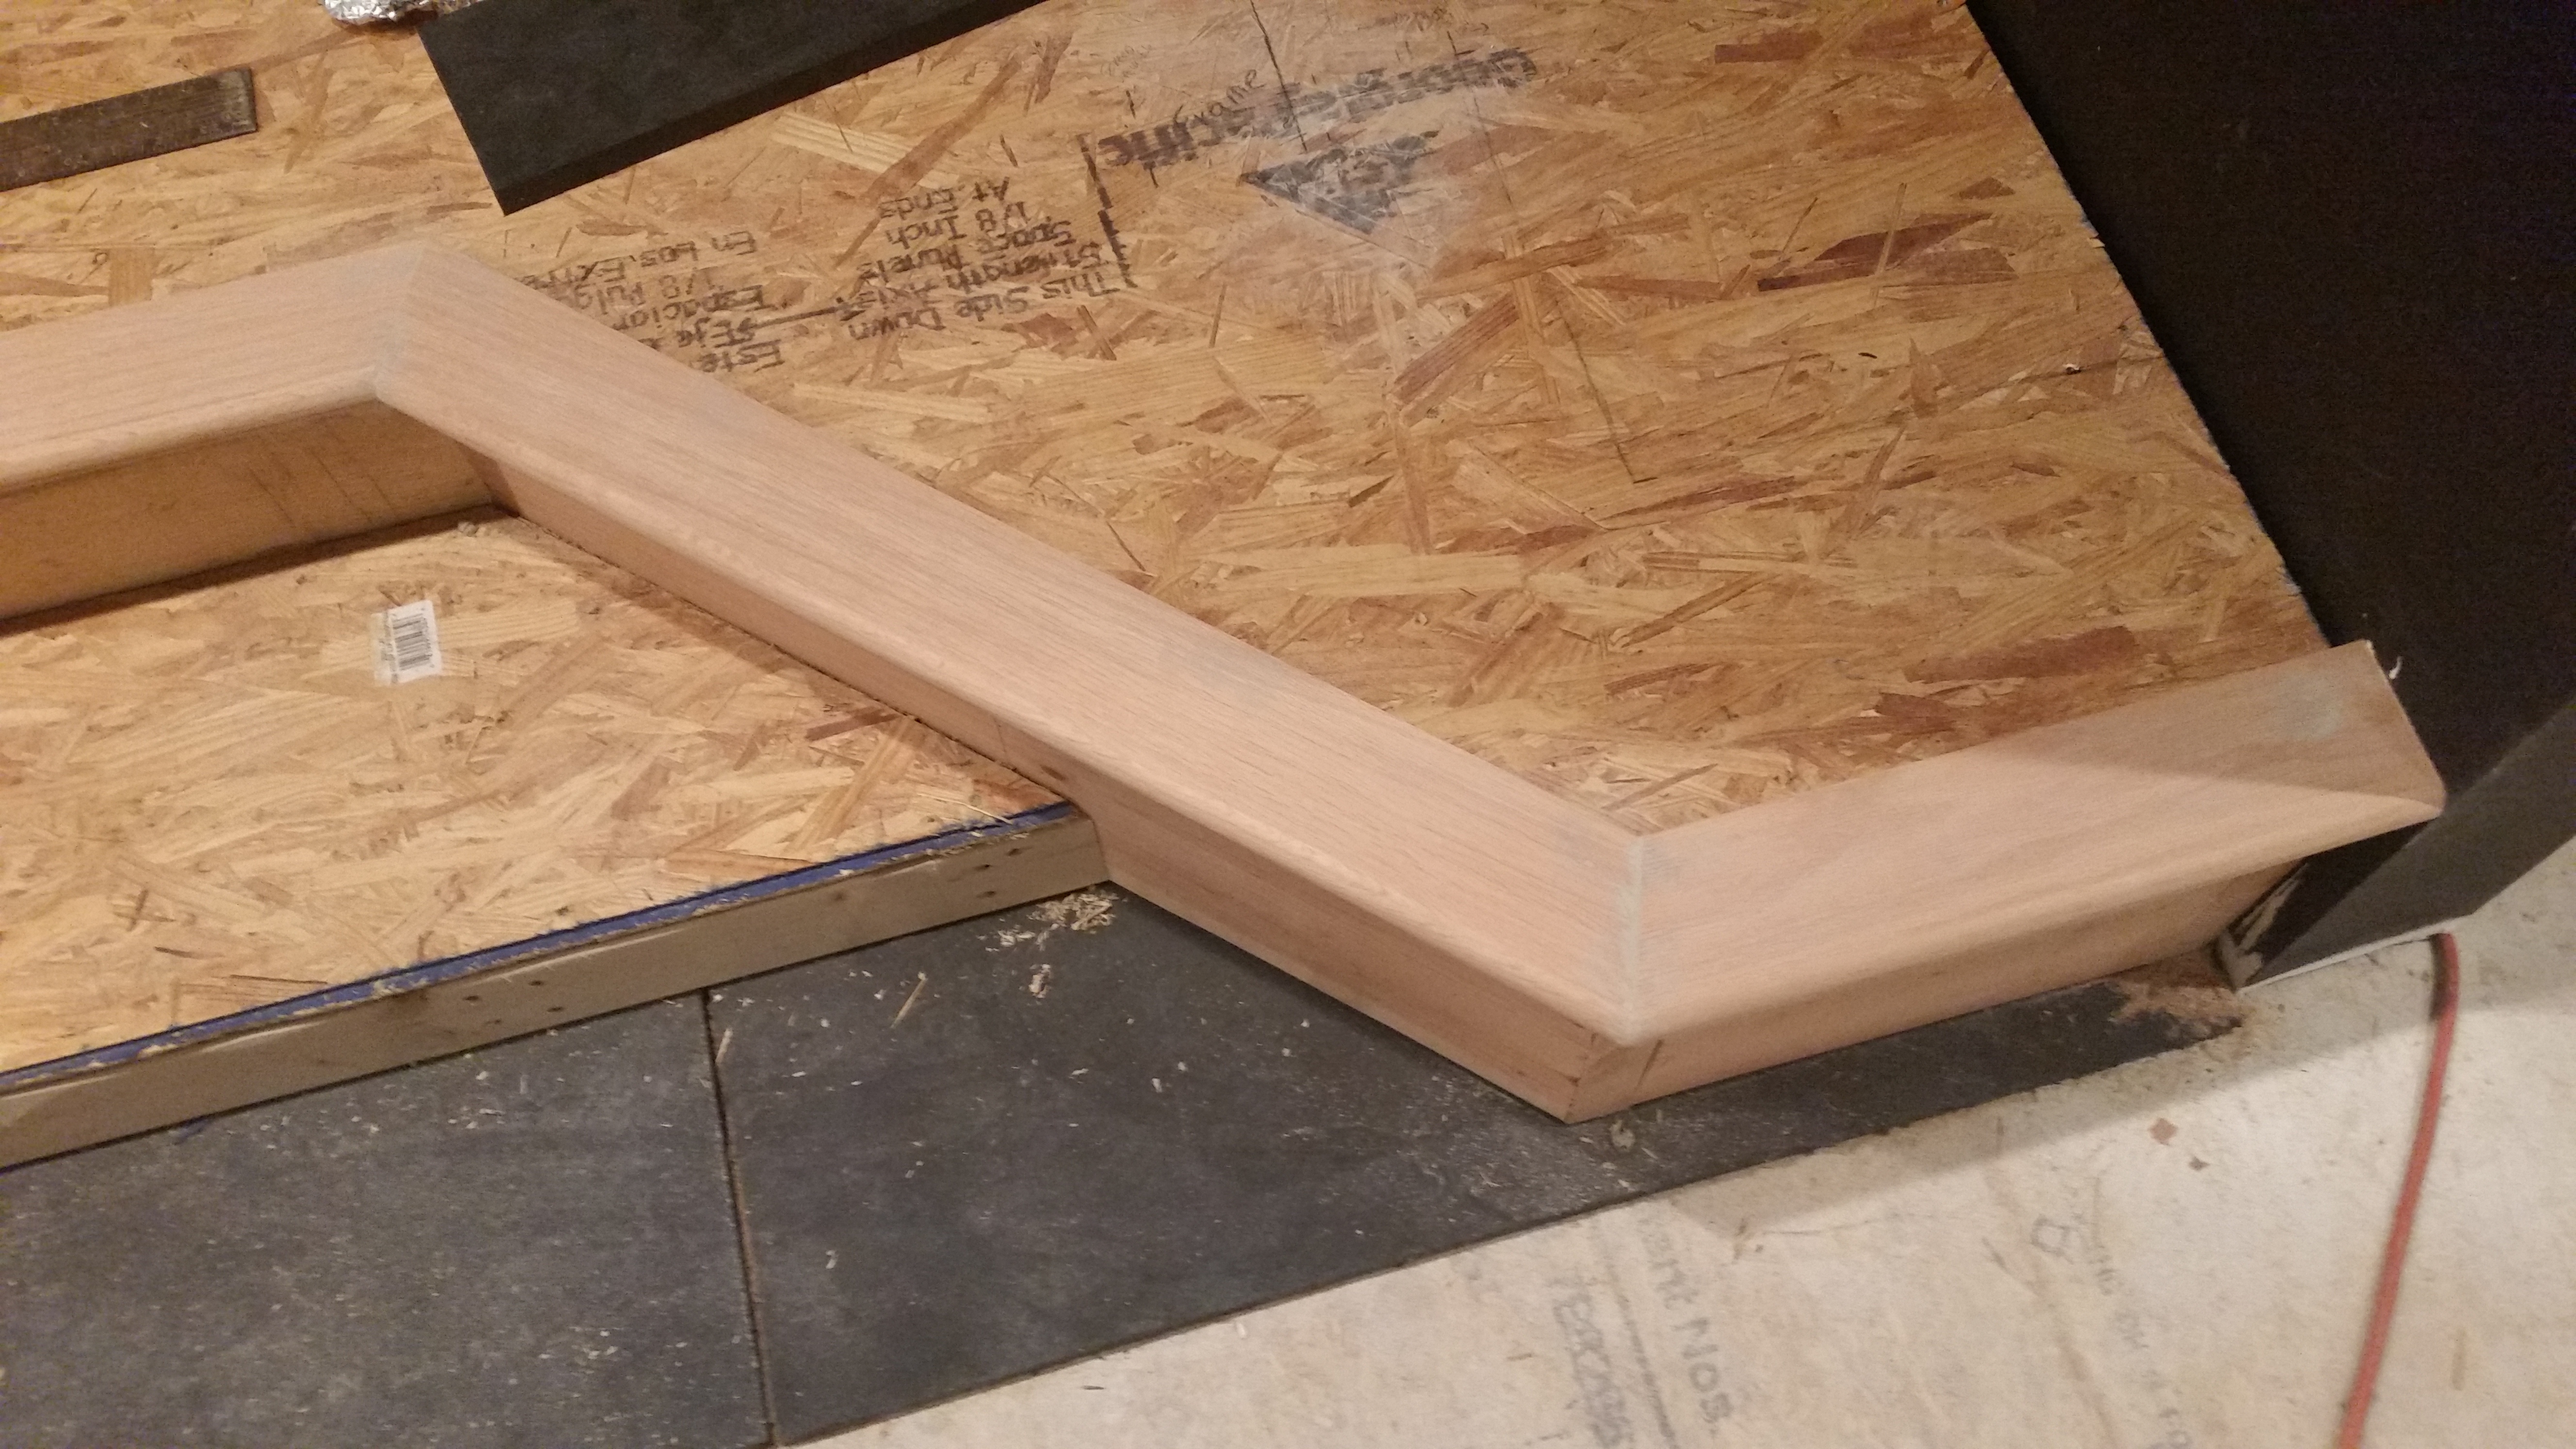
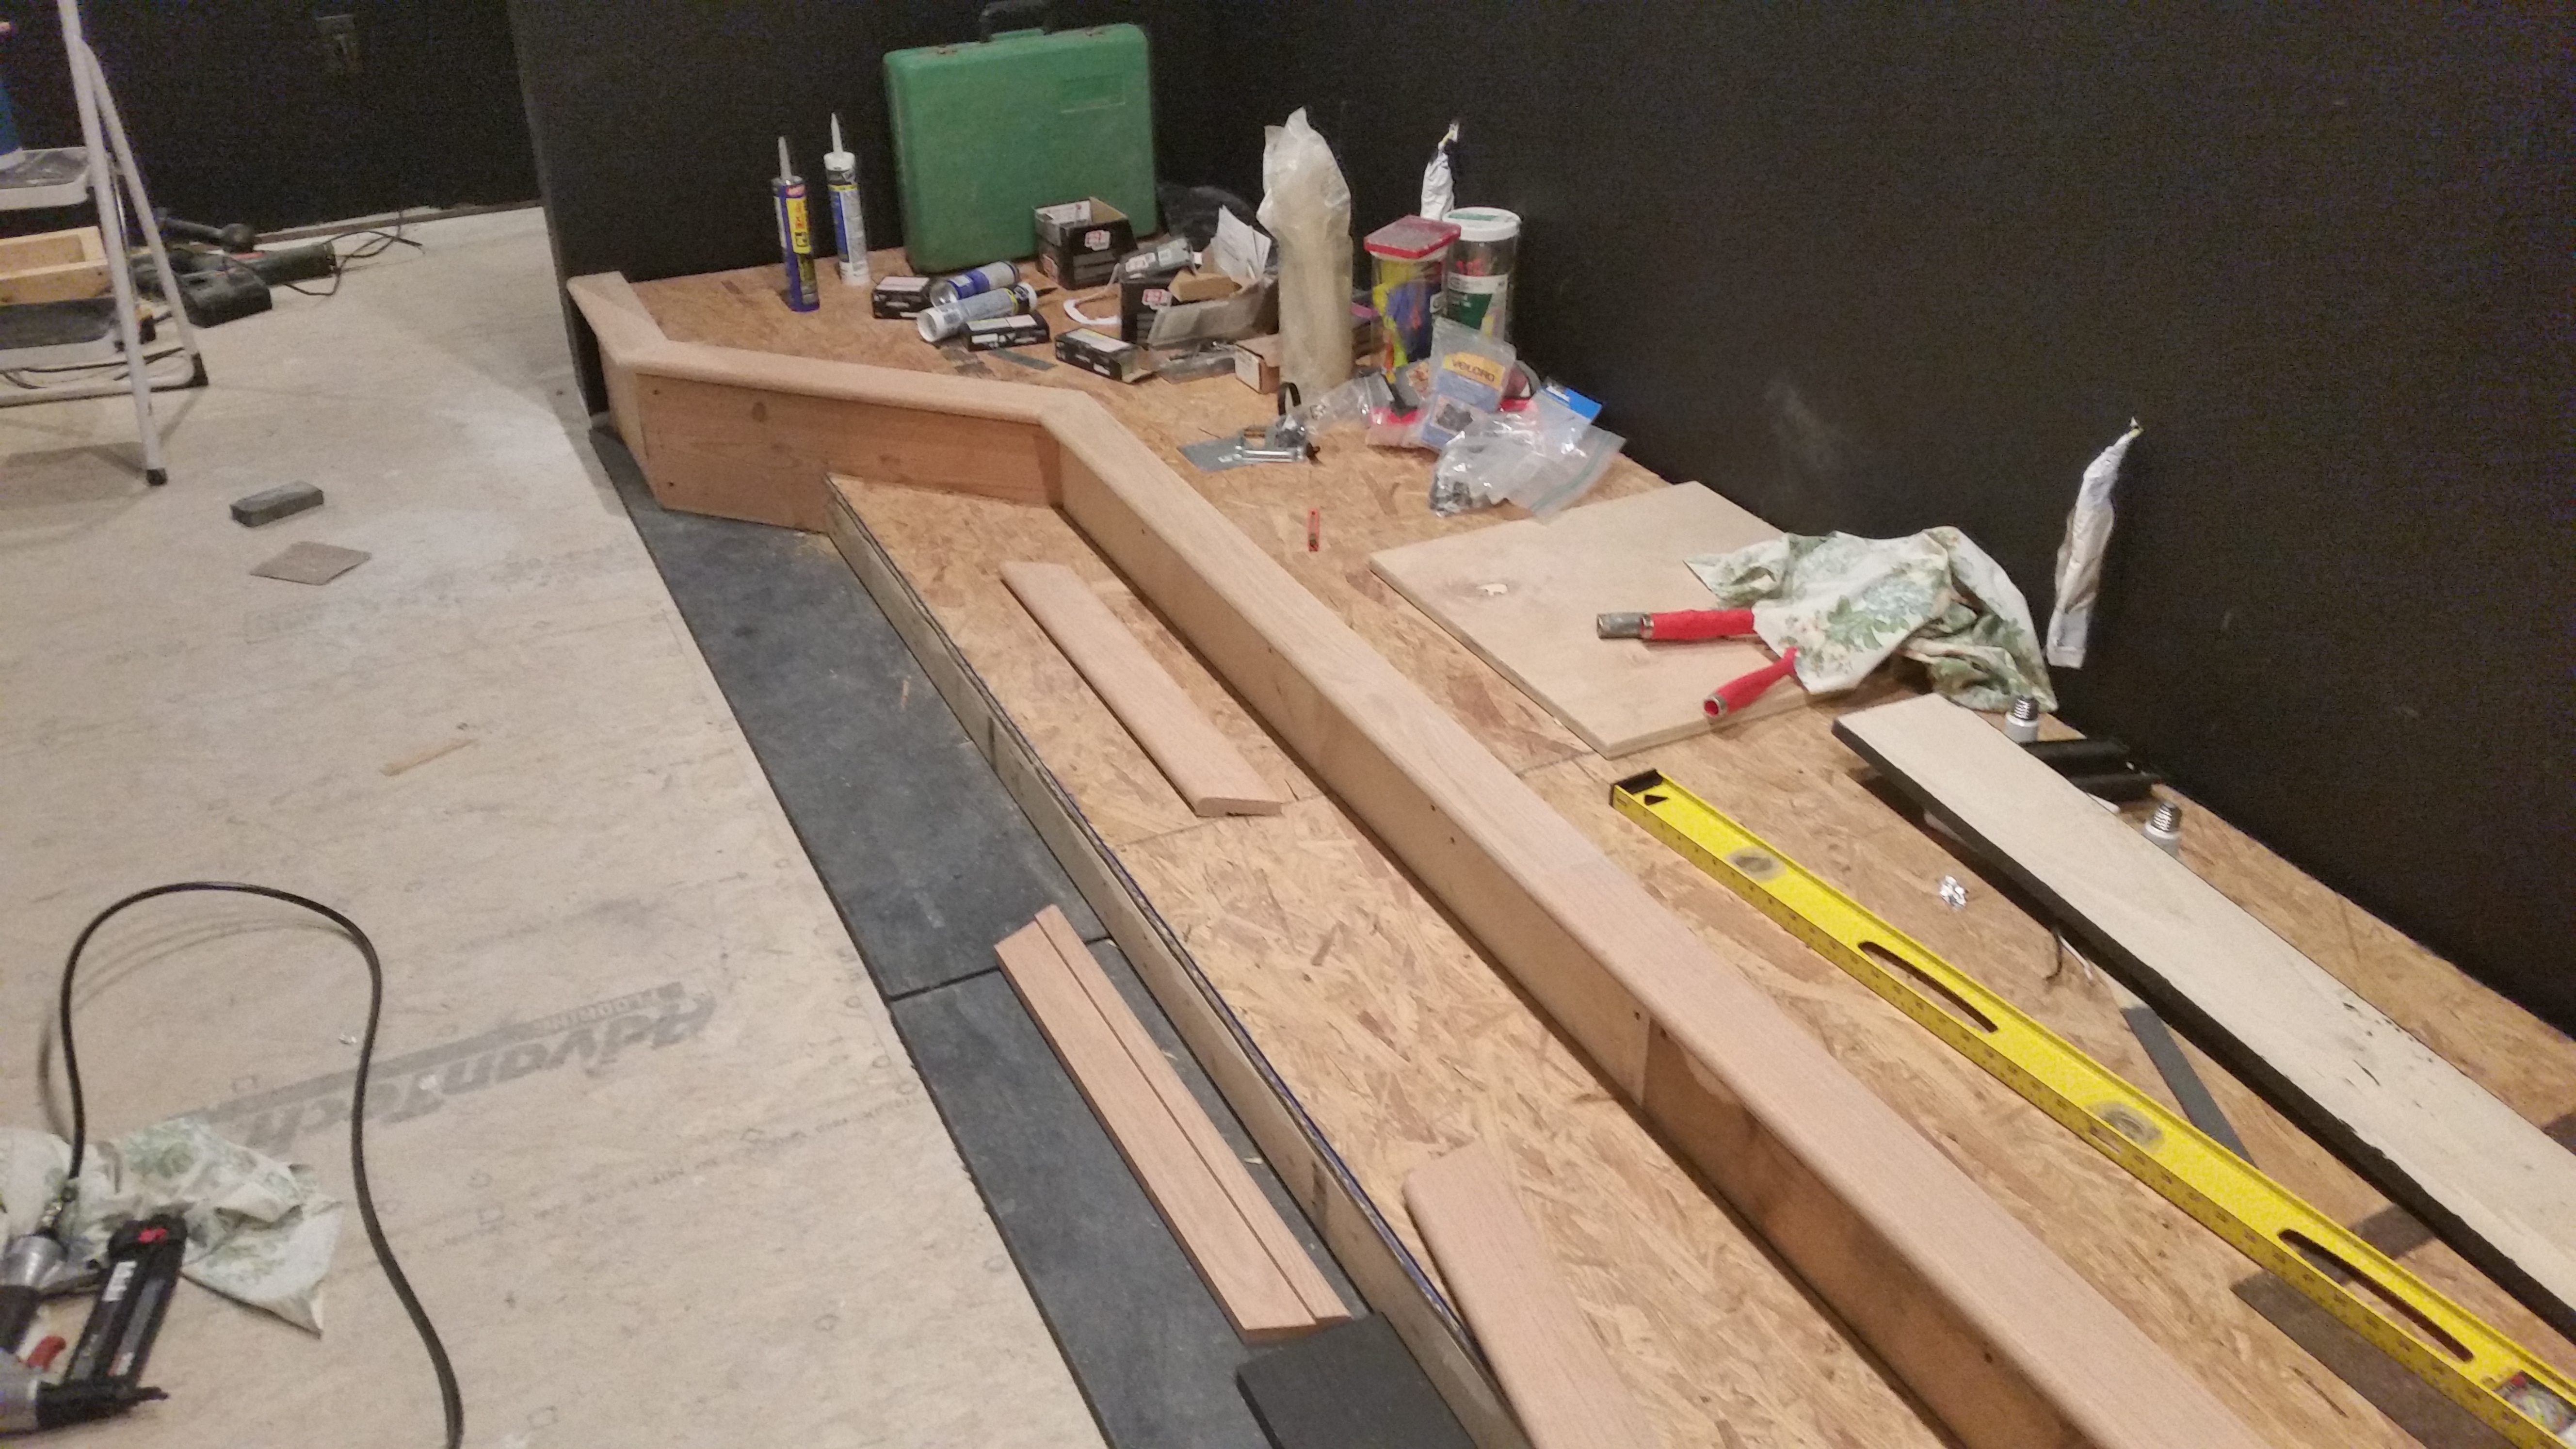
I used hardwood bullnose to trim off my stage.  Use good wood glue and 2" nails to attach it to the flooring. NOTE: Before adding the bull nose to the step, you should add the trim to the front.

Before adding the trim, use the same oscillating tool to cut the mat off flush with the framing.

Home Theater Stage Trim

Stage Trim

Now put some poplar trim on the front of the stage to cover the framing.  Make sure that the trim doesn't touch the floor or the wall.  This will provide a nice spot to tuck the carpet under.

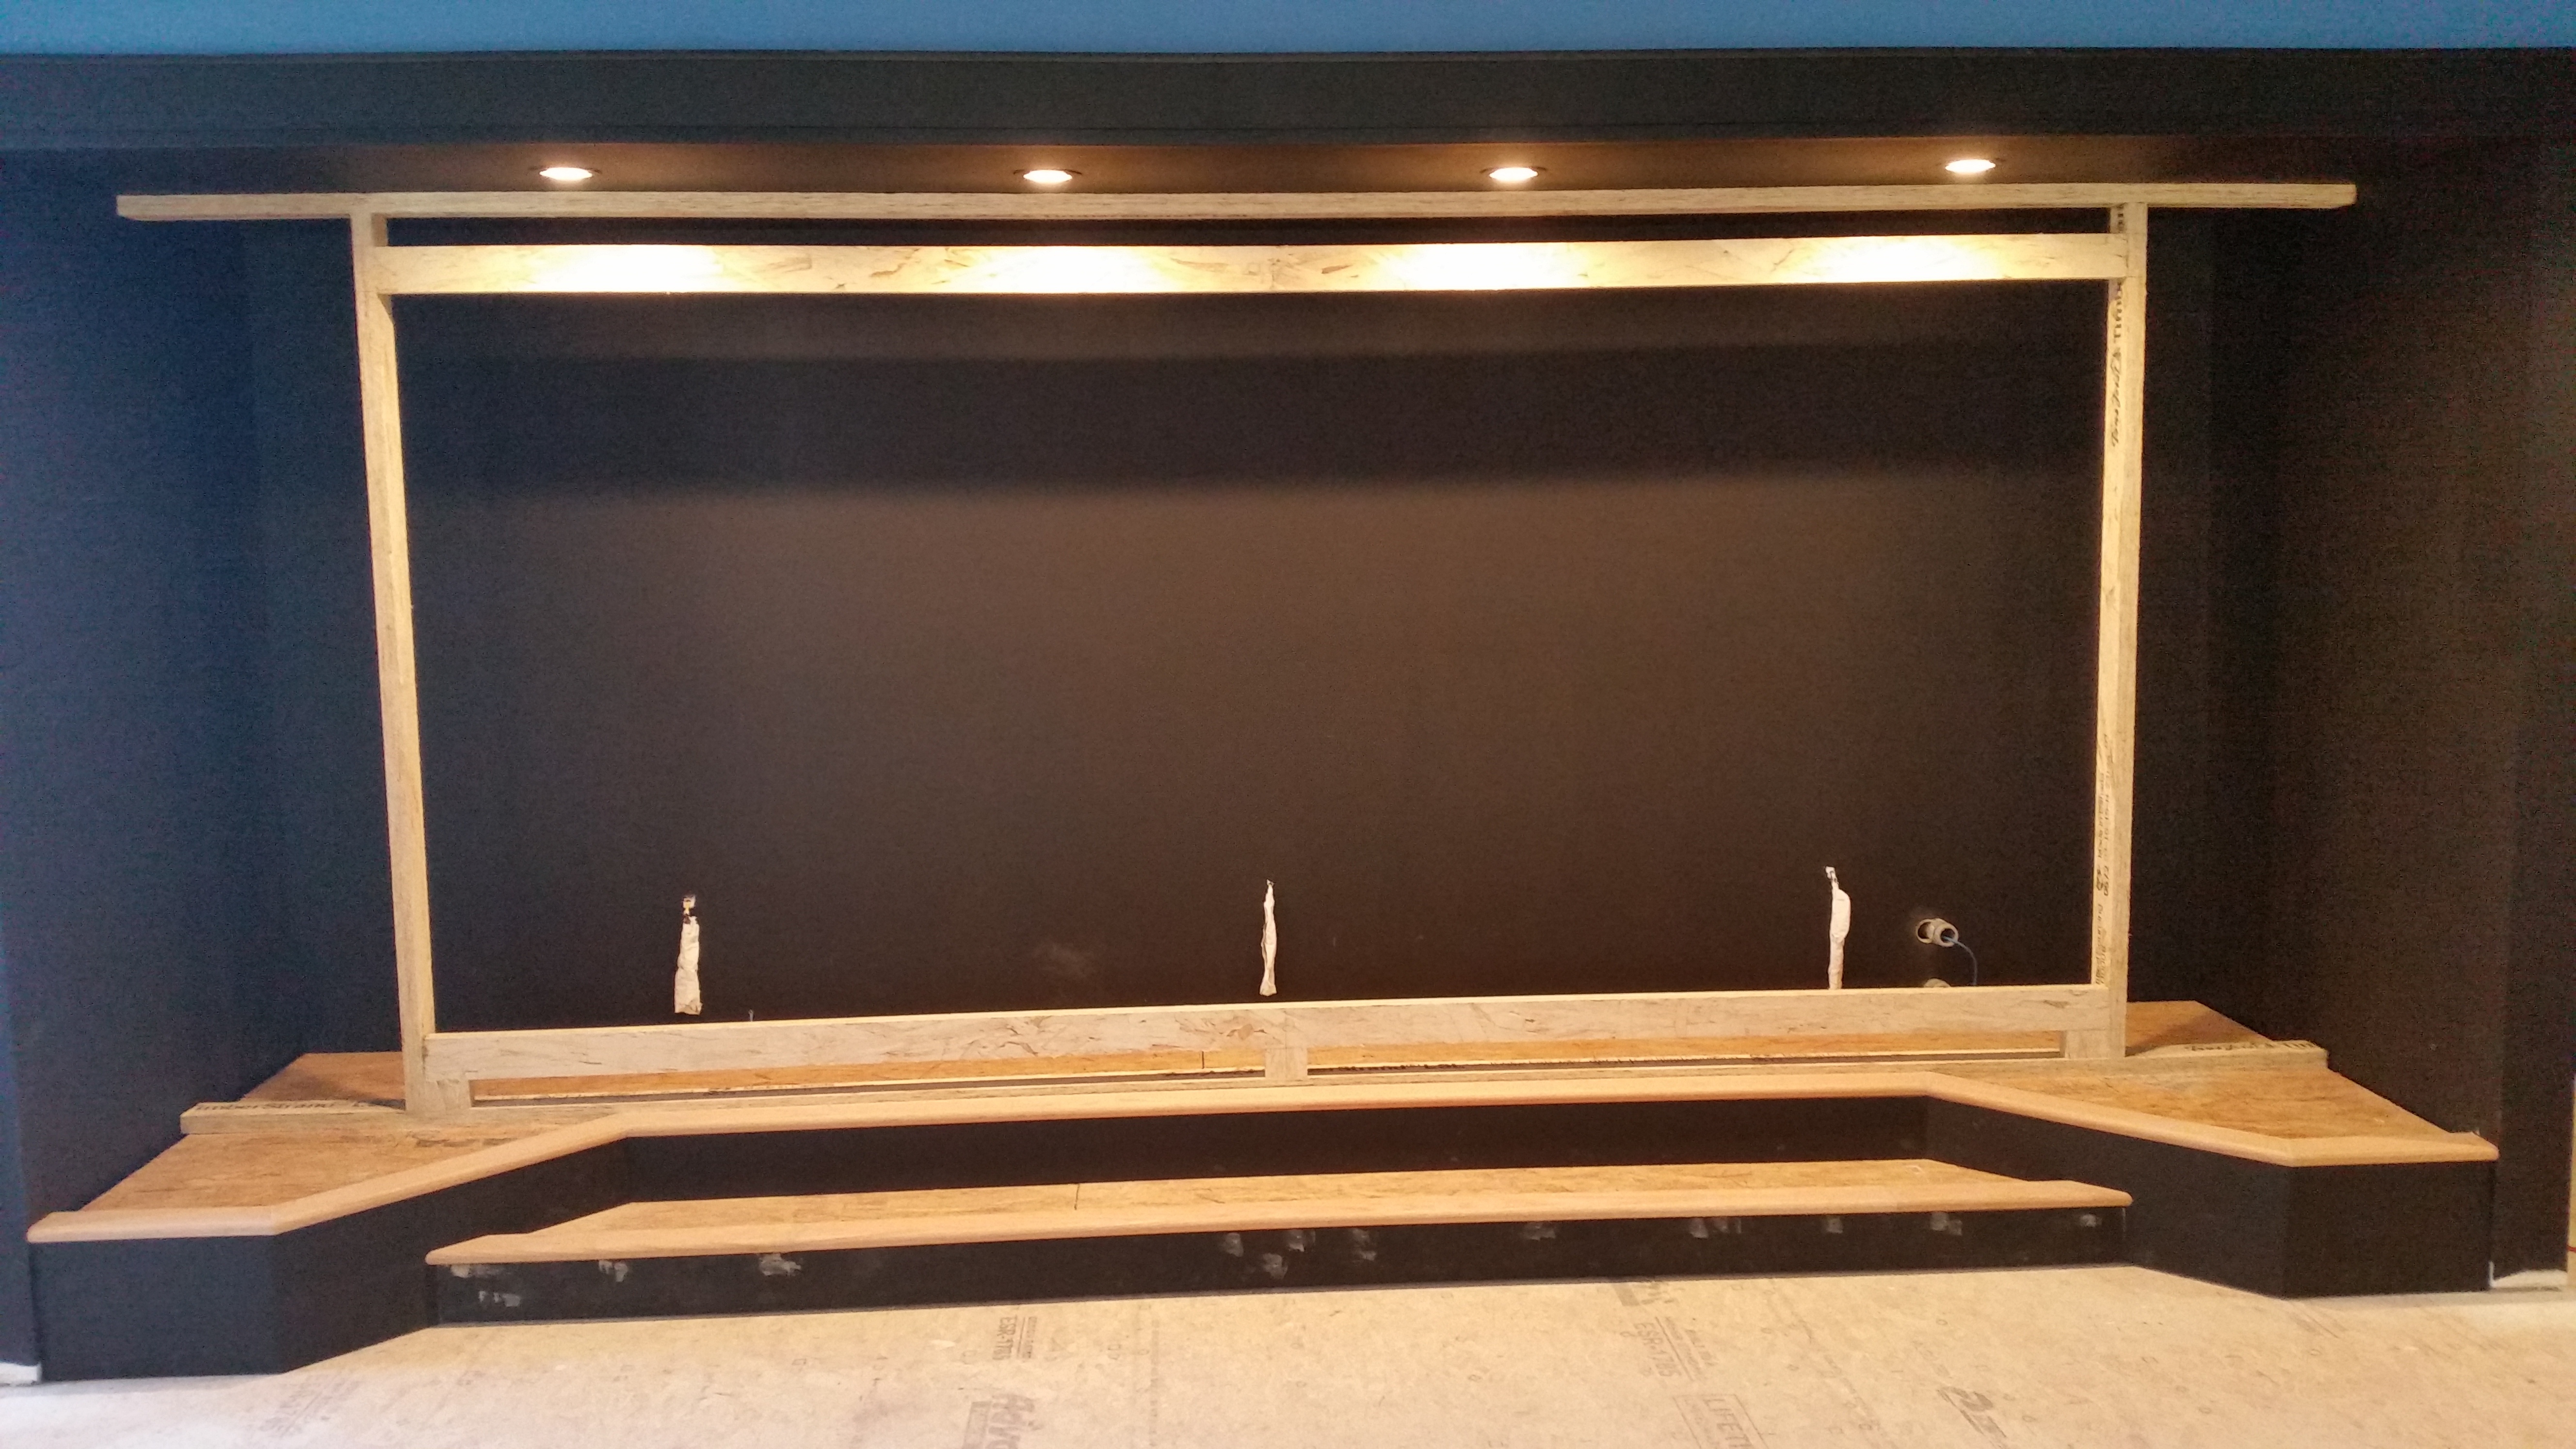
Once that trim has been attached you can add the bullnose to the step as well. This is also a good time to paint the stage. 

Trimmed Stage

Trimmed Stage

To build the frame that holds the screen, I used engineered 2" x 4". They are pricey, but very straight and won't twist.

Bass Traps

Bass Traps

Bass Traps

Before putting in the bass traps make sure you put another layer of the 3/4" rubber mat down behind the screen frame.  This will provide another layer of isolation to keep the vibrations from the speakers from transferring into the floor.

Bass Traps

Bass Traps

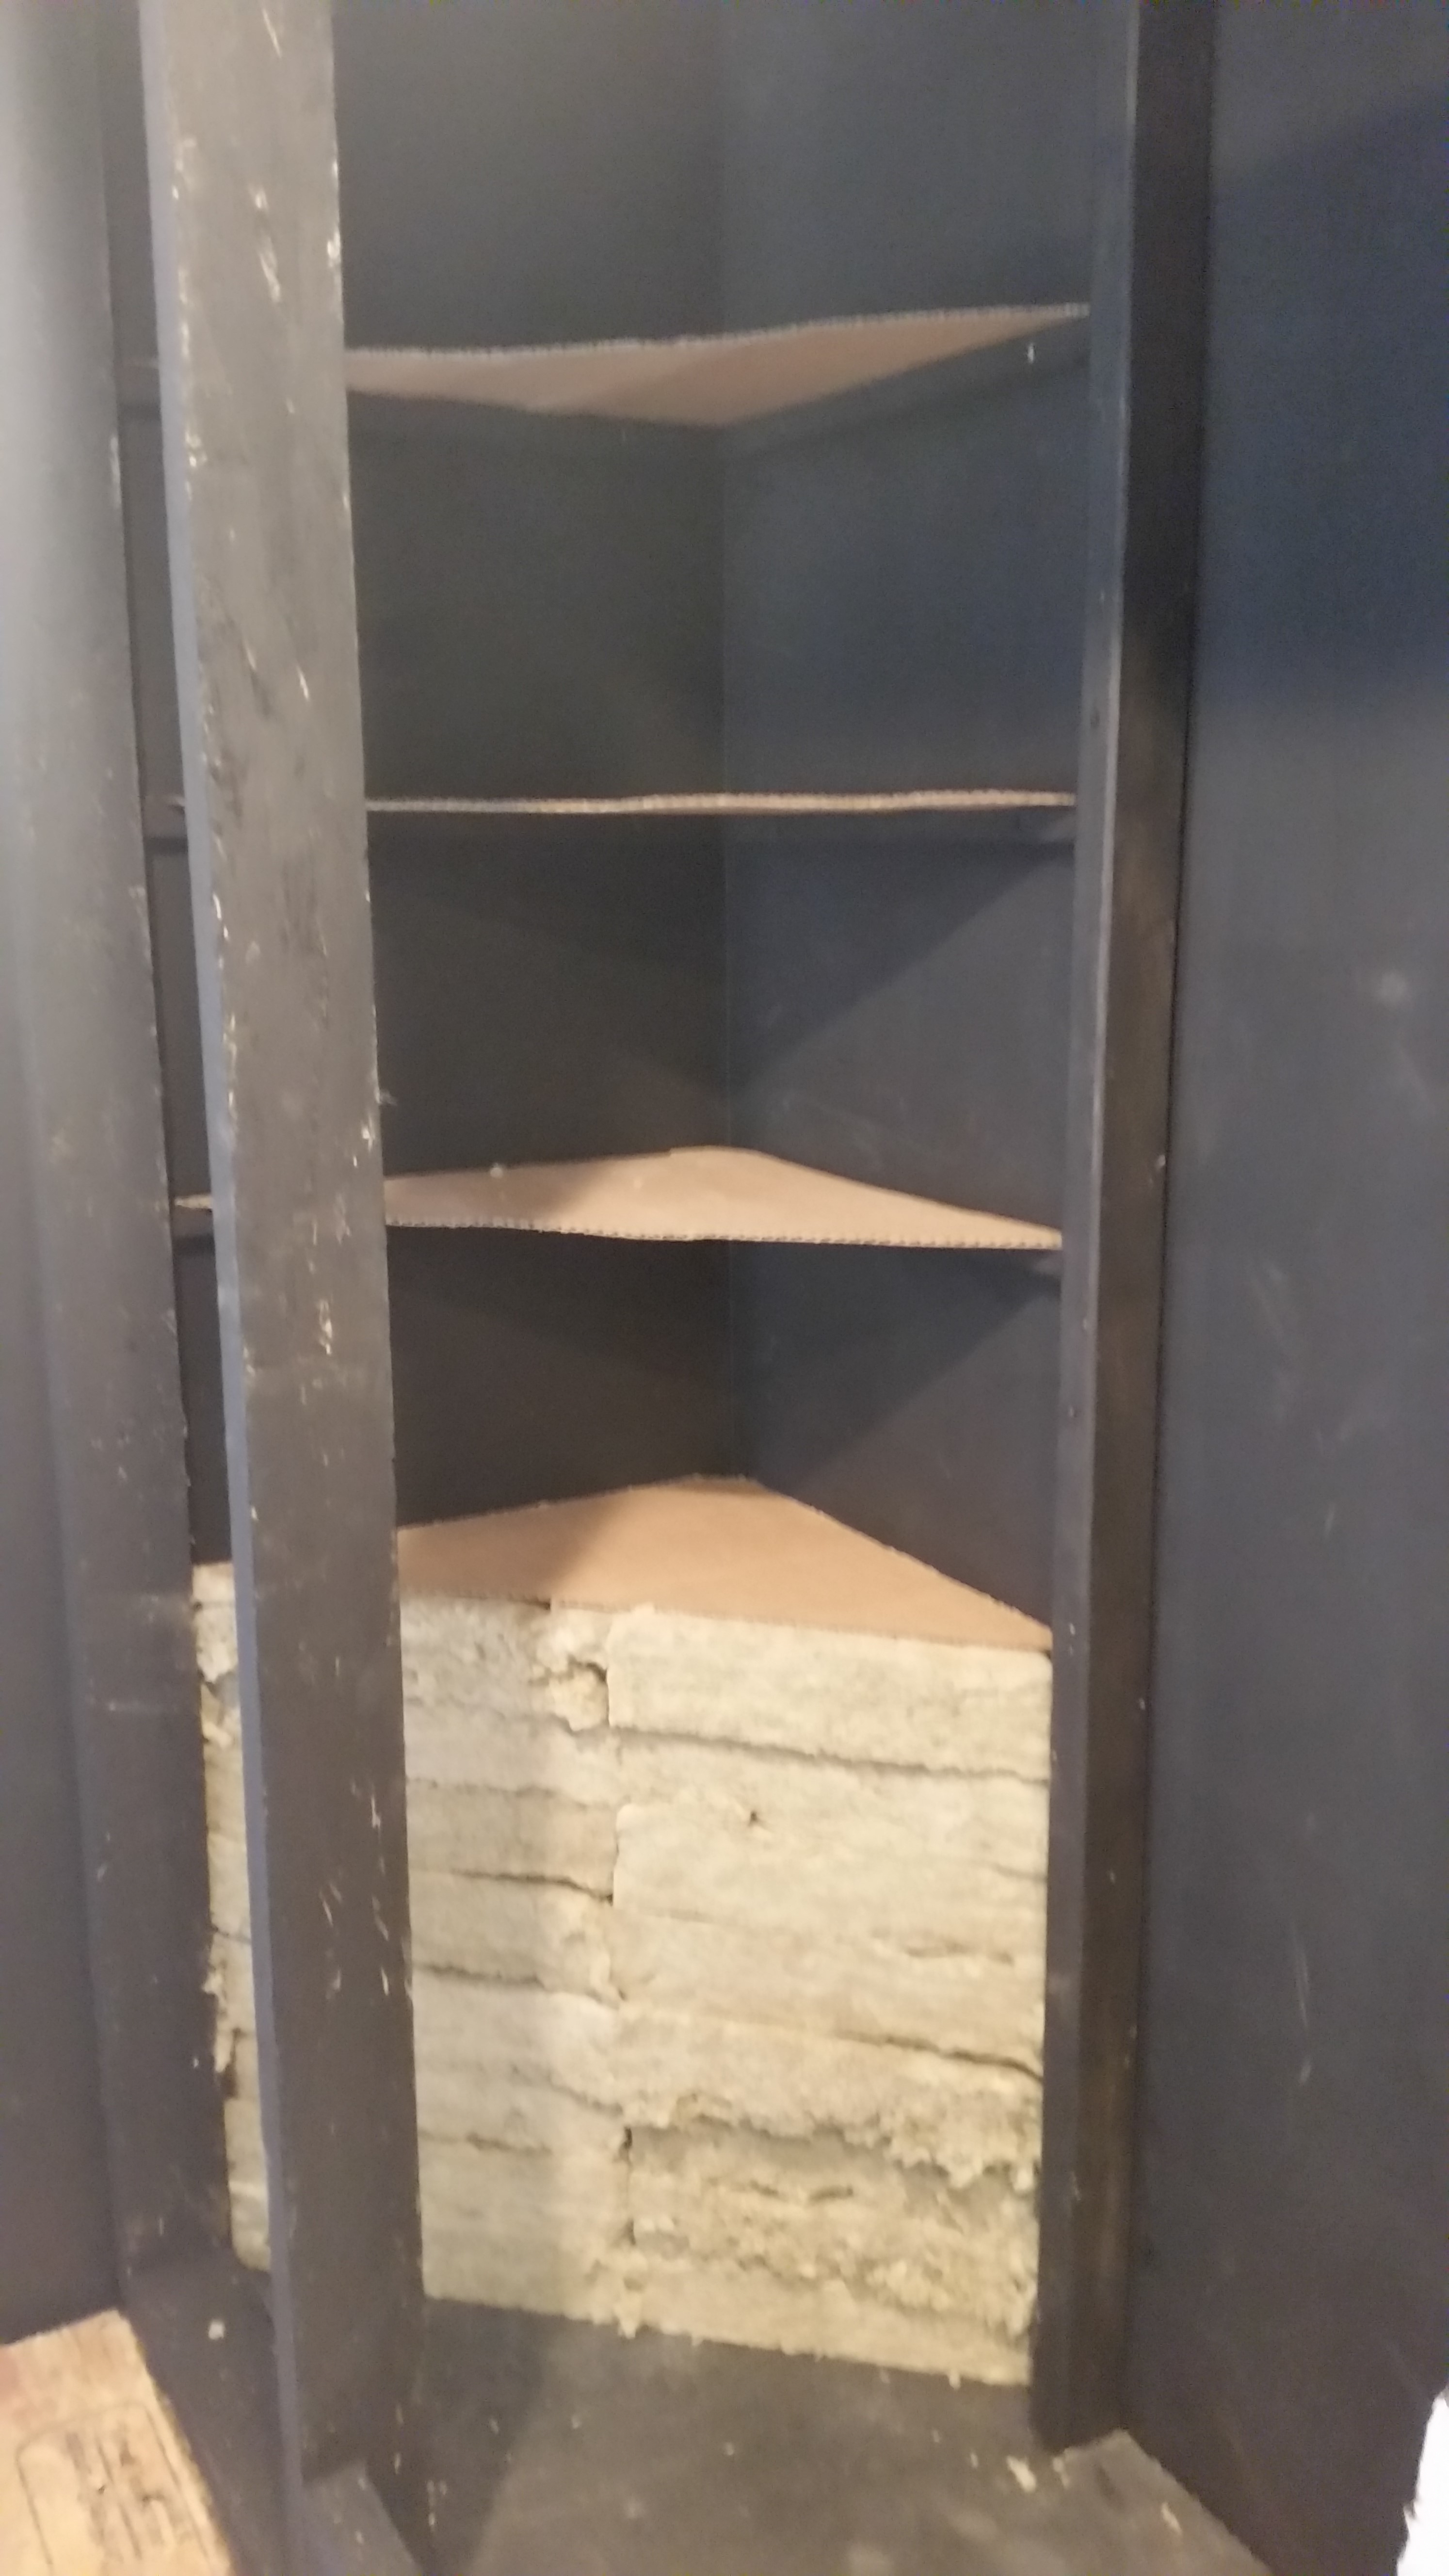
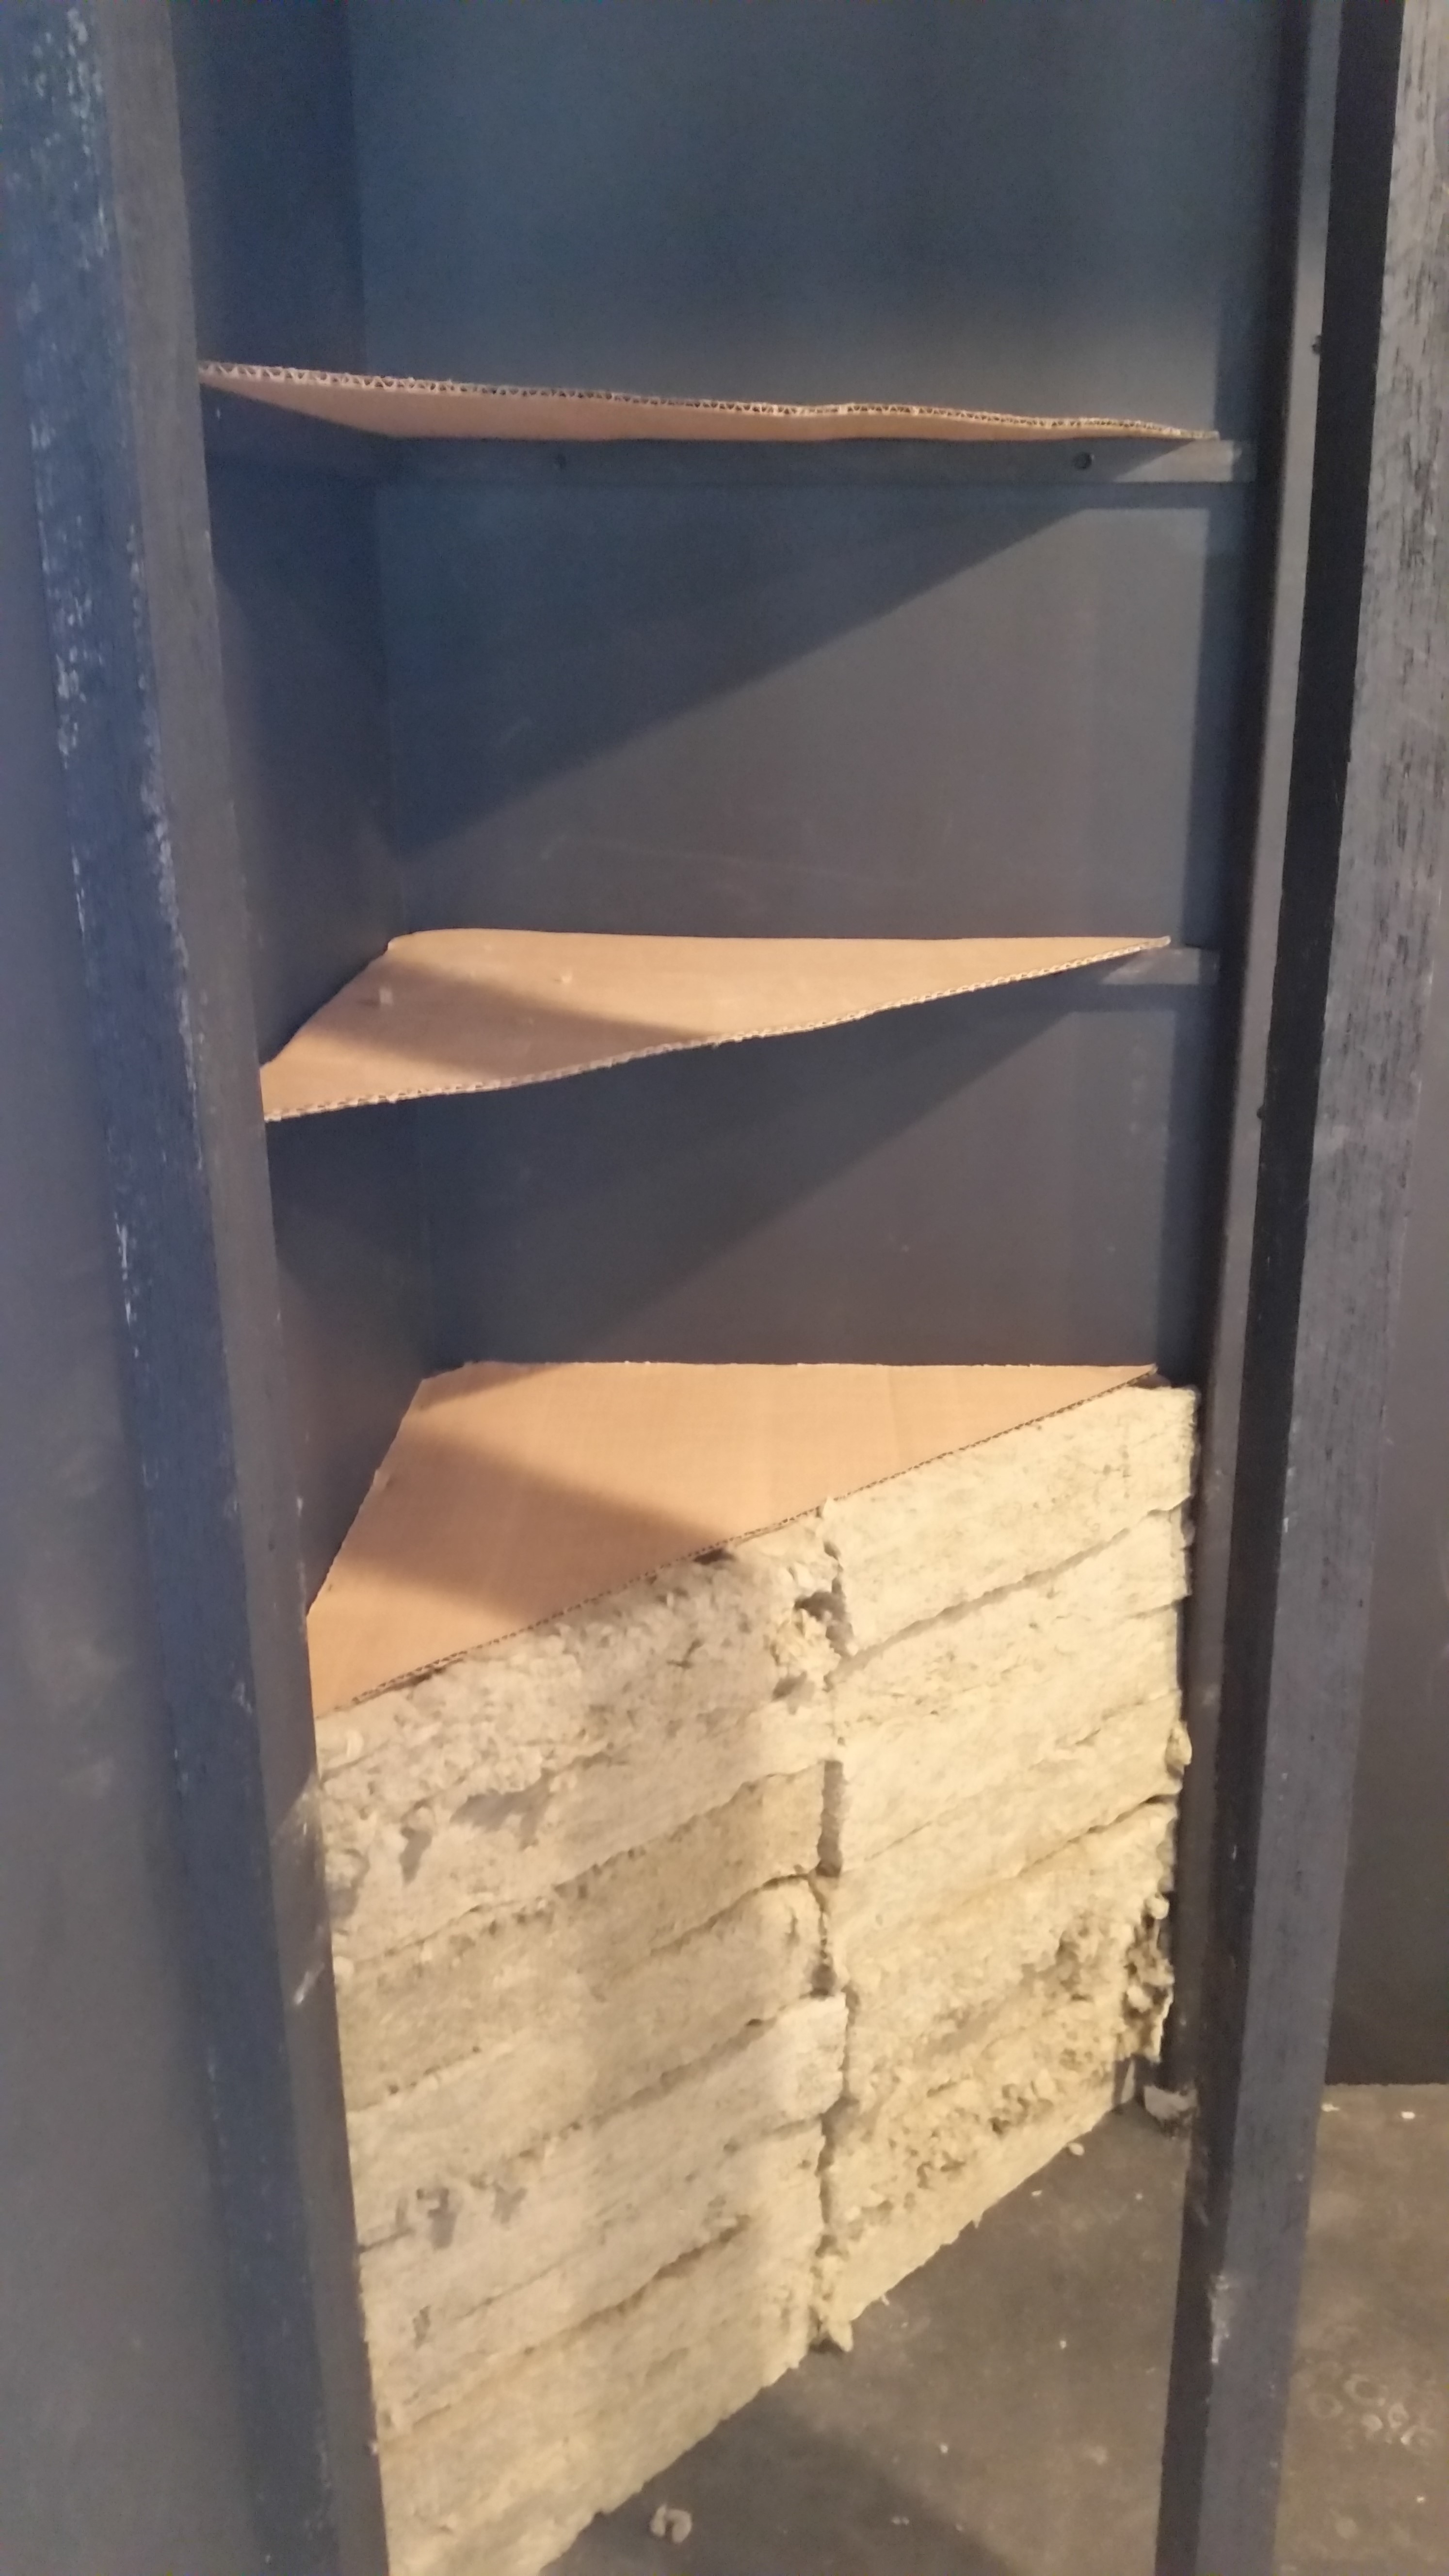
For the bass traps I used Roxul Safe N Sound.  I cut them into triangles and put cardboard shelves every couple of feet to help support them.

Bass Traps

Bass Traps

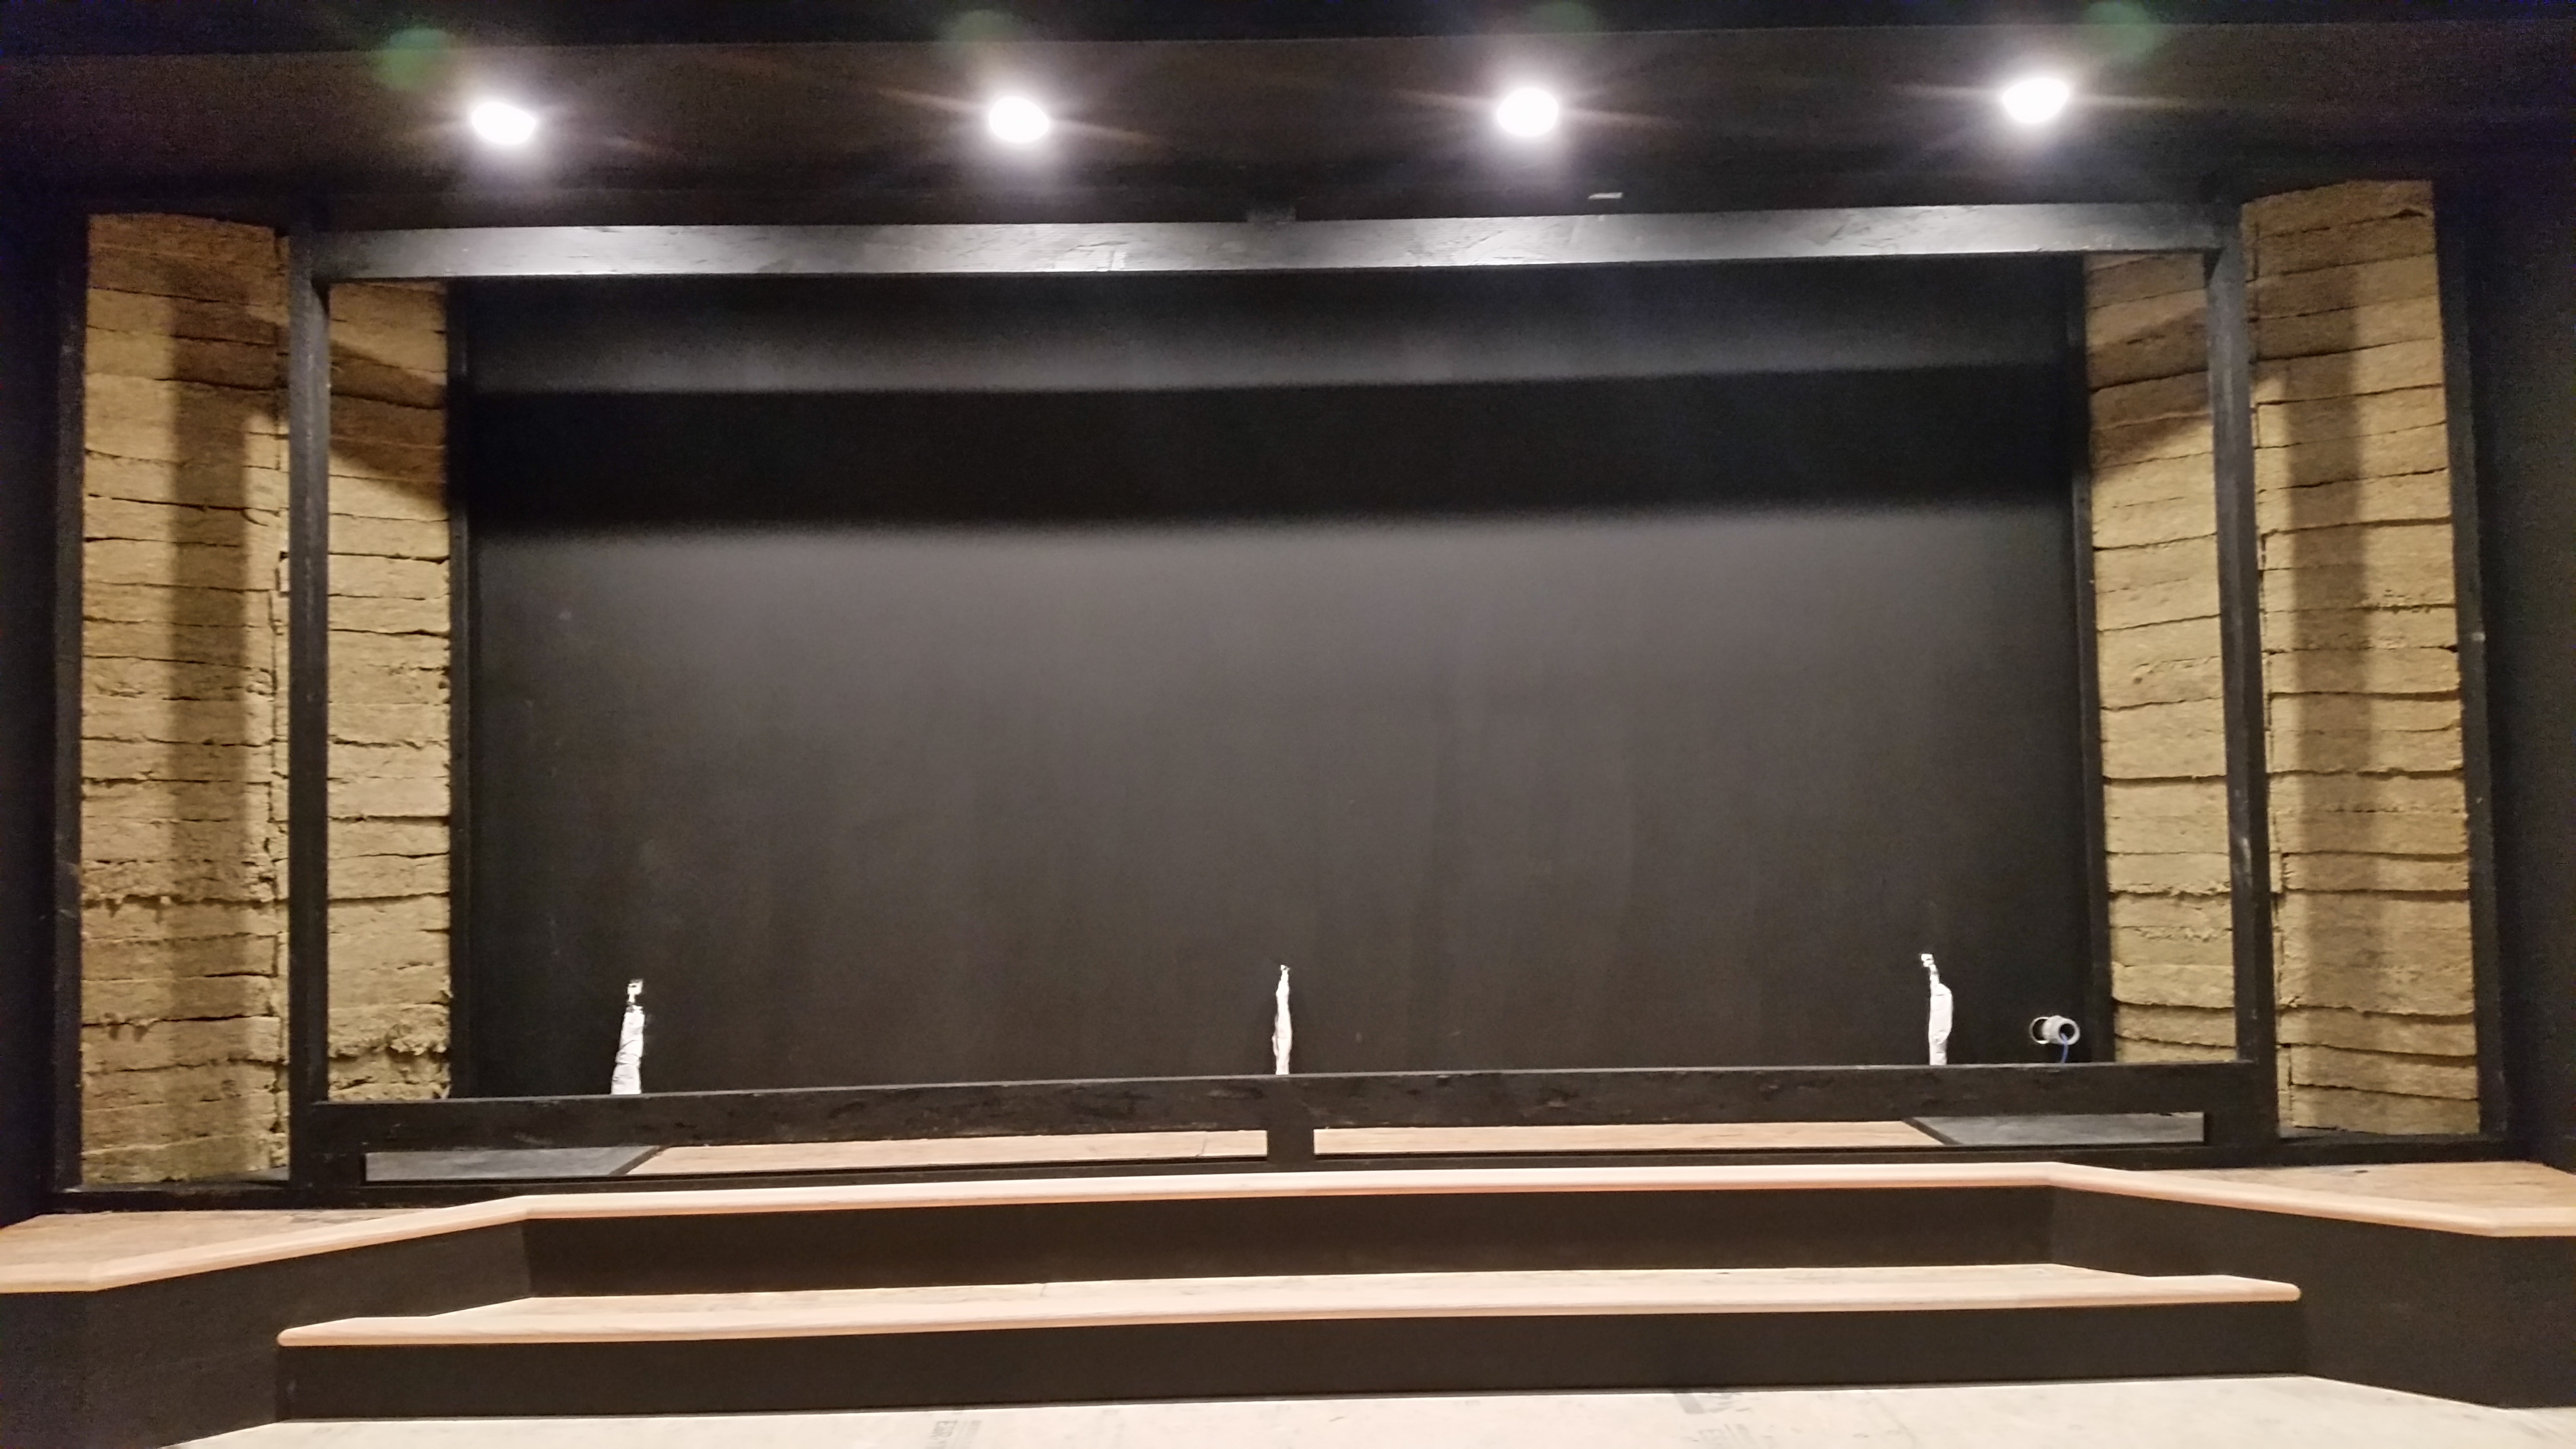
Once you have all of the Safe N Sound put in, your stage should look like this.

Bass Trap Covers

Bass Trap Covers

You don't want to leave the Roxul exposed.  You need to cover it with some acoustically transparent fabric.  I bought some speaker fabric from Joanne's Fabric and covered the Roxul by stapling the fabric to some trim broads that I mounted on each side of the bass traps.

Acoustical Panels

Acoustic Panels

12" x 12" Acoustic Panels

Acoustic Panels

Acoustic Panels Installed On Back Stage Wall

Acoustic Panel

Acoustic Panel Installed on Back Stage Wall

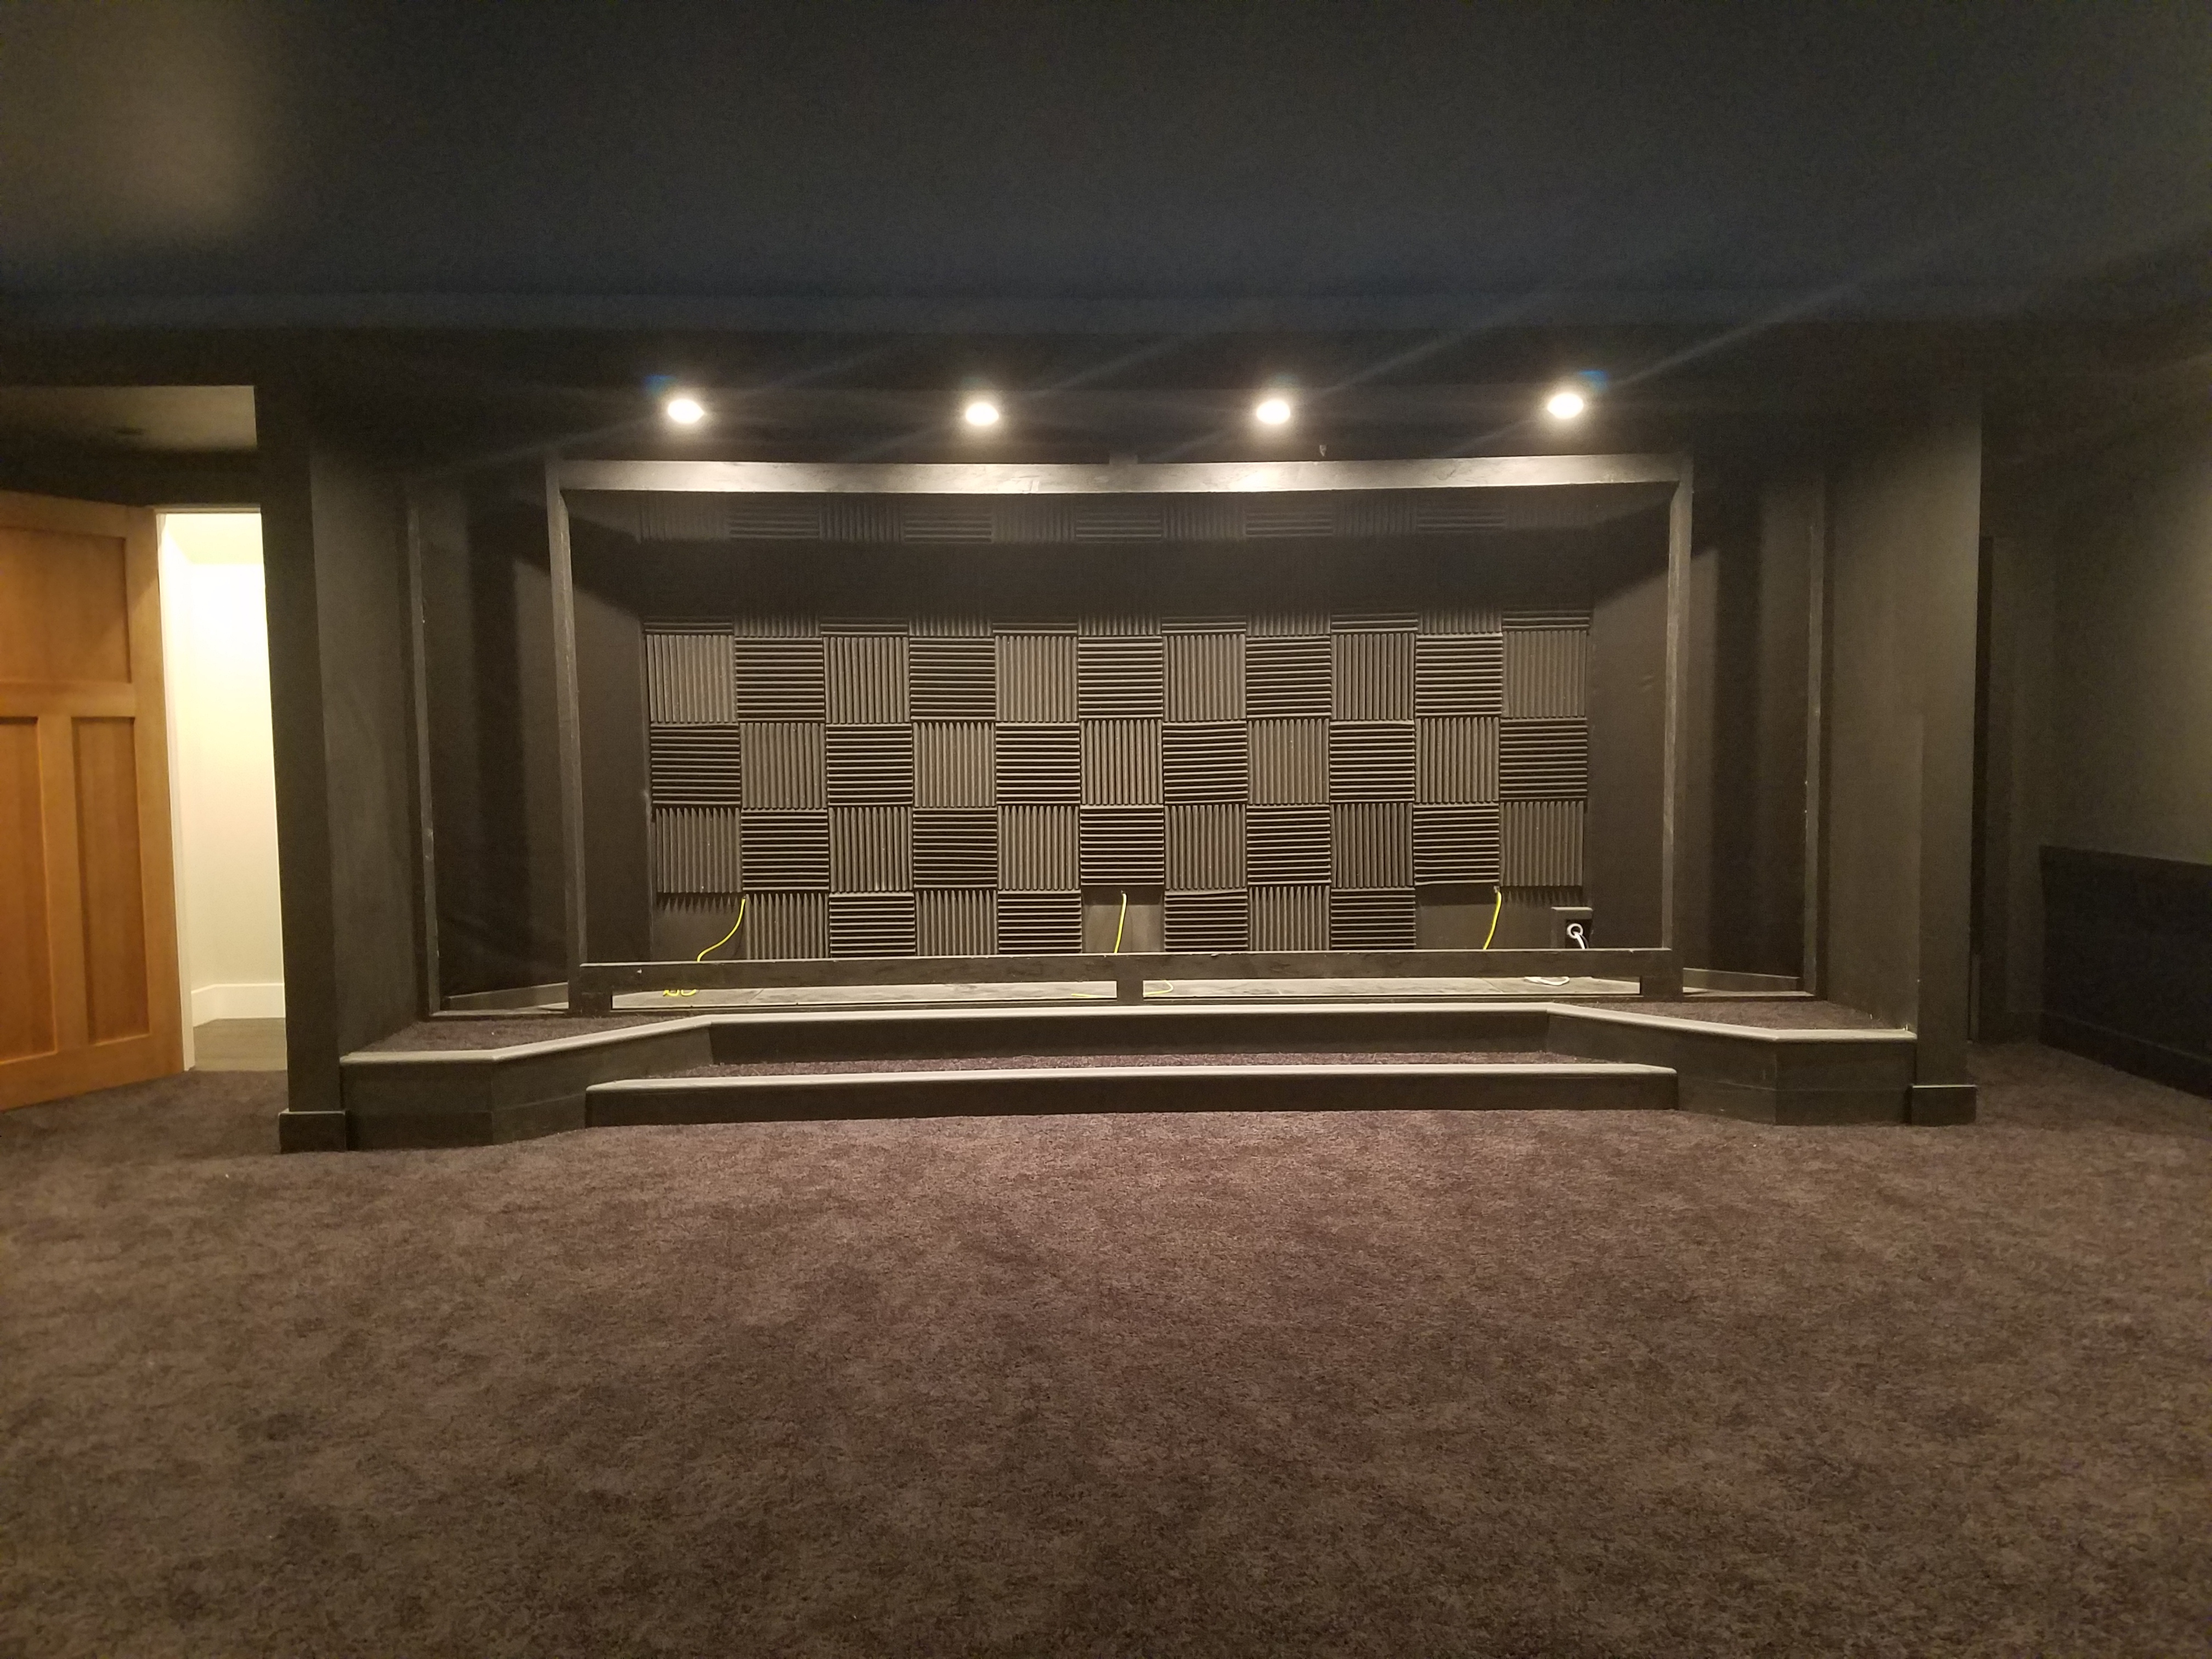
Now it's time to install acoustic panels on the back wall of the stage.  You want to kill as many of the reflections coming from that wall as you can.

I used 3M Spray Adhesive to attach them to the wall but found that many of them started coming off after a while, so I ended up putting finish nails through them as well.  Since doing that none of them have come off.

Finishing It Up Your Home Theater Stage

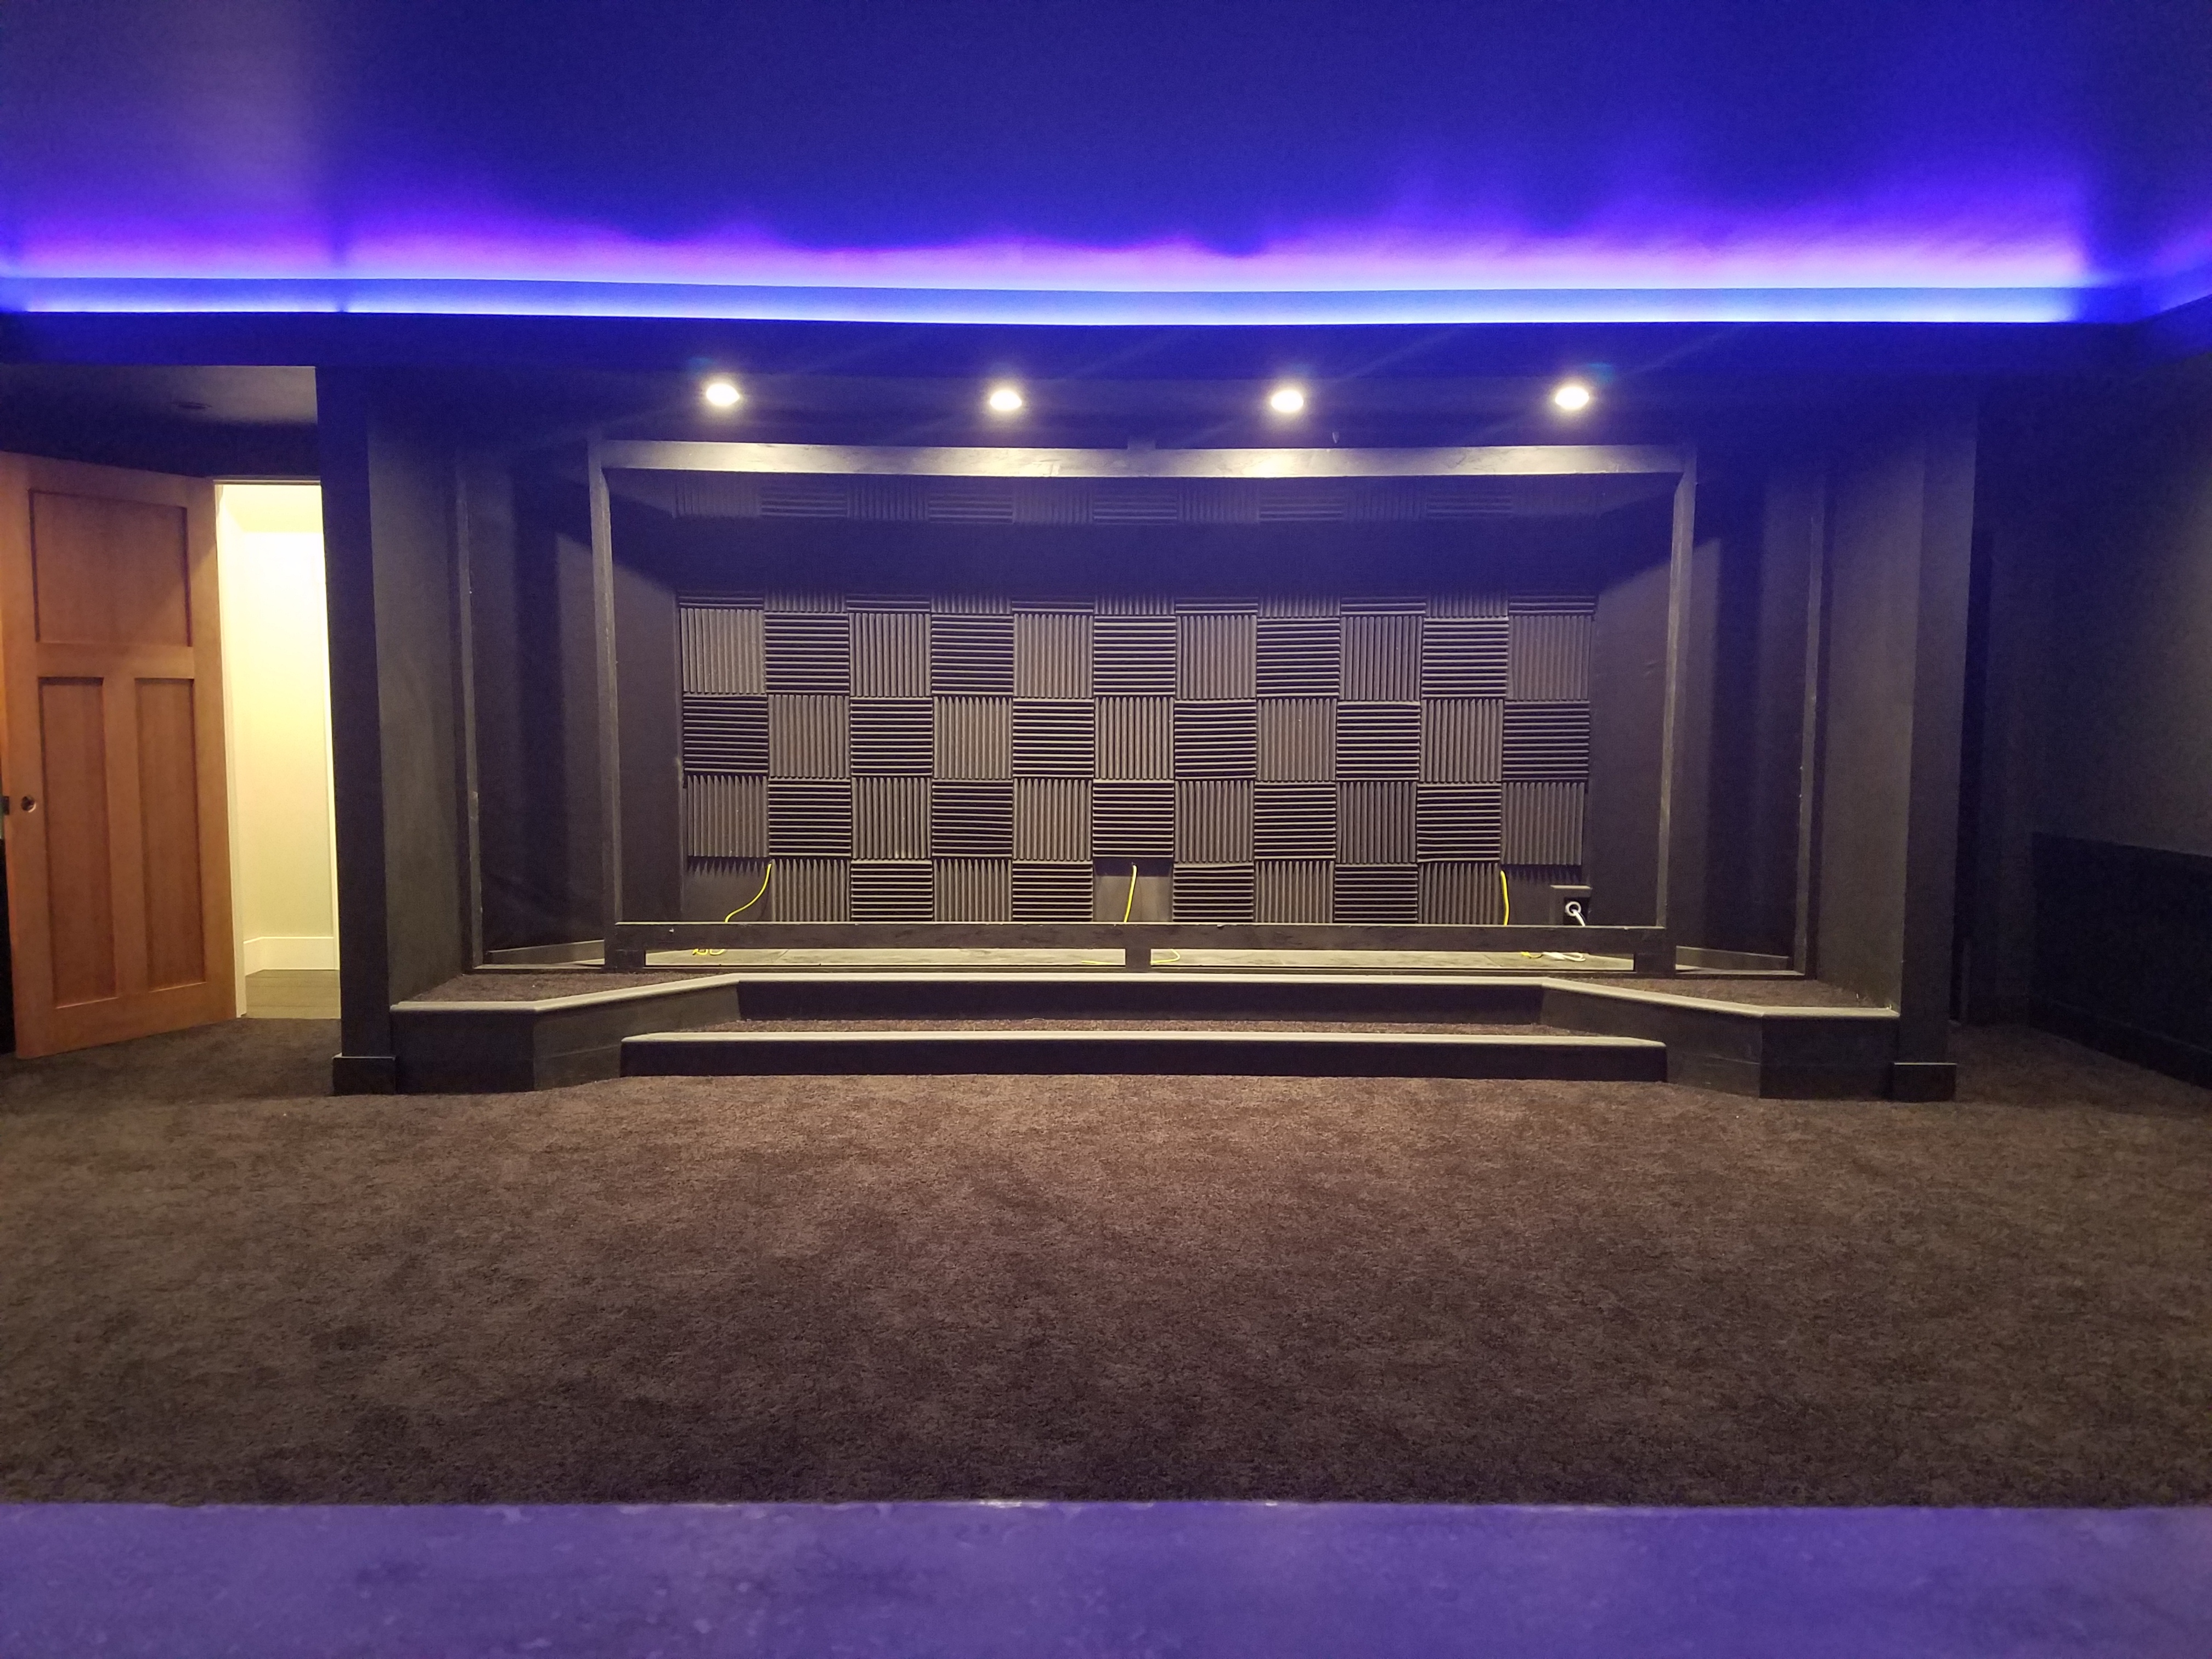
Home Theater Stage

Home Theater Stage

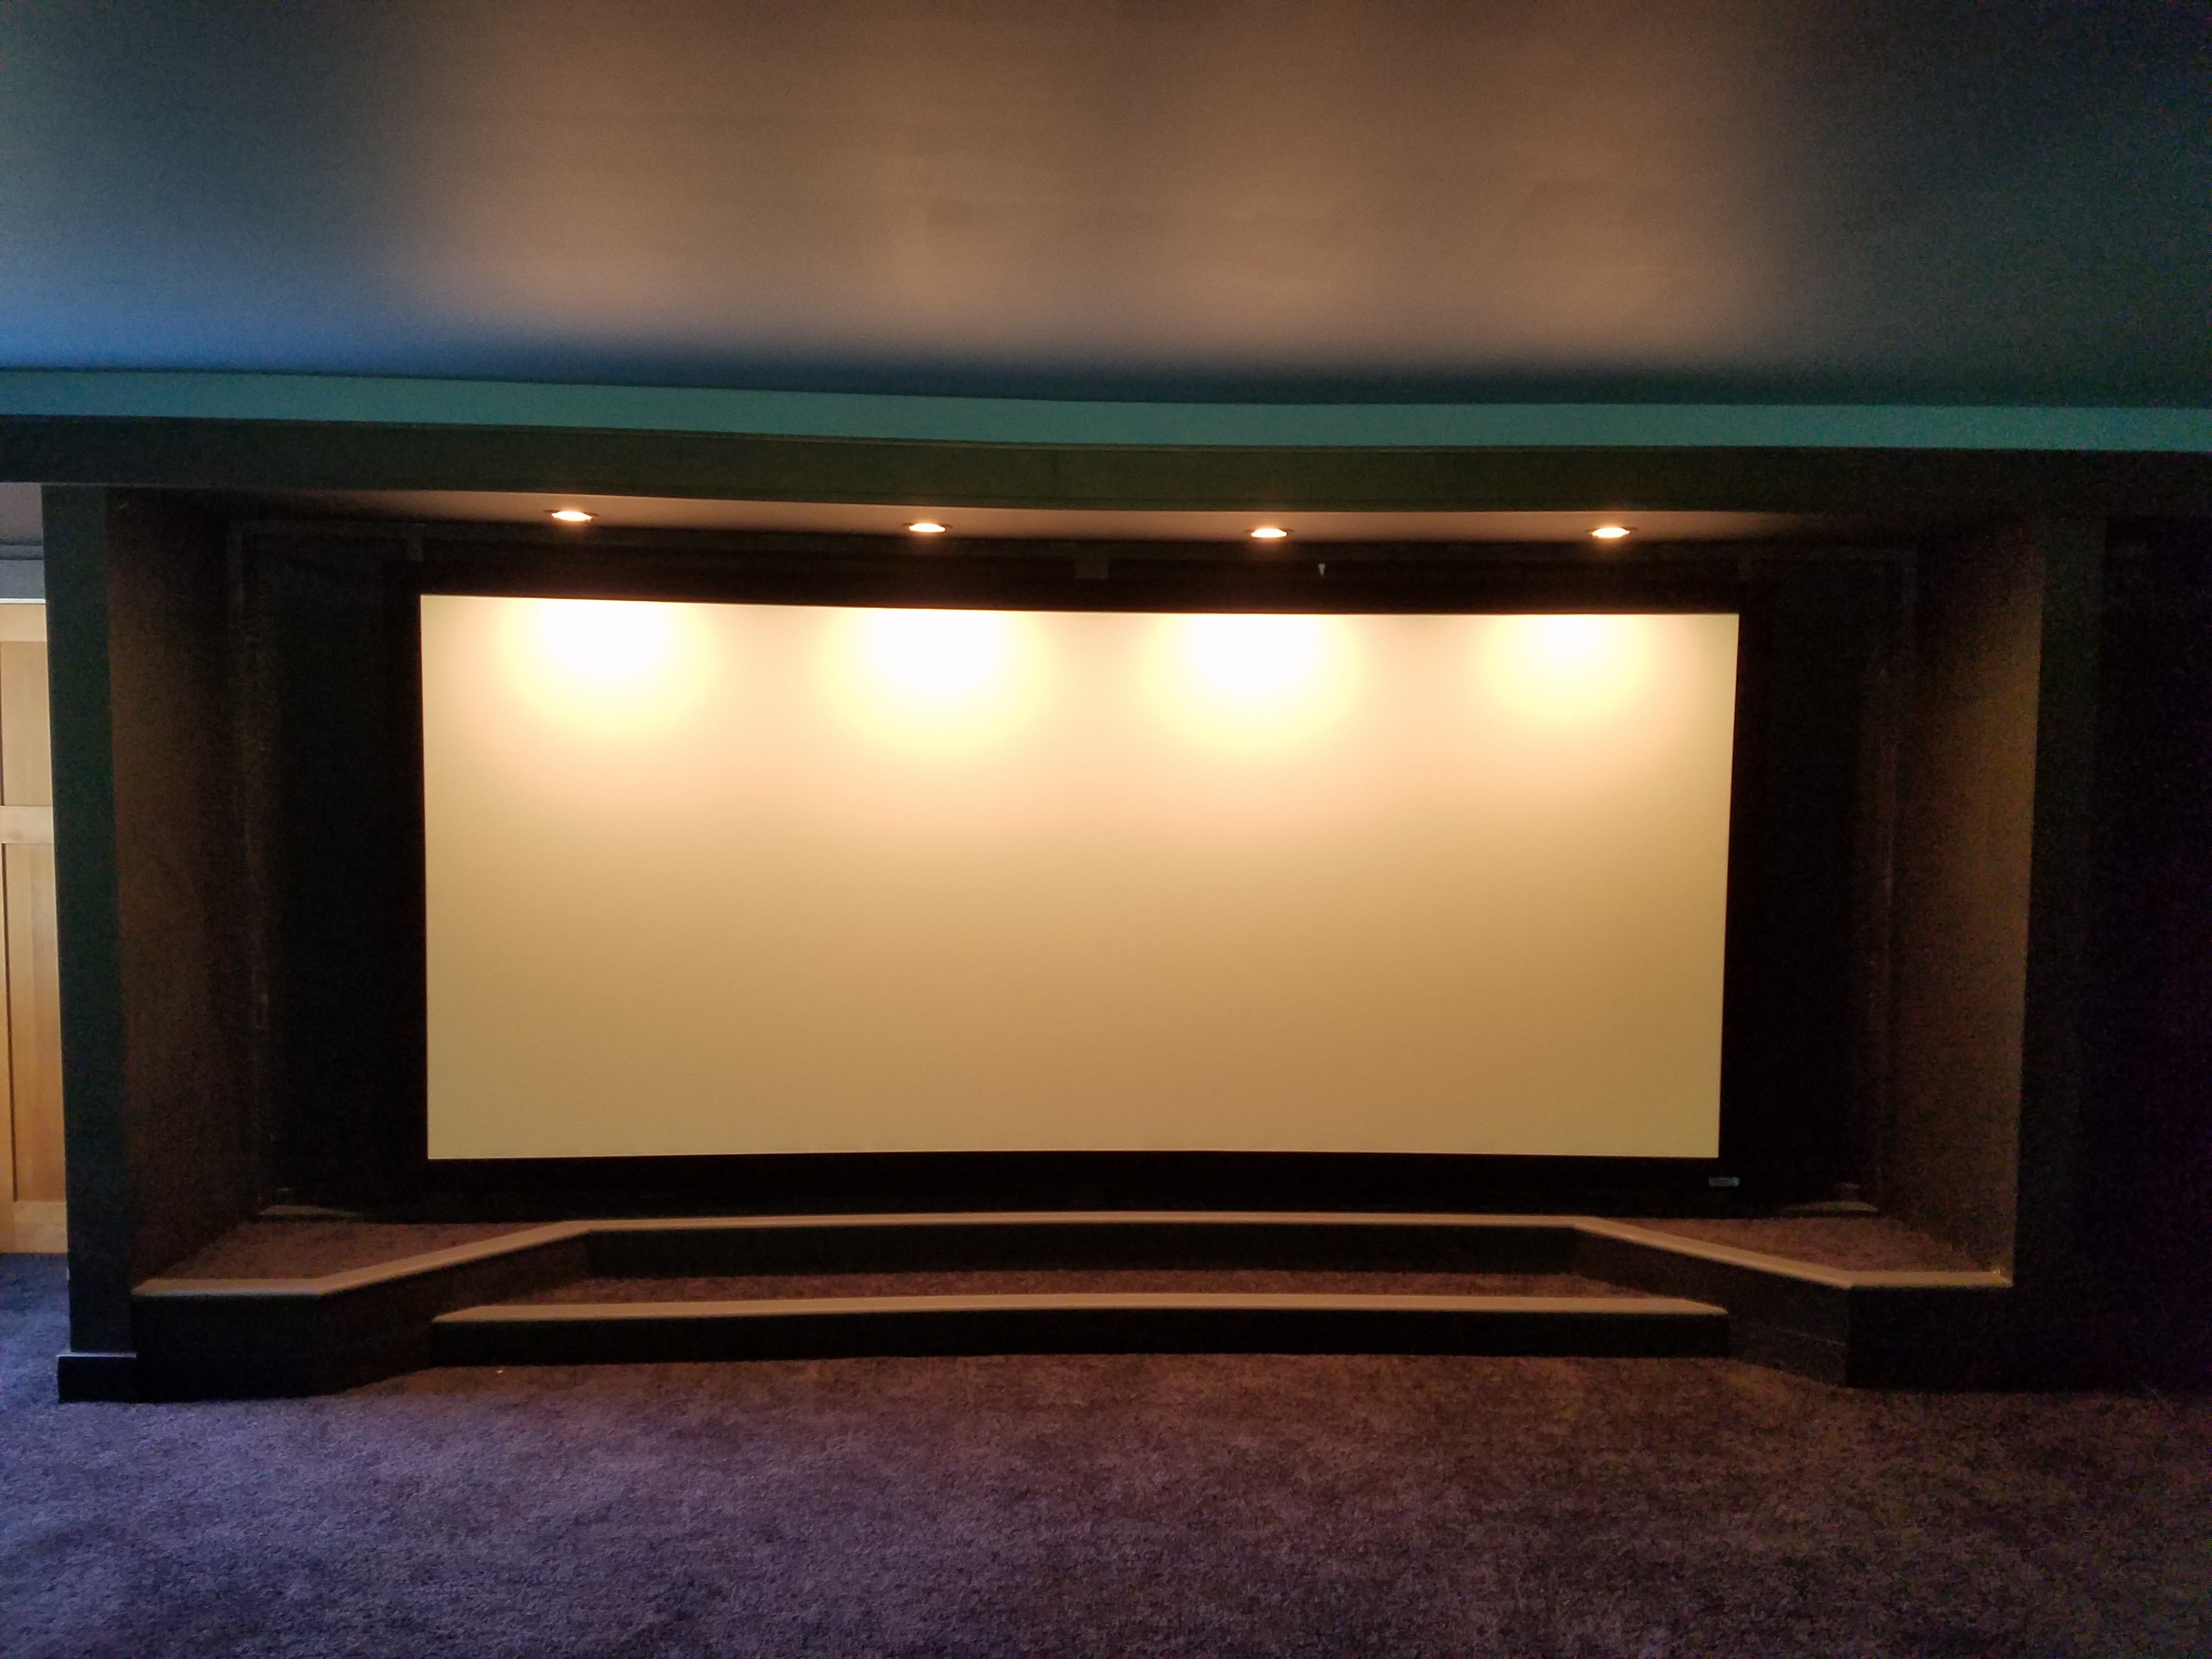
Screen

Screen

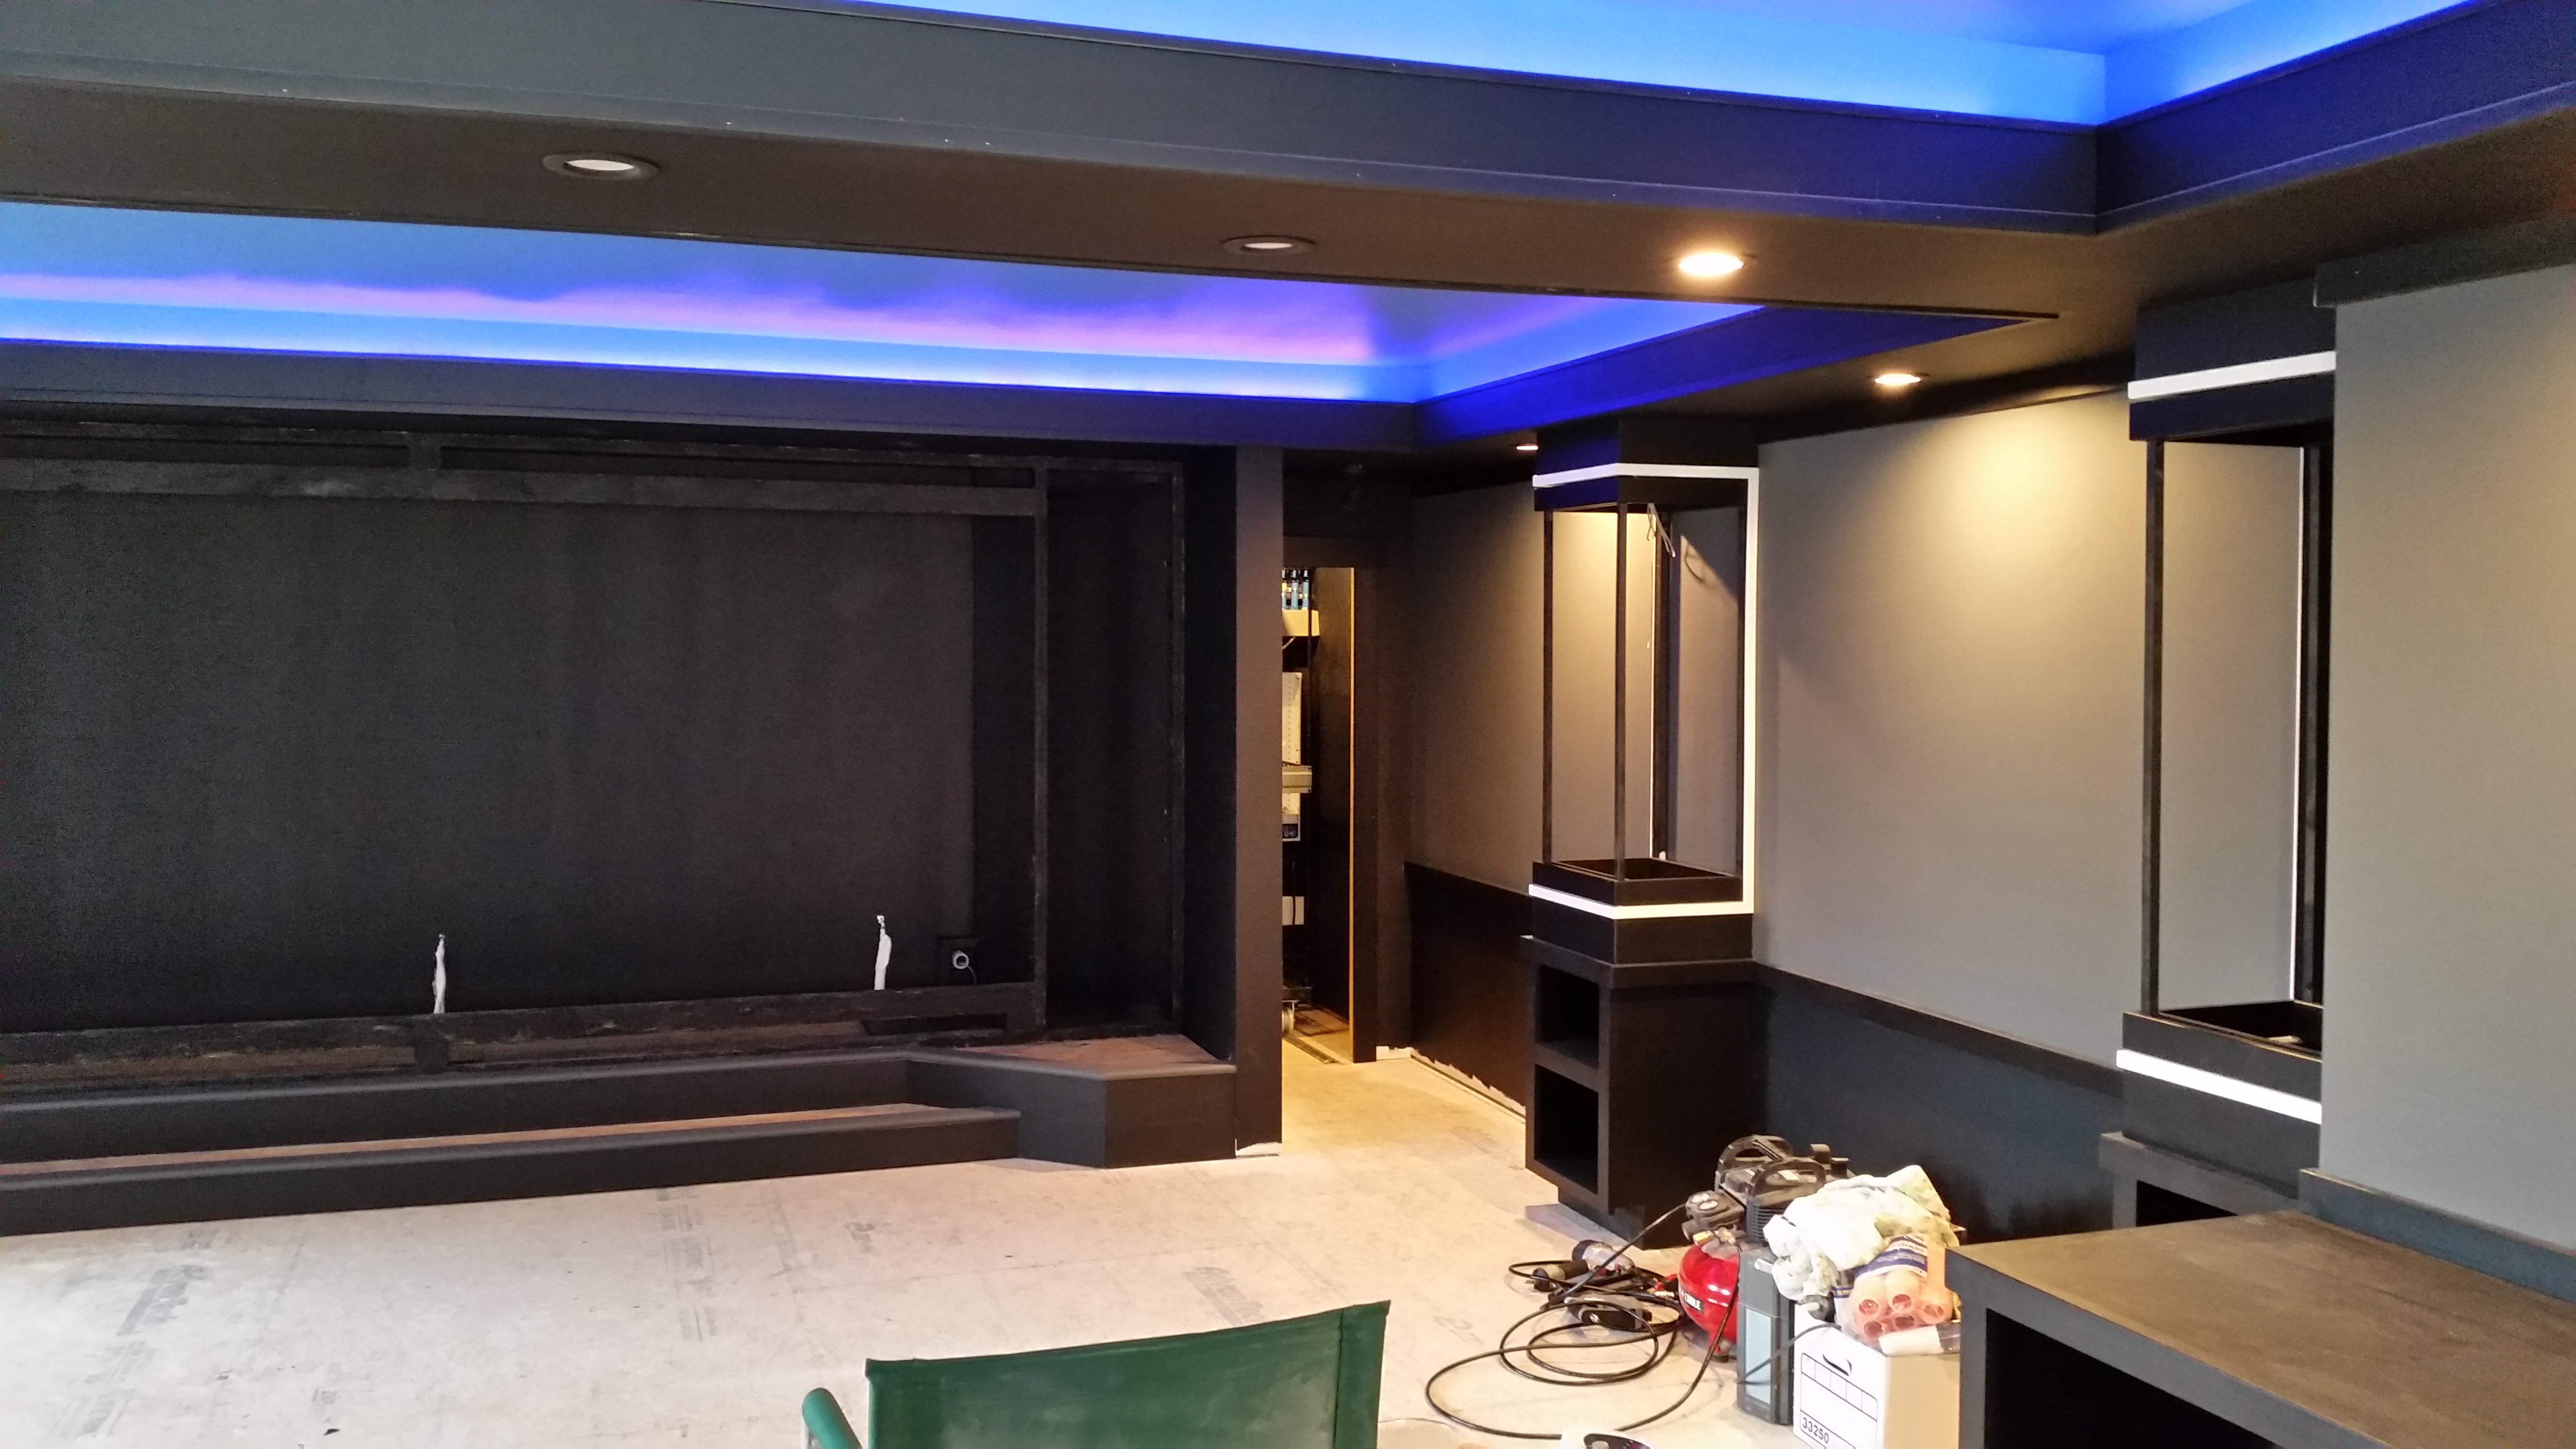
The final coats of paint and carpet inserts are all that is left.  Fill in the step and the sides of the stage with the same carpet that you use for the floor covering in your theater.  This gives it a nice clean look.

If you paint the bullnose, use a slightly different color for a little contrast.  You should use flat paint in these areas as you don't want any light reflections from your projector. 

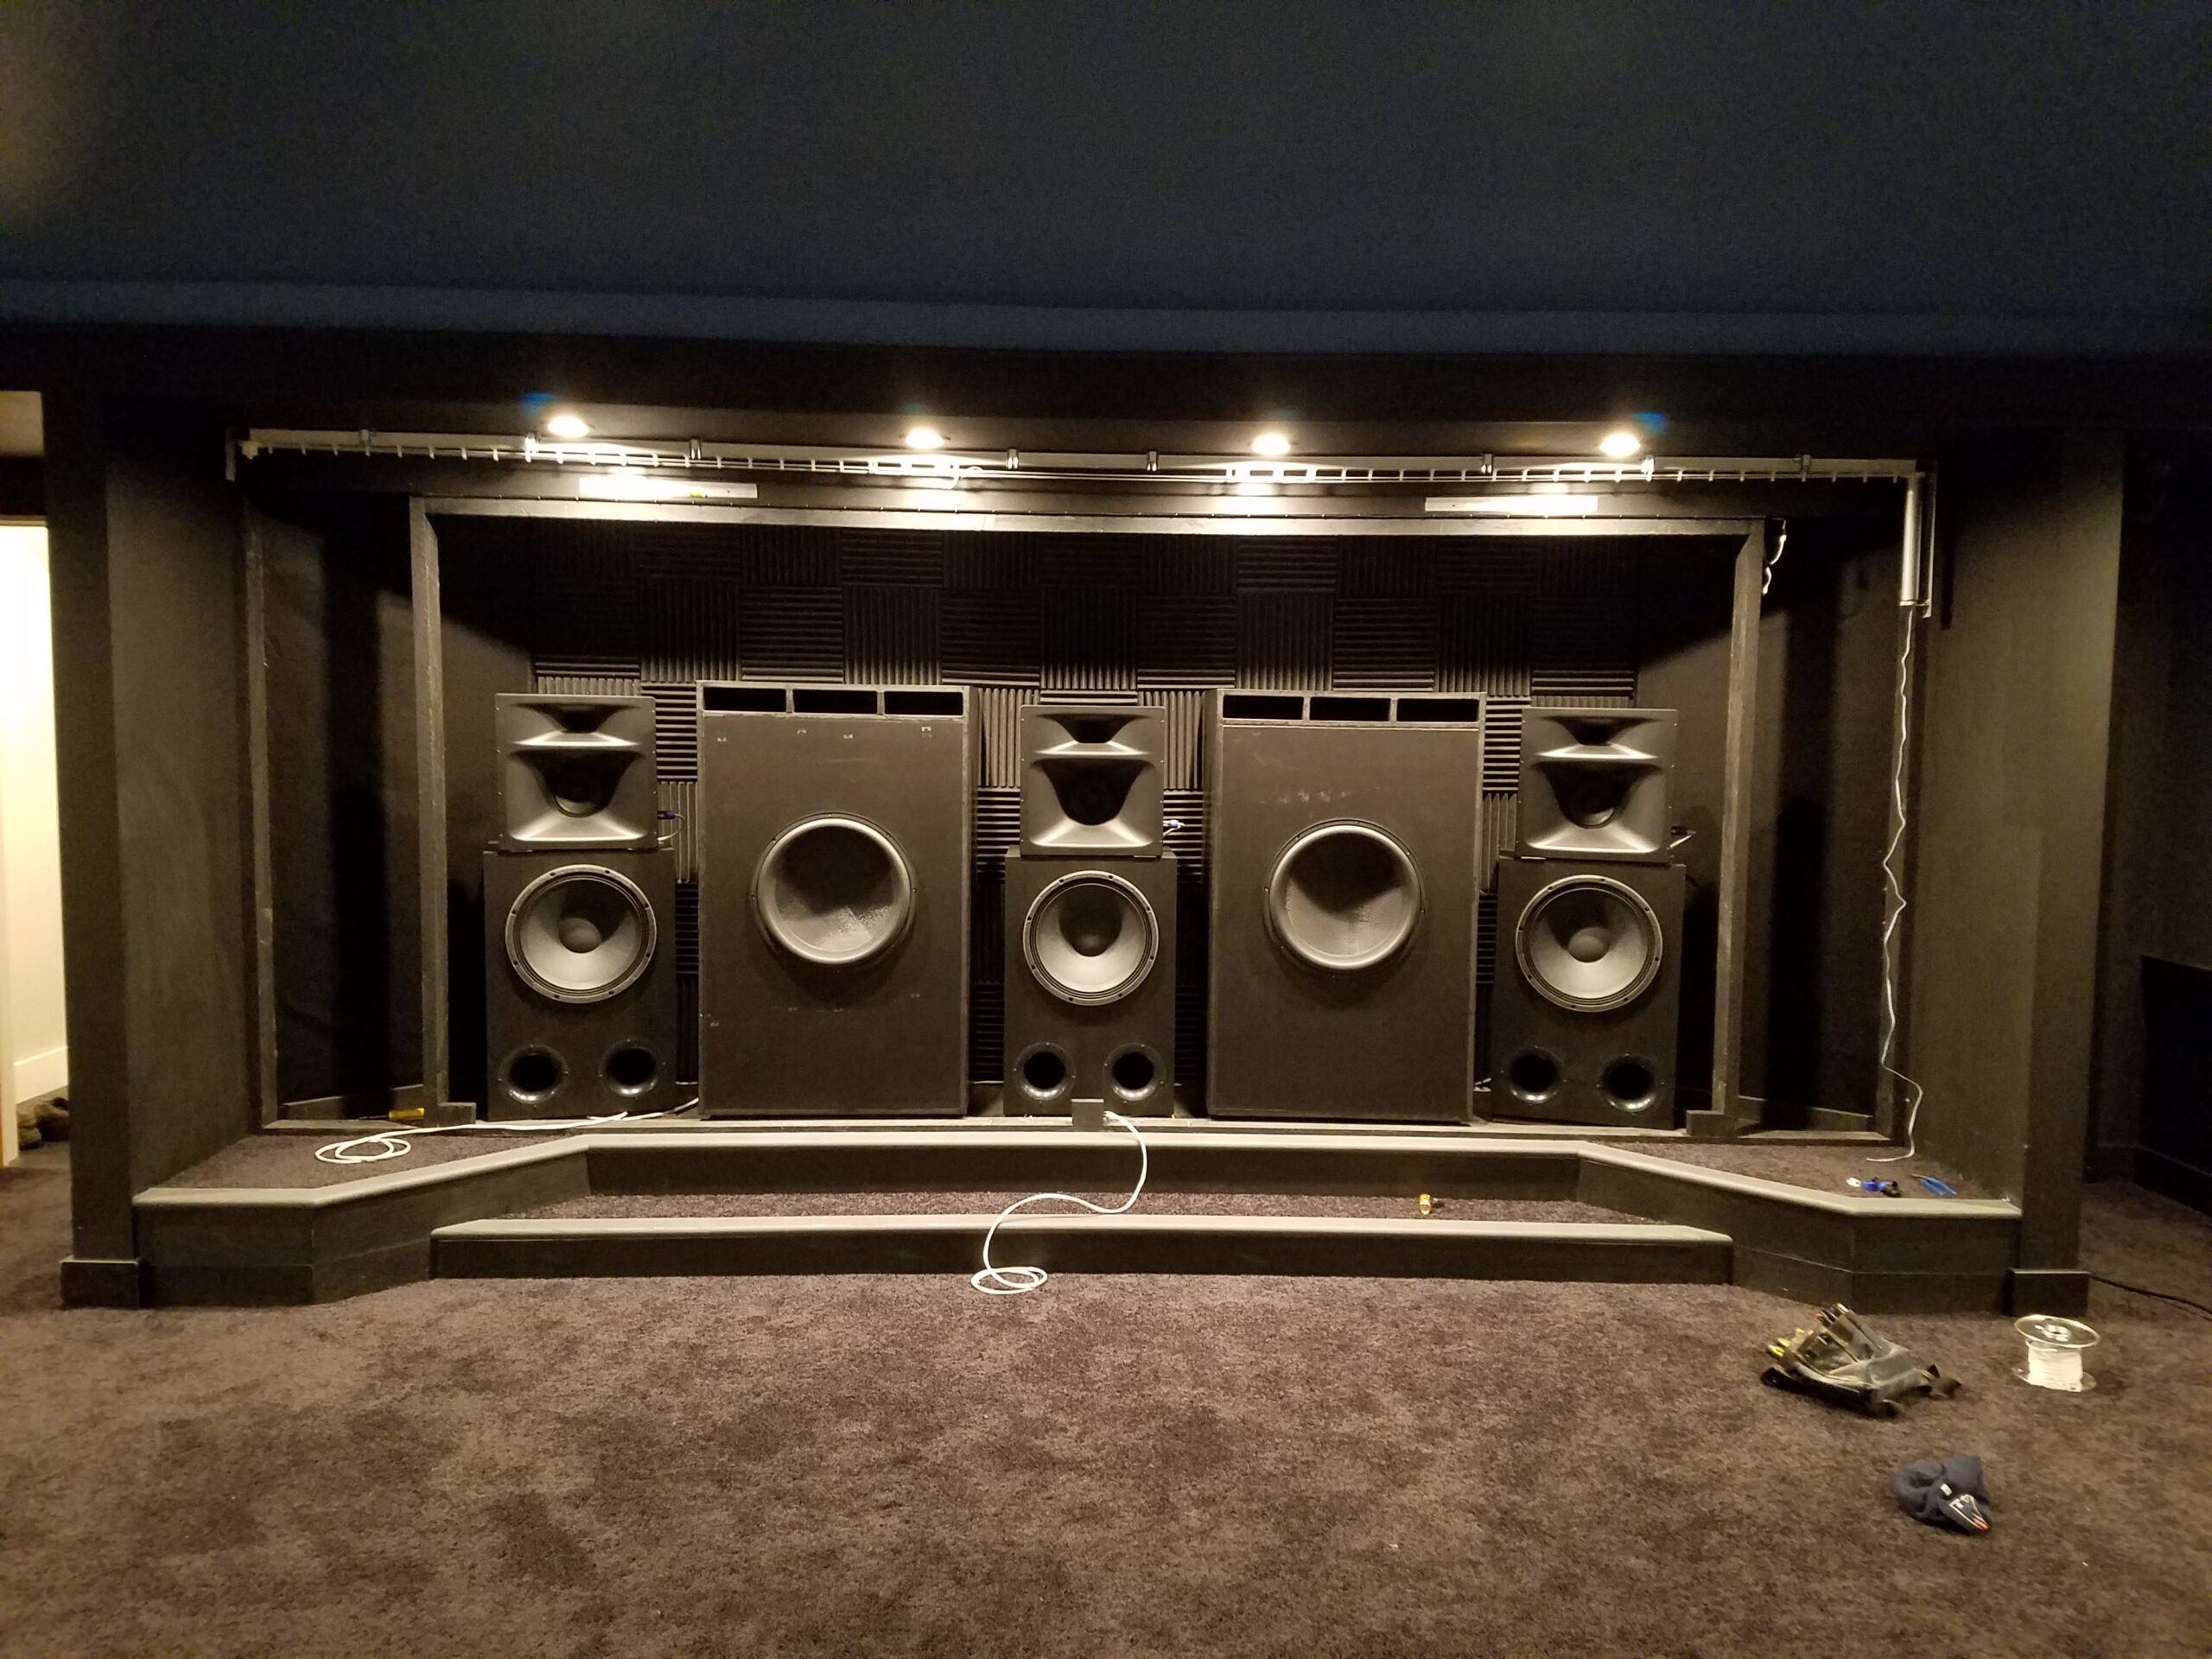
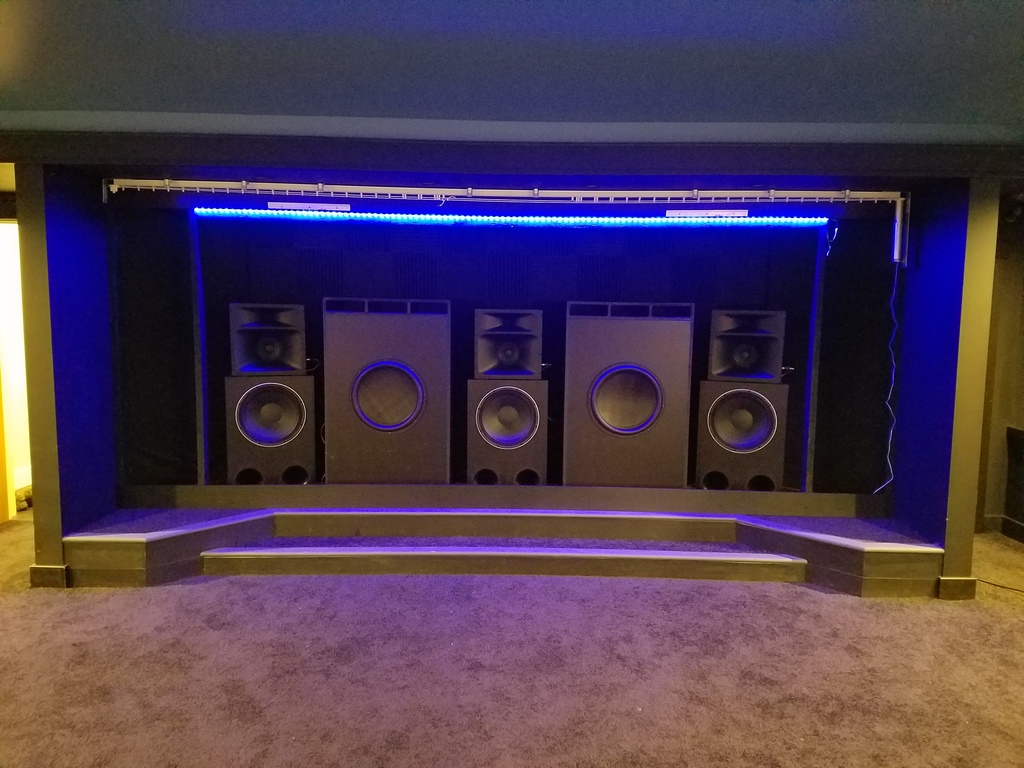
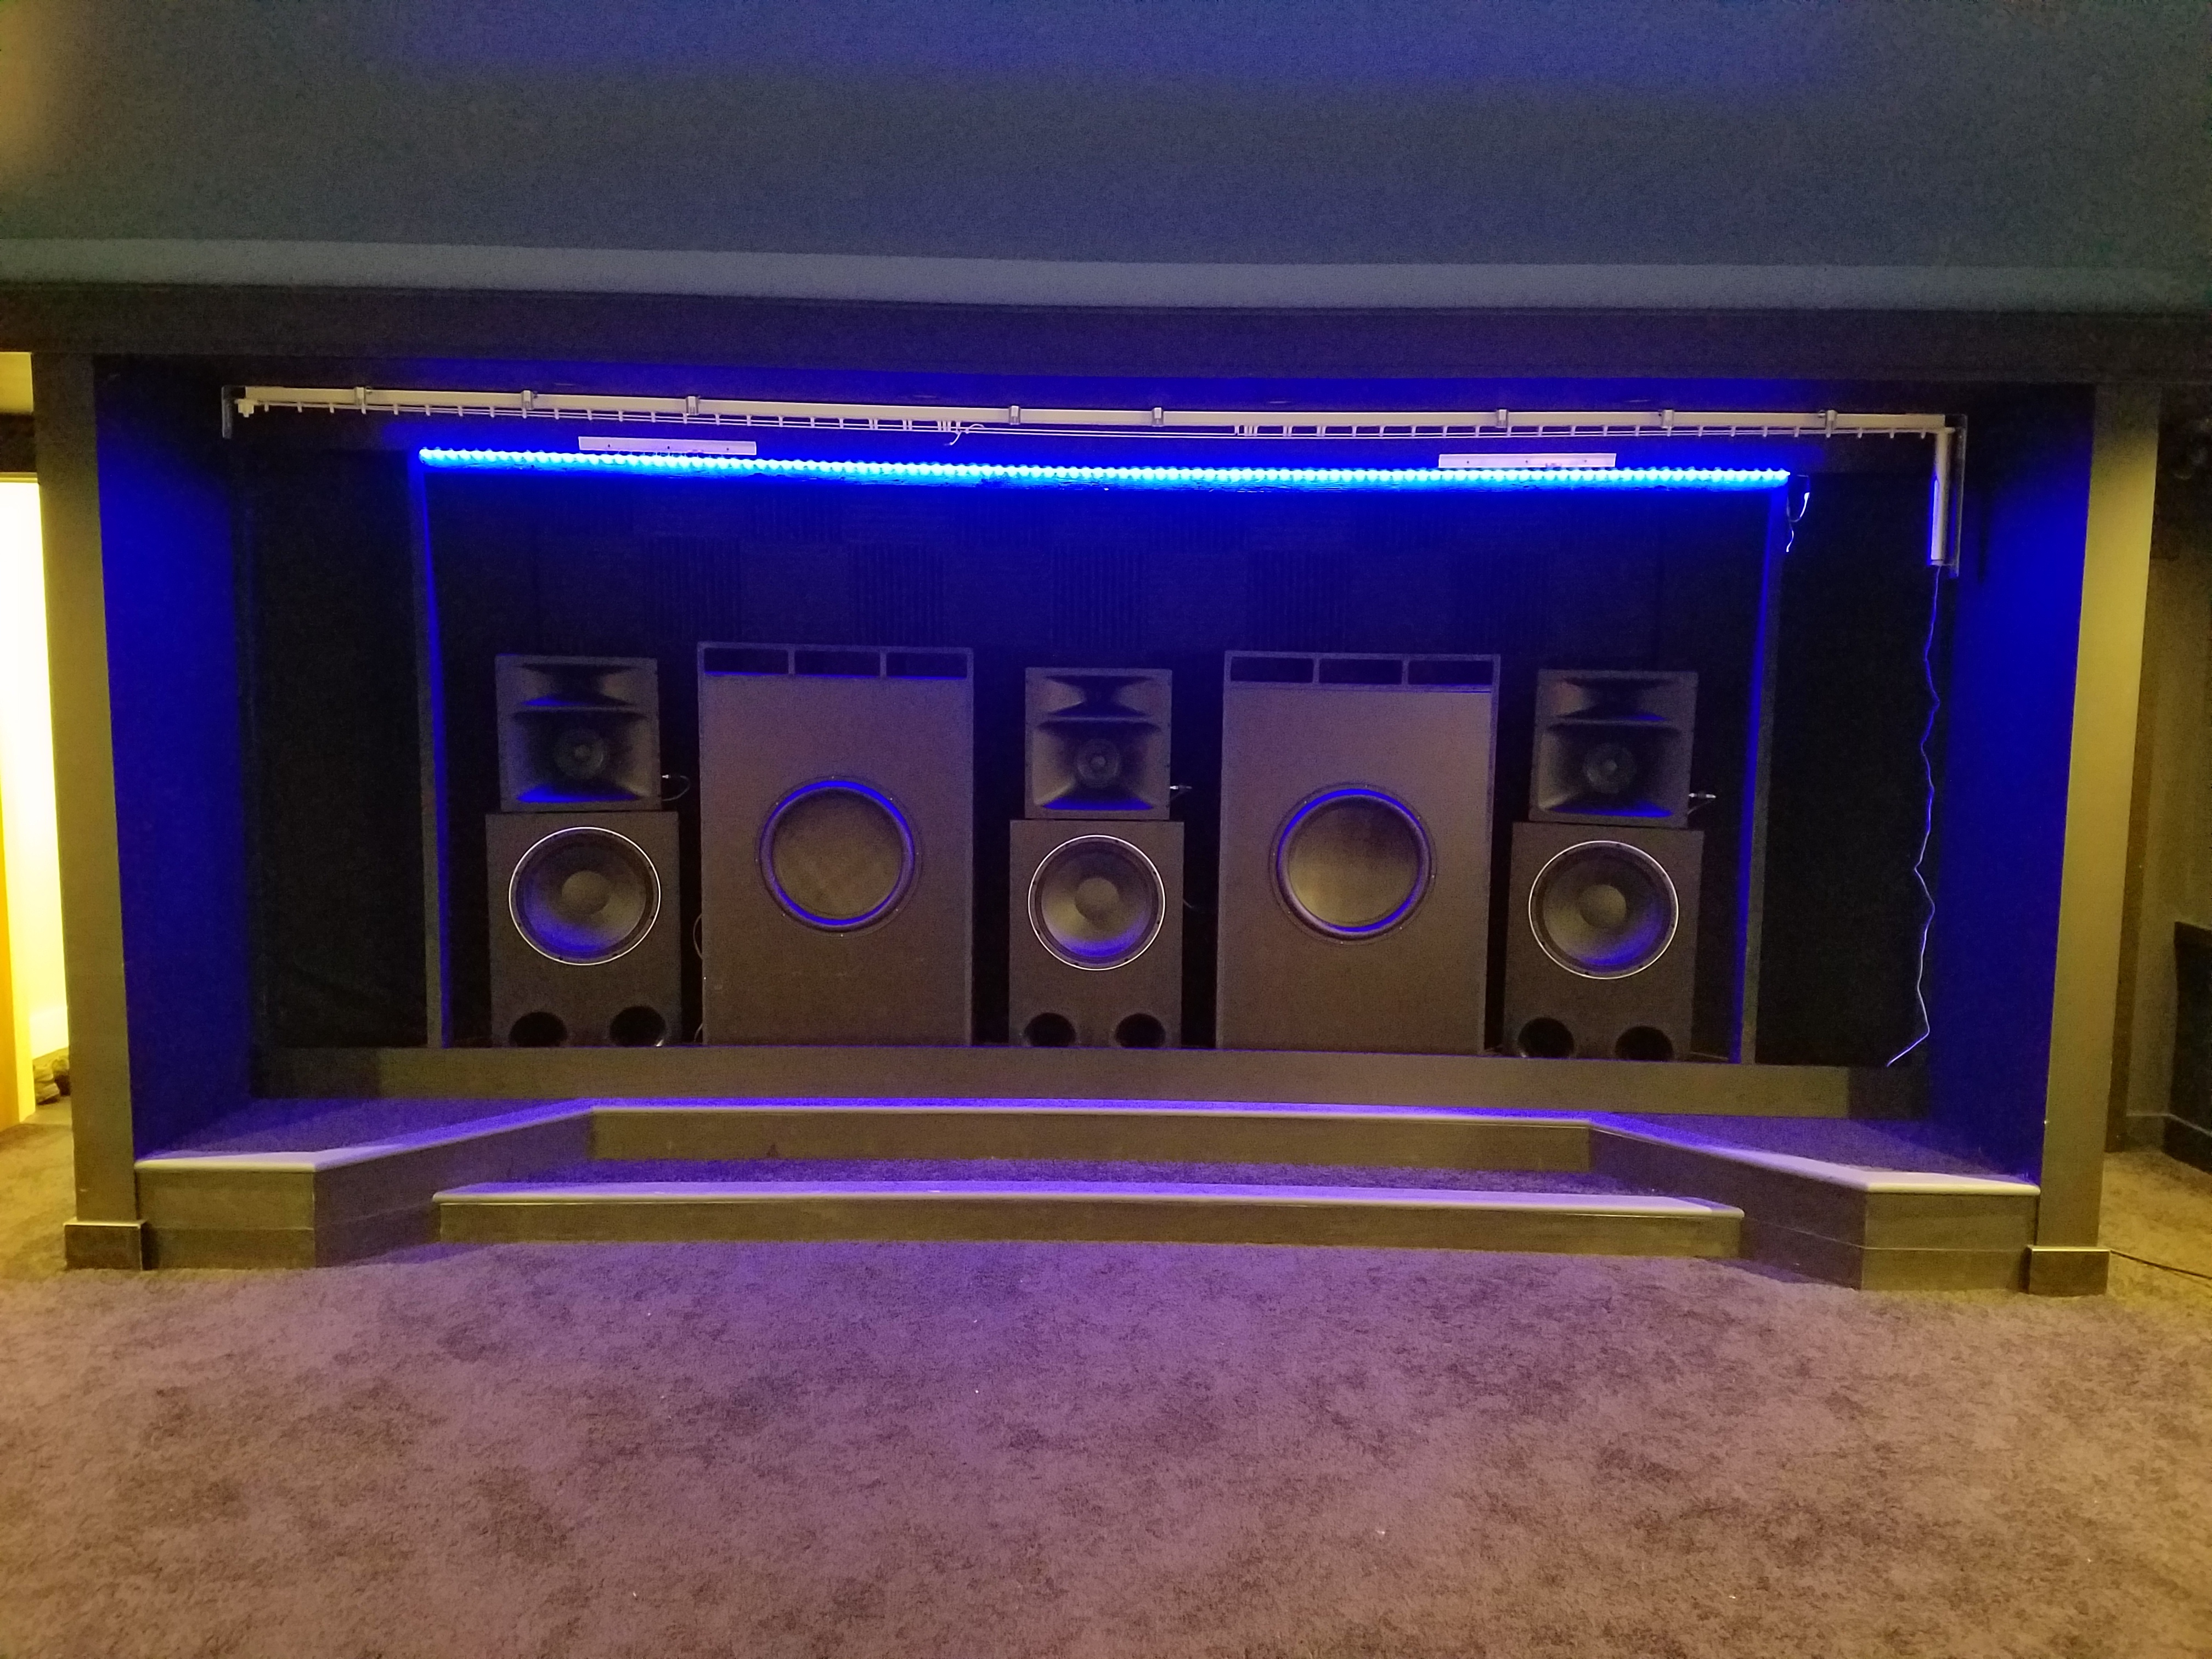
Now it is time to load up your stage with speakers and add a screen and enjoy it. Make sure that you have the additional layer of rubber mat down.  To add yet another layer of isolation, I took scraps, cut out small squares and used those to set the speakers on. 

Conclusion

This setup has worked very well for me.  I can play the speakers and subs you see in the picture above at pretty high levels without getting any complaints from my family in other parts of the house. The walls of the home theater are 6" and are insulated. They have a layer of 1/2" OSB and a layer of 1/2"drywall.  I didn't use any isolation clips, acoustic glue between double layers of drywall or any hat channel.

So, if you are building your home theater stage on a second or third floor and can't load it with sand, don't worry.  There is still an effective way to build a stage and isolate sound. 

Digital Movie Poster-Featured Image

DIY Digital Movie Poster- The Best Way to Get Free Original Movie Posters

Digital movie posters add a very unique and custom look to you home theater lobby or any room in your house.  With a little bit of wood, an LCD TV and some free software, you can make your own digital movie poster and have free original move posters displaying in your home.  This document will walk you through the process I used to create mine.  

Continue reading
HTD Lync 6 Whole House Audio System

HTD Lync 6 Whole House Audio System- Installation and Review

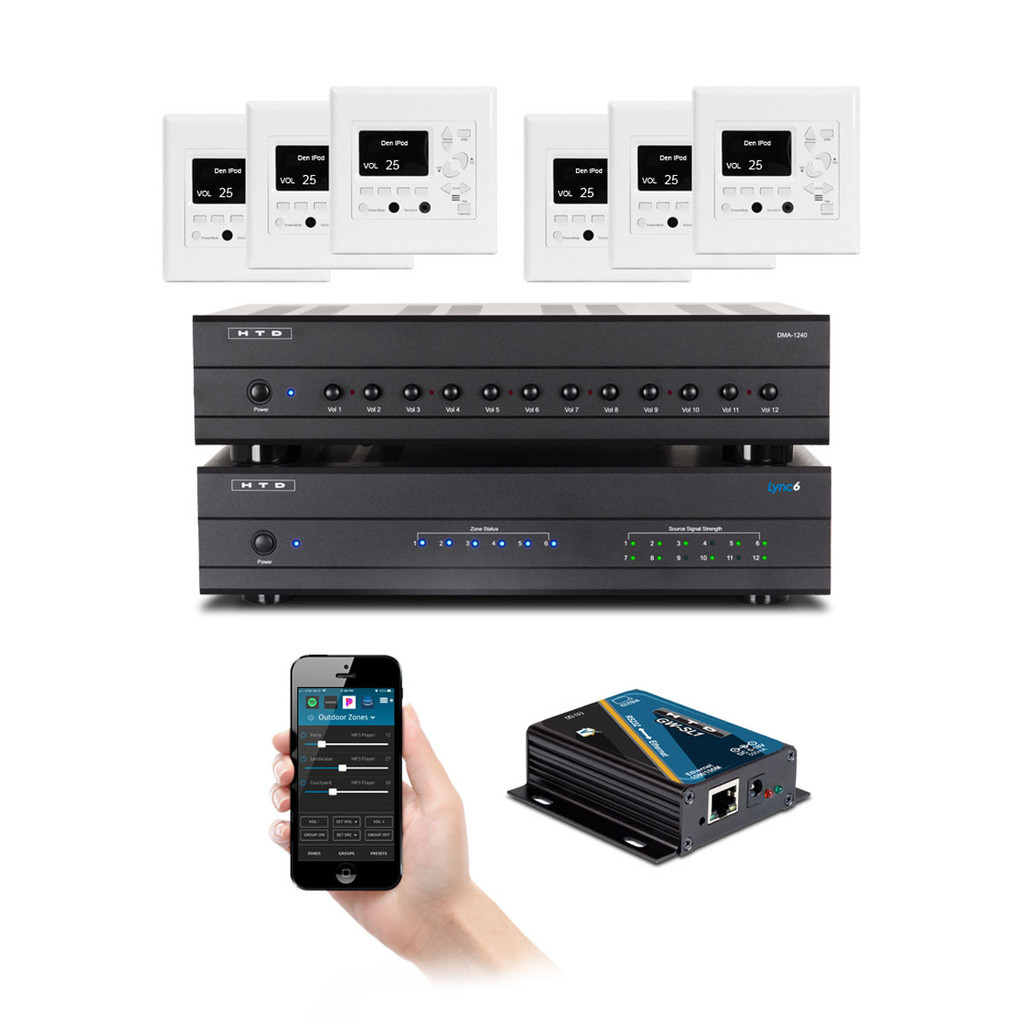
In this post, I review Home Theater Direct's Lync 6 whole house audio system. I purchased this system myself.  I was not given to me, nor do I have any affiliation with Home Theater Direct.  I installed this system in my own home.

HTD Lync 6 Purchasing Process

I purchased everything from their website https://www.htd.com, during a 10% off 20th anniversary sale they were running.  I didn't remember them ever having a site wide sale, so I took the opportunity to purchase my whole house audio system.  

The purchasing process went pretty smoothly.  The only issue I had was that the confirmation email that I received said that I should be notified of it shipping within 24 hours but 48 hours later I hadn't received anything.  I sent an email from them and got a quick response indicating that their sale was so successful that their warehouse was behind.  It ended up shipping that day.    

Here is what I purchased: 

They charged a flat fee $45 for shipping. 

HTD's Packaging
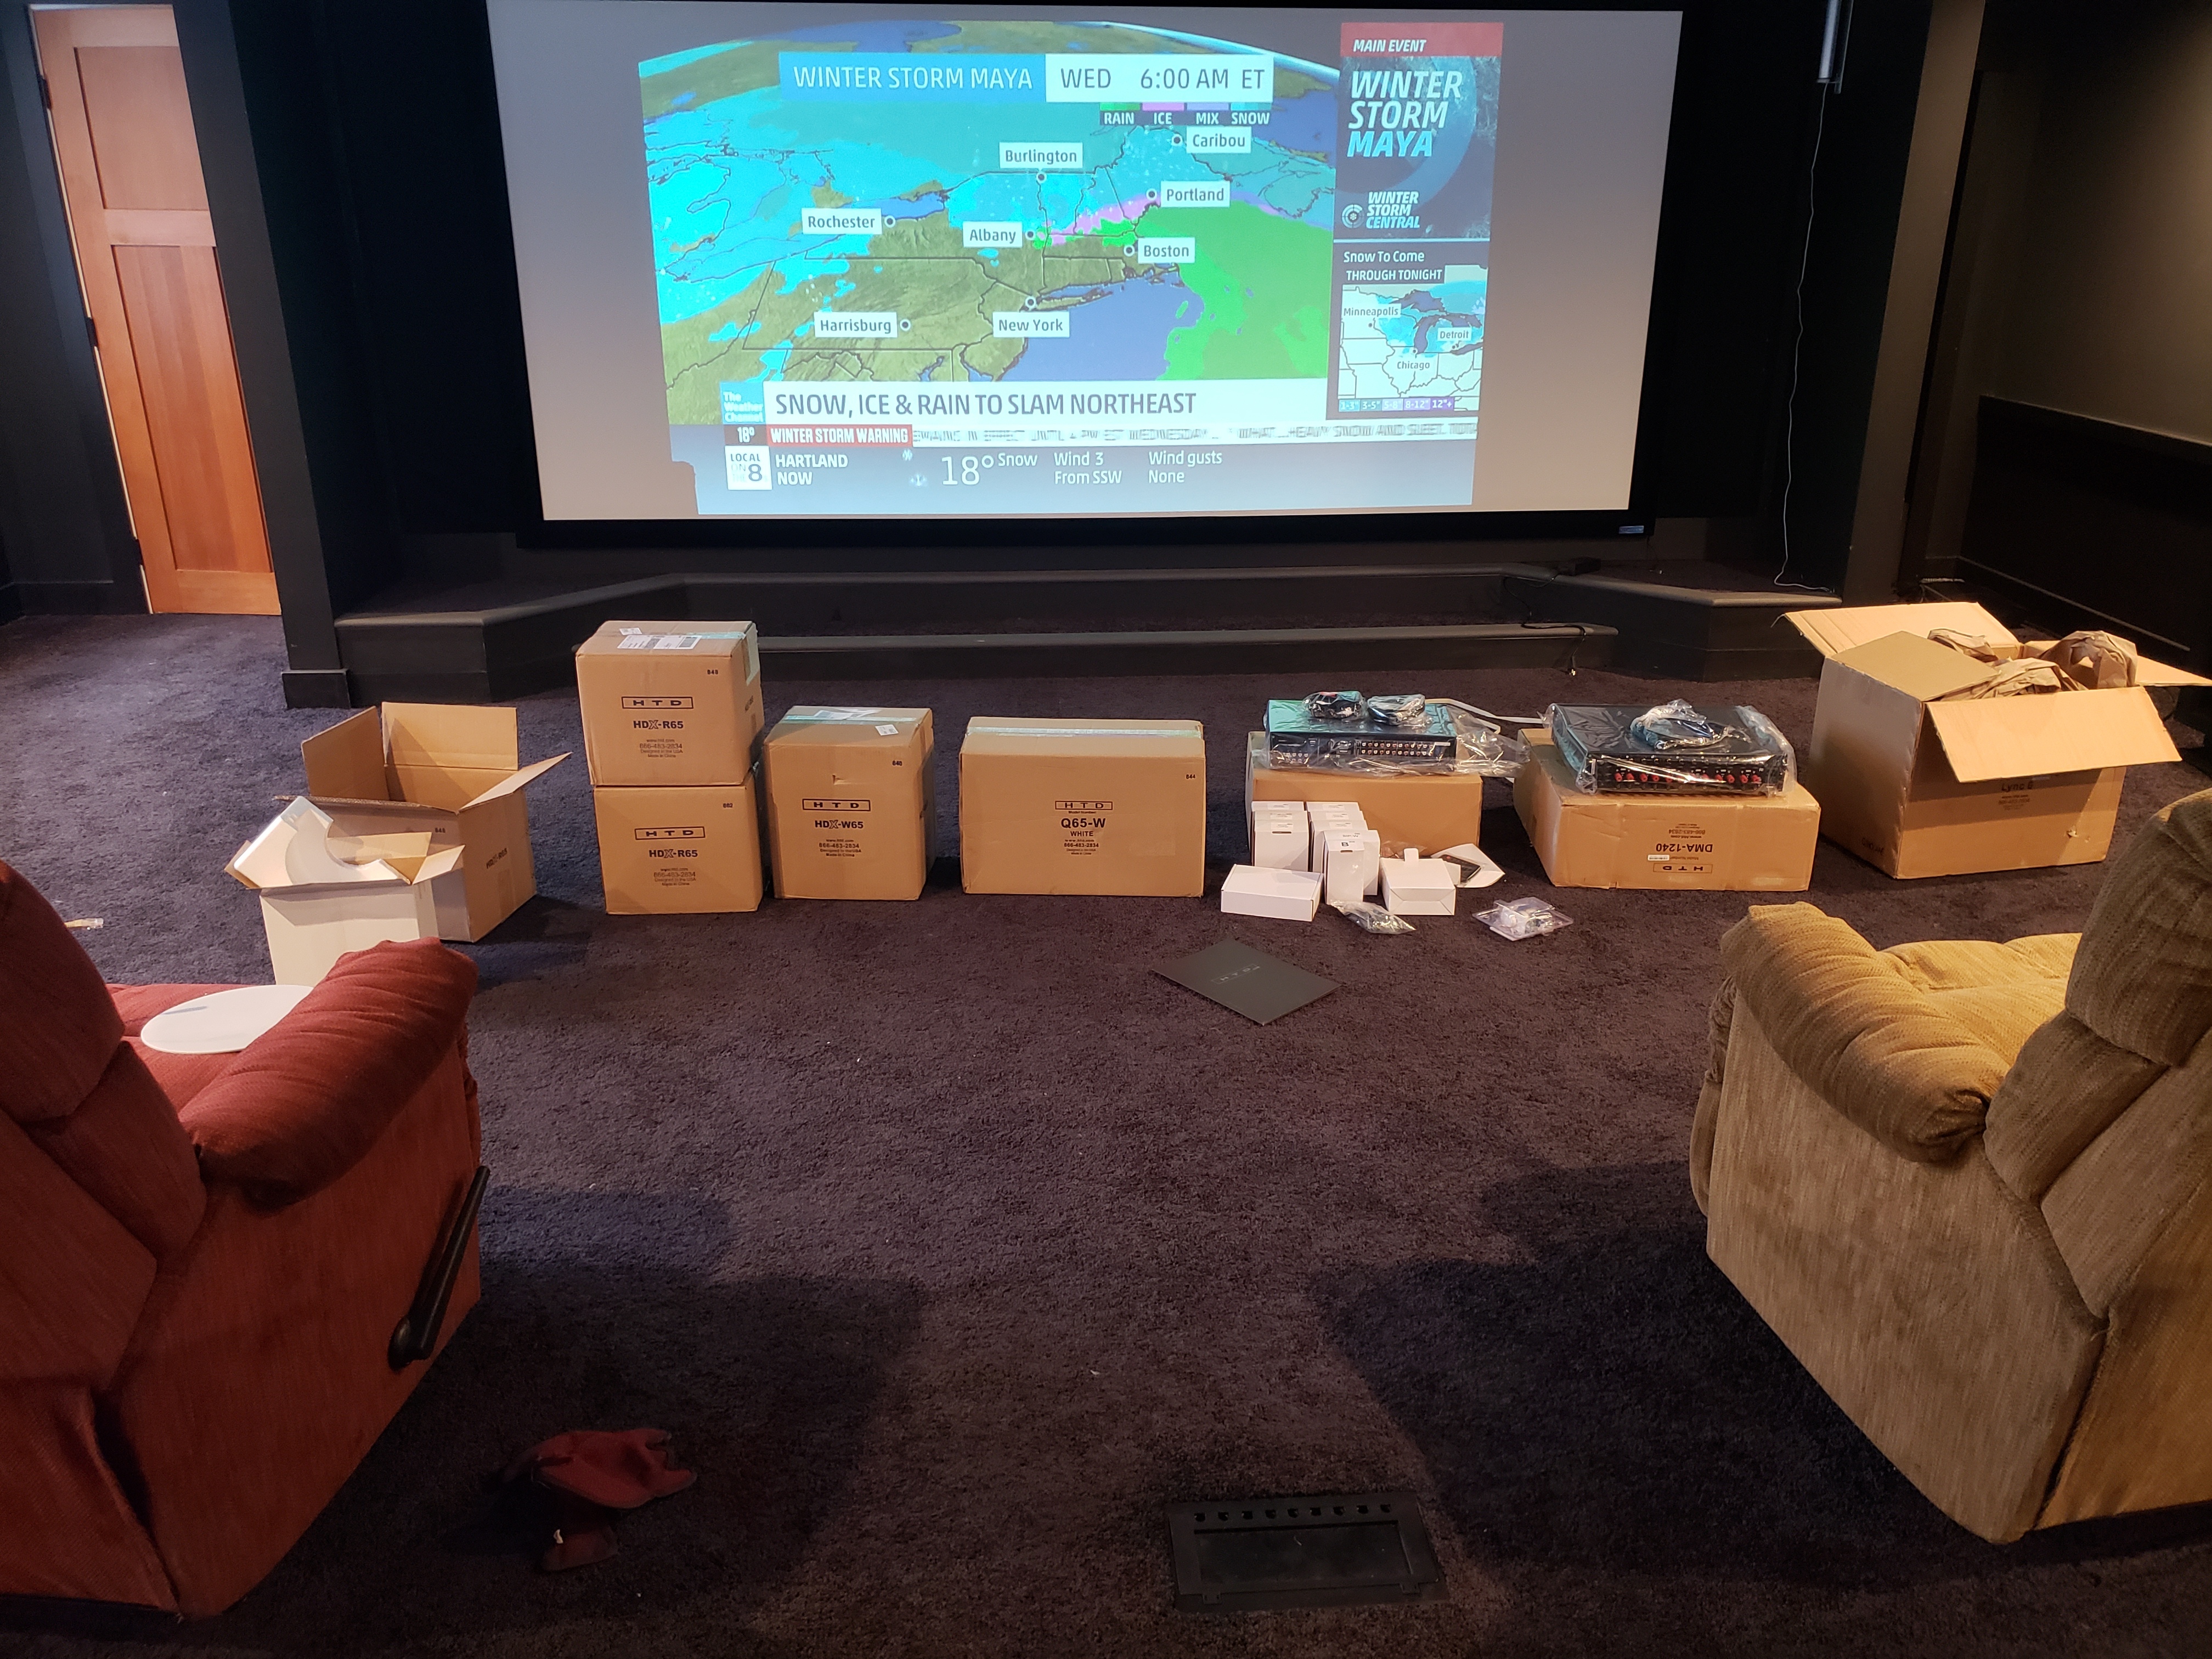
HTD Lync 6 Packaging

HTD Lync 6 Packaging

The shipment arrived a few business day after getting the shipping notification.  It came in 7 boxes. One box for each pair of speakers, one box for the amp and one box with the controller and all of the other accessories.  Everything was at least double boxed and the outside boxes were double walled cardboard.  All of the larger components were in dense Styrofoam.   

Here is a quick video I took of the packaging:    

Installing the Lync 6 System

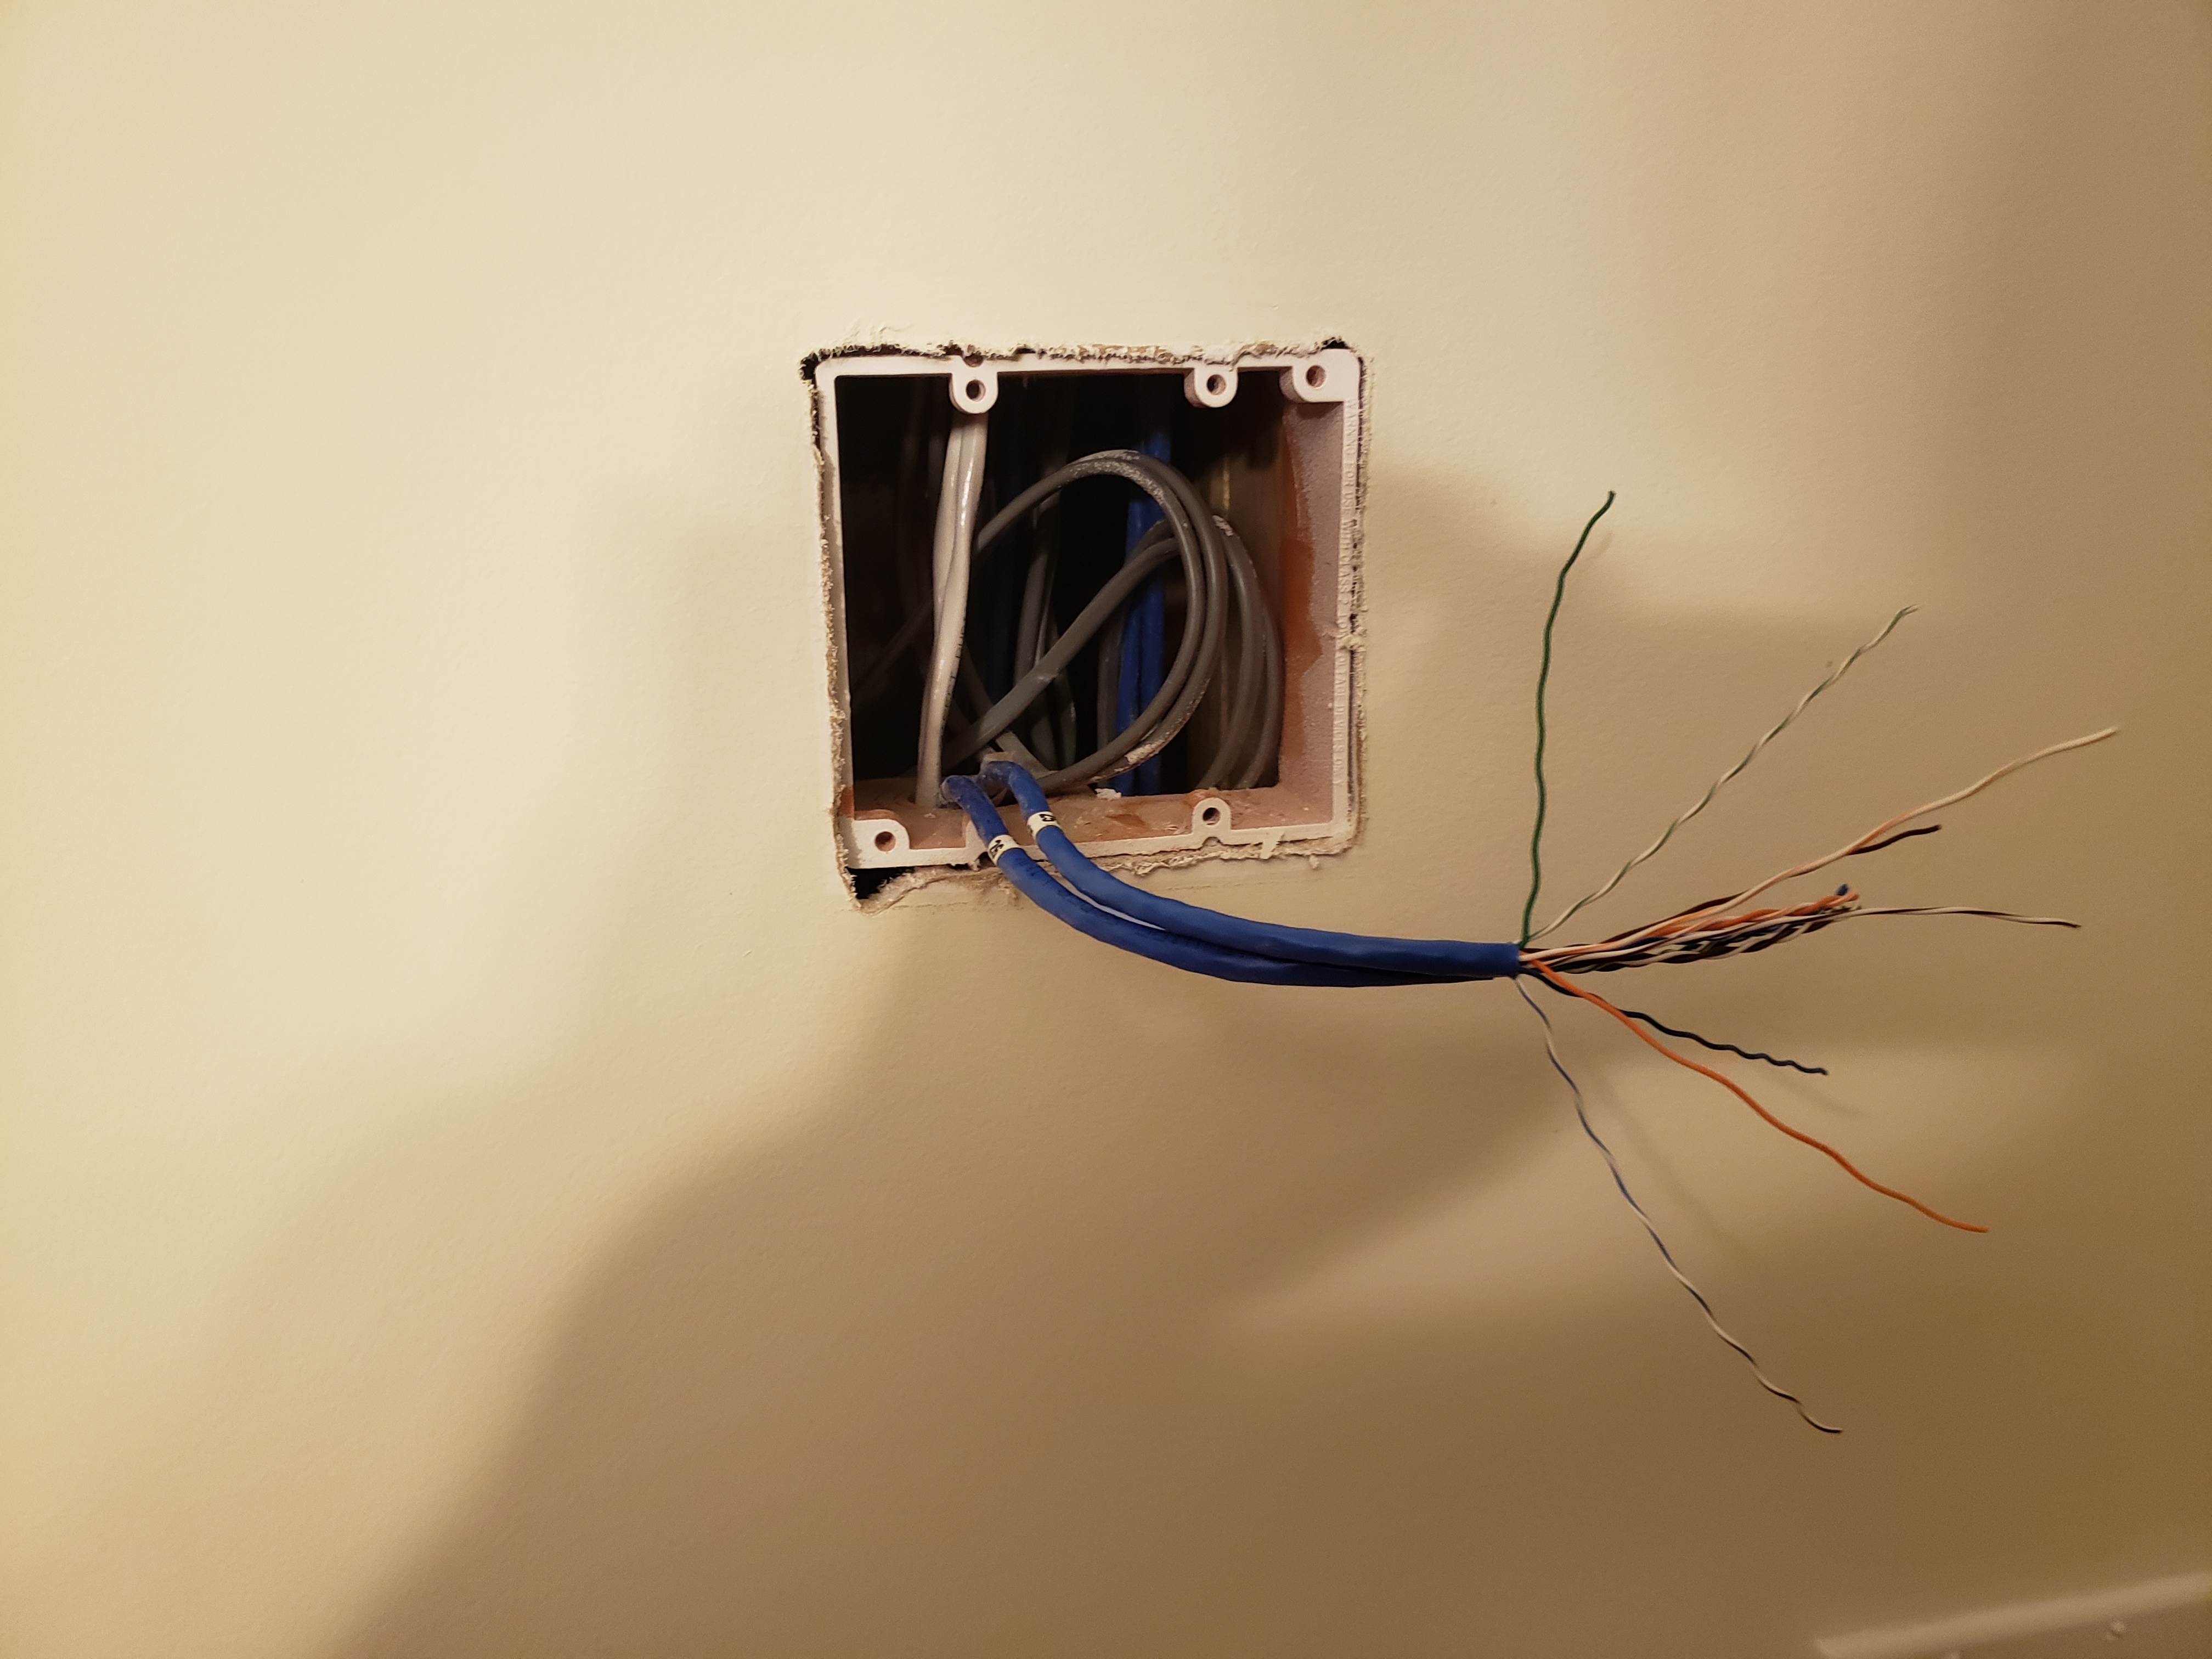
When we built our house in 2014 I pre-wired it for a wired whole house audio system.  This made it pretty straight forward to install this system.  I already had speaker wire running to all speaker locations and CAT 6 running to each keypad location.  These all ran back to my Leviton structured media panels in my utility room.    
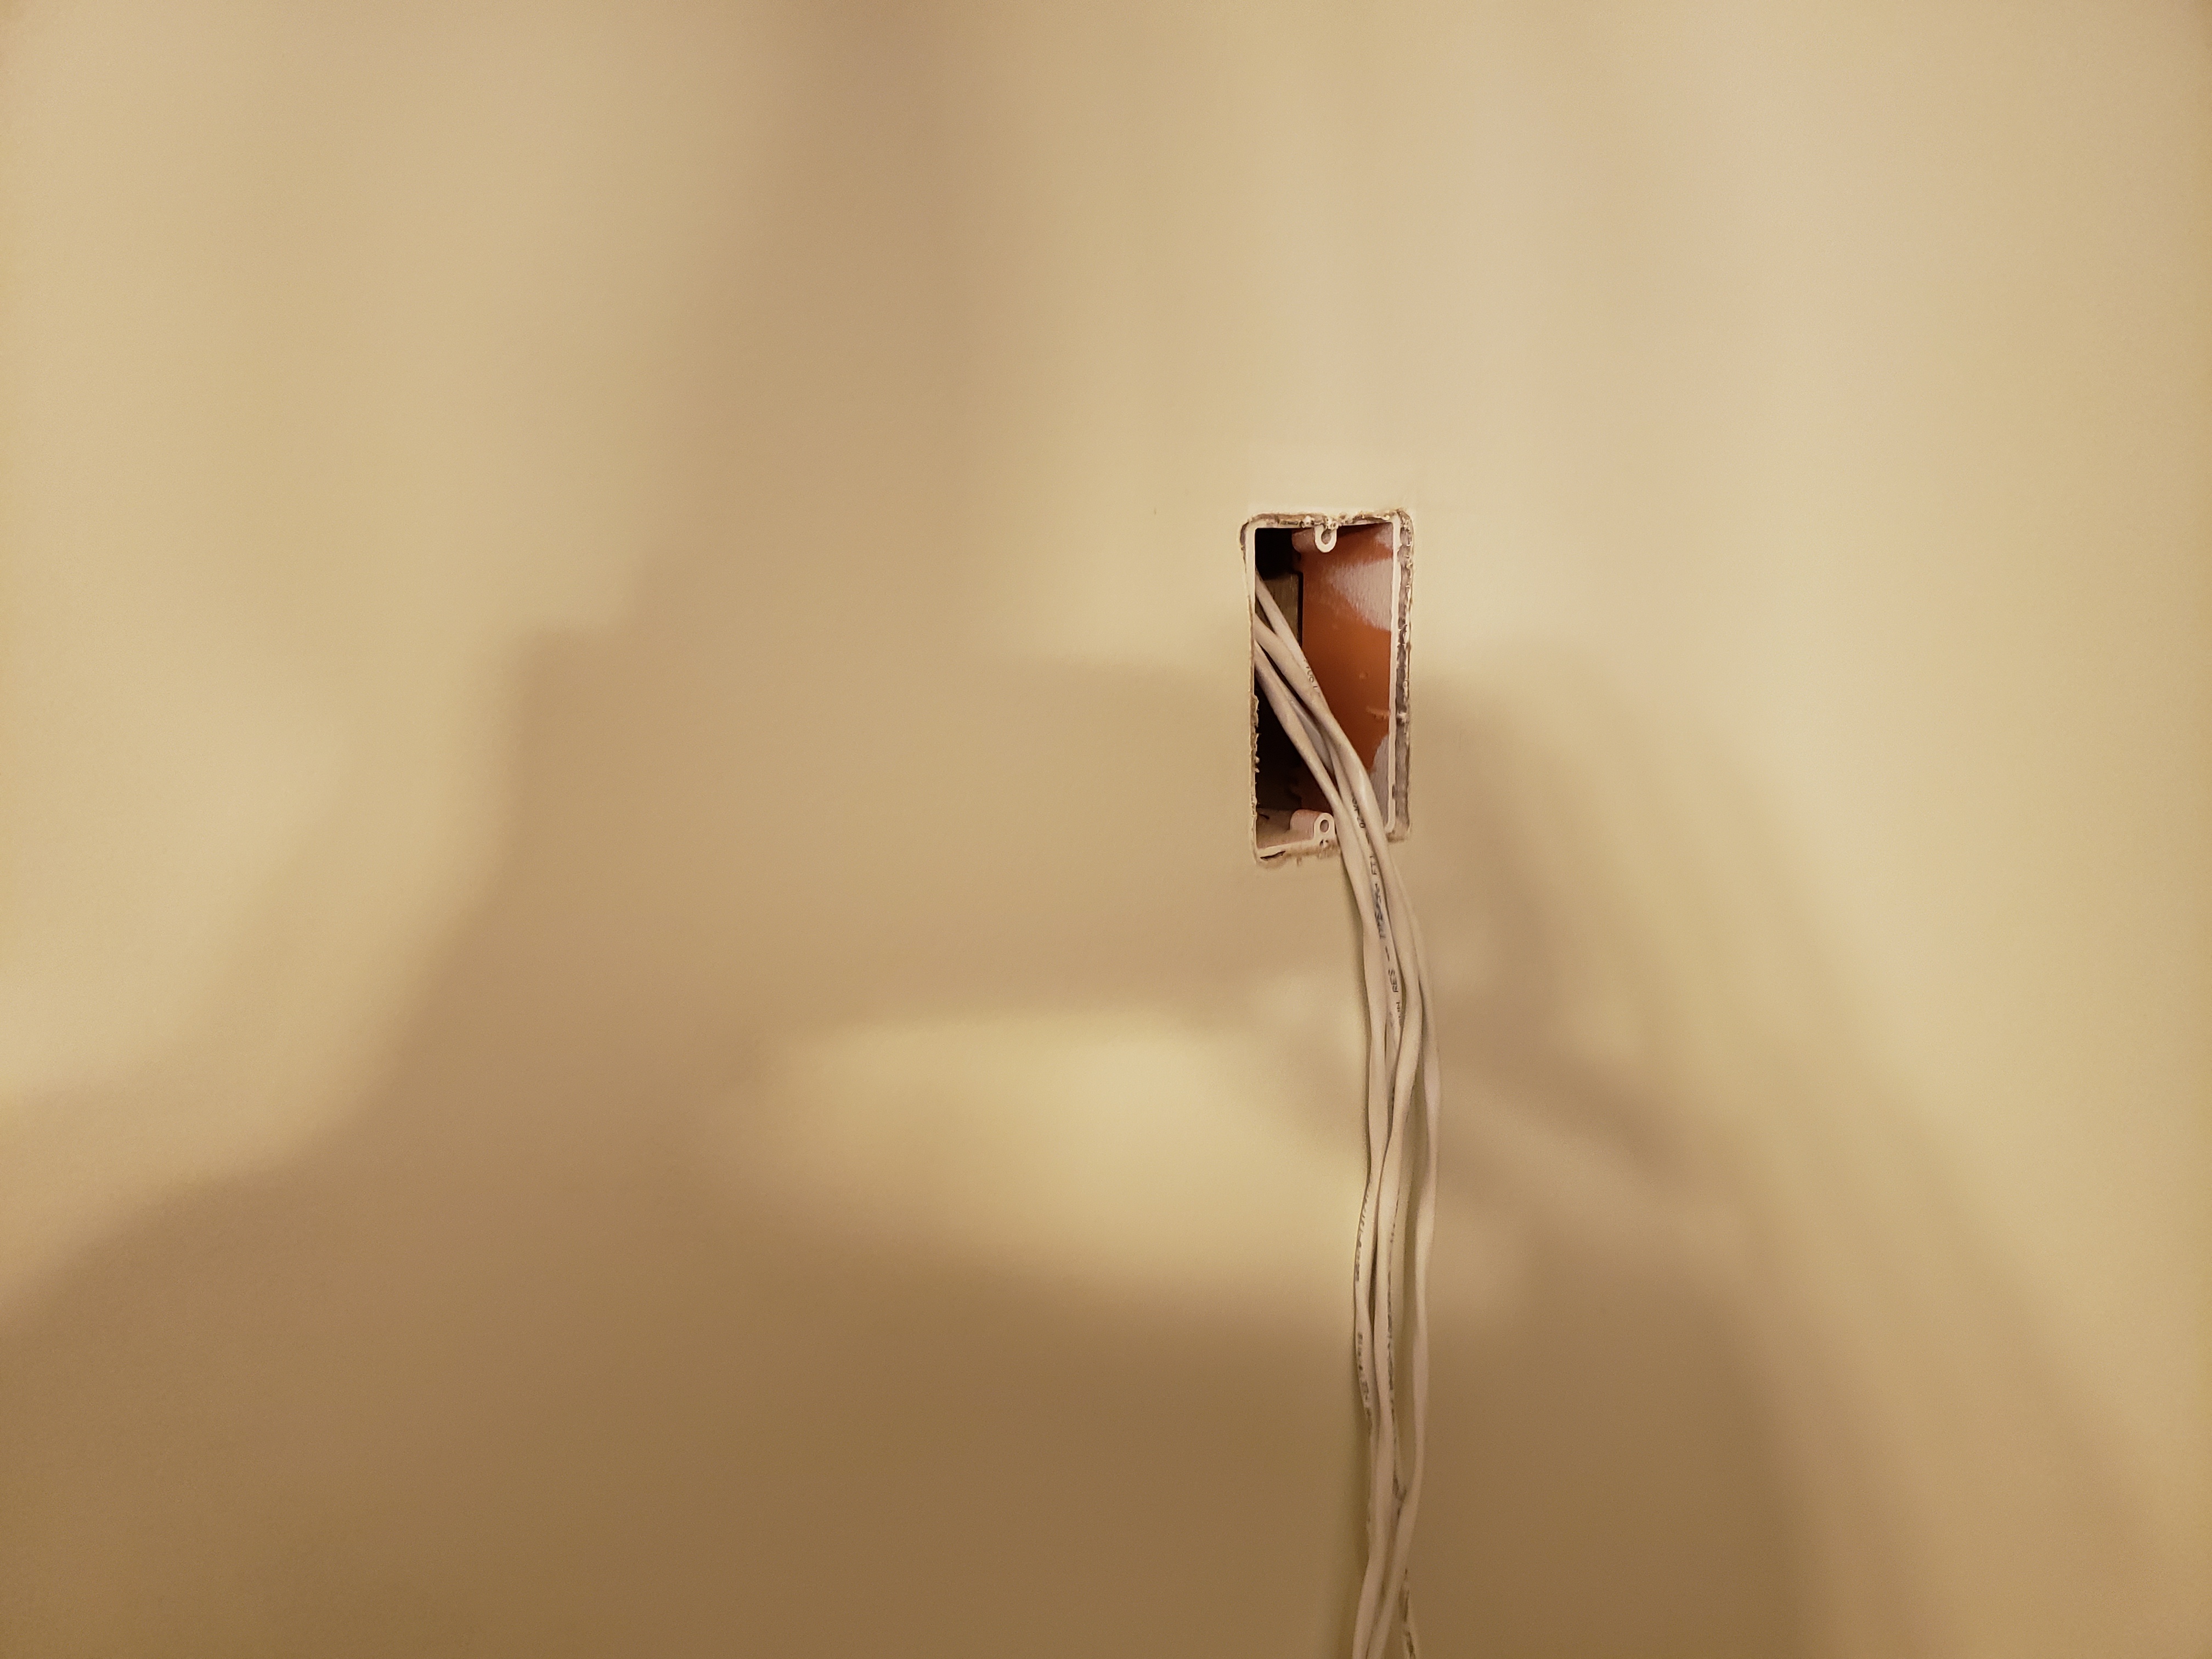
Speaker Wire for volume control
Speaker Wire for volume control

CAT 6 at Keypad Location
CAT 6 at Keypad Location

Speaker Cutouts

Speaker Cutouts- Speaker Wire is in the hole
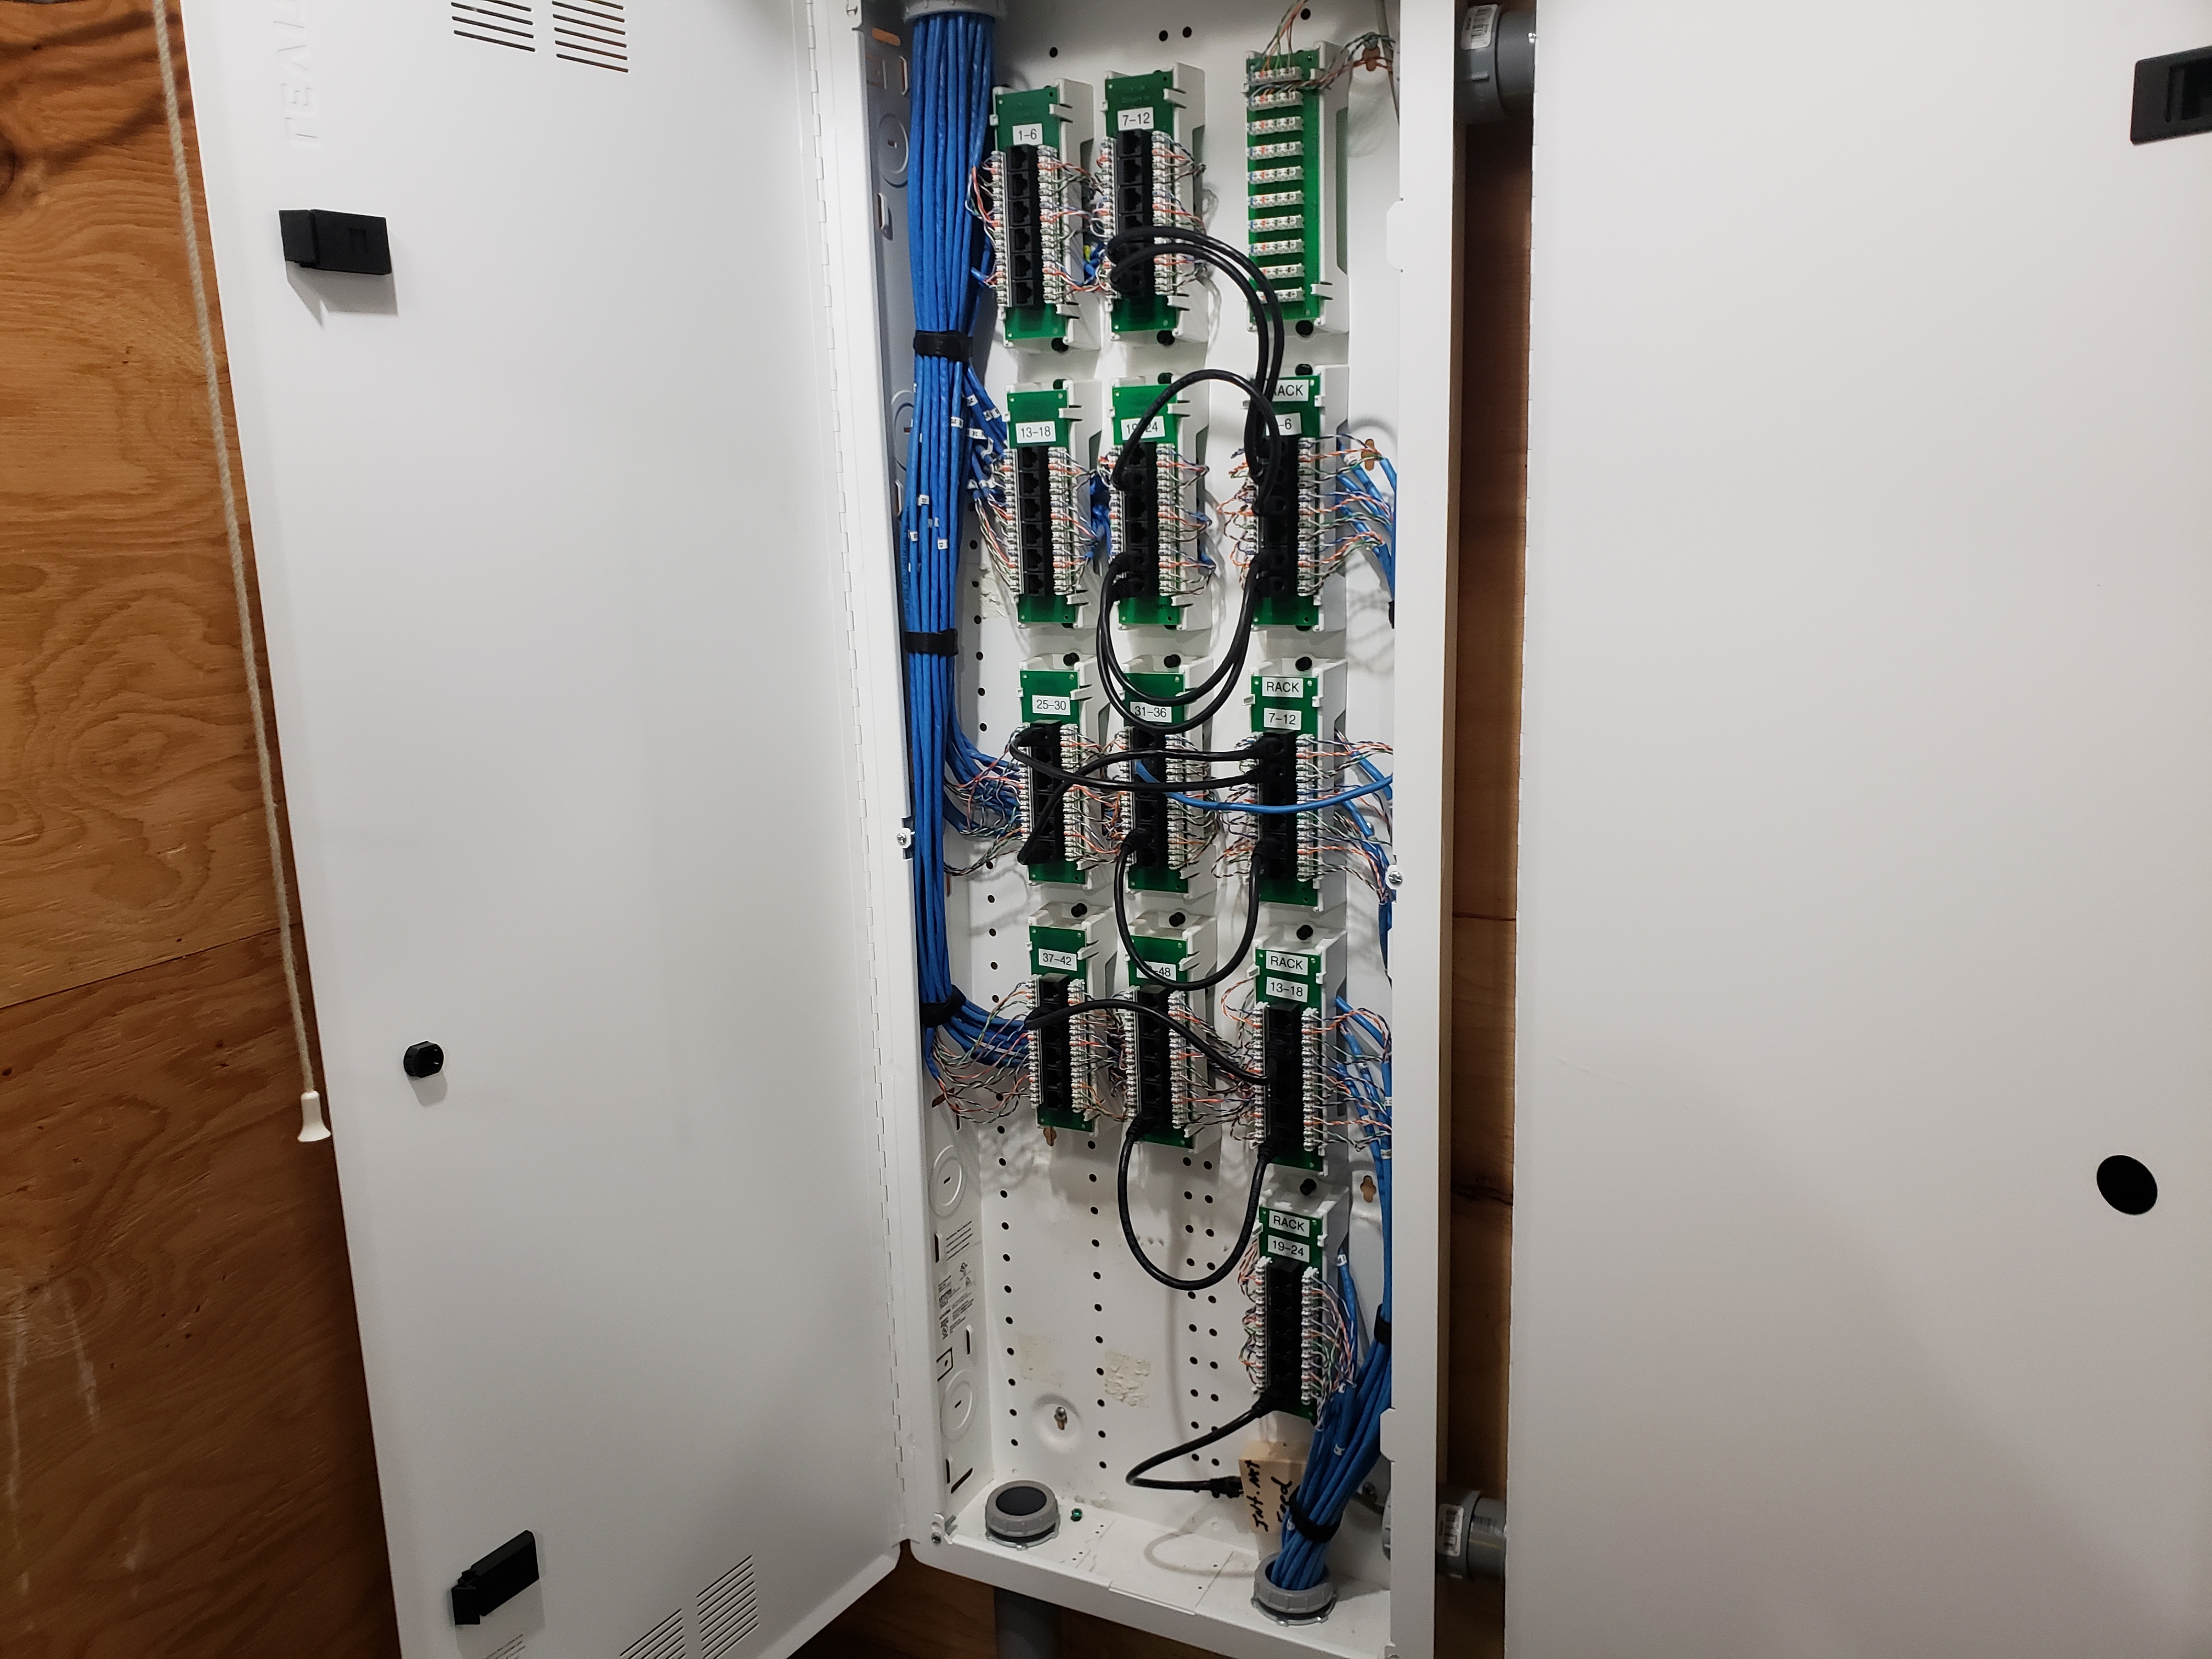
Structured Media Enclosure CAT 6

Structured Media Enclosure- CAT 6

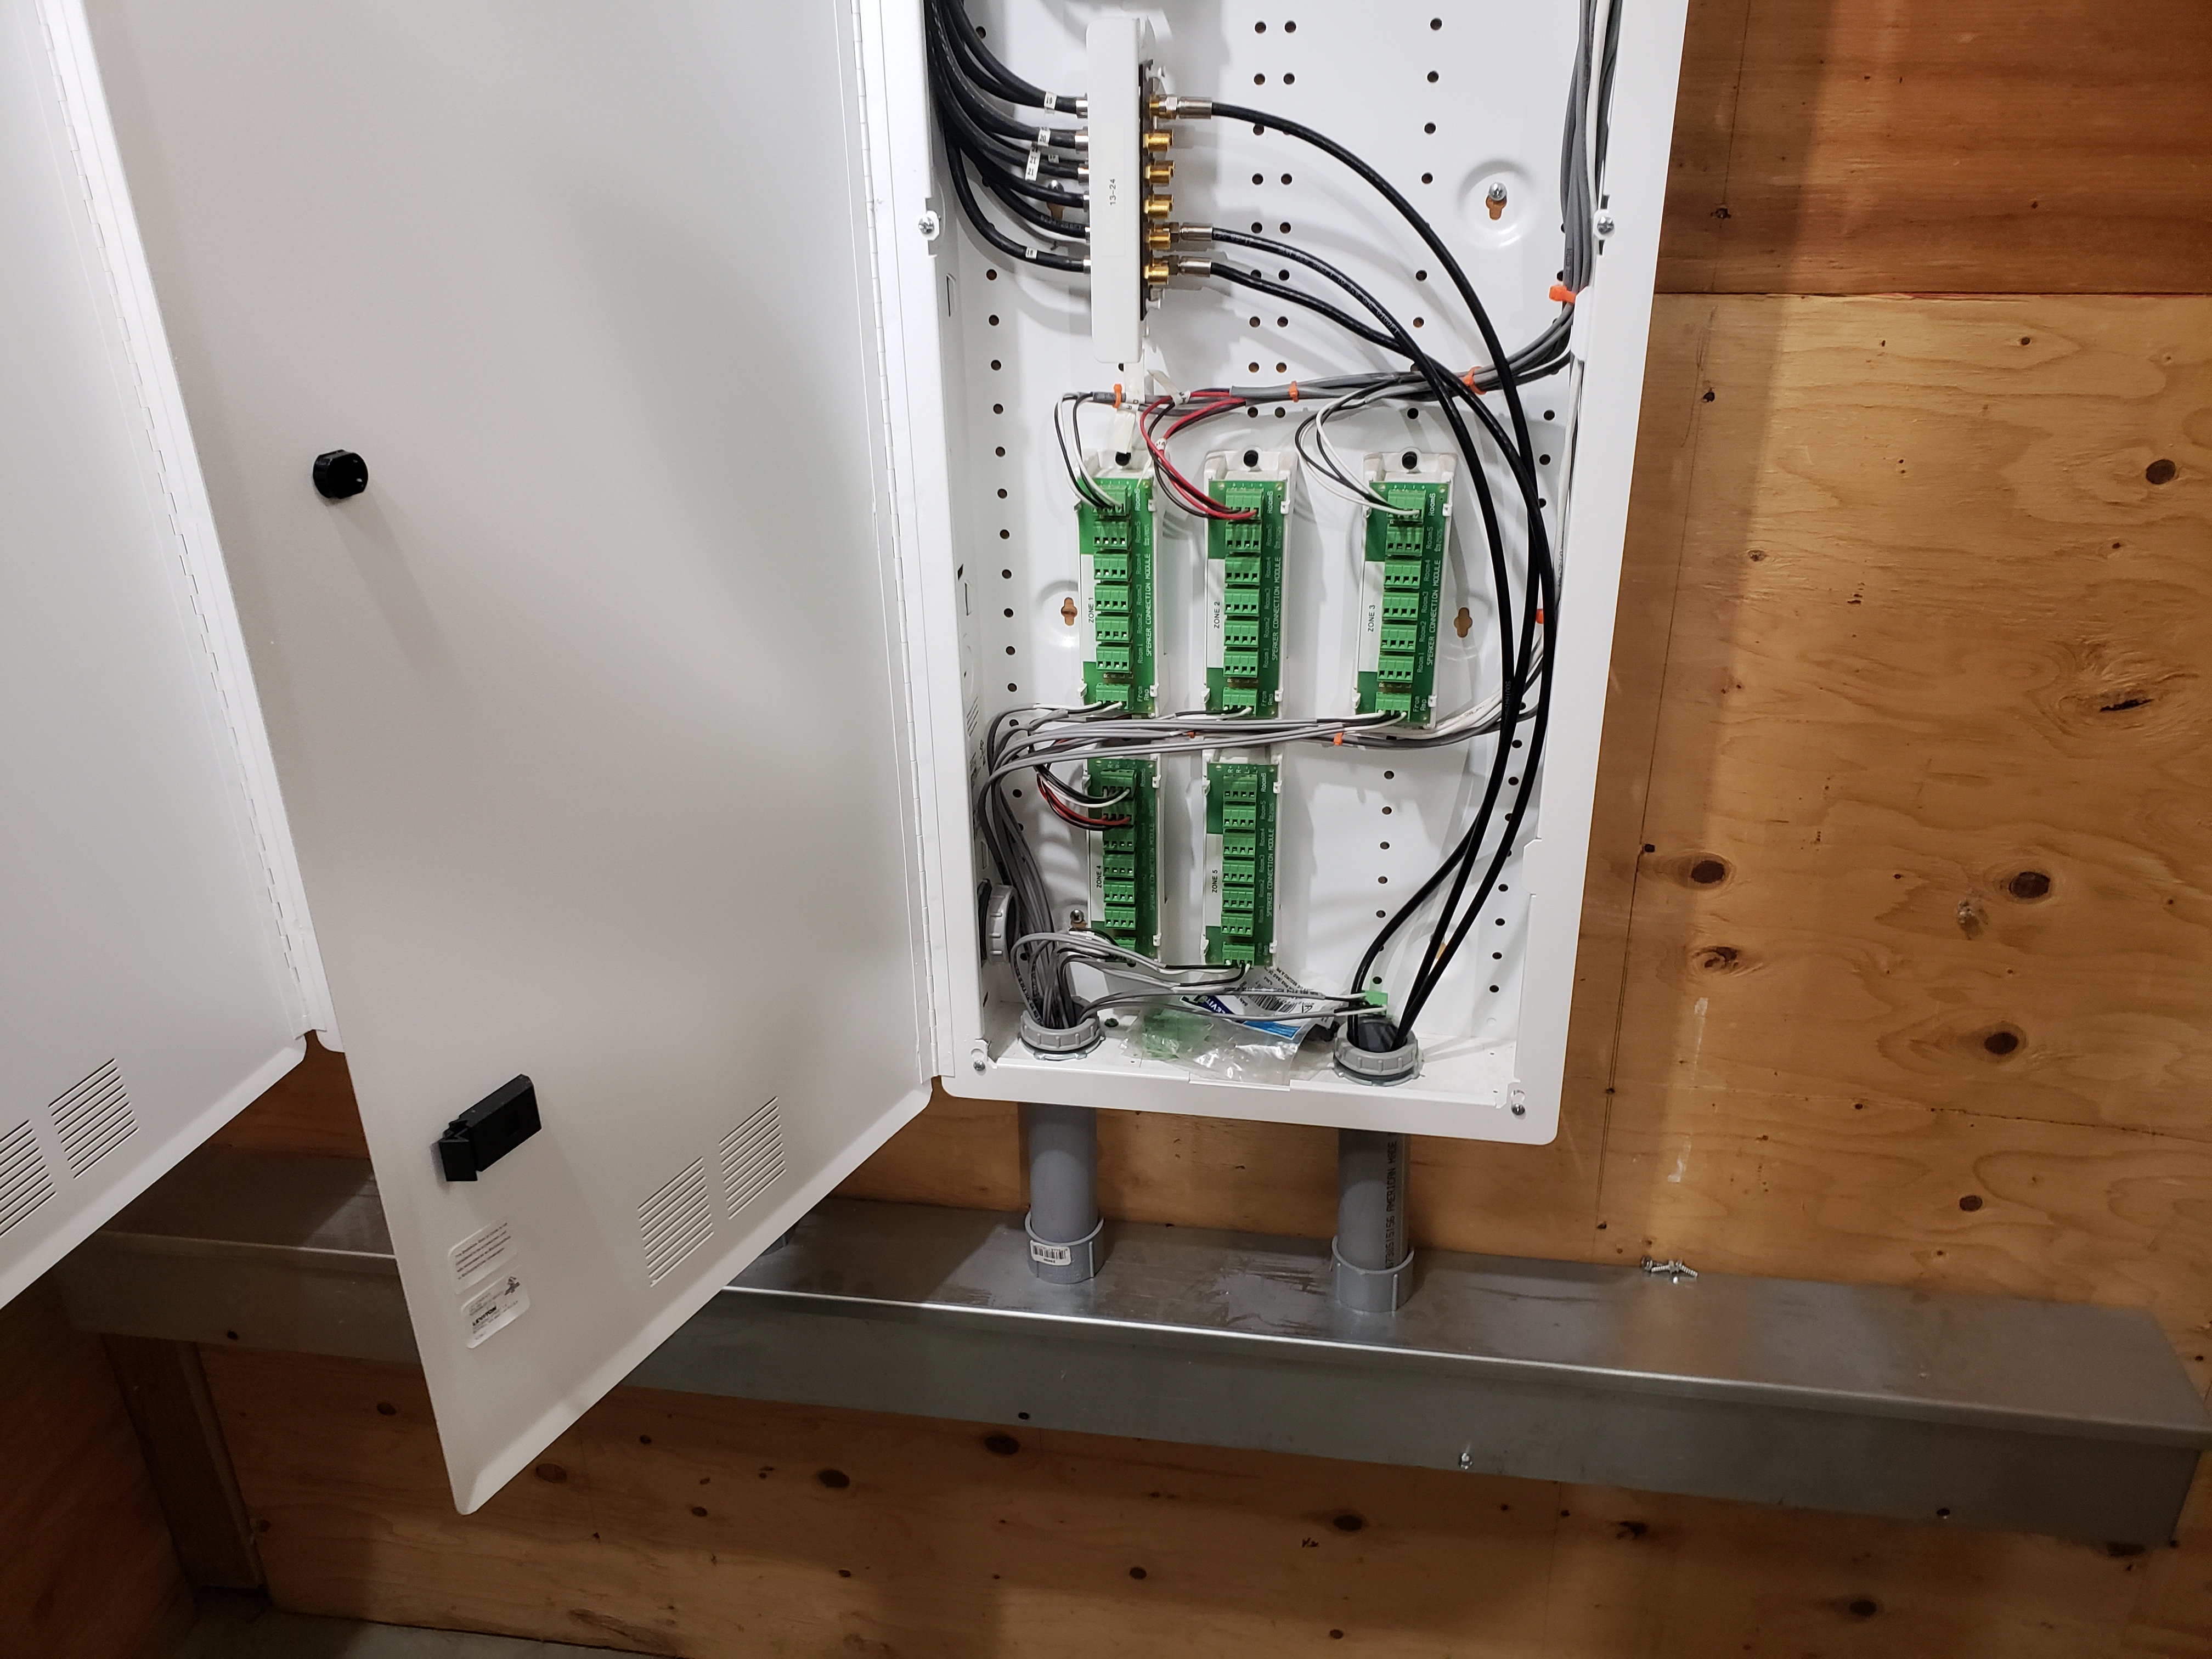
Structured Media Panel- Speakers
Structured Media Panel- Speakers

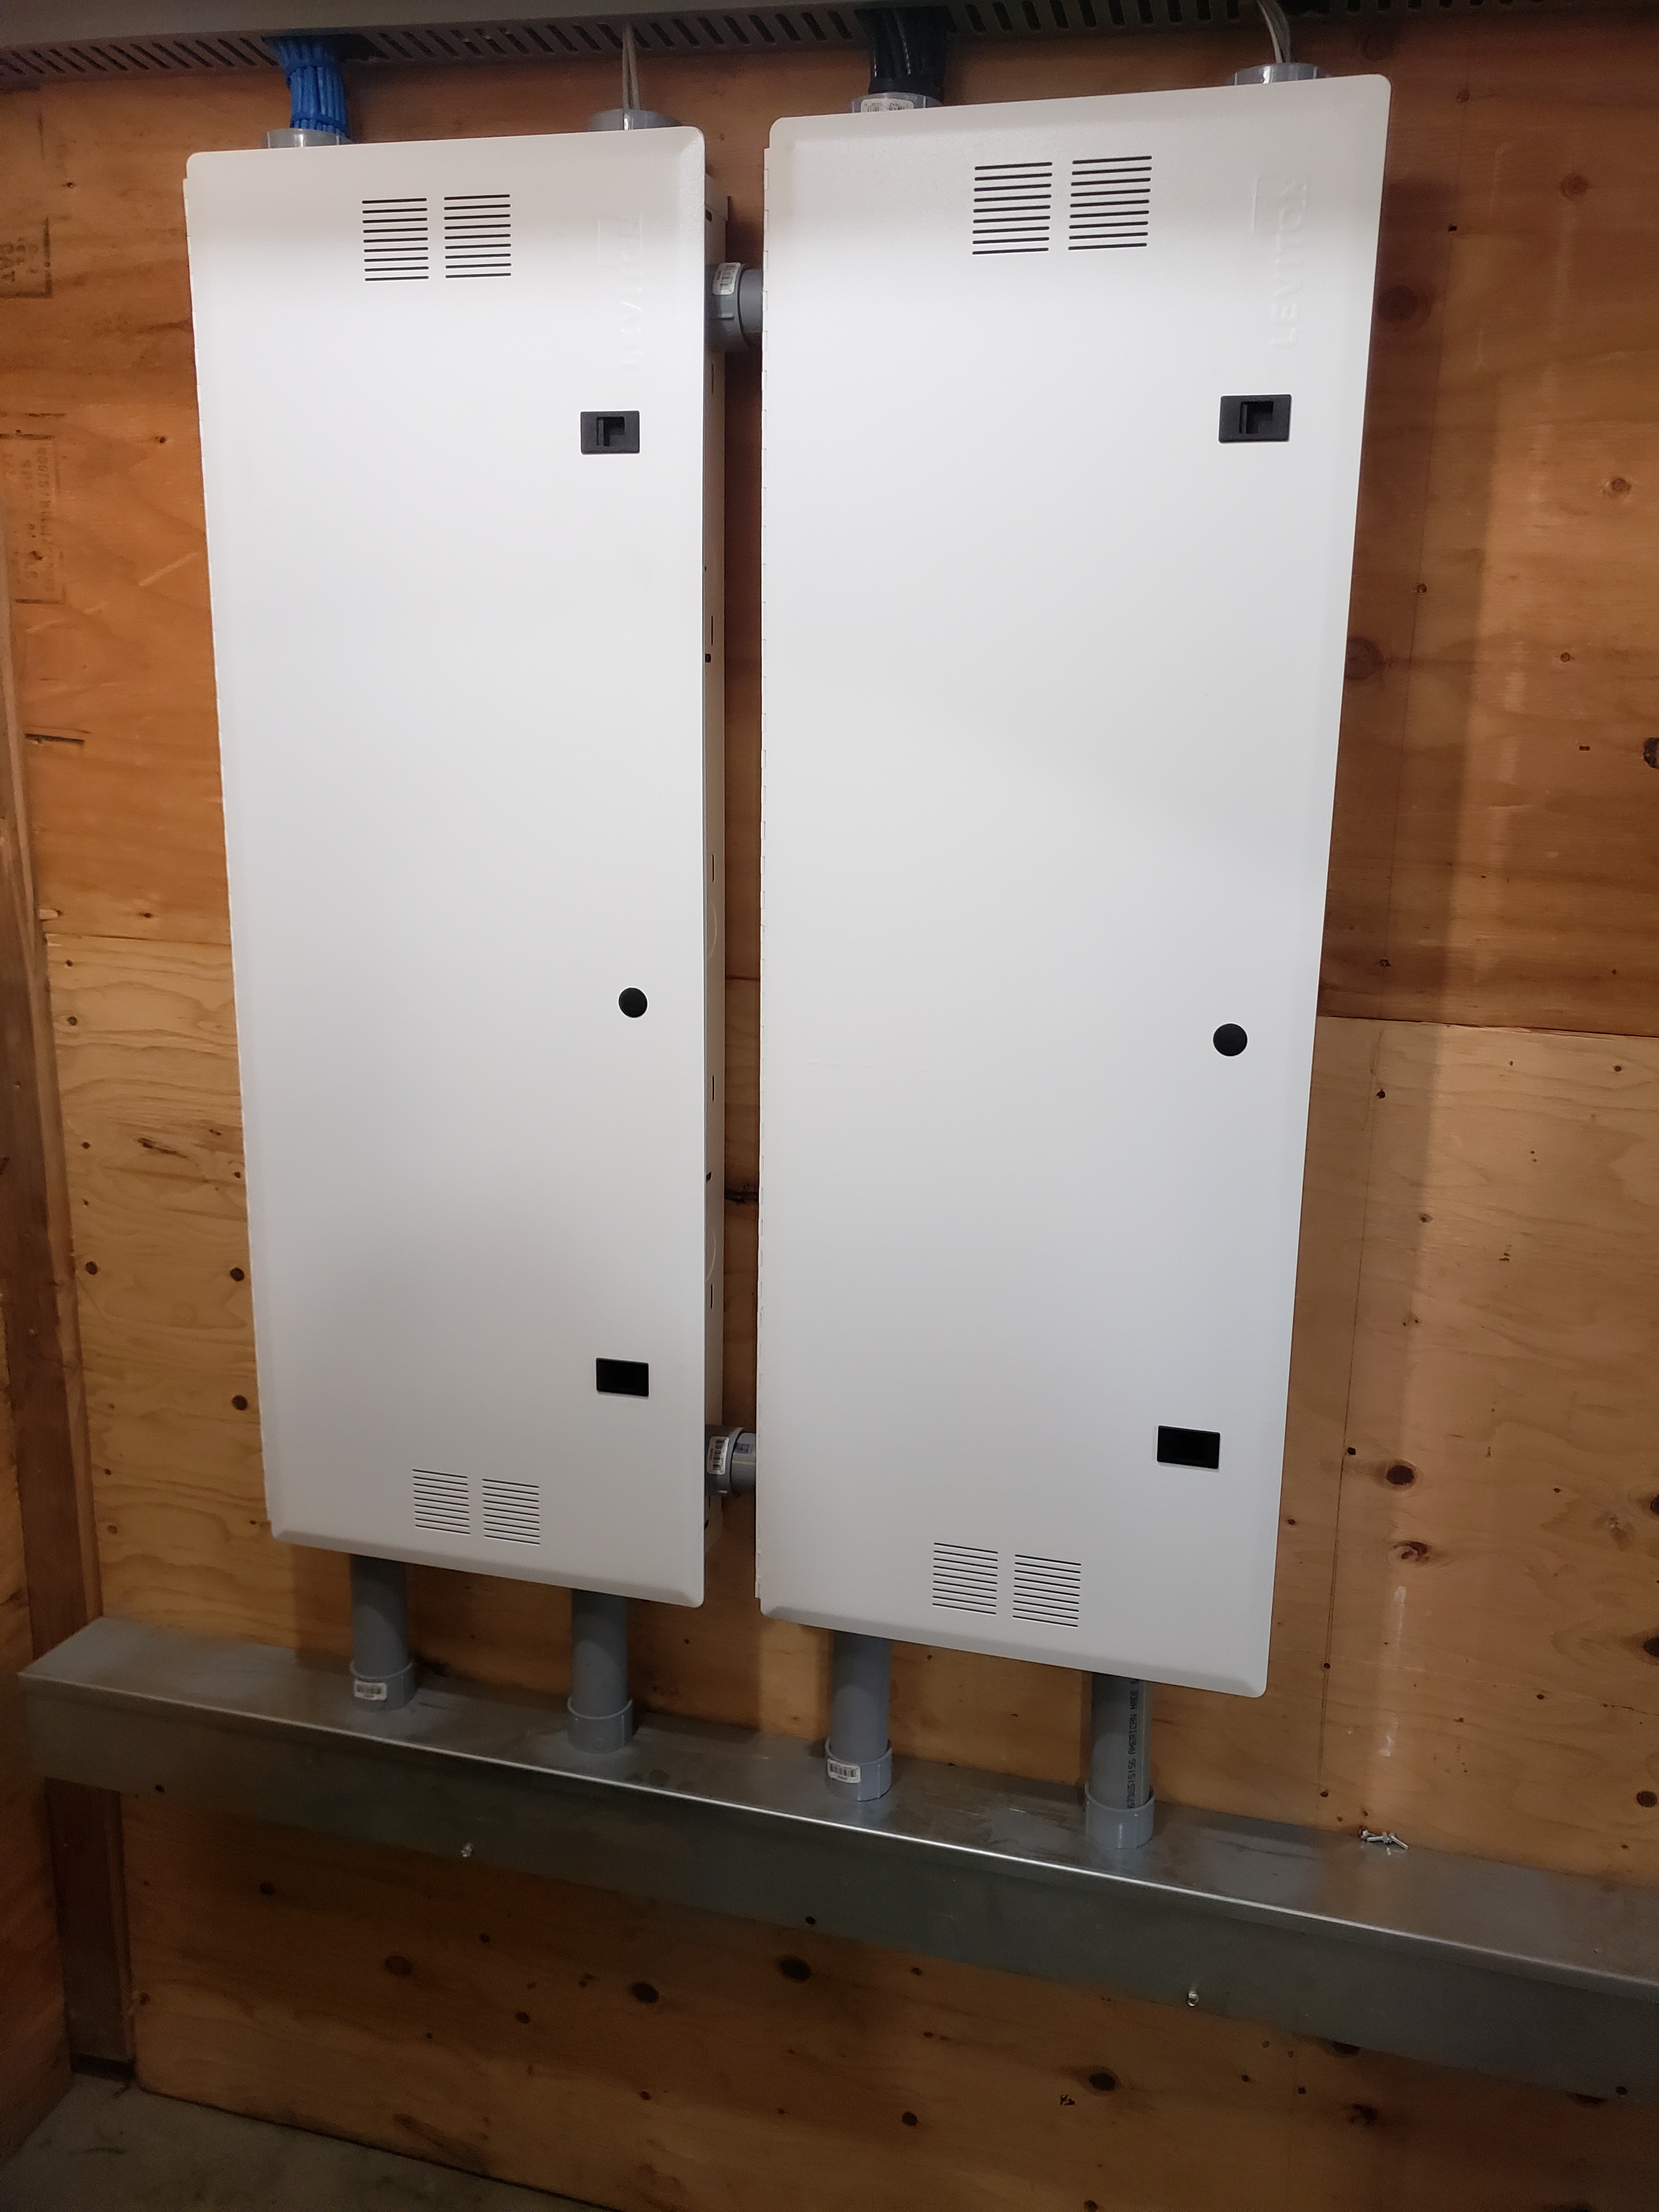
Structured Media Enclosures- Closed

Structured Media Enclosures- Closed

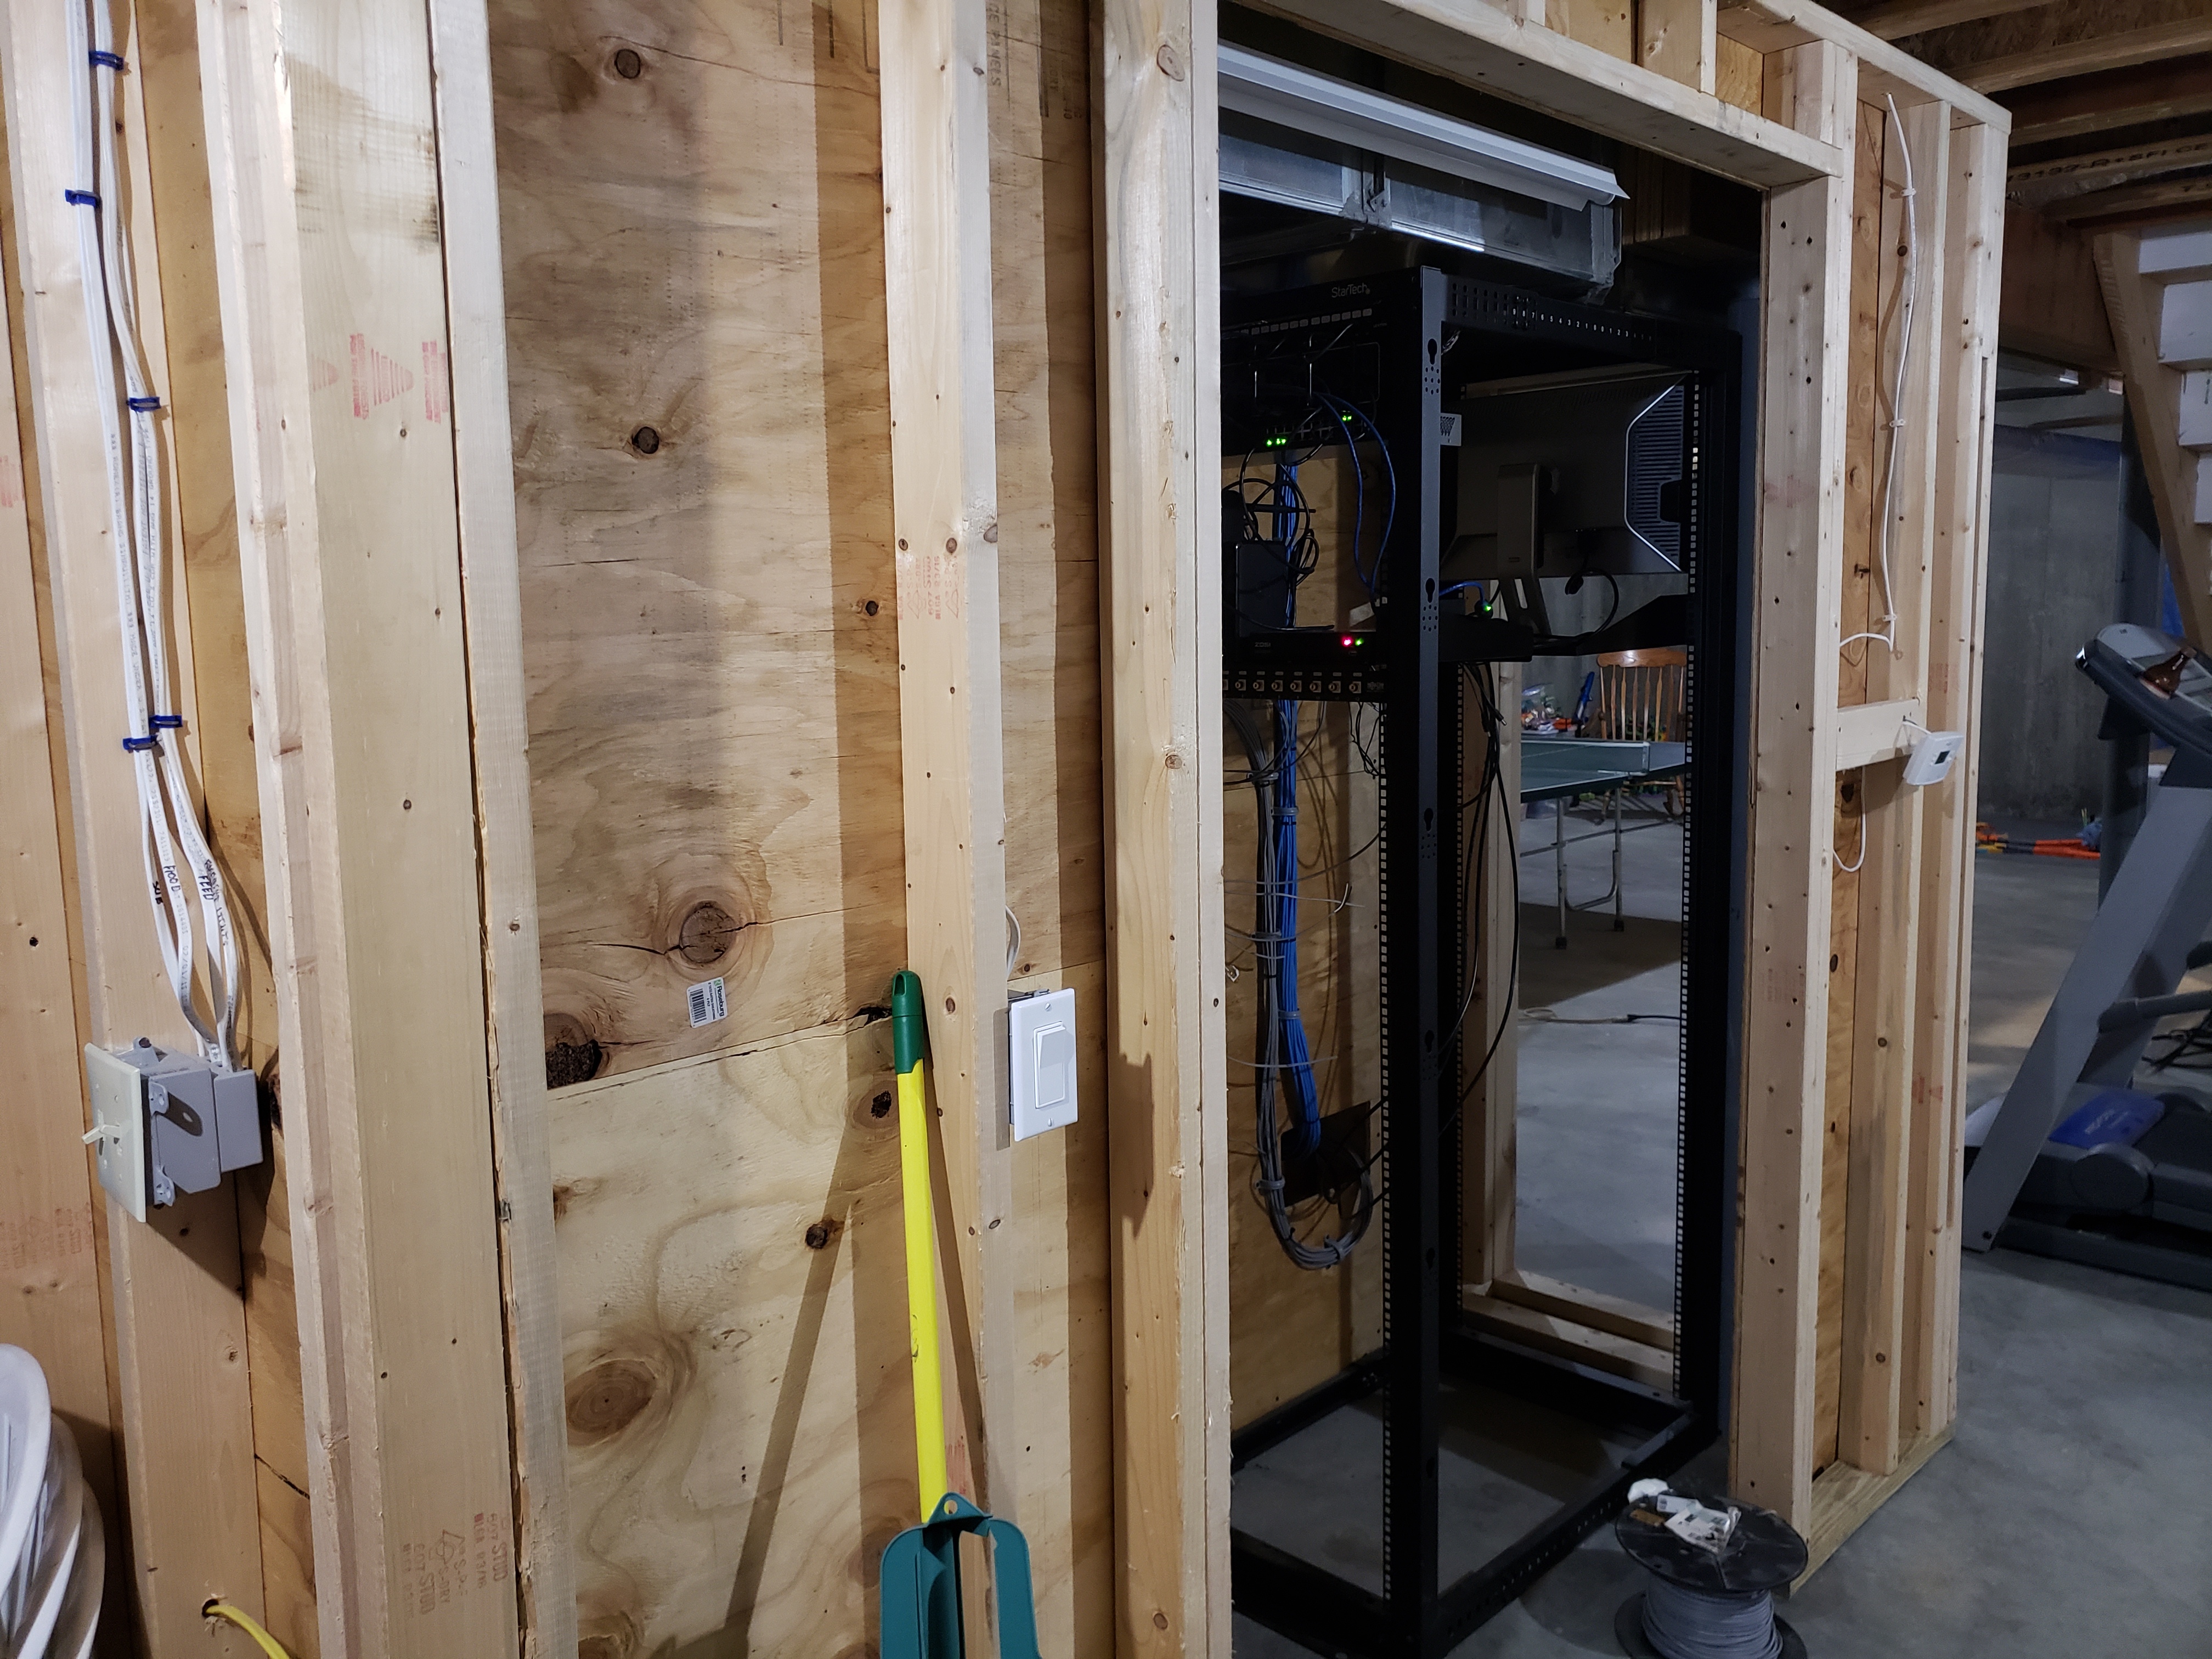
I'm building a media closet in my basement and installing a rack that will hold the whole house audio, network switch, surveillance and a media server.  Notice the wiring trough below the media enclosures.  The closet and rack are on the other side of that wall and the trough is how the wires get over there.
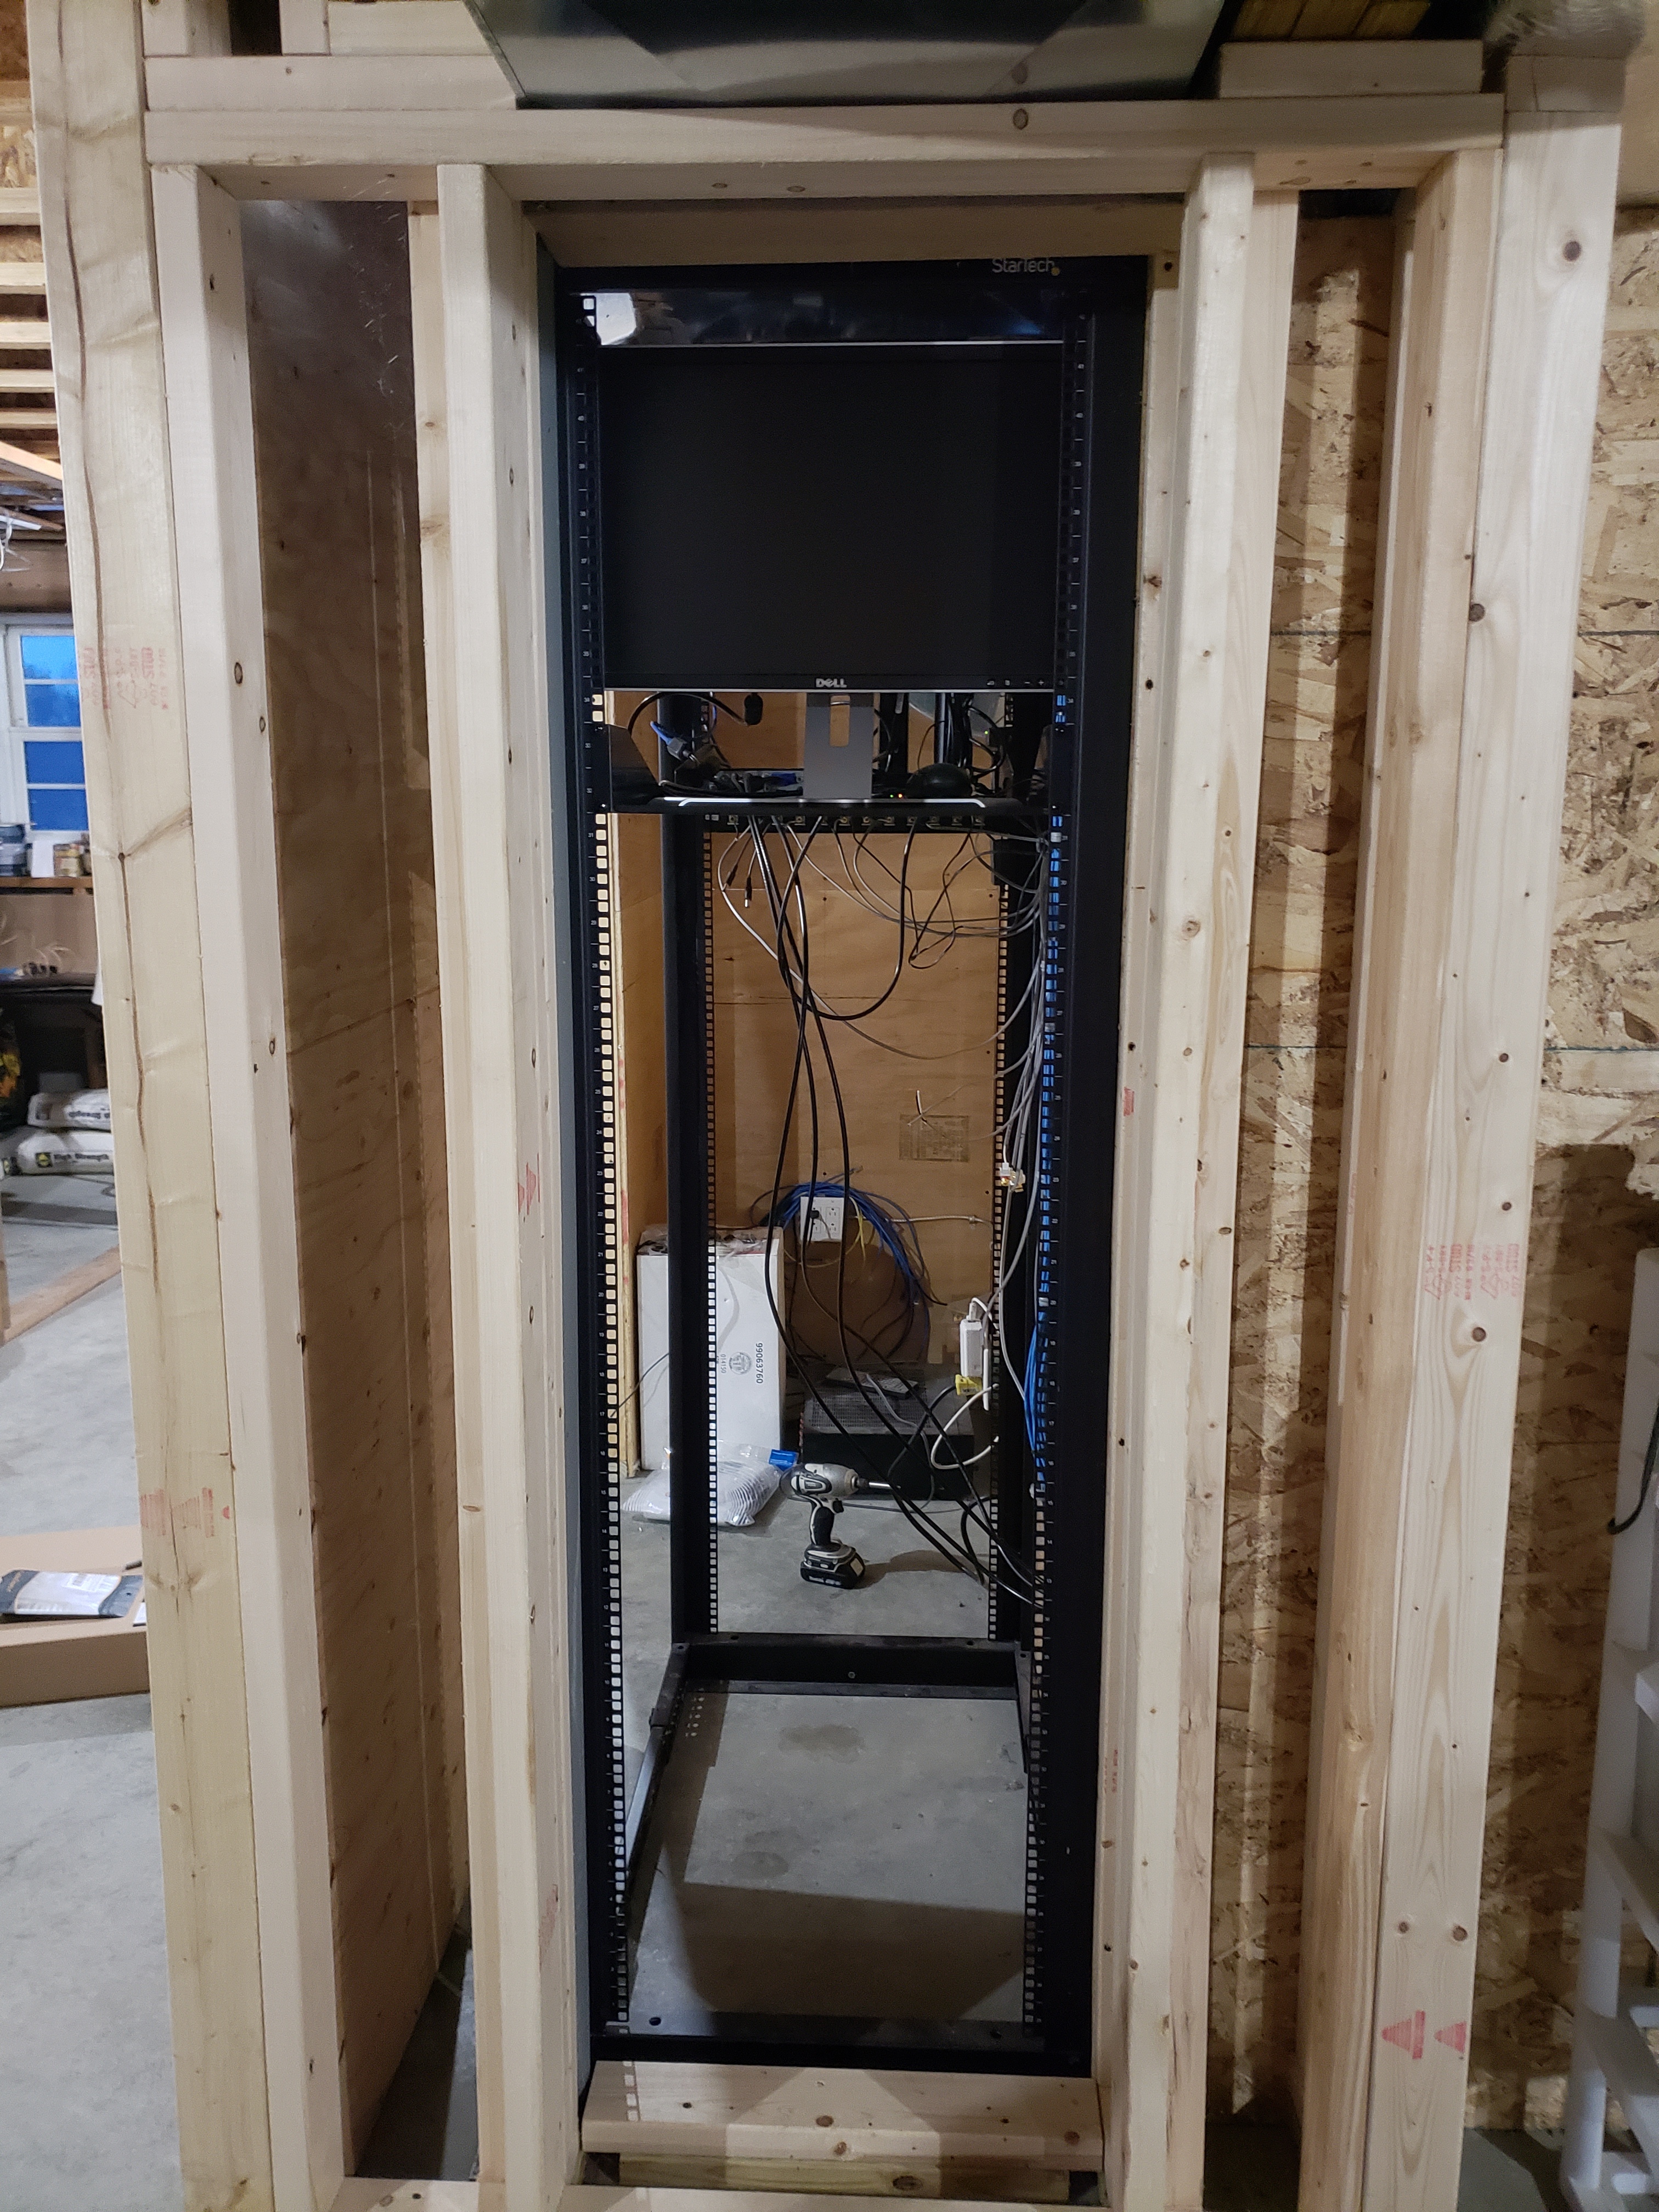
Front of the rack
Front of the rack

Media Closet

Media Closet

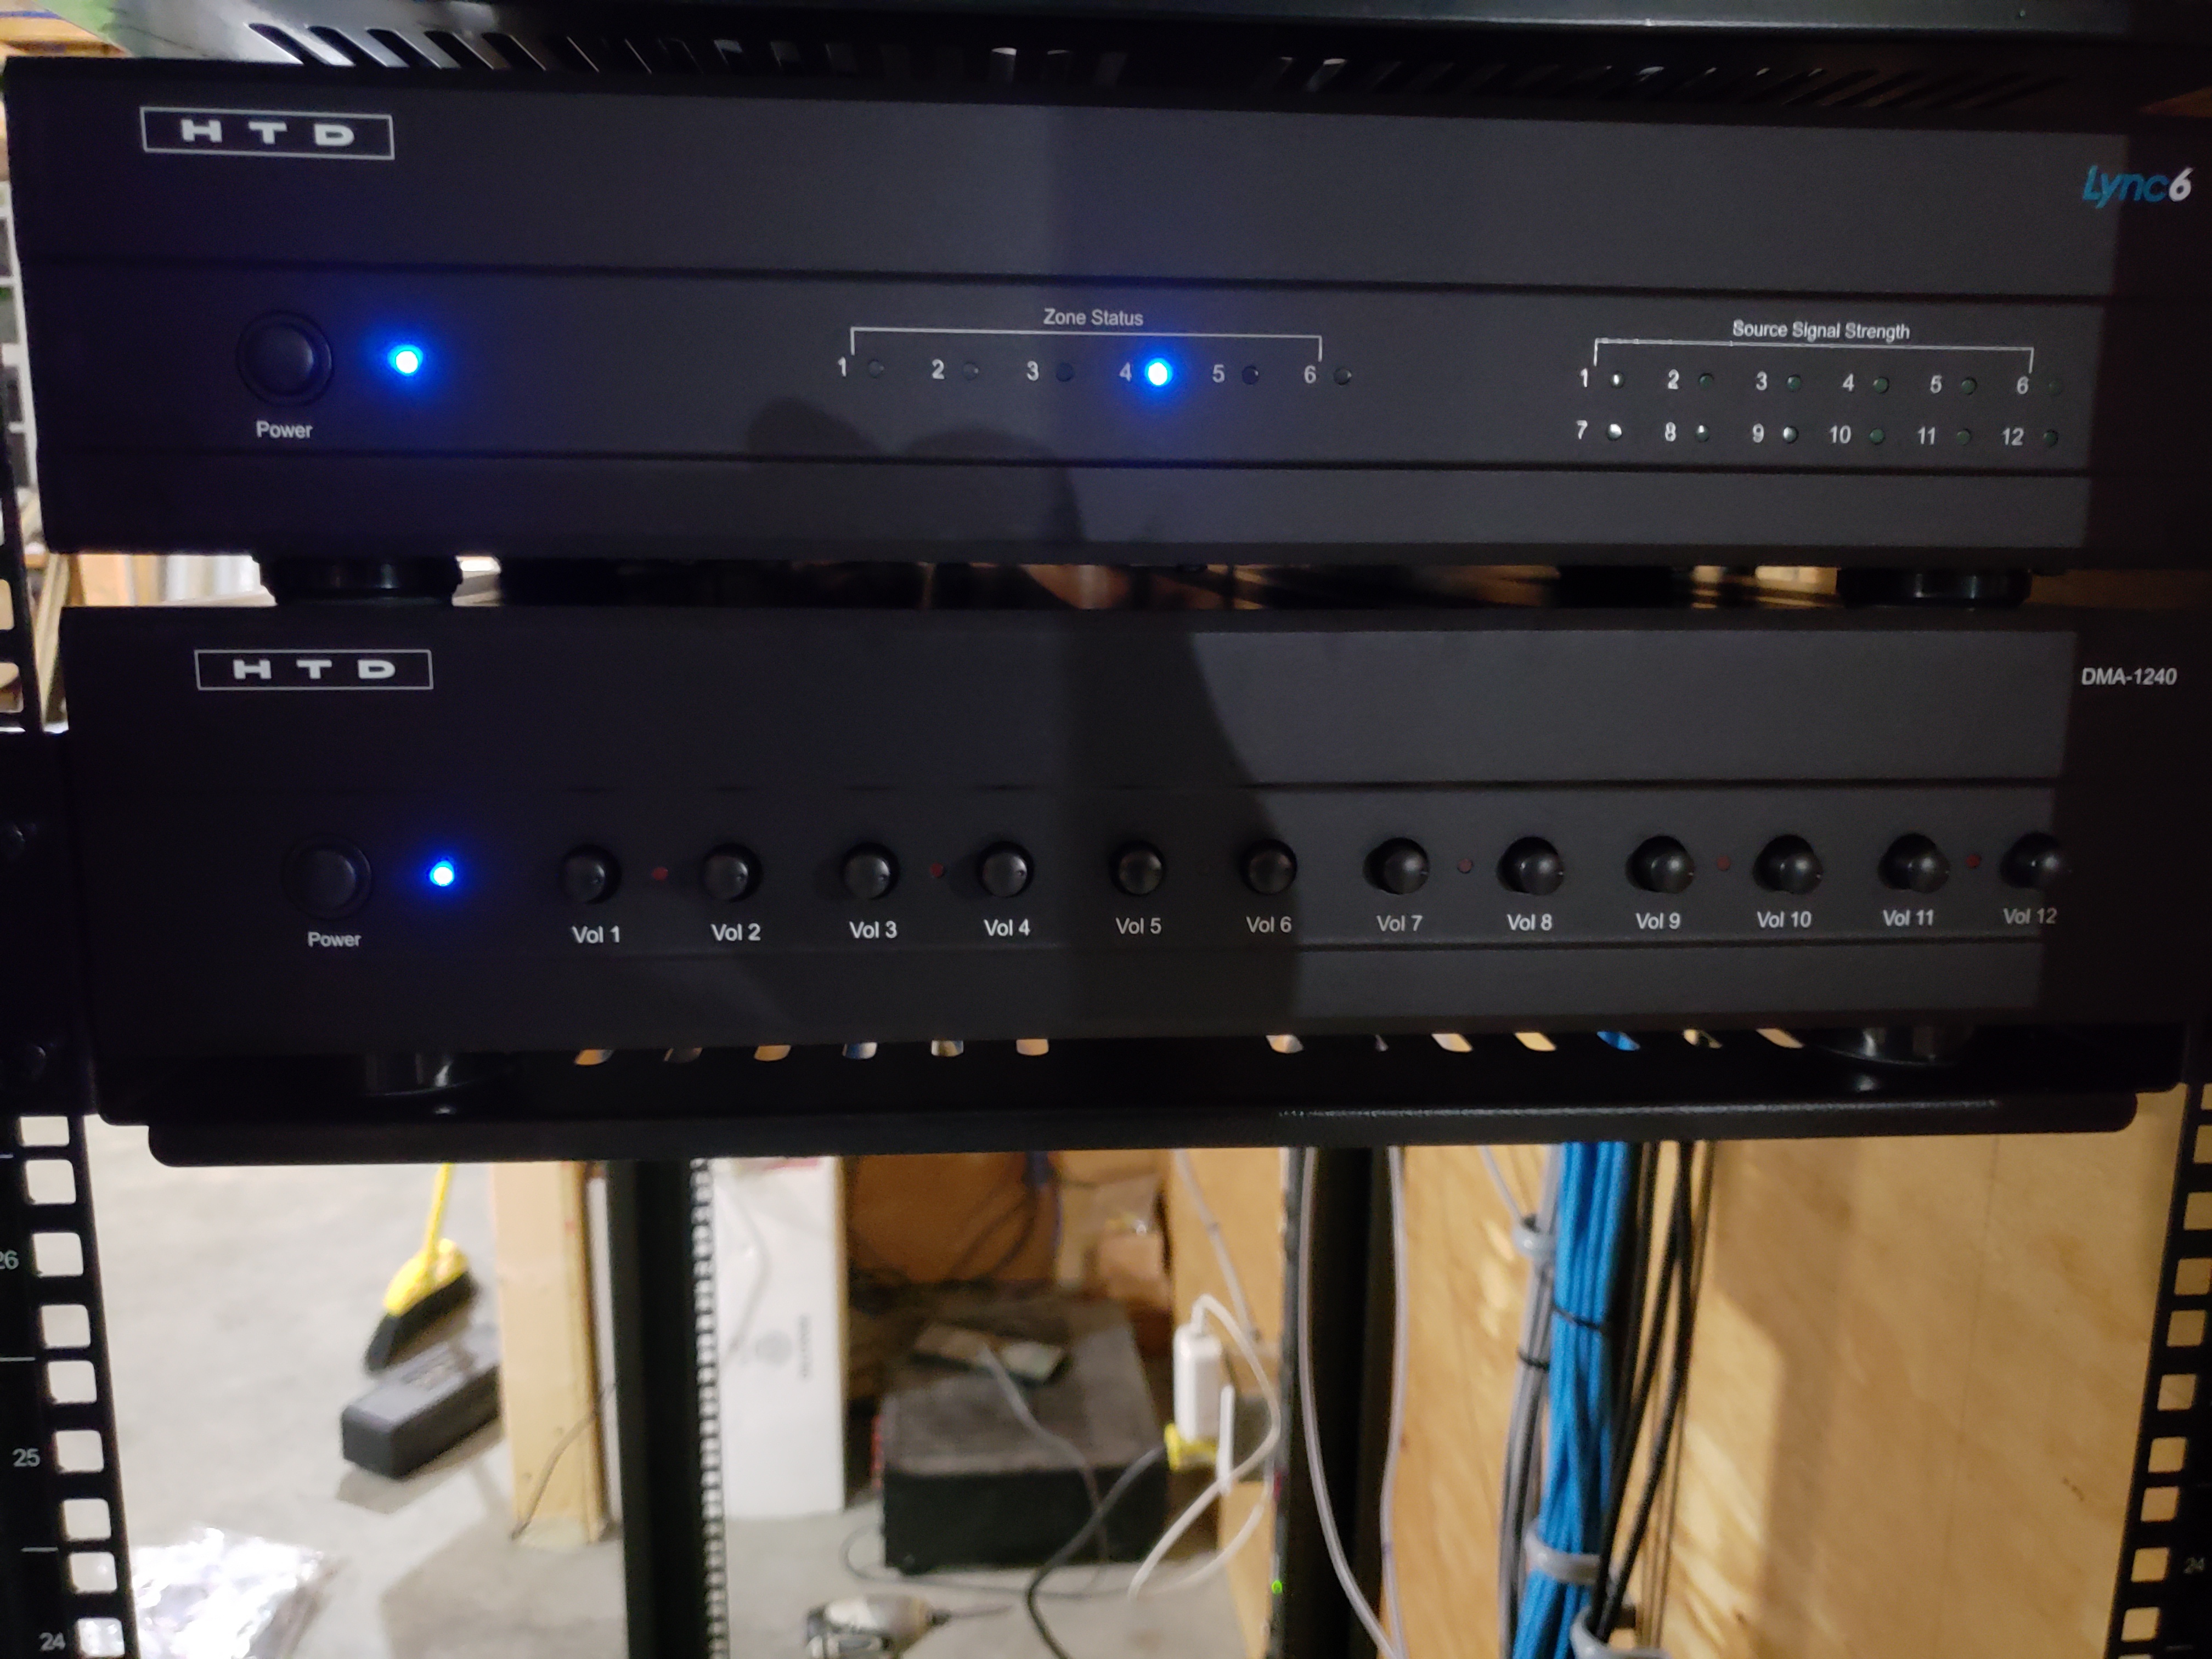
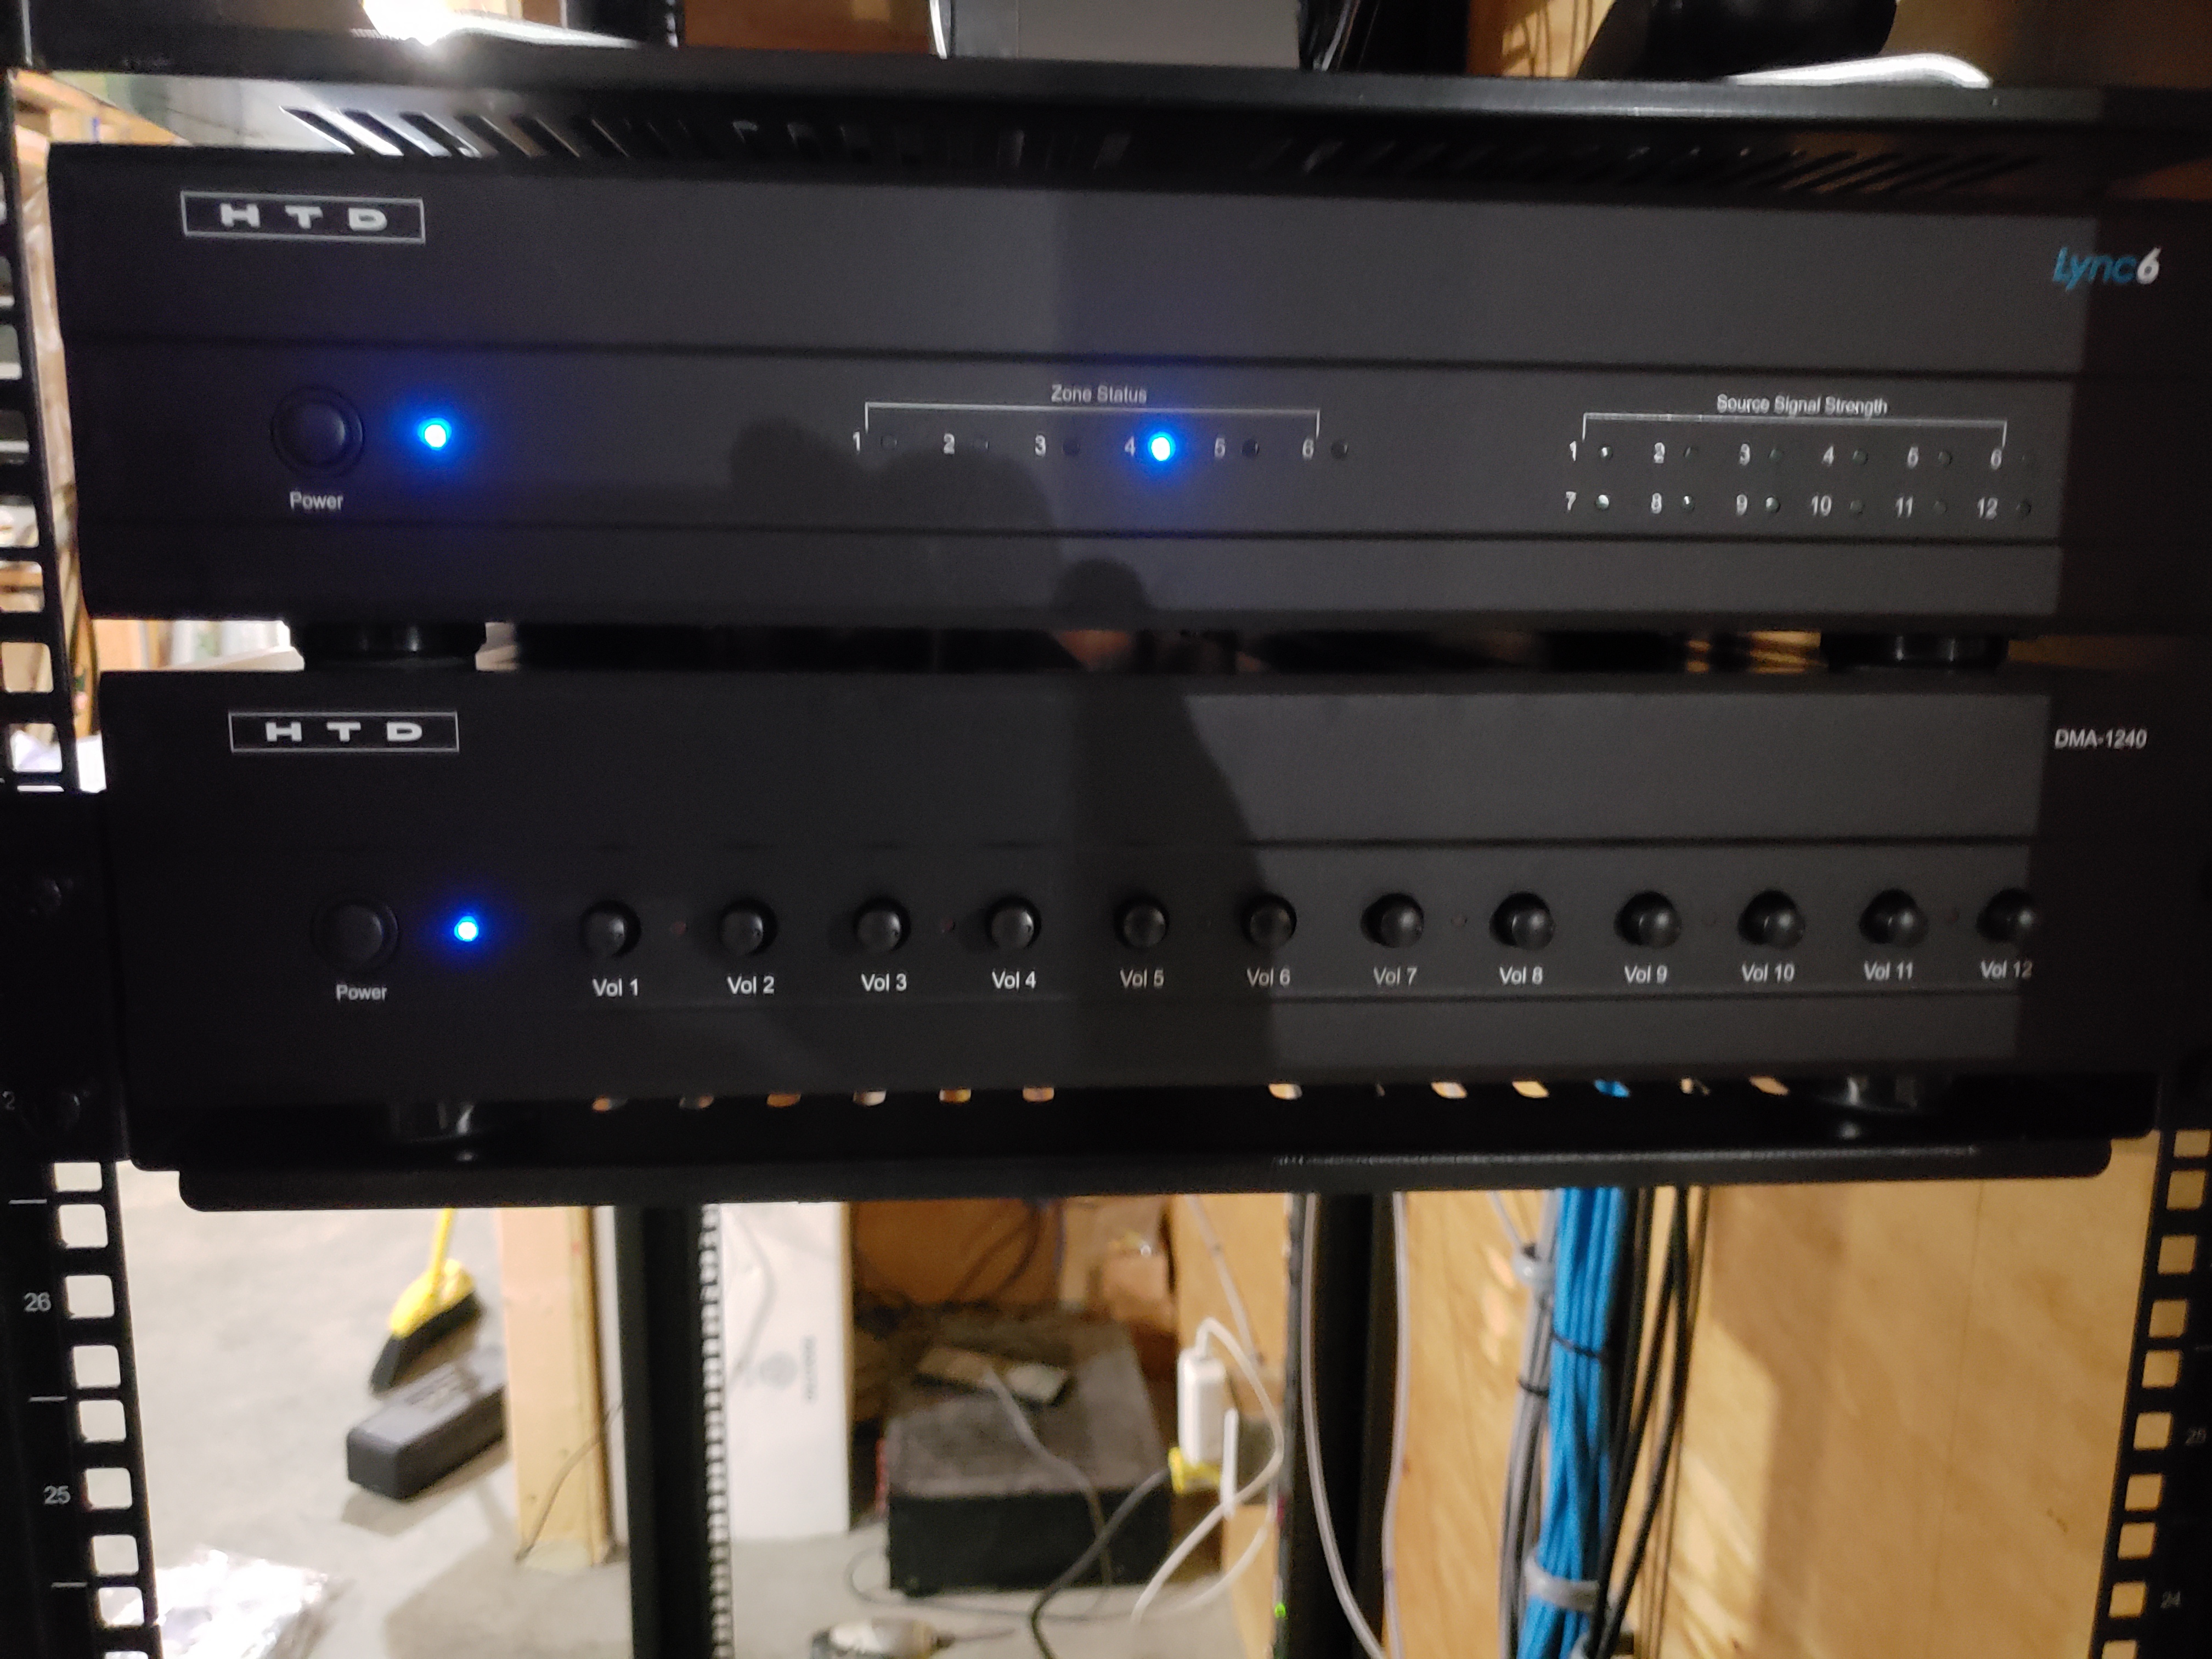
Equipment in the Rack

Lync 6 and amp in the Rack

Lync 6 in Rack

Lync 6 and amp in Rack

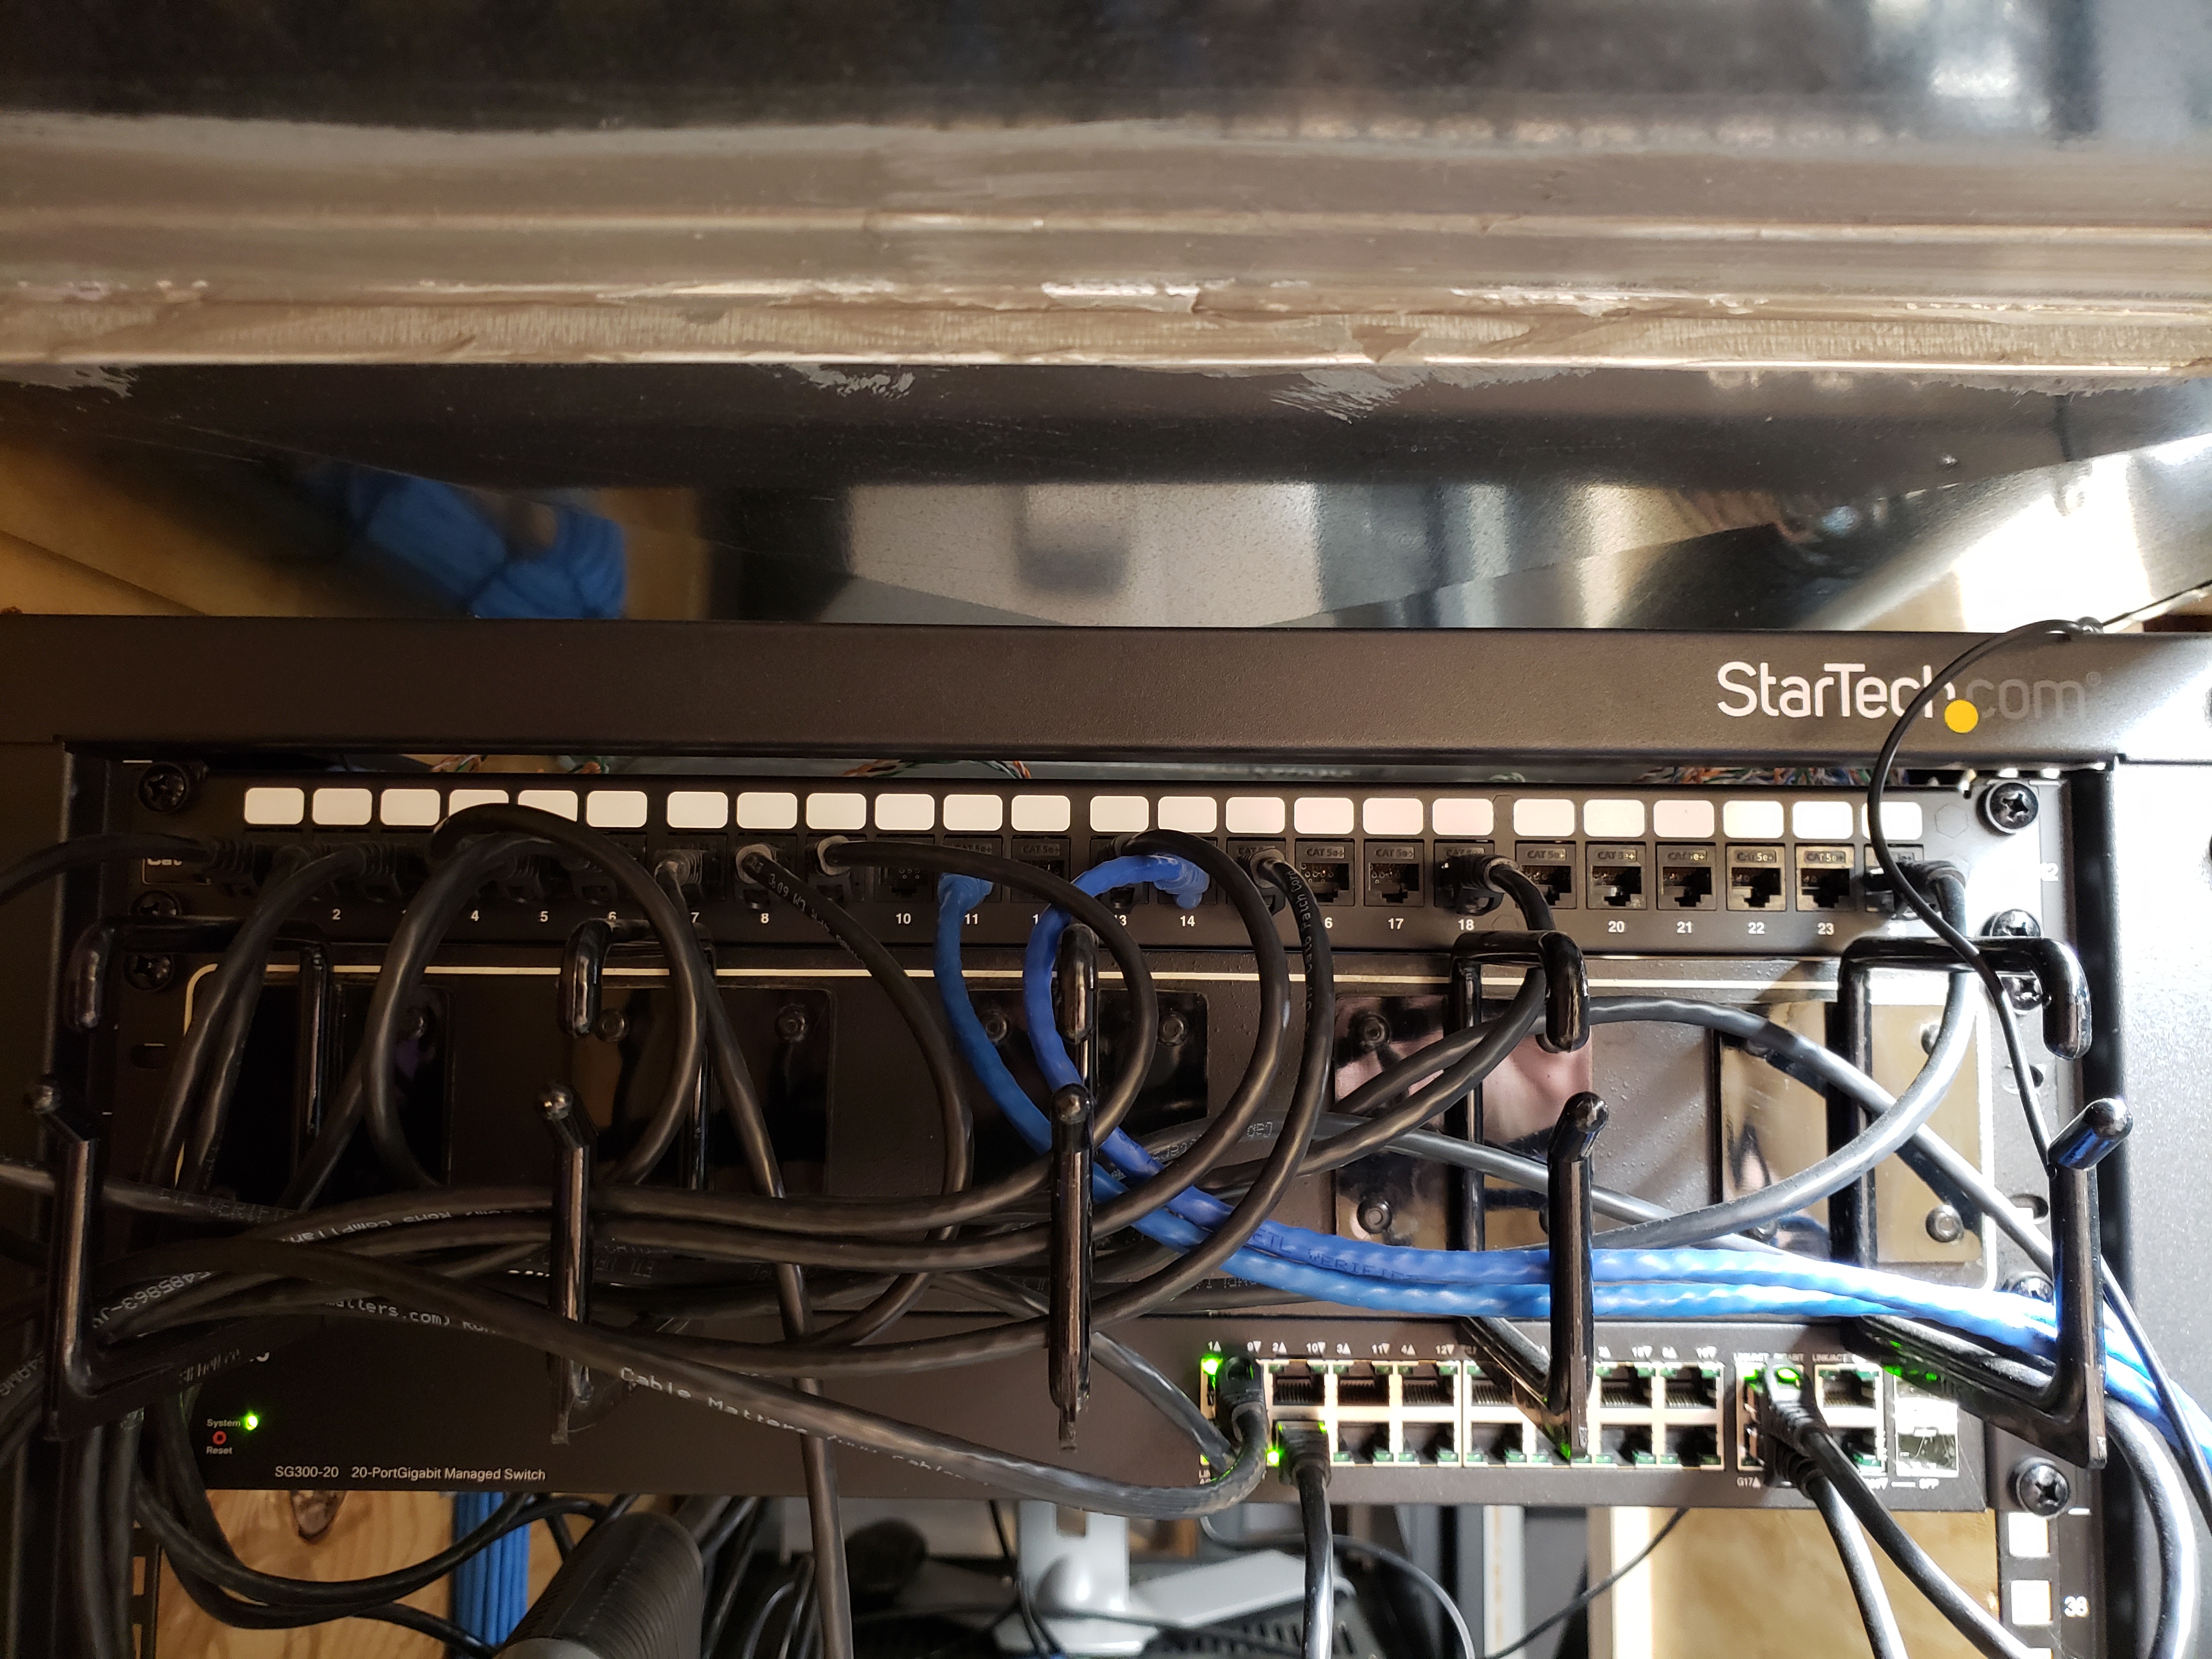
I had to run the wire from the structured media panels to the rack.  To do this, I used two 12 port keystone panels, 14 AWG speaker wire and banana keystone jacks.  I already had CAT 6 lines running from the media enclosures to a 24 port patch panel in the rack.
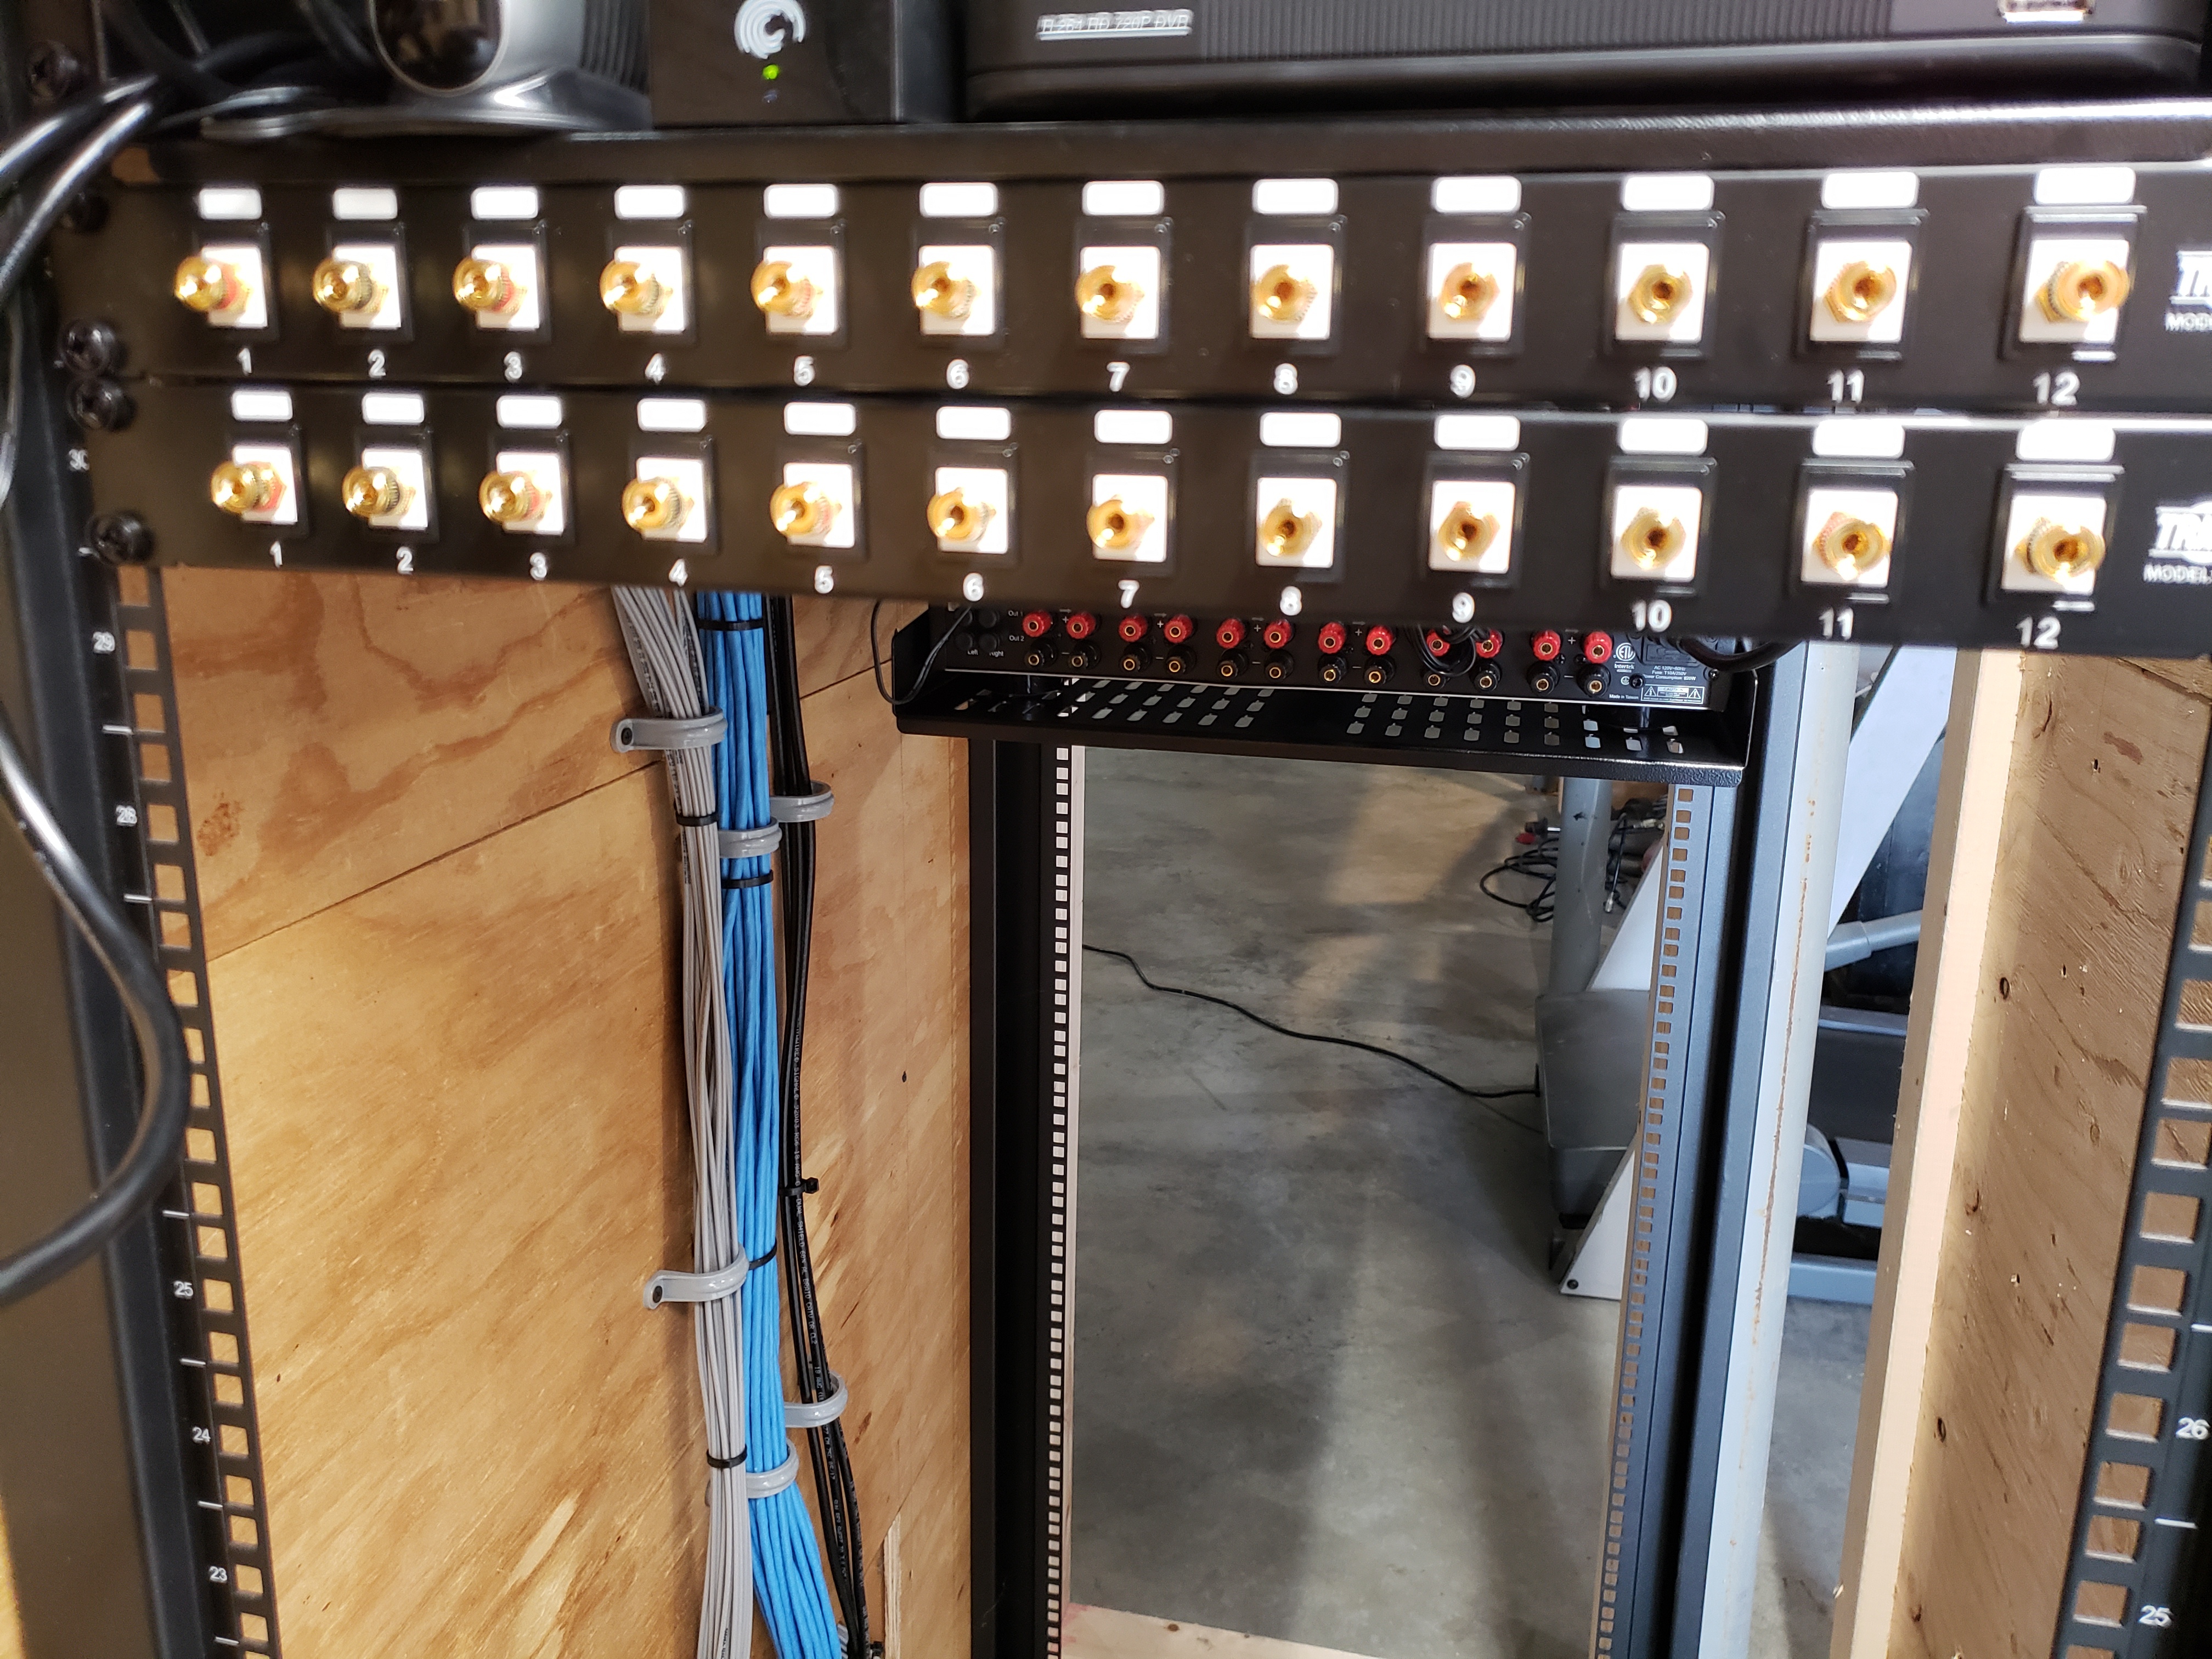
Banana Keystone Jacks
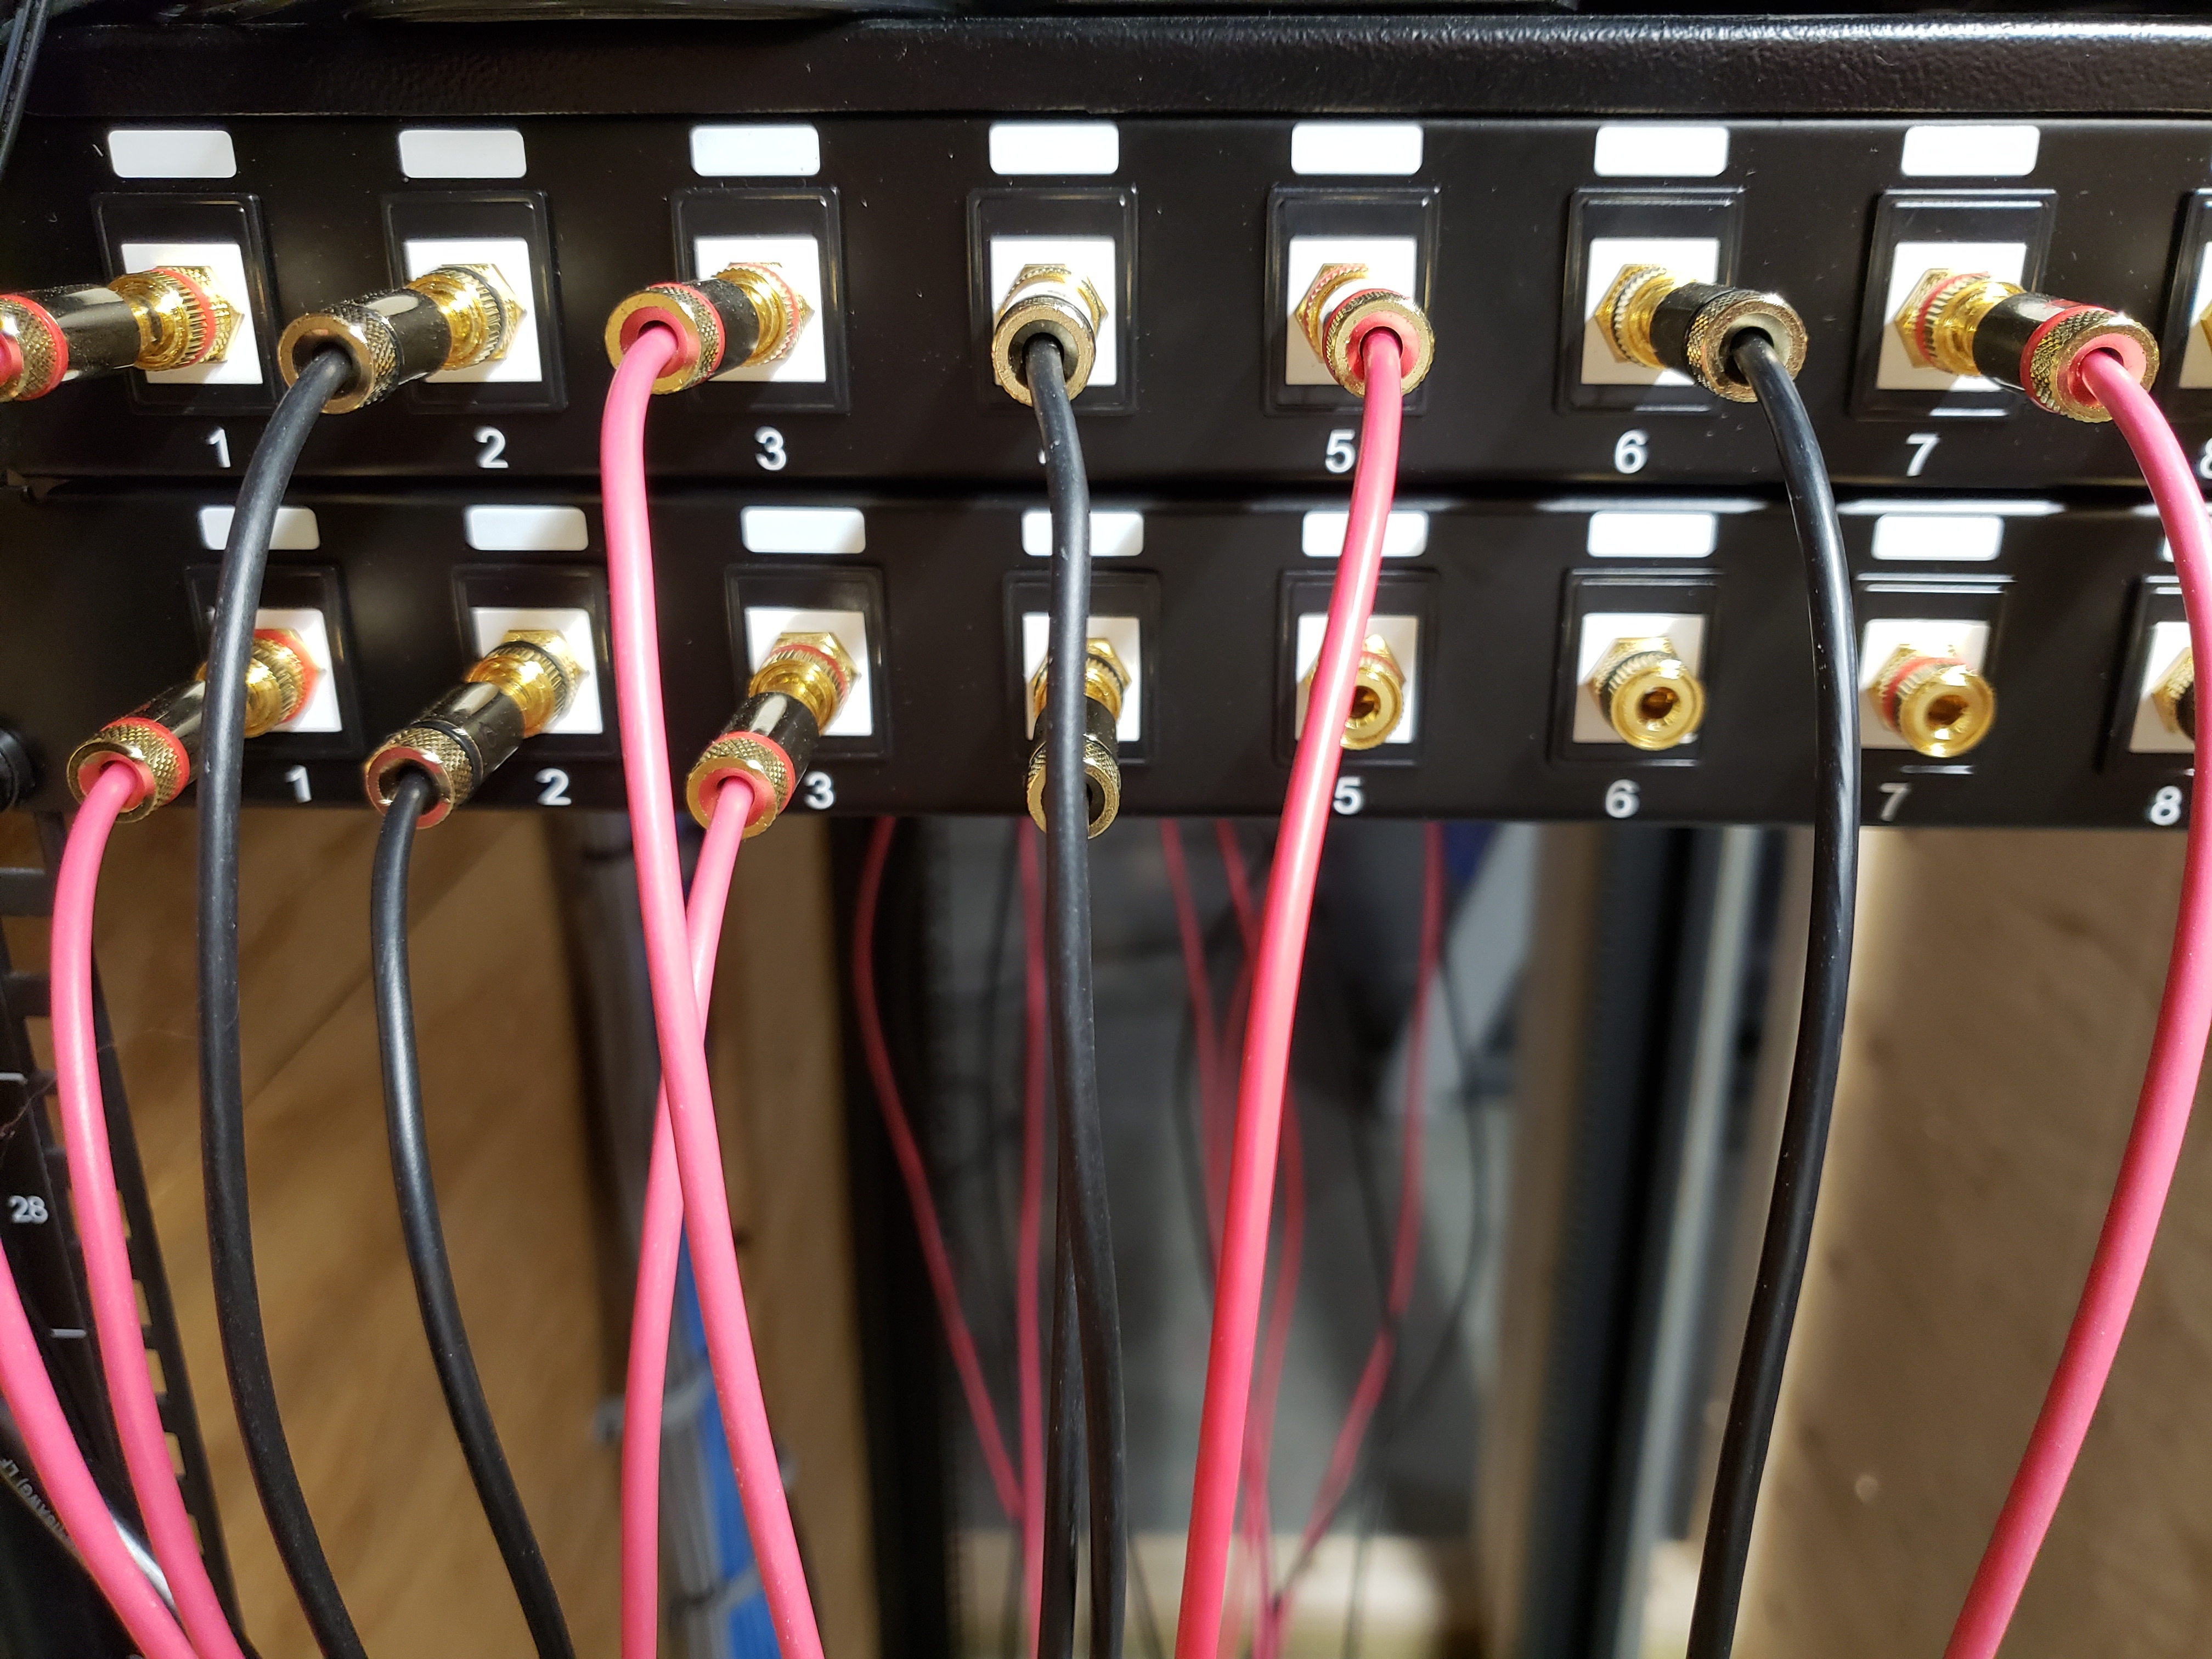
Banana Keystone Jacks
Banana Keystone Jacks

Banana Keystone Jacks

CAT 6 Patch Panel

CAT 6 Patch Panel

I made my own banana cables using banana plugs and 12AWG speaker wire and ran patch cables from the patch panel to the controller.  You can see the CAT 6 from the keypads in the upper left, the RCA patch cables that go from the controller to the amp and the banana cables coming from the banana plug patch panels.
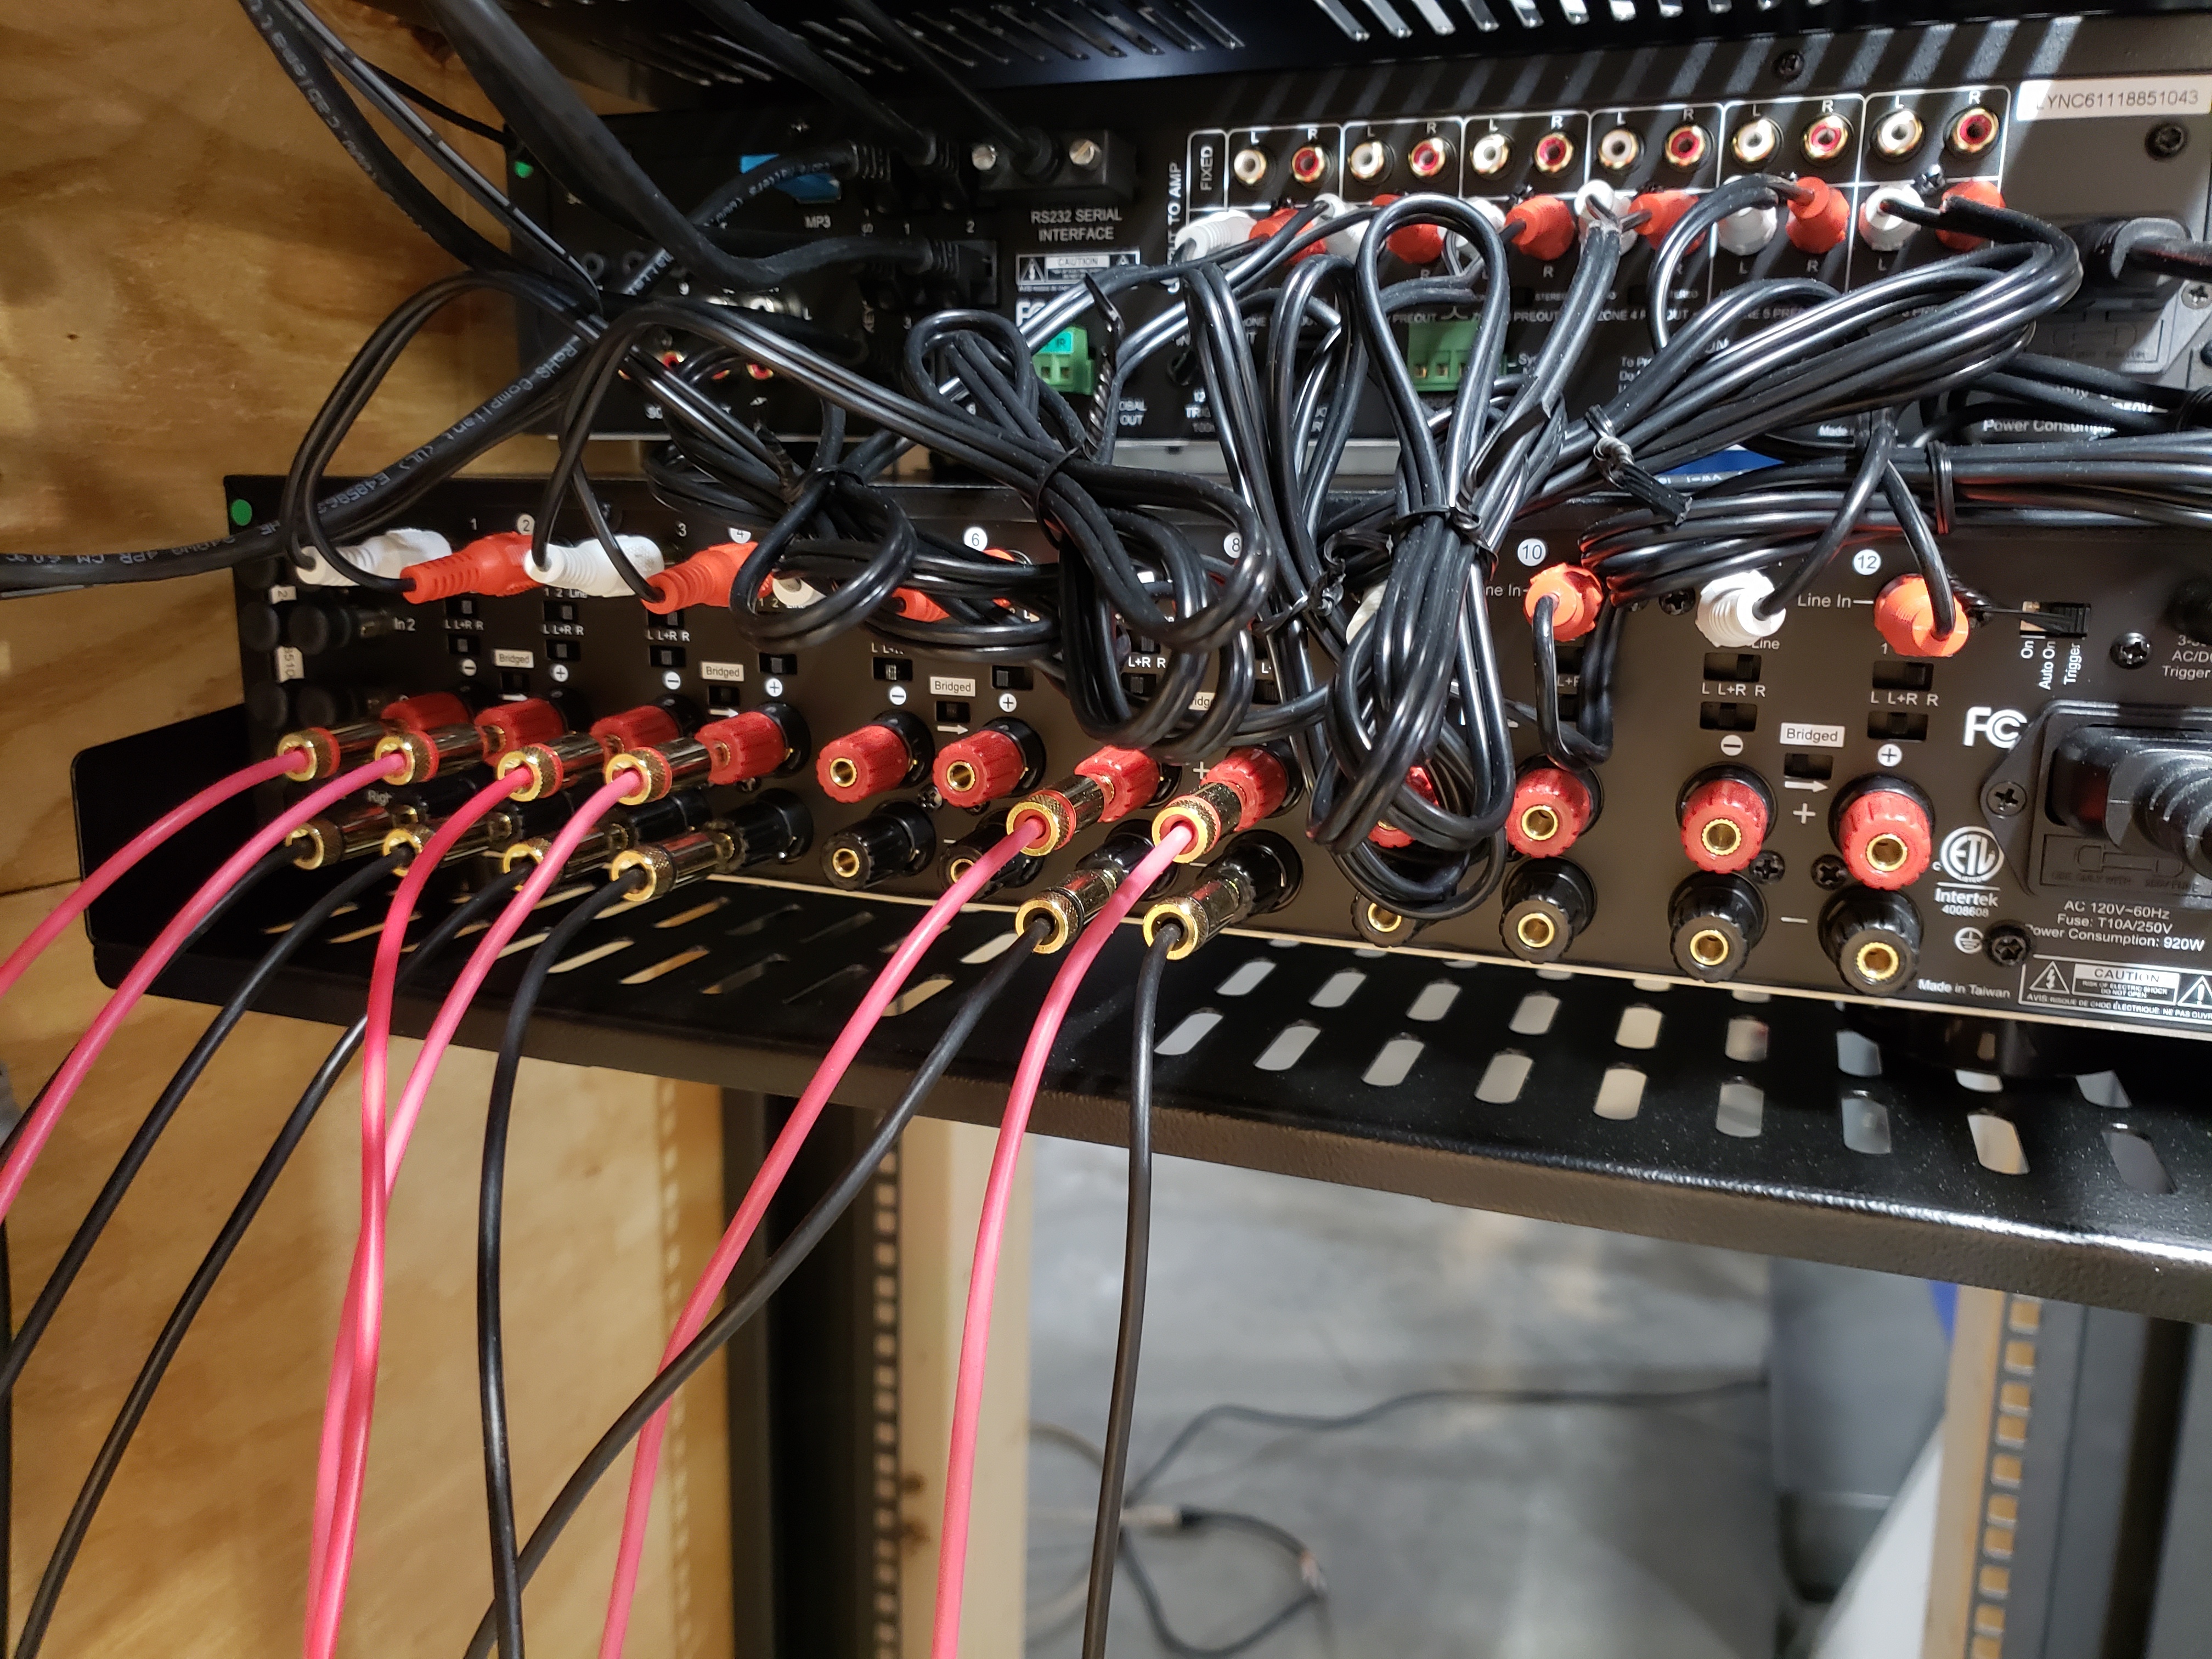
Lync 6 Controller Wiring

Lync 6 Controller Wiring

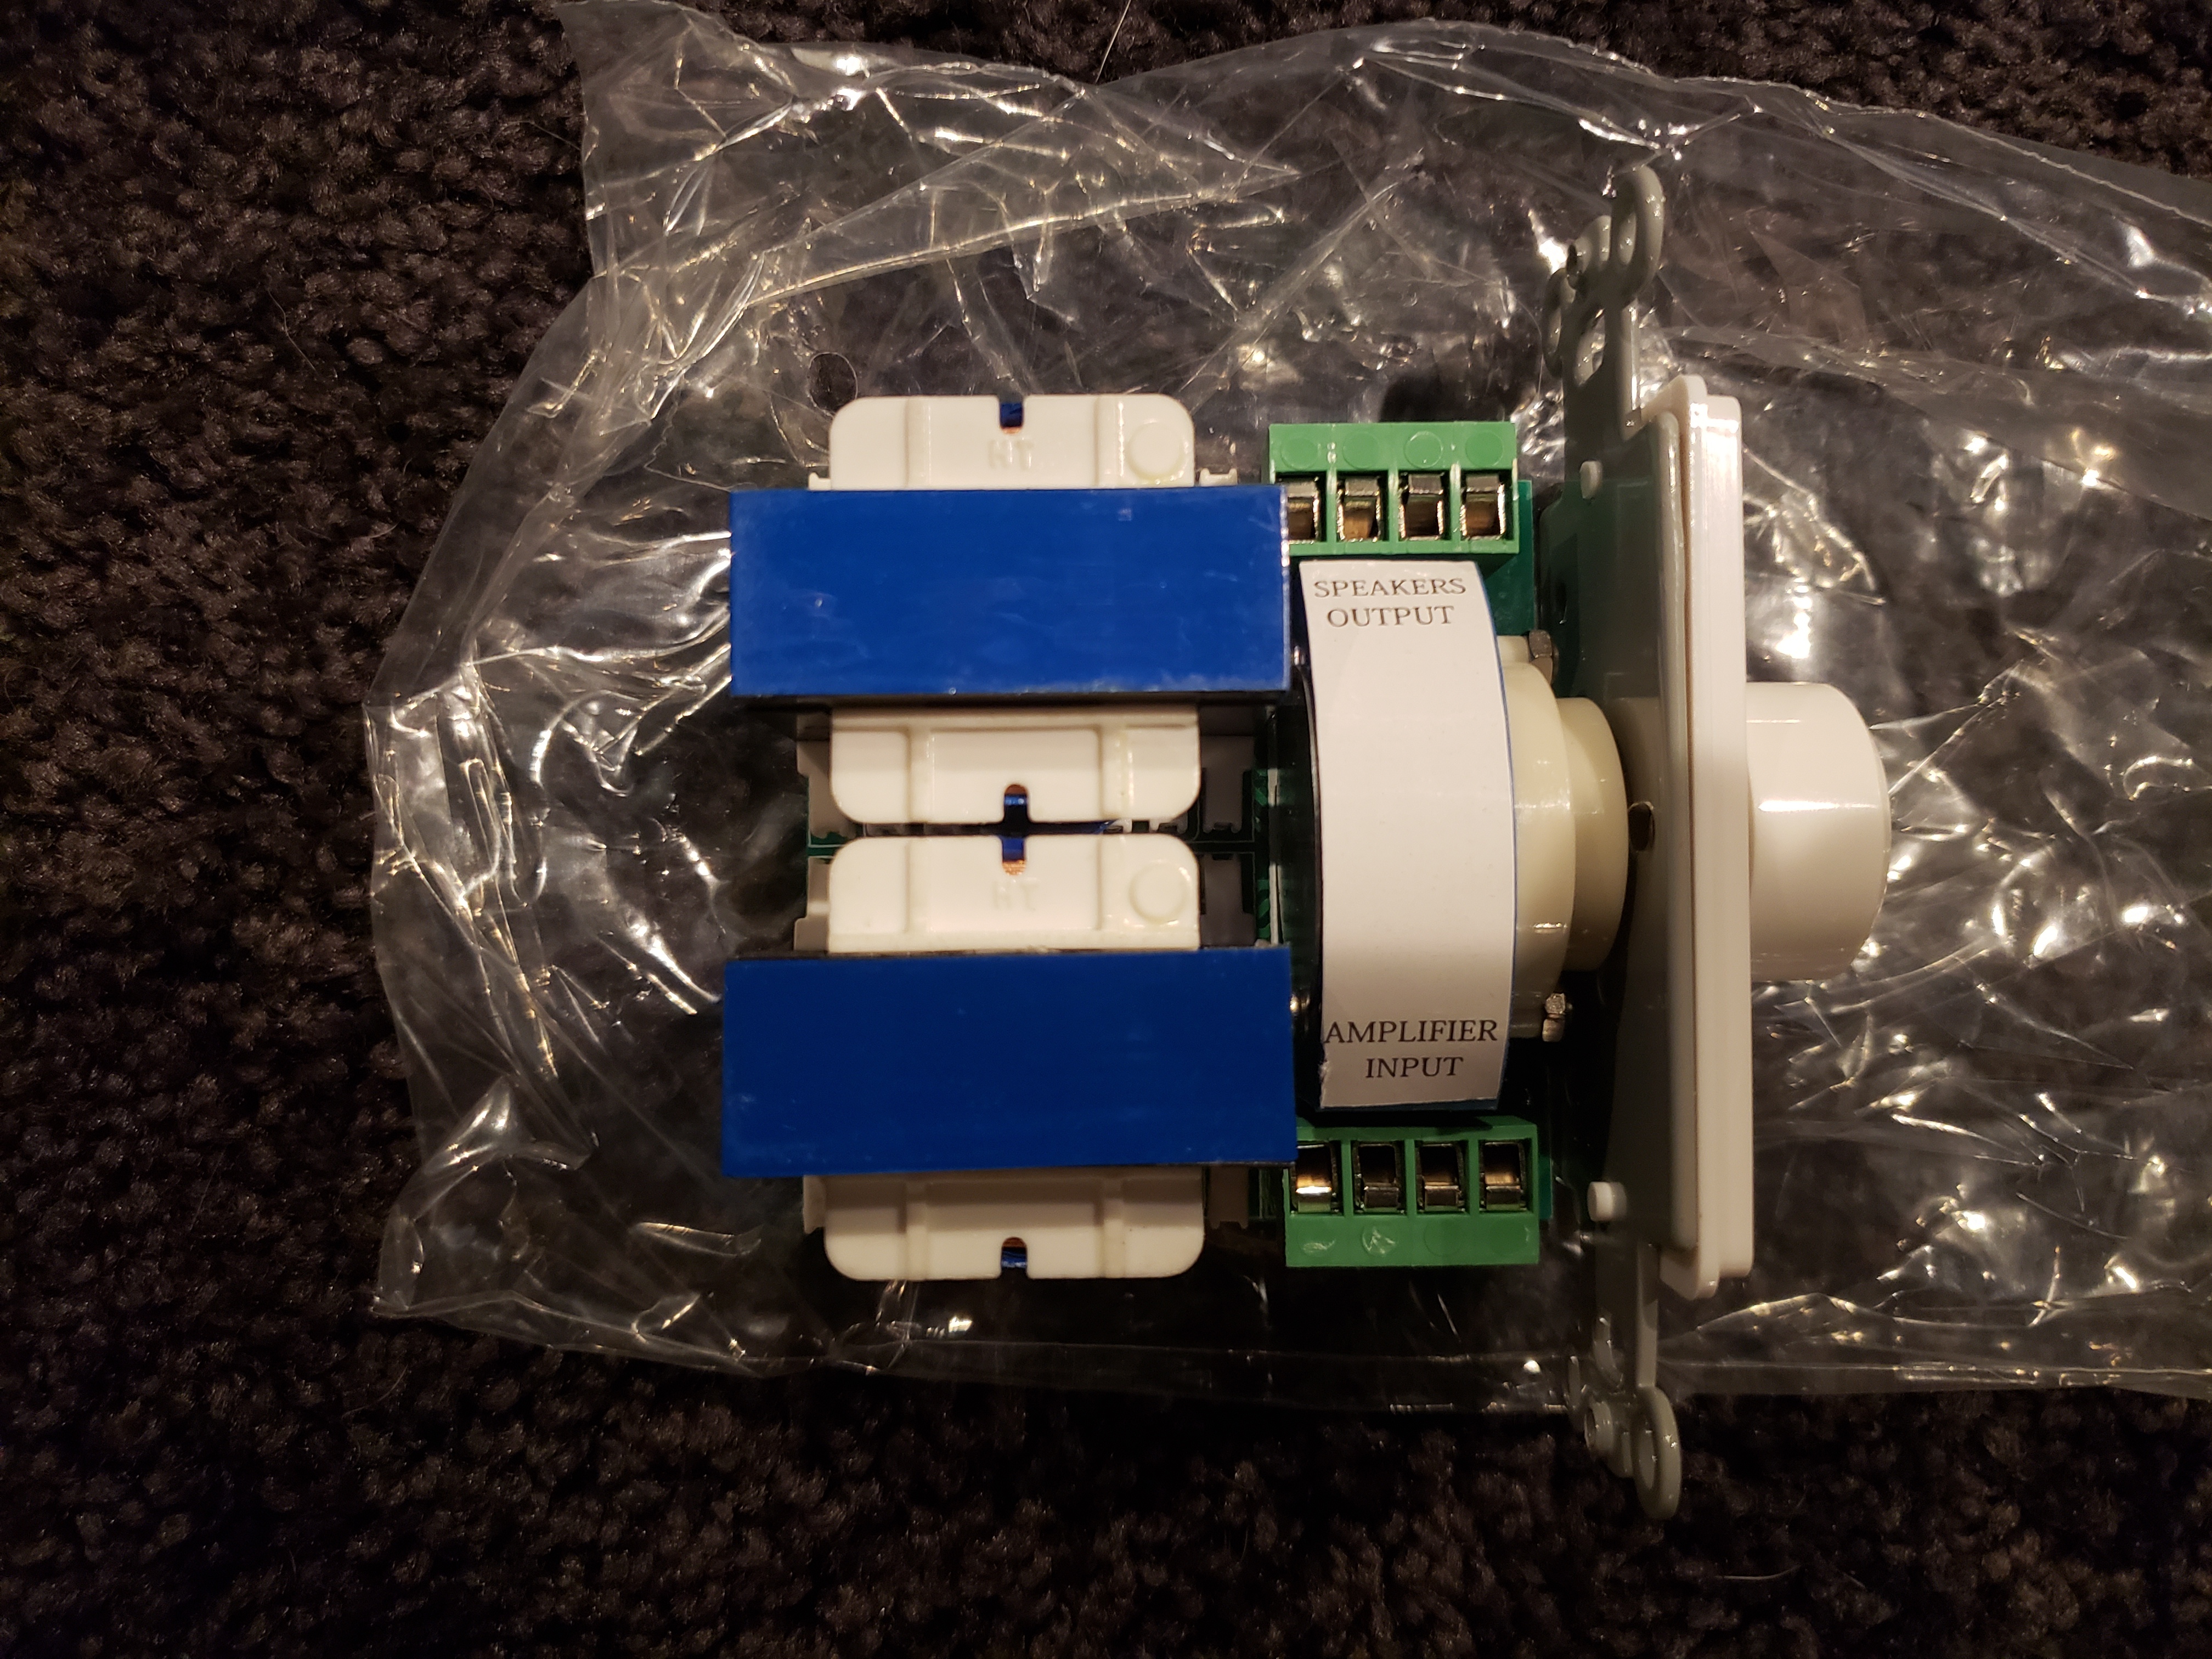
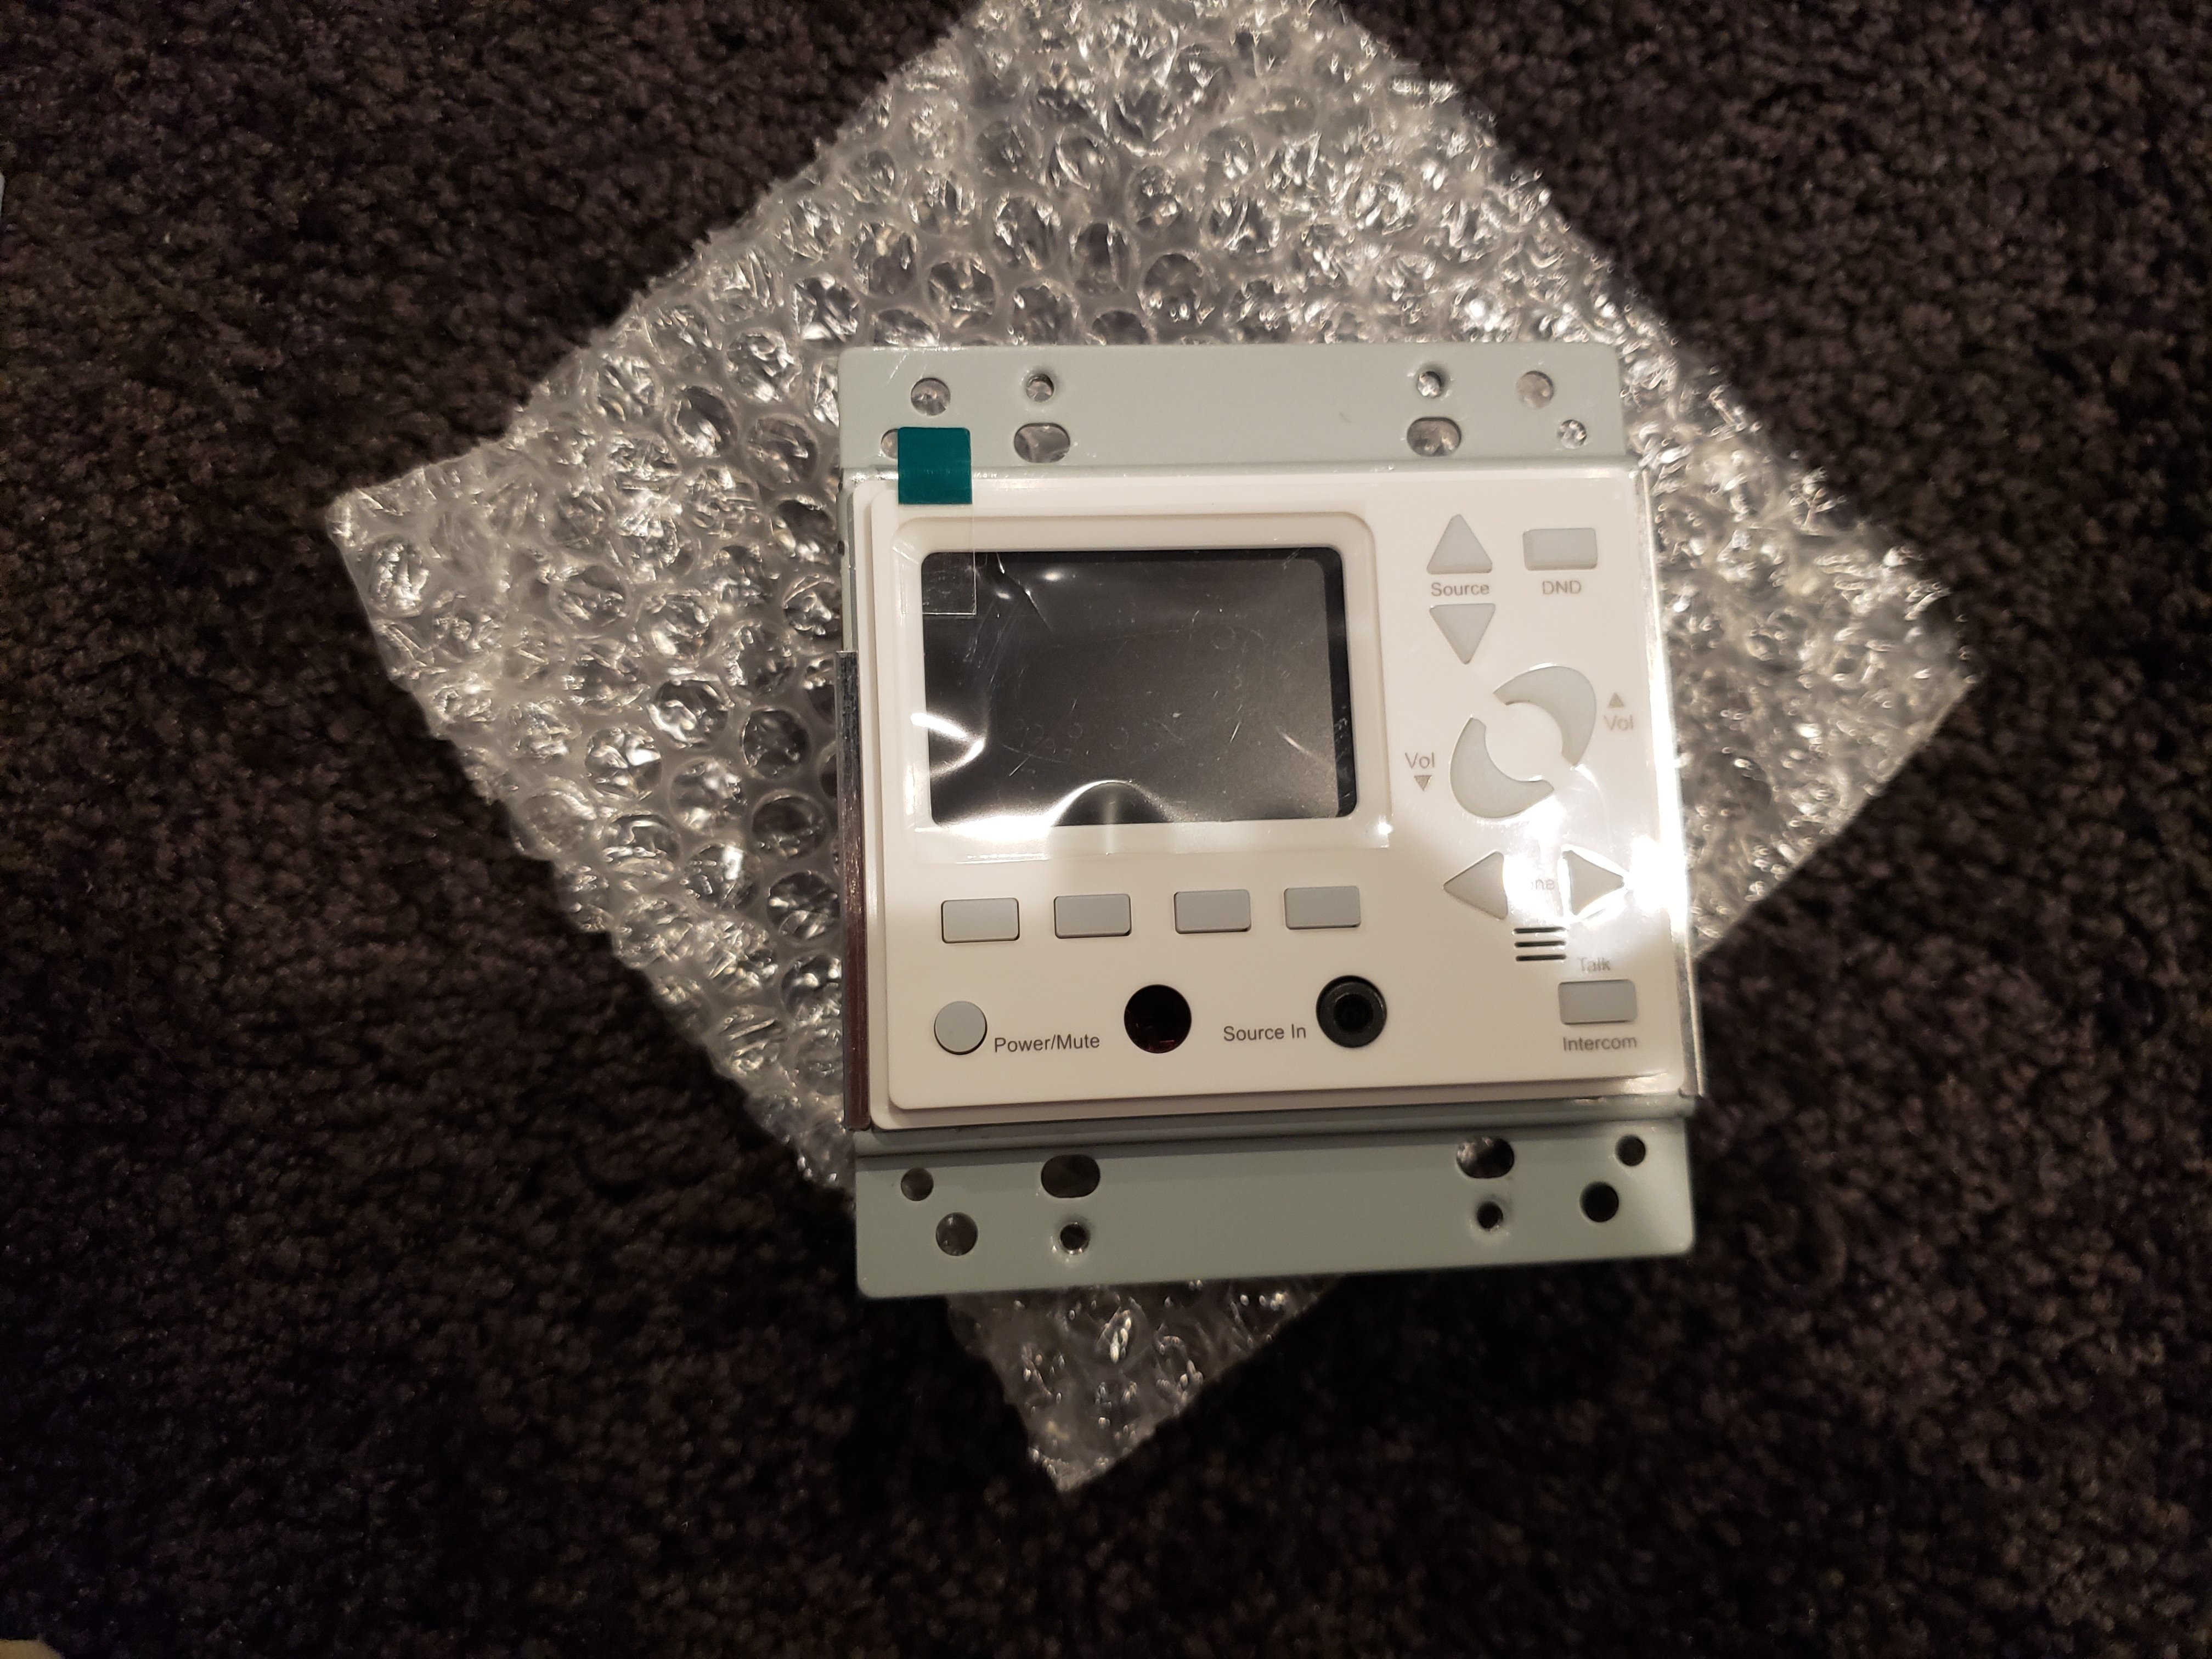
The keypads are installed by terminating the CAT 6 with an RG45 plug.  The volume control, which I only needed because I wanted a sub zone off from my kitchen zone is wired with simple input output connectors.  
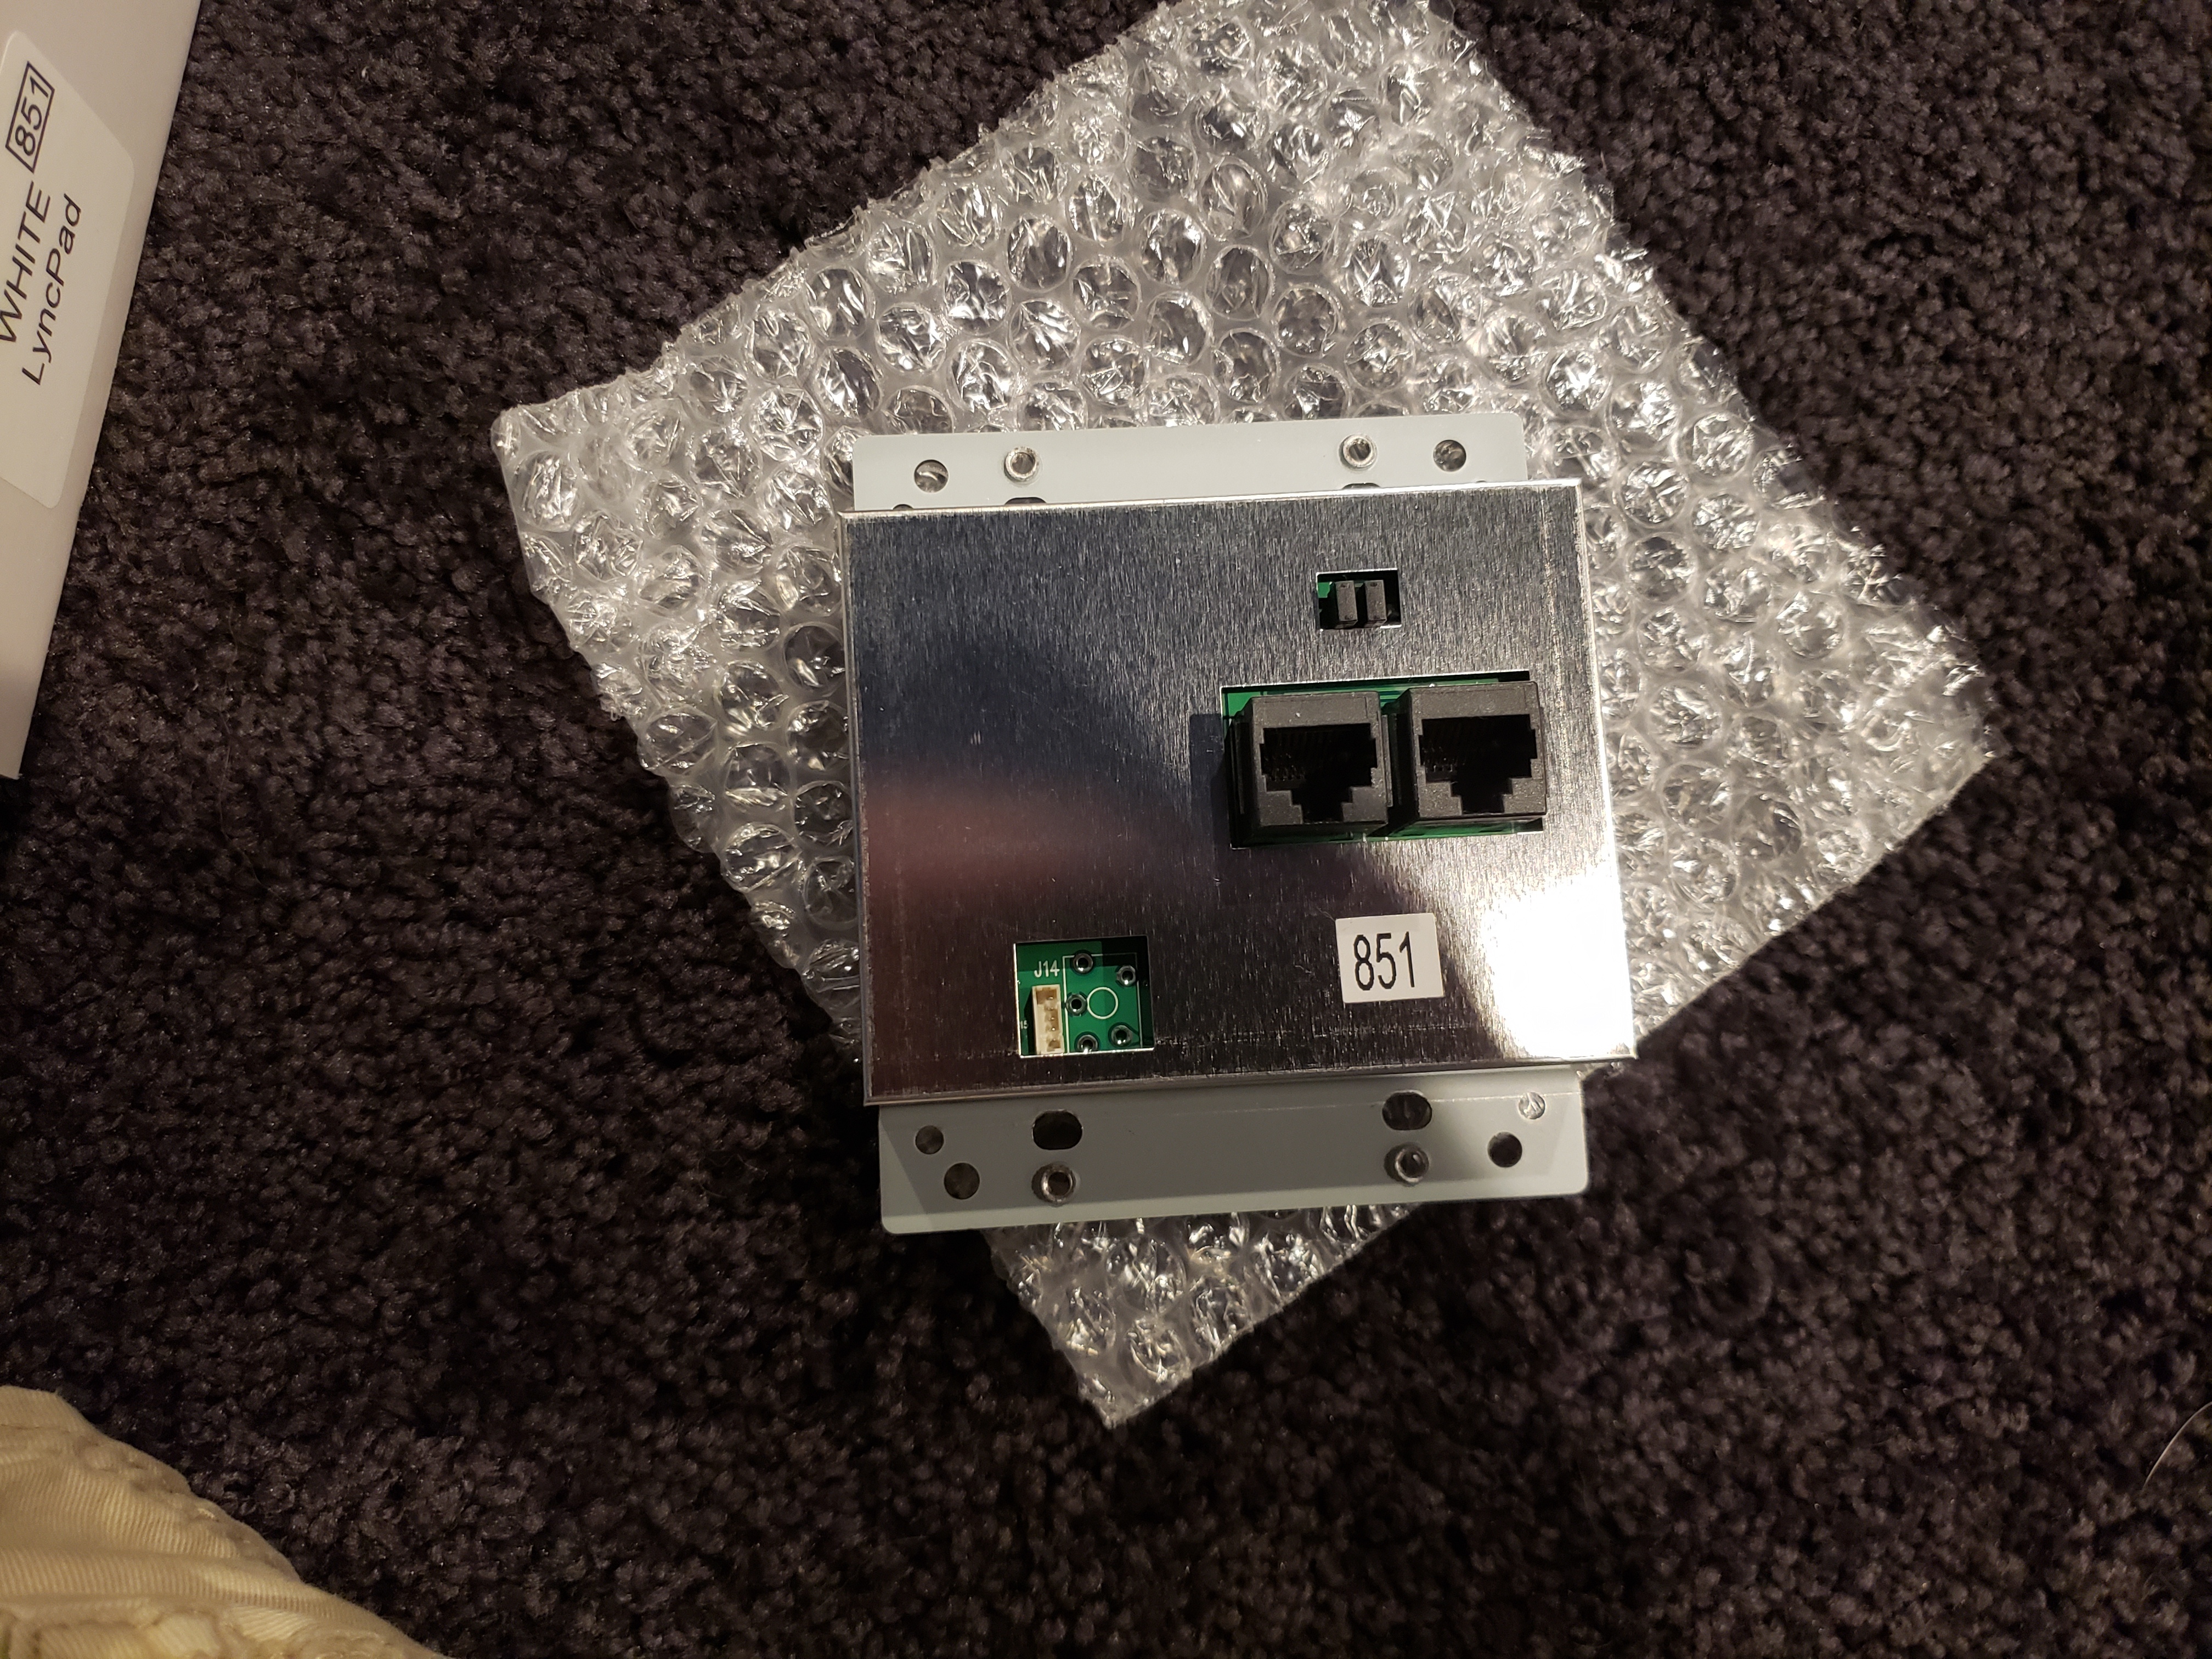
Keypad- Back
Keypad- Back

Keypad- Front

Keypad- Front

Volume Control

Volume Control

The input panels get plugged into the back of the keypads, so you'll need to be able to get a CAT 6 wire between them.  I just cut in a low voltage ring next to the keypad.  You can see the Bluetooth input panel next to the keypad in the picture below.  
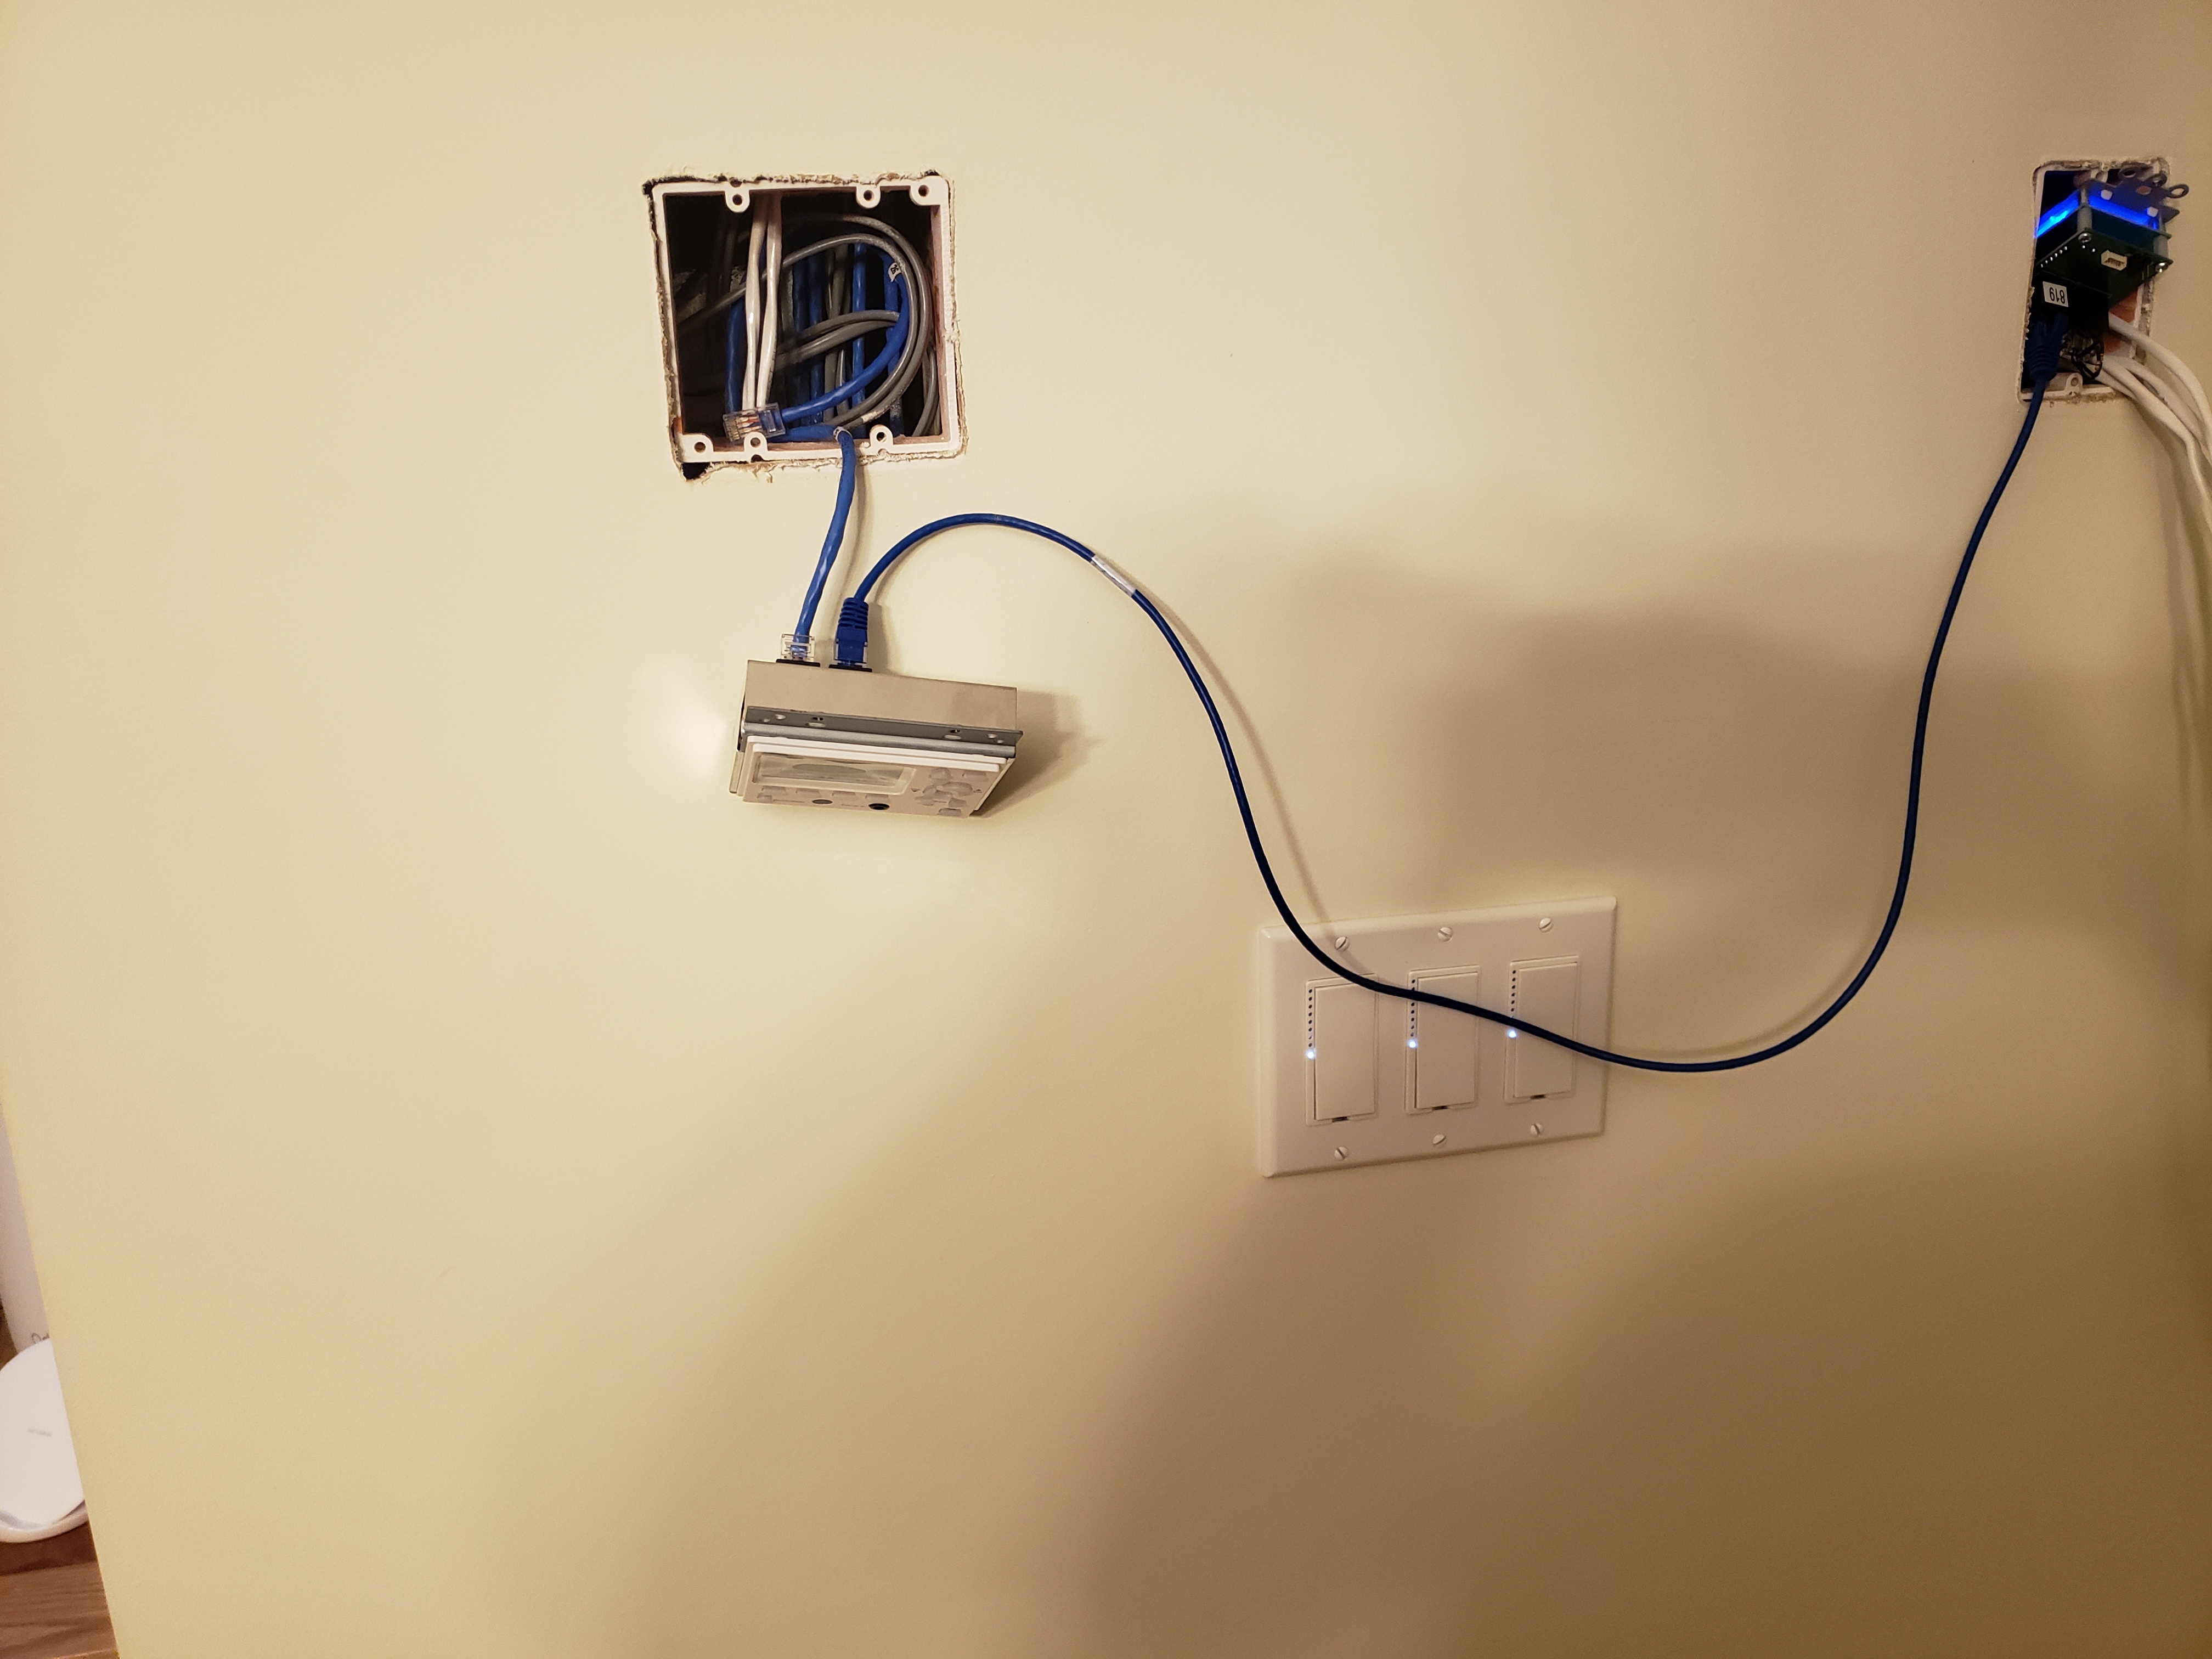
Testing
Testing

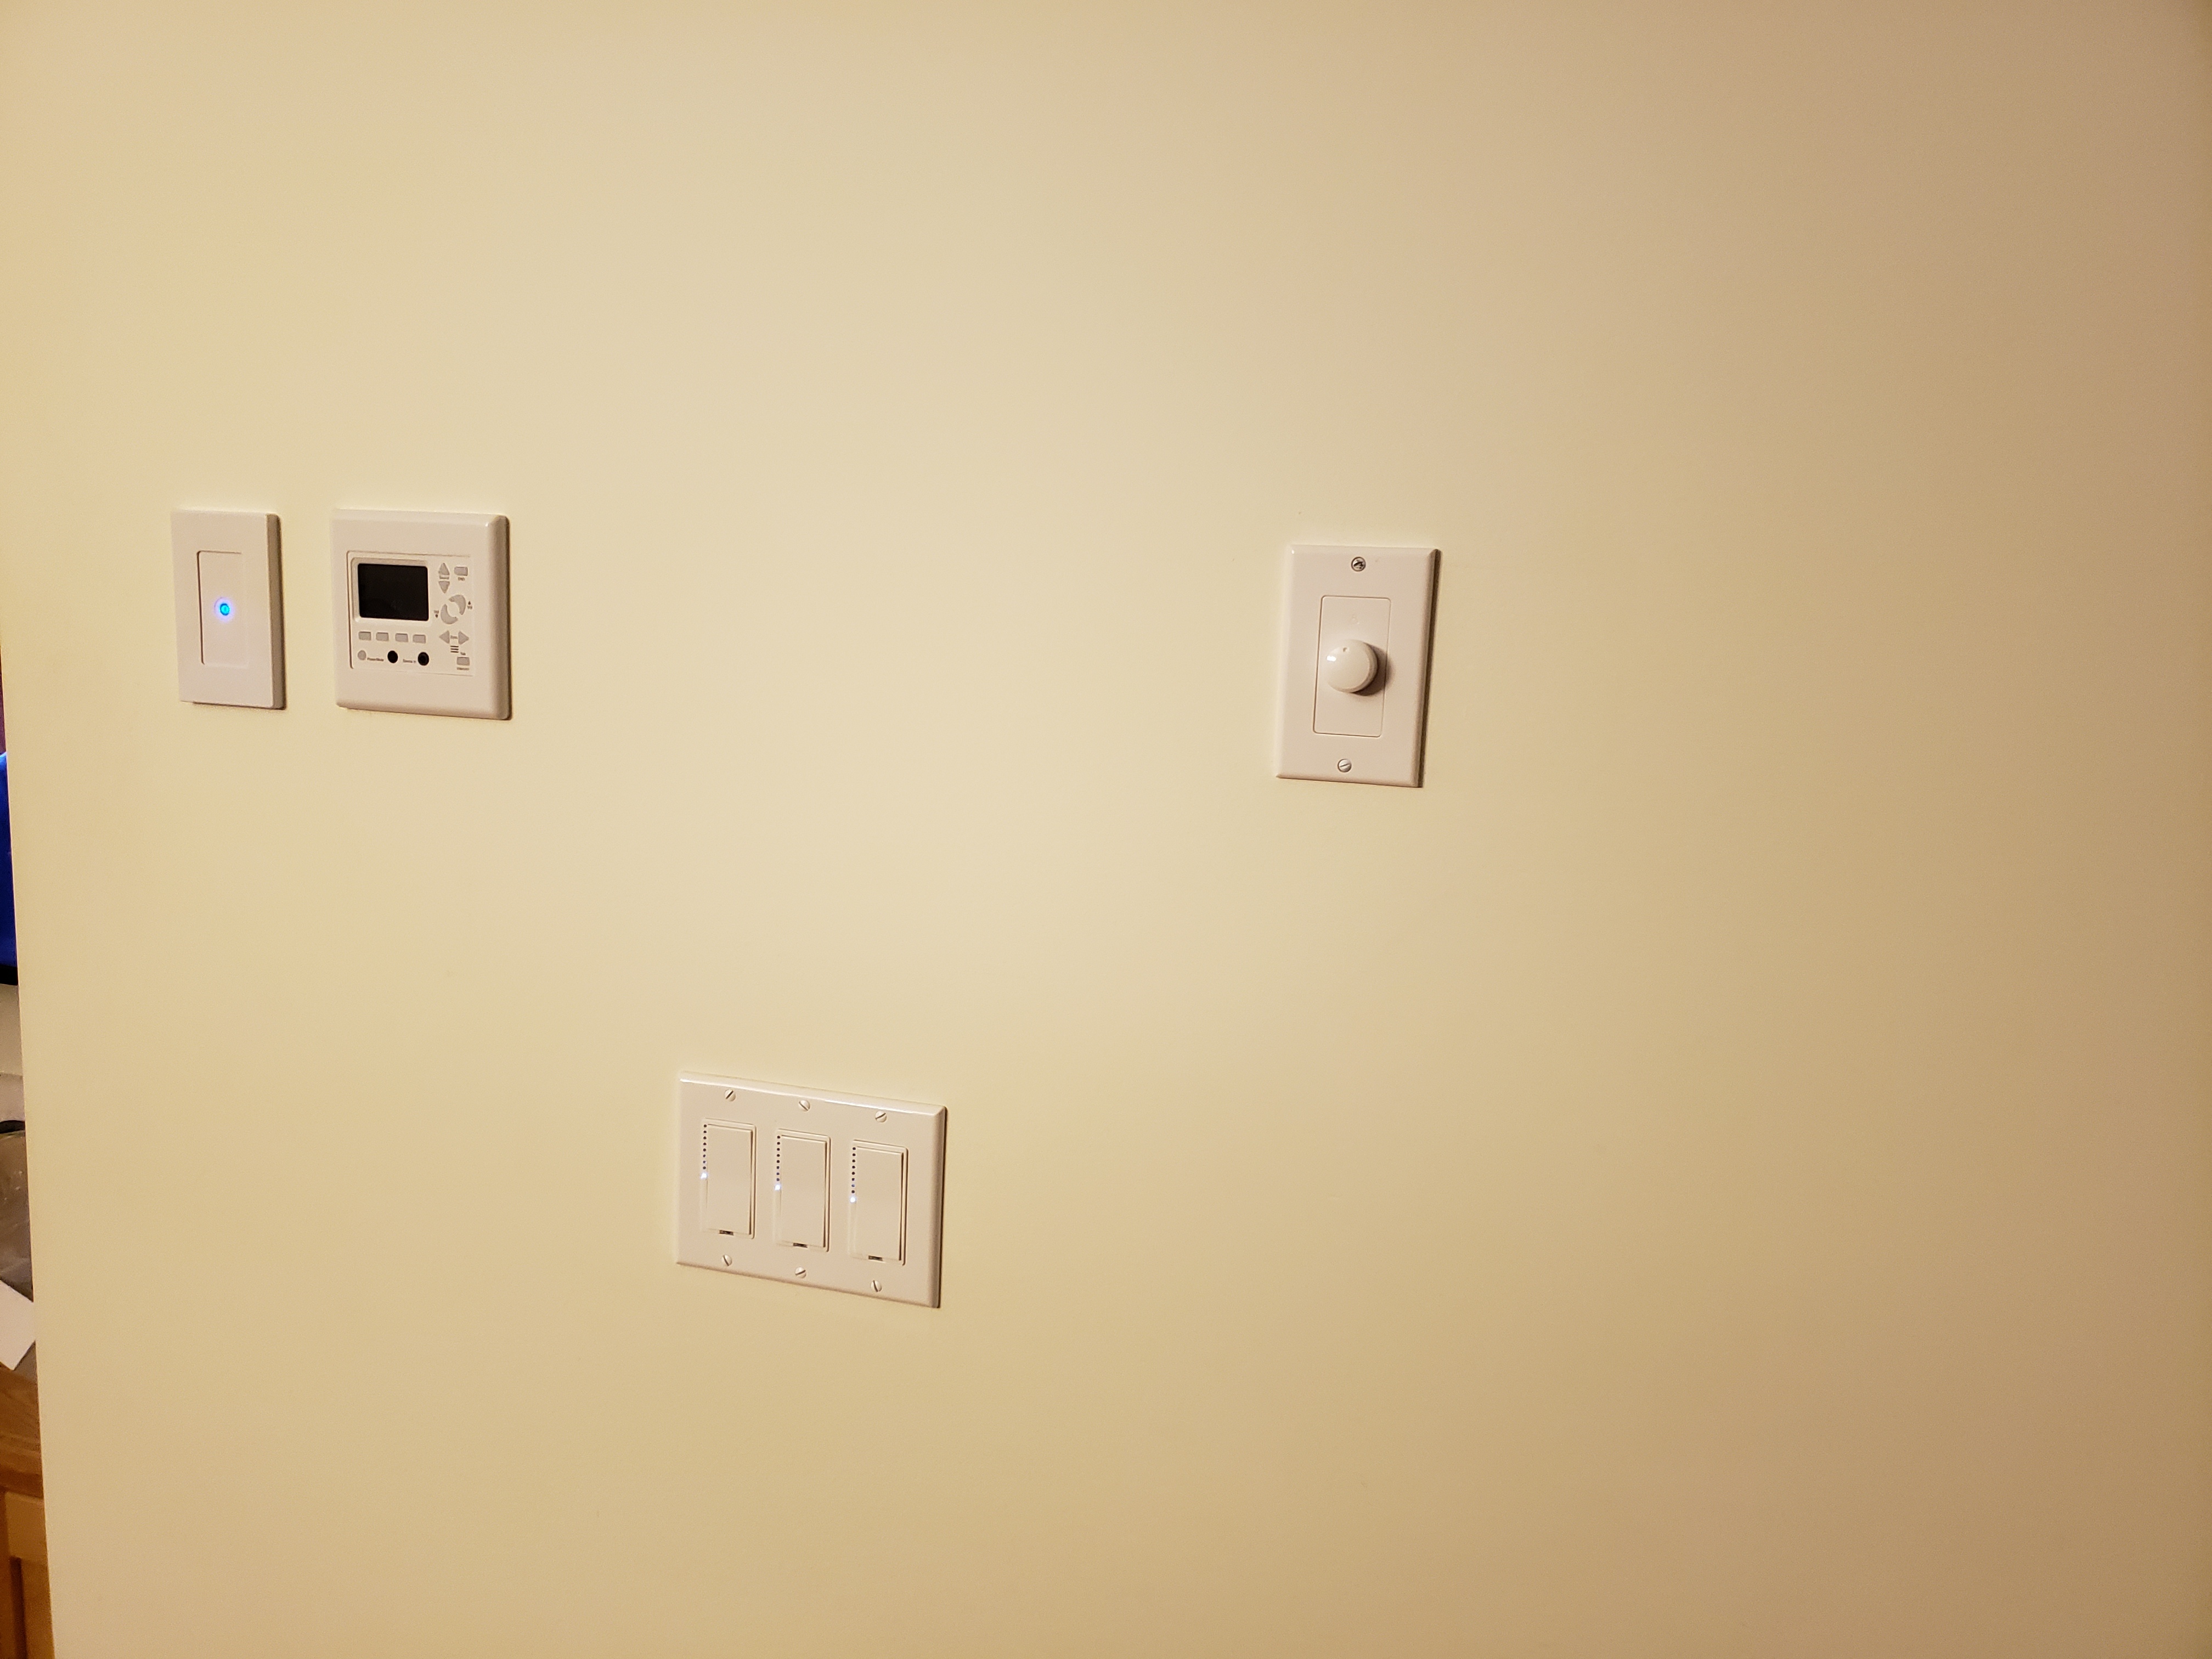
Keypad and Volume Control

Keypad and Volume Control

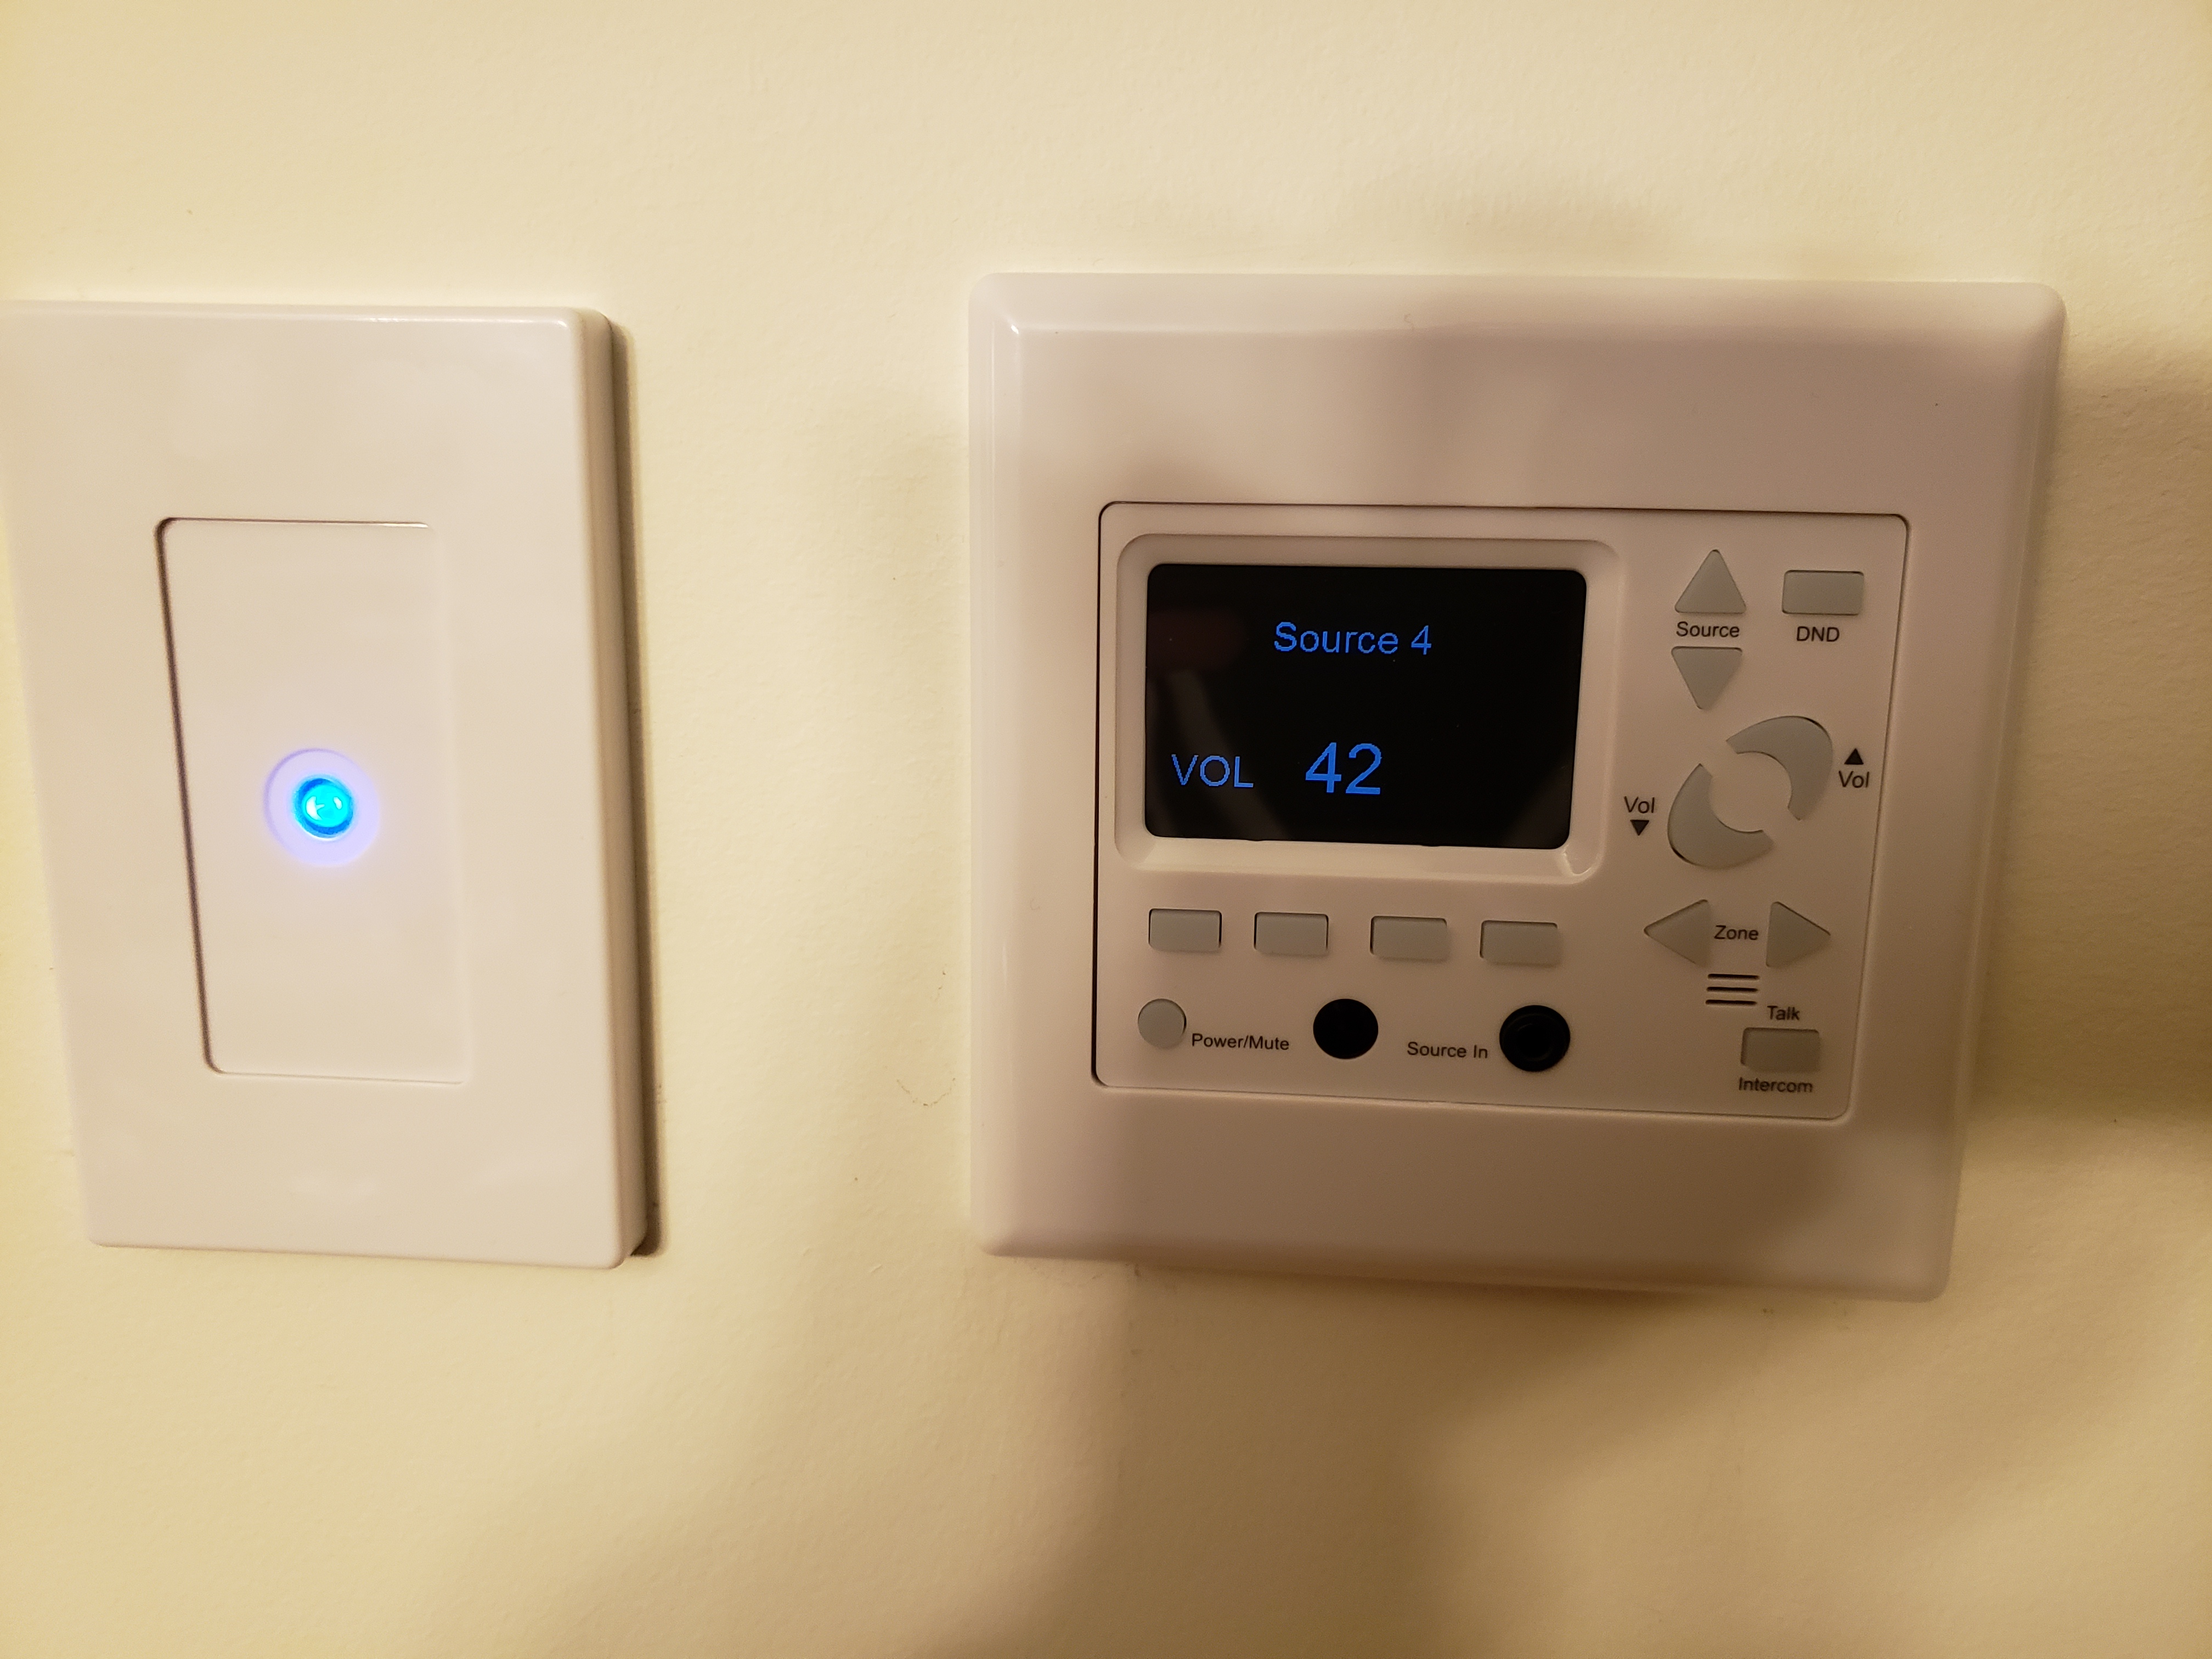
Keypad Closeup

Keypad Closeup

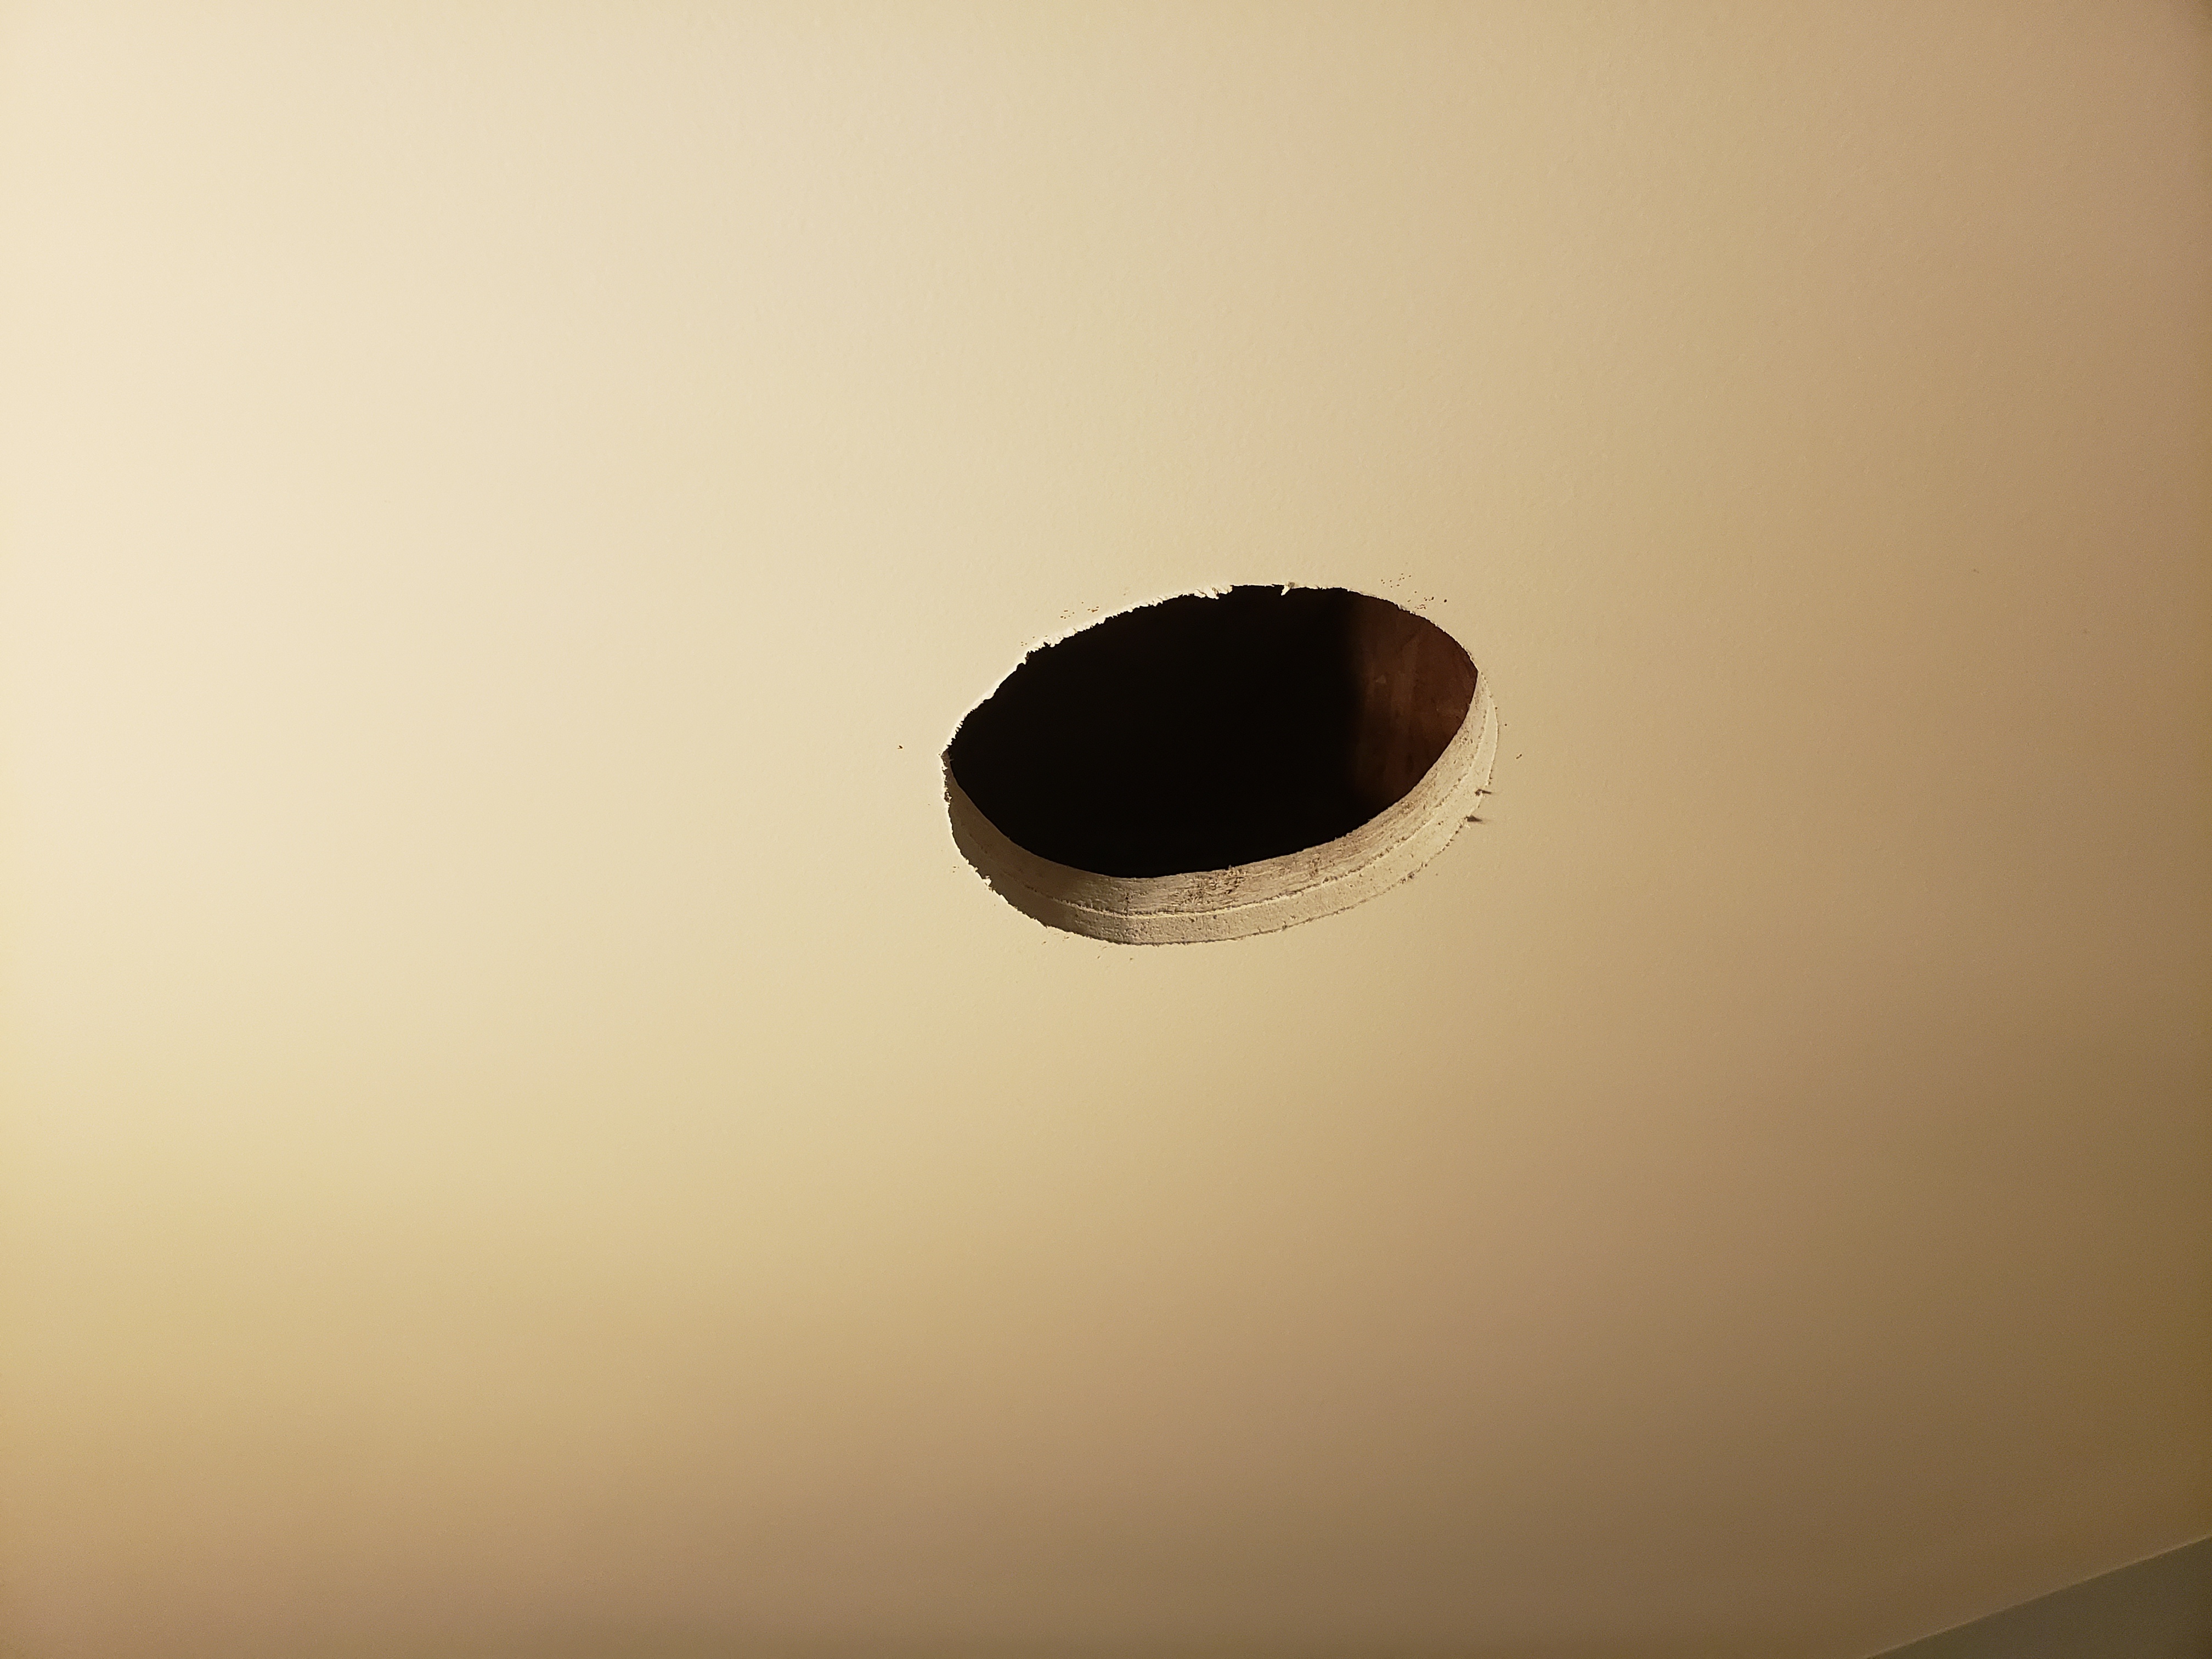
I had cut outs in place for the ceiling speakers when we built our house.  I did run into a small problem with this, since I had the cutouts sized for HTD's older HD speakers which had a 7-3/4" rough in size.  Their new HDX speakers have an 8" rough in size.  This normally wouldn't have been a big deal, but my builder decided to put 3/4" Advantec in openings to make sure the drywall hangers cut it out.  If it weren't for that I would have be able to simply cut the hole bigger with a drywall saw.  Instead it took a router and jigsaw, which created a big mess. The wall speakers weren't cut out ahead of time, so I cut those out using the provided templates. The speakers come with templates to cut out the drywall.  I put insulation in the holes before installing the ceiling speakers.

HINT: Take pictures of your rough wiring.  I makes a good reference later when you  are trying to cut the speakers in.  Here a picture of the master bedroom wall with the rough wiring. Notice the speaker wires coiled up the in wall.
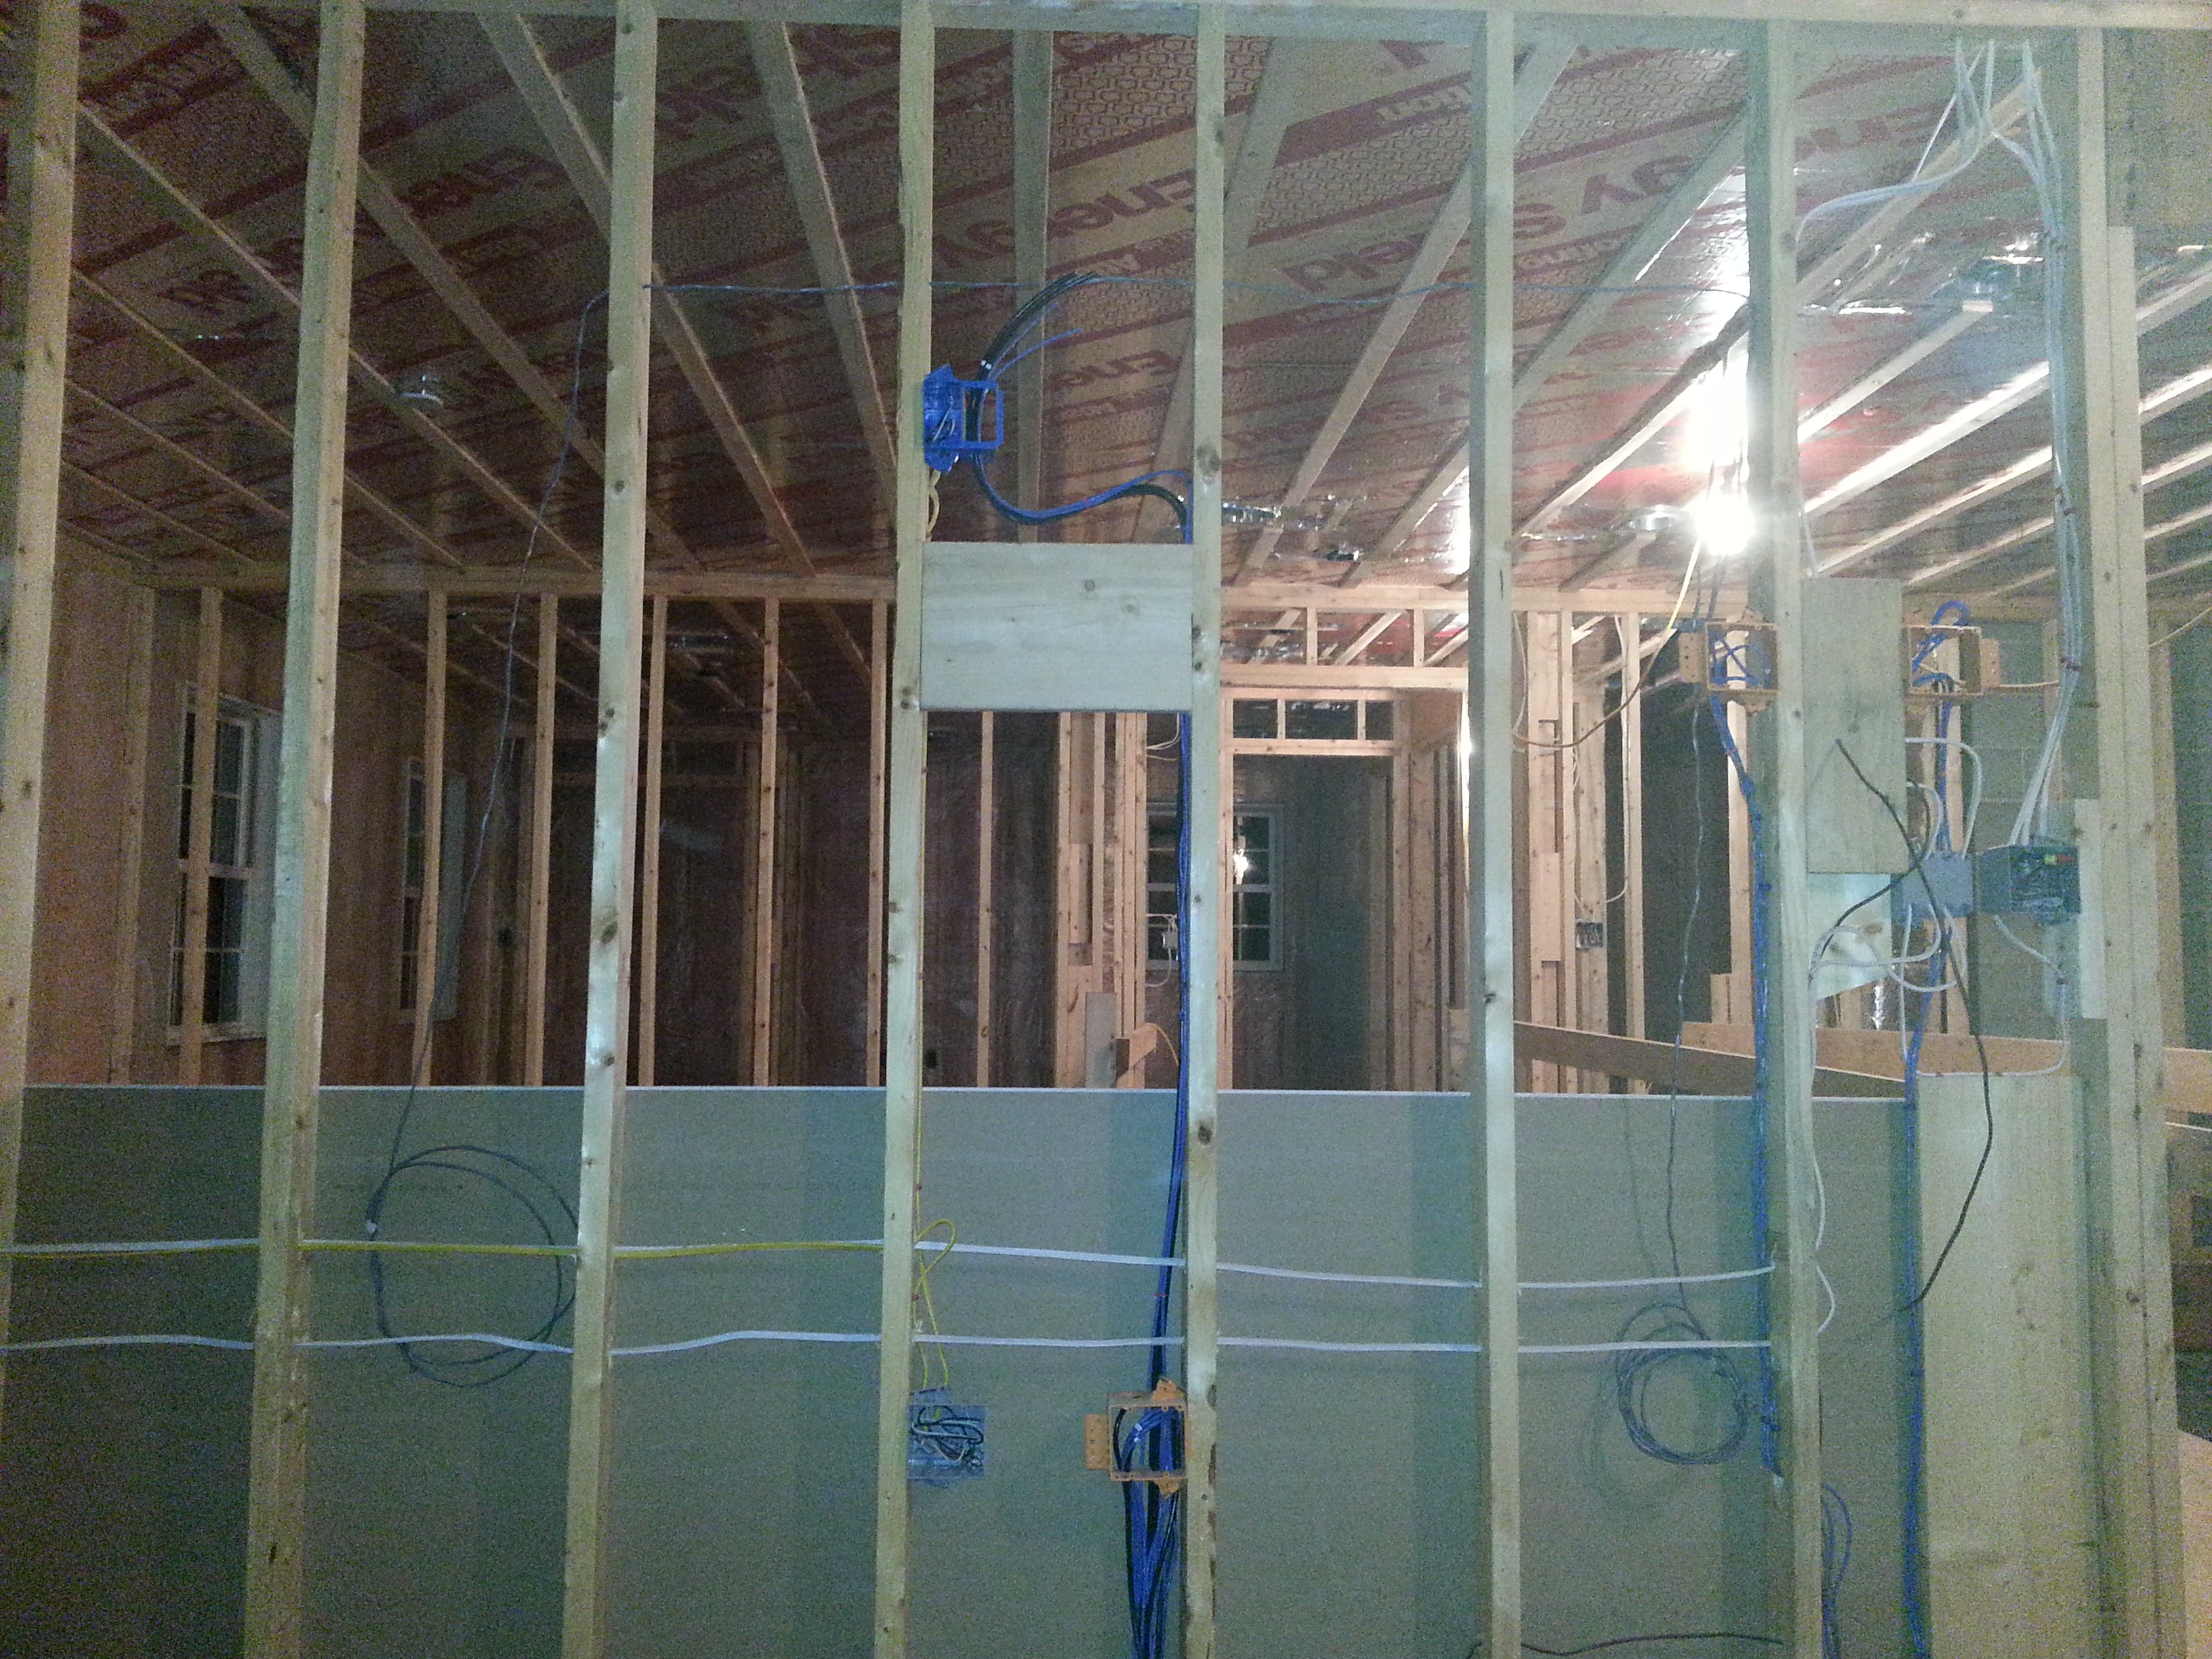
Rough Wiring Picture

Master Bedroom Rough Wiring

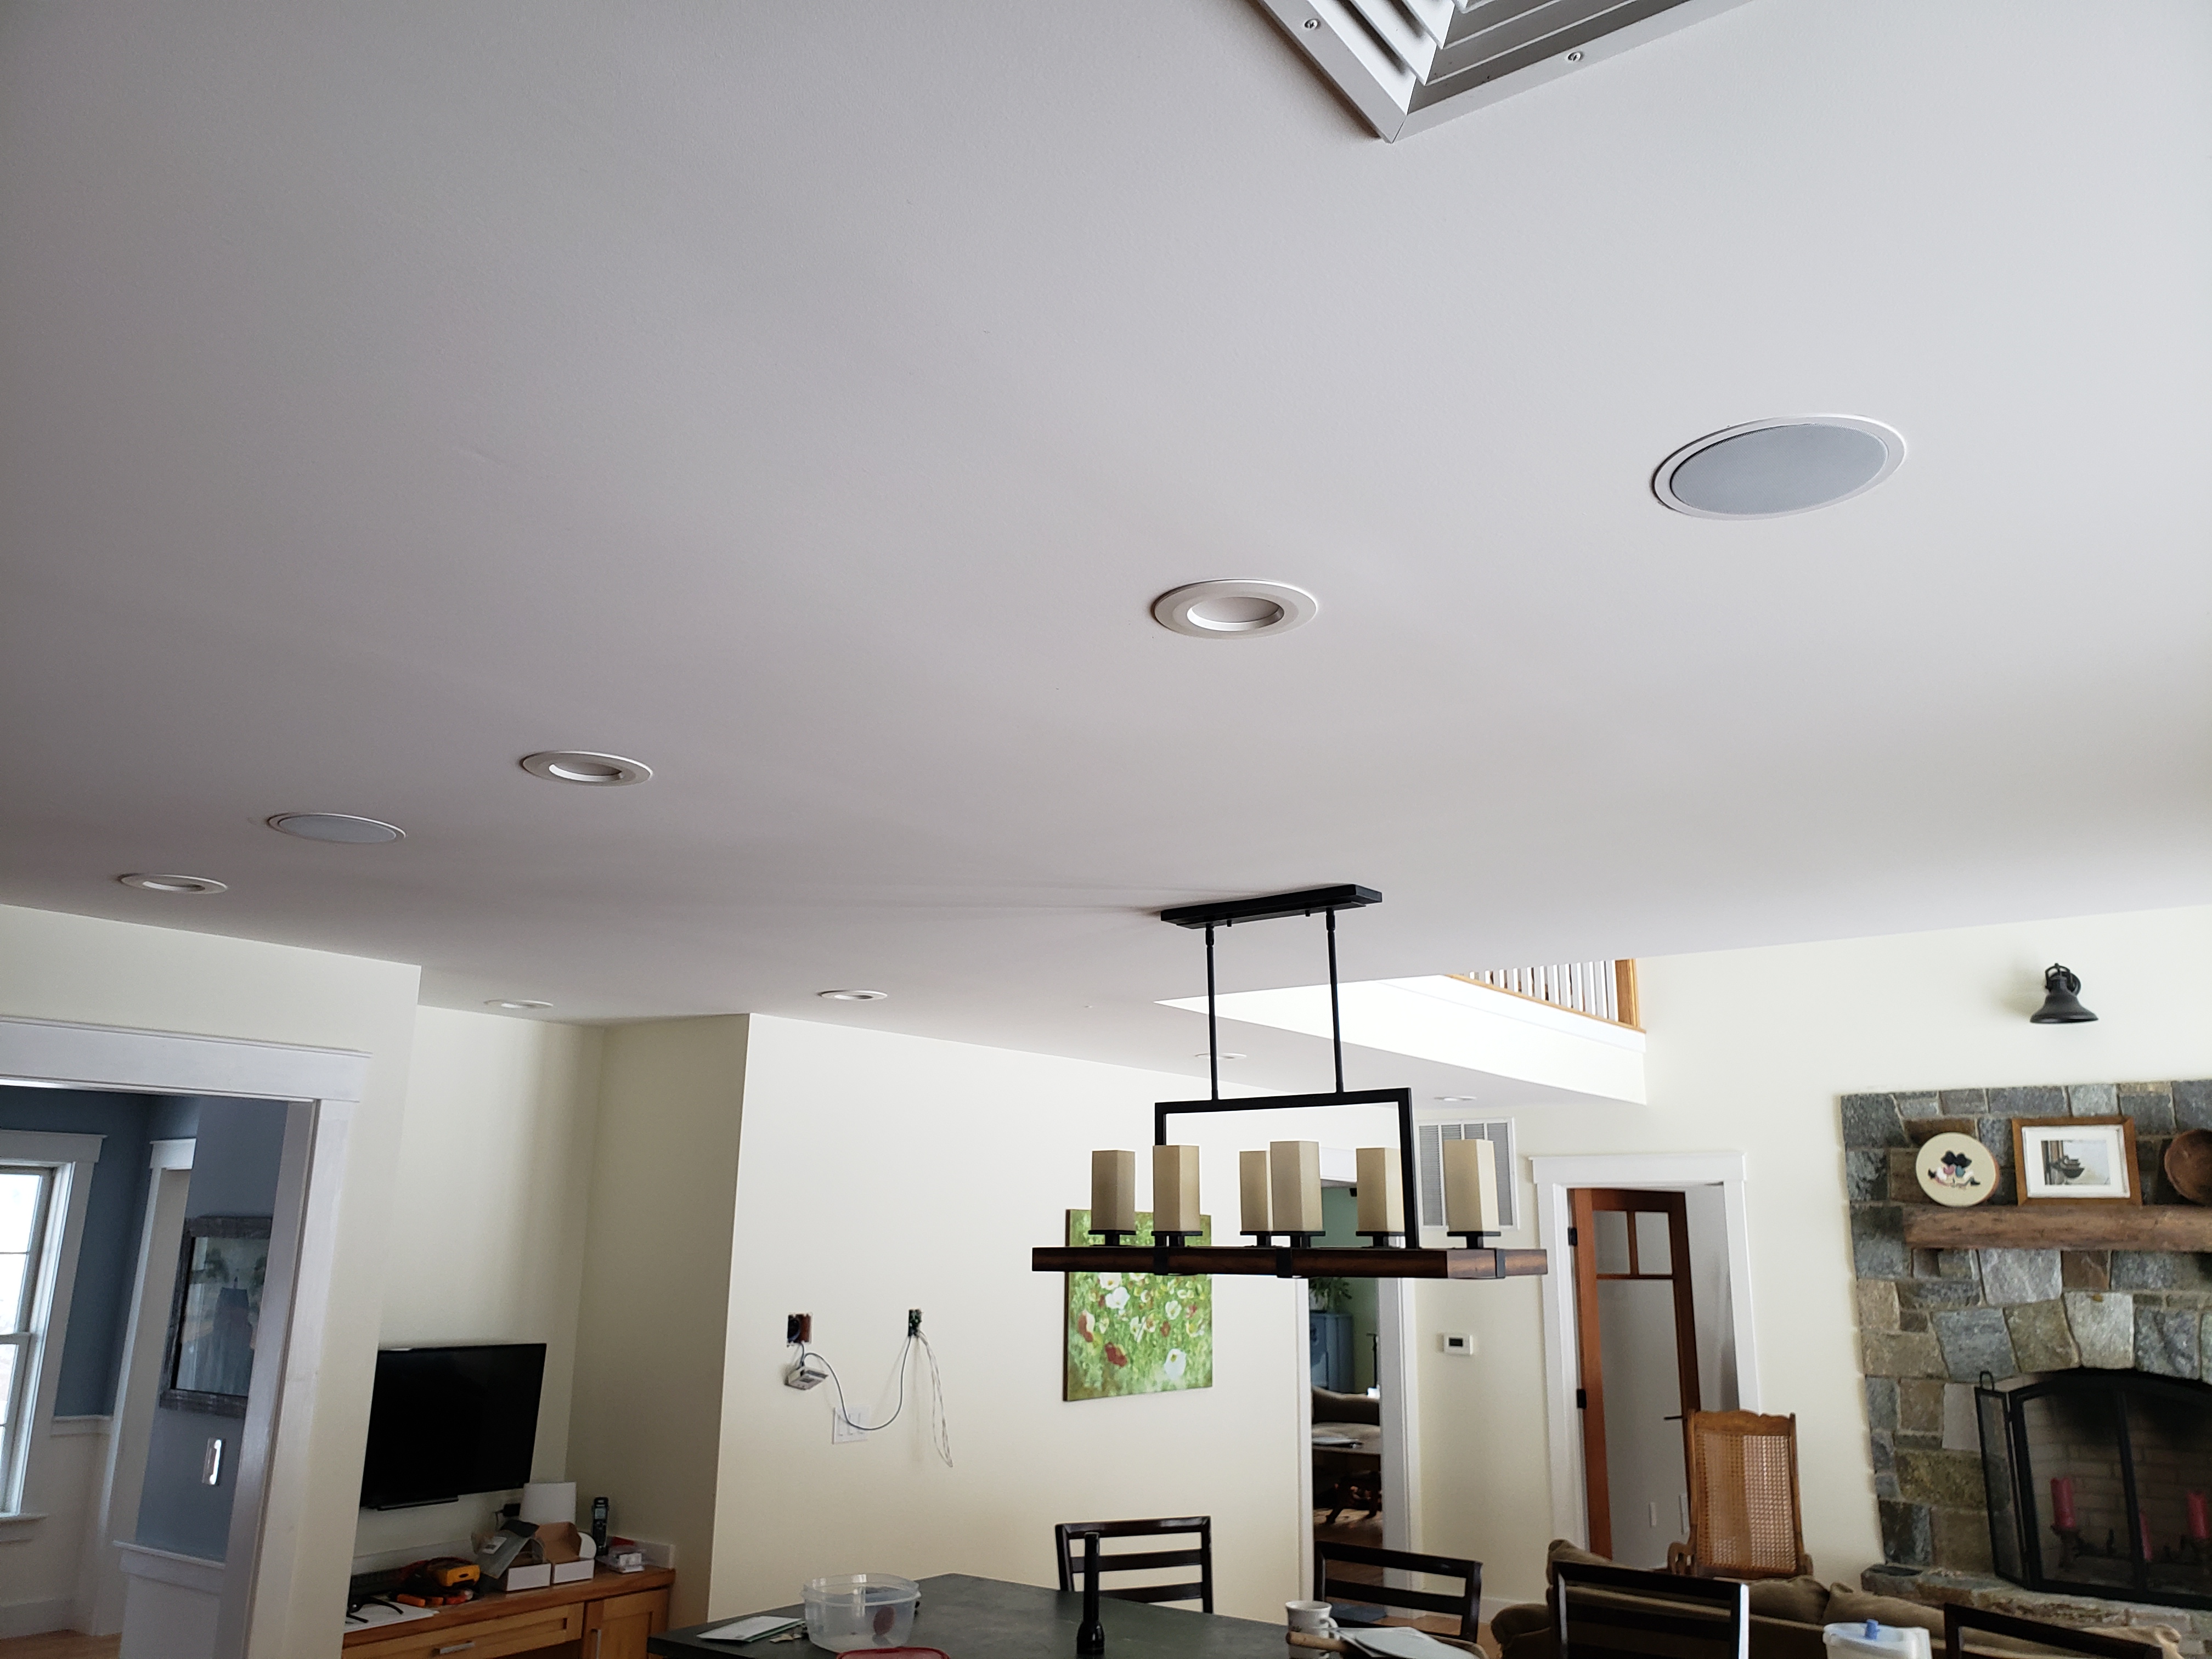
Kitchen Speakers
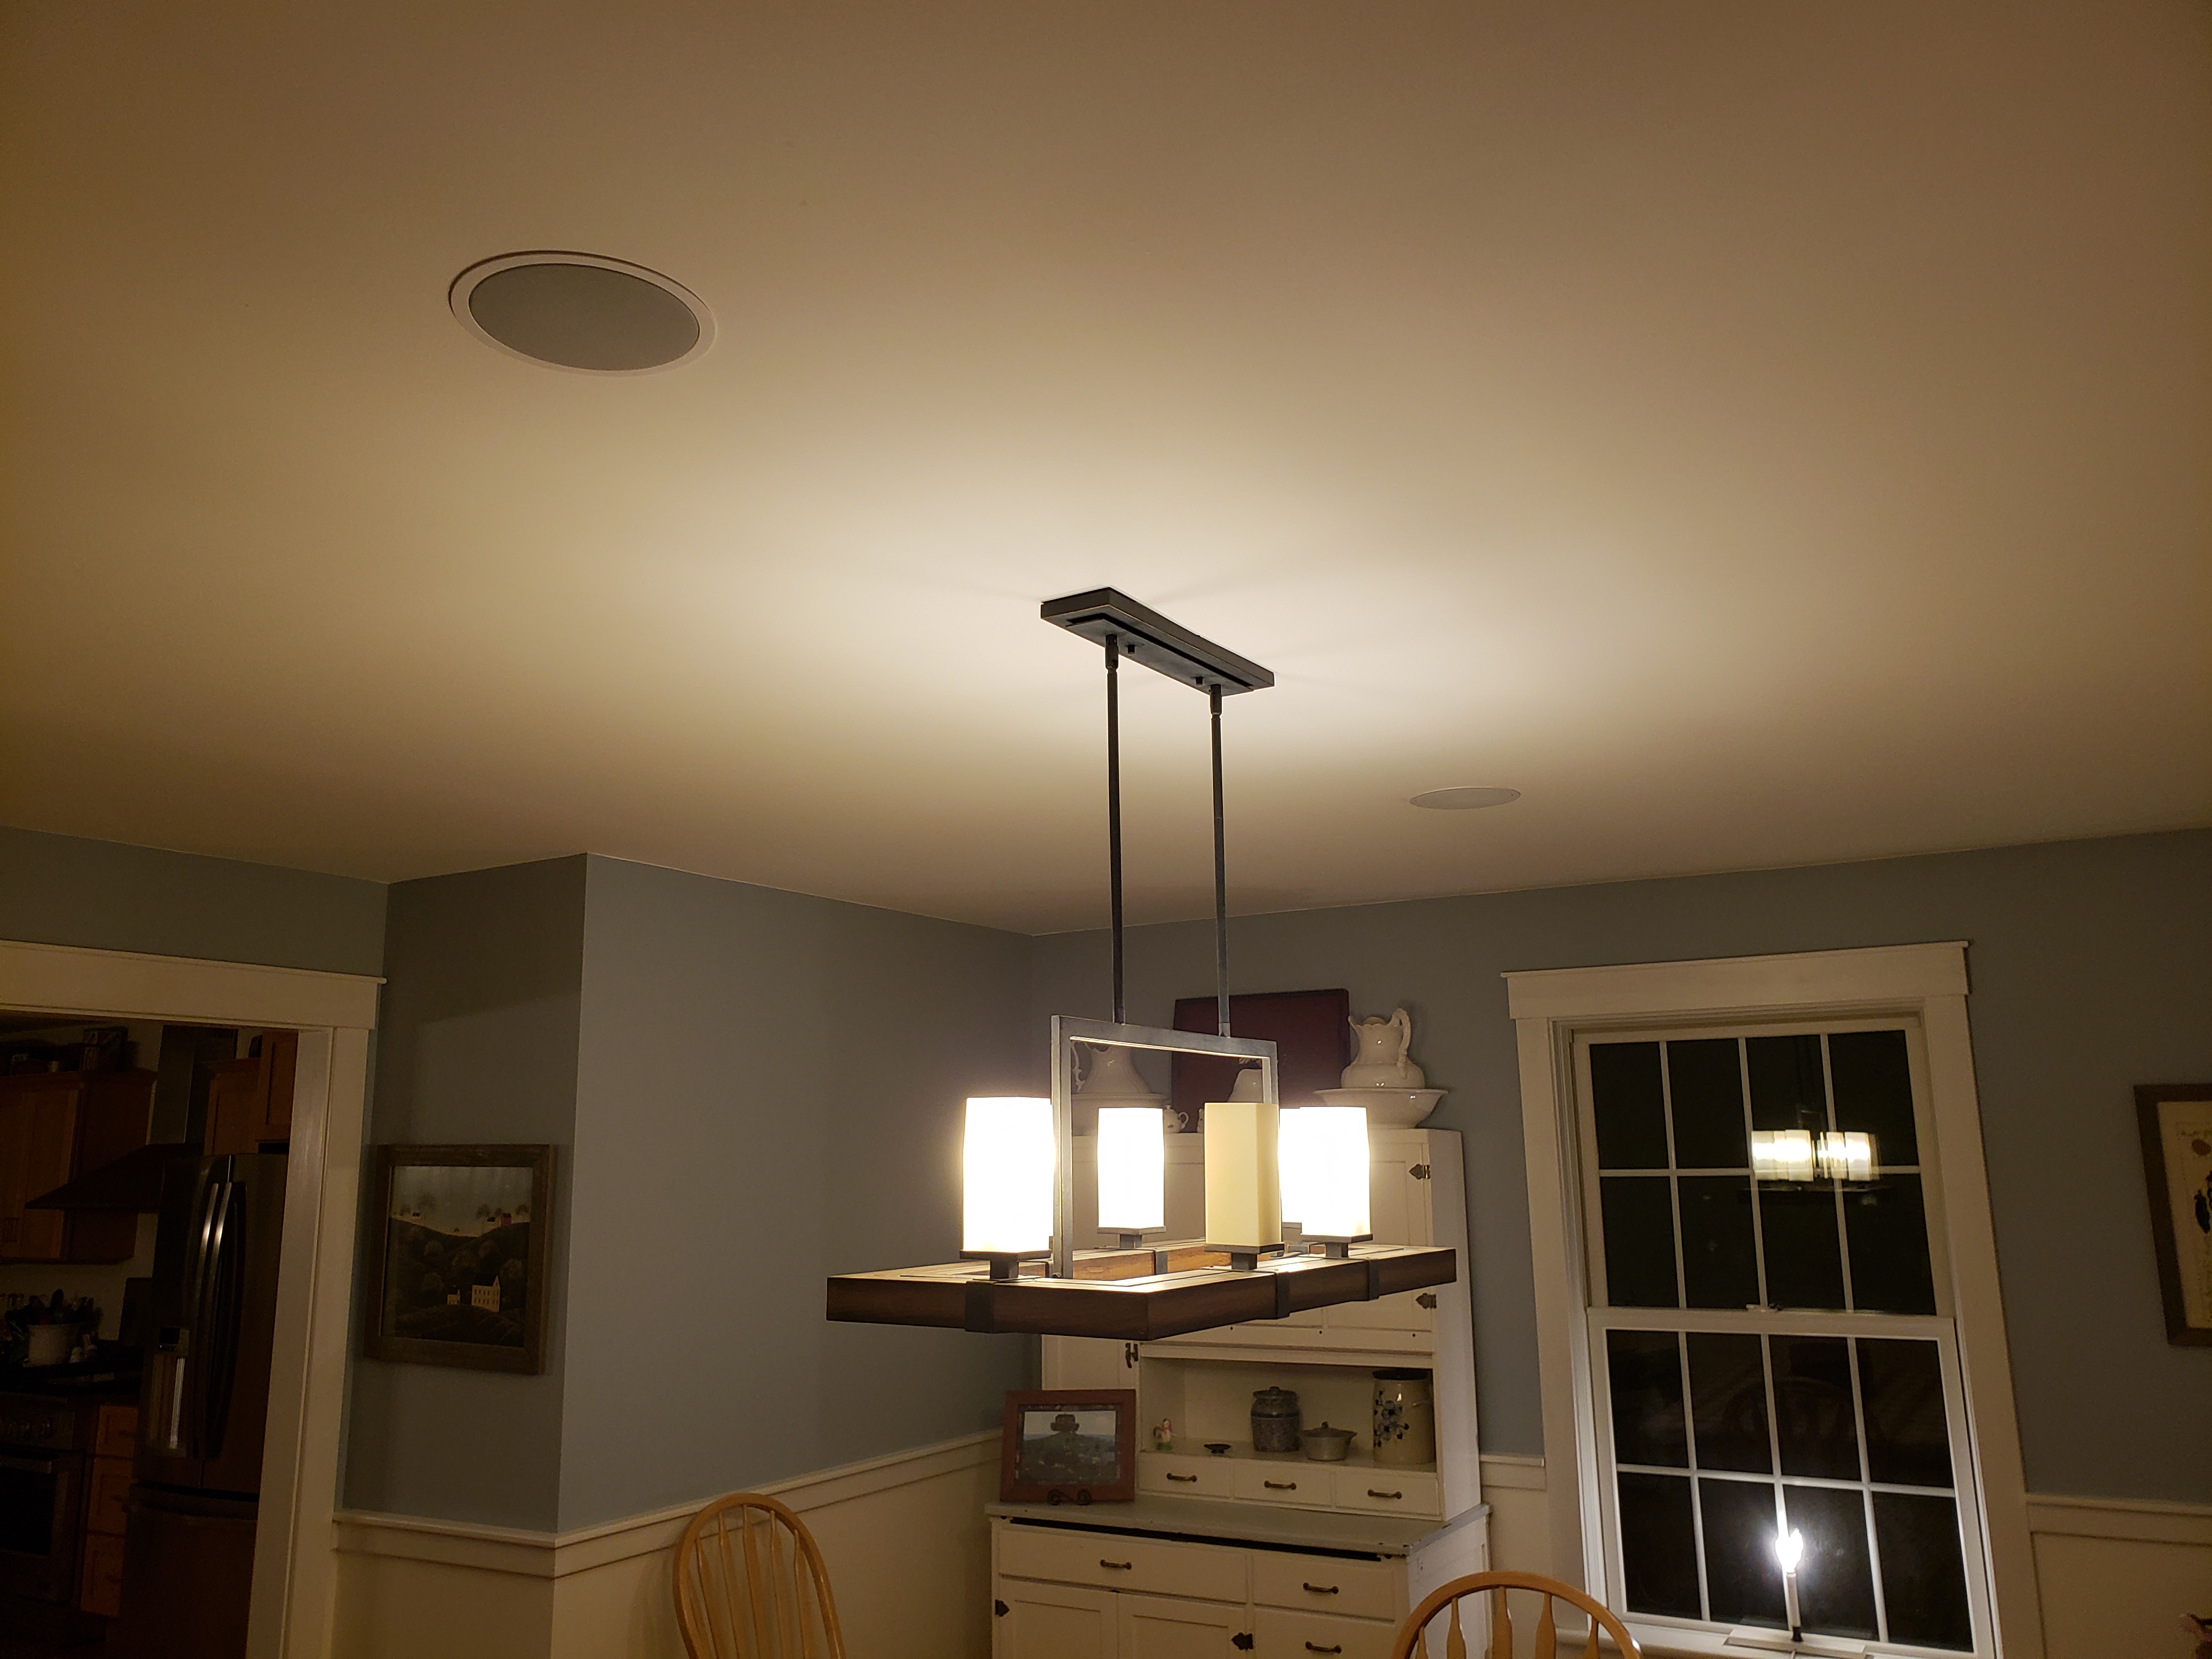
Kitchen Speakers

Dining Room Speakers
Dining Room Speakers

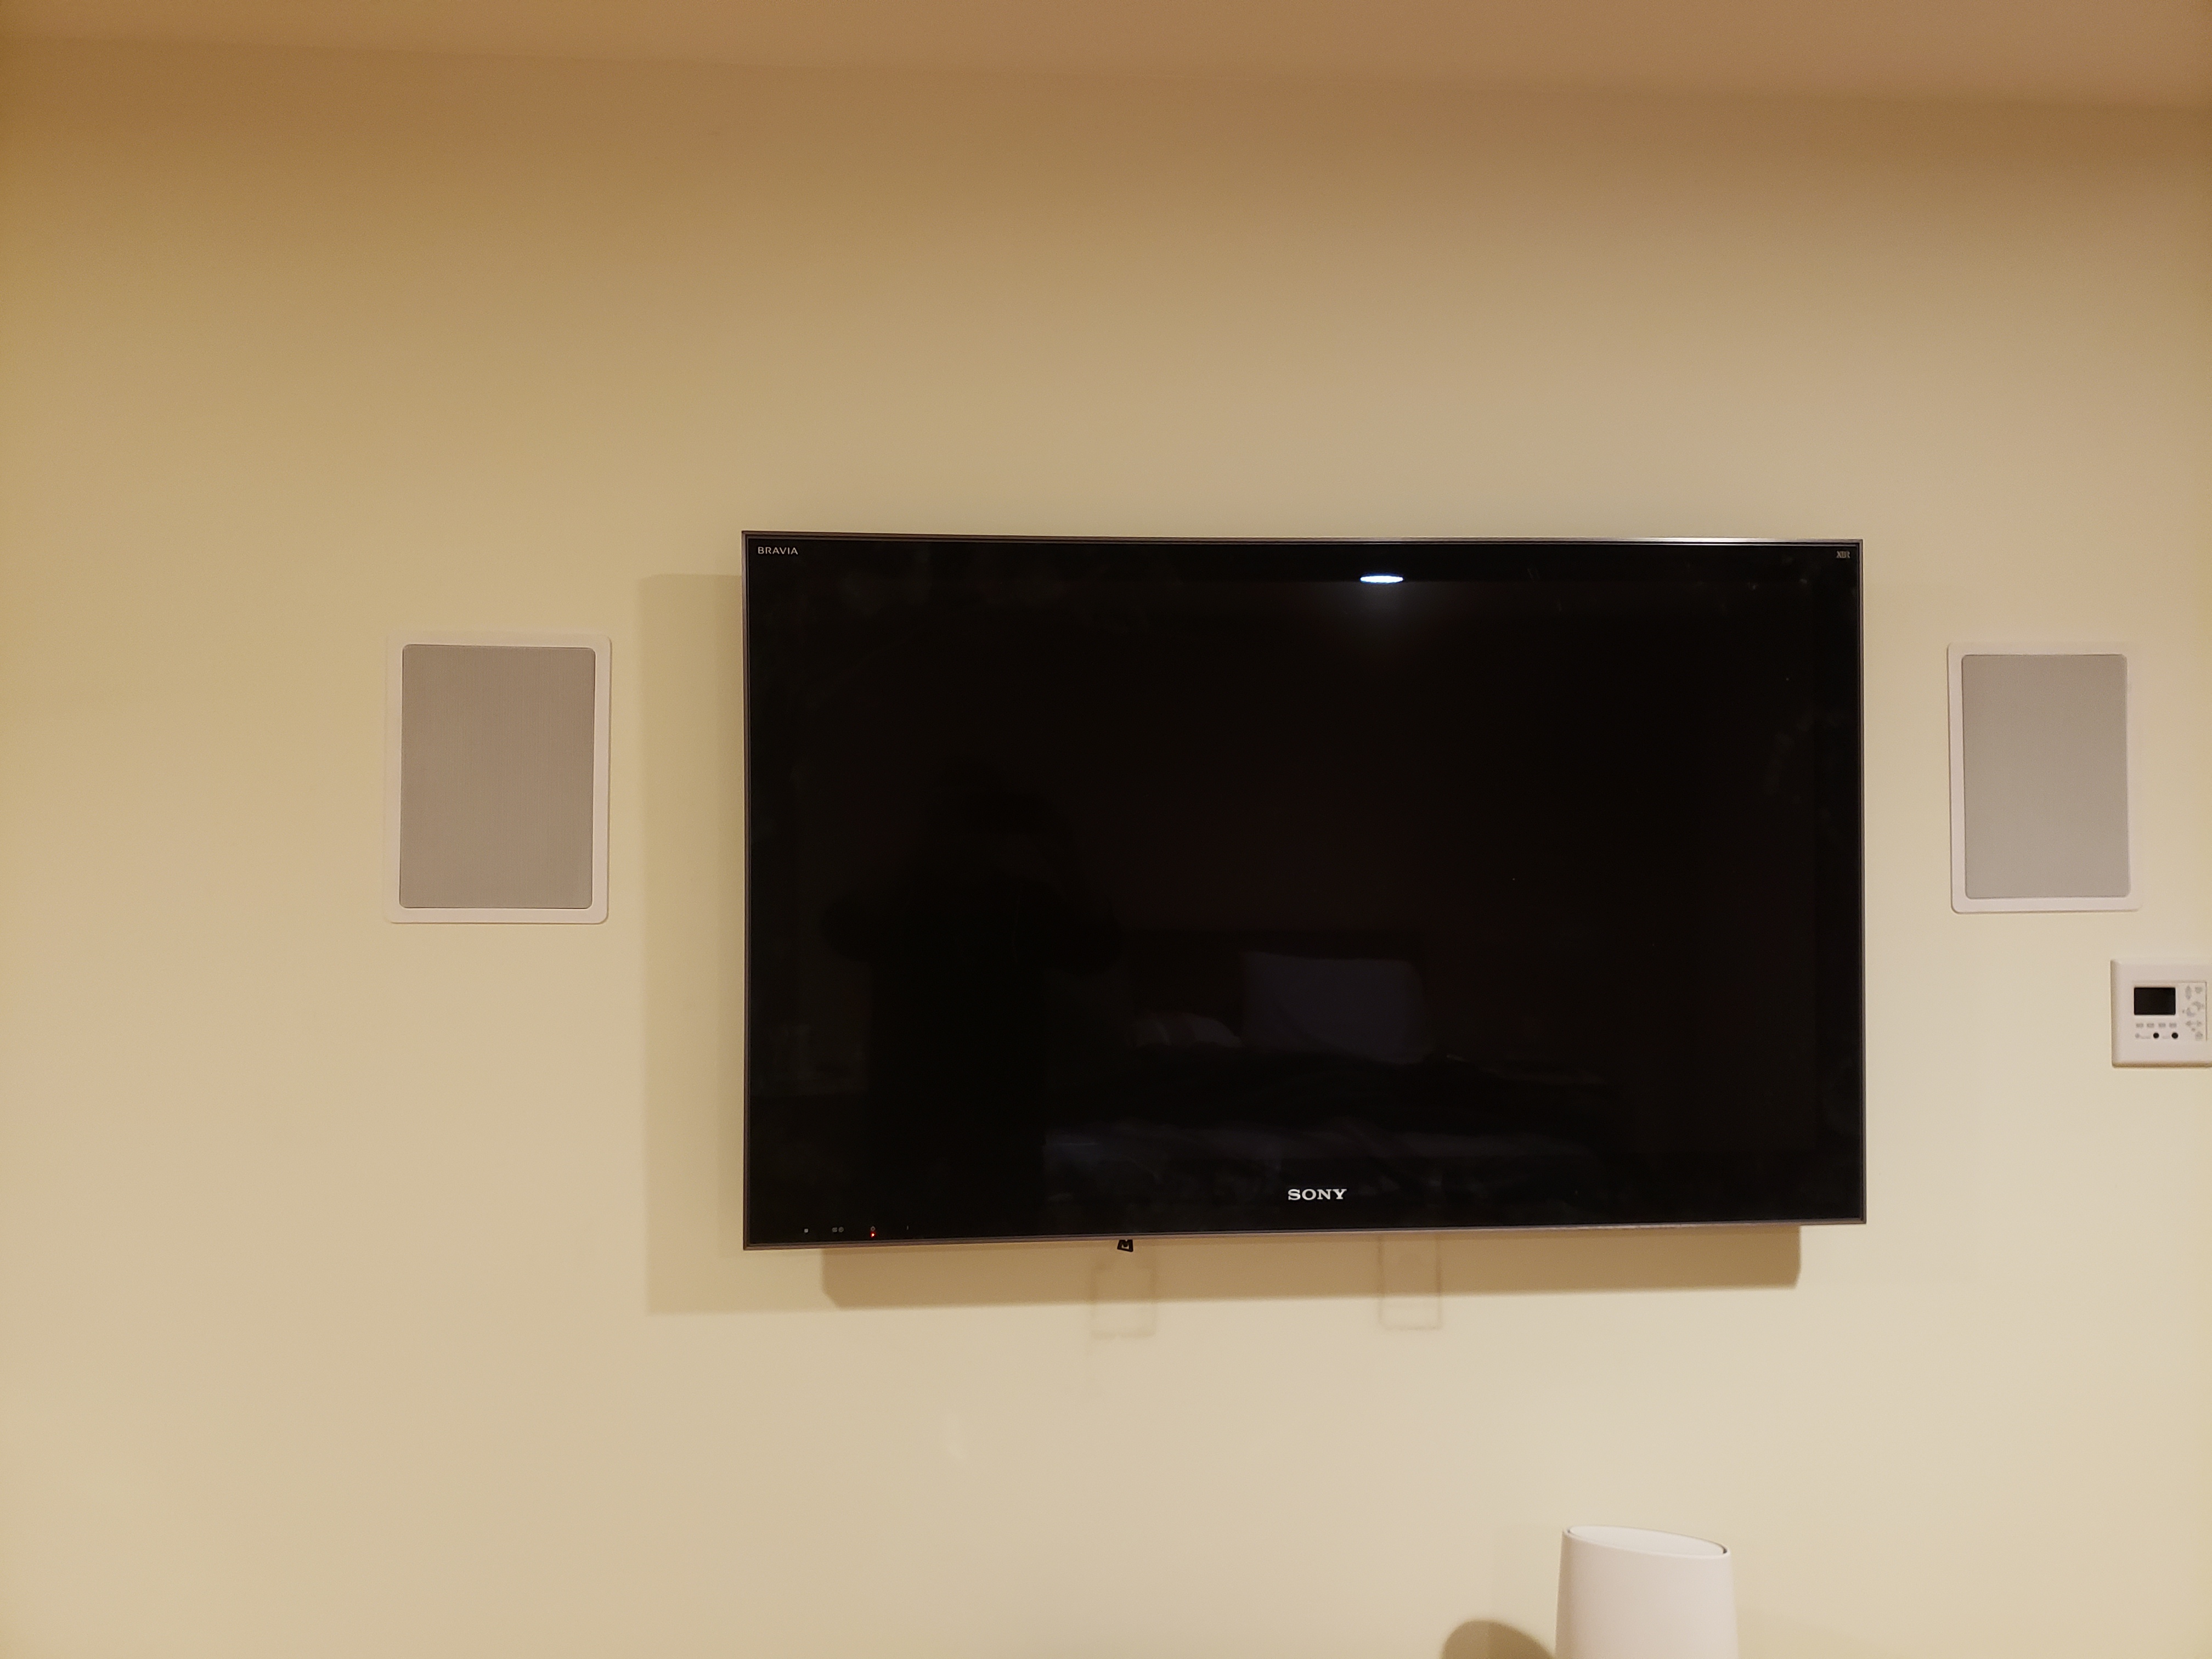
Master Speakers

Master Bedroom Speakers

Setting up the Lync 6 System

There actually isn't much setup needed.  The zones get determined by which port you plug the keypads into.  There were manuals for most of the equipment included in a pocketed folder, but this brings me to one of my few complaints.  Most of the setup for system is done via the an app.  Either the HTD app or Vallet.  The problem... there wasn't any documentation for the Ethernet to serial module or the apps included. It was easy enough to find it on Google Play and install it, but you can't customize anything in the HTD app without getting an unlock code. I found a quick install guide on their website that said that I should have gotten an unlock code when I purchased it.  I didn't see any unlock code.  I contacted Home Theater Direct via email to get the code.

Before installing the app you need to make sure that the Ethernet to serial adapter is plugged into the controller via the DB9 cable and into your home network via an Ethernet cable.  In my case the HTD app found the Ethernet to serial adapter quickly and I was able to control all of the zones and sources with it.    

Manual Folder
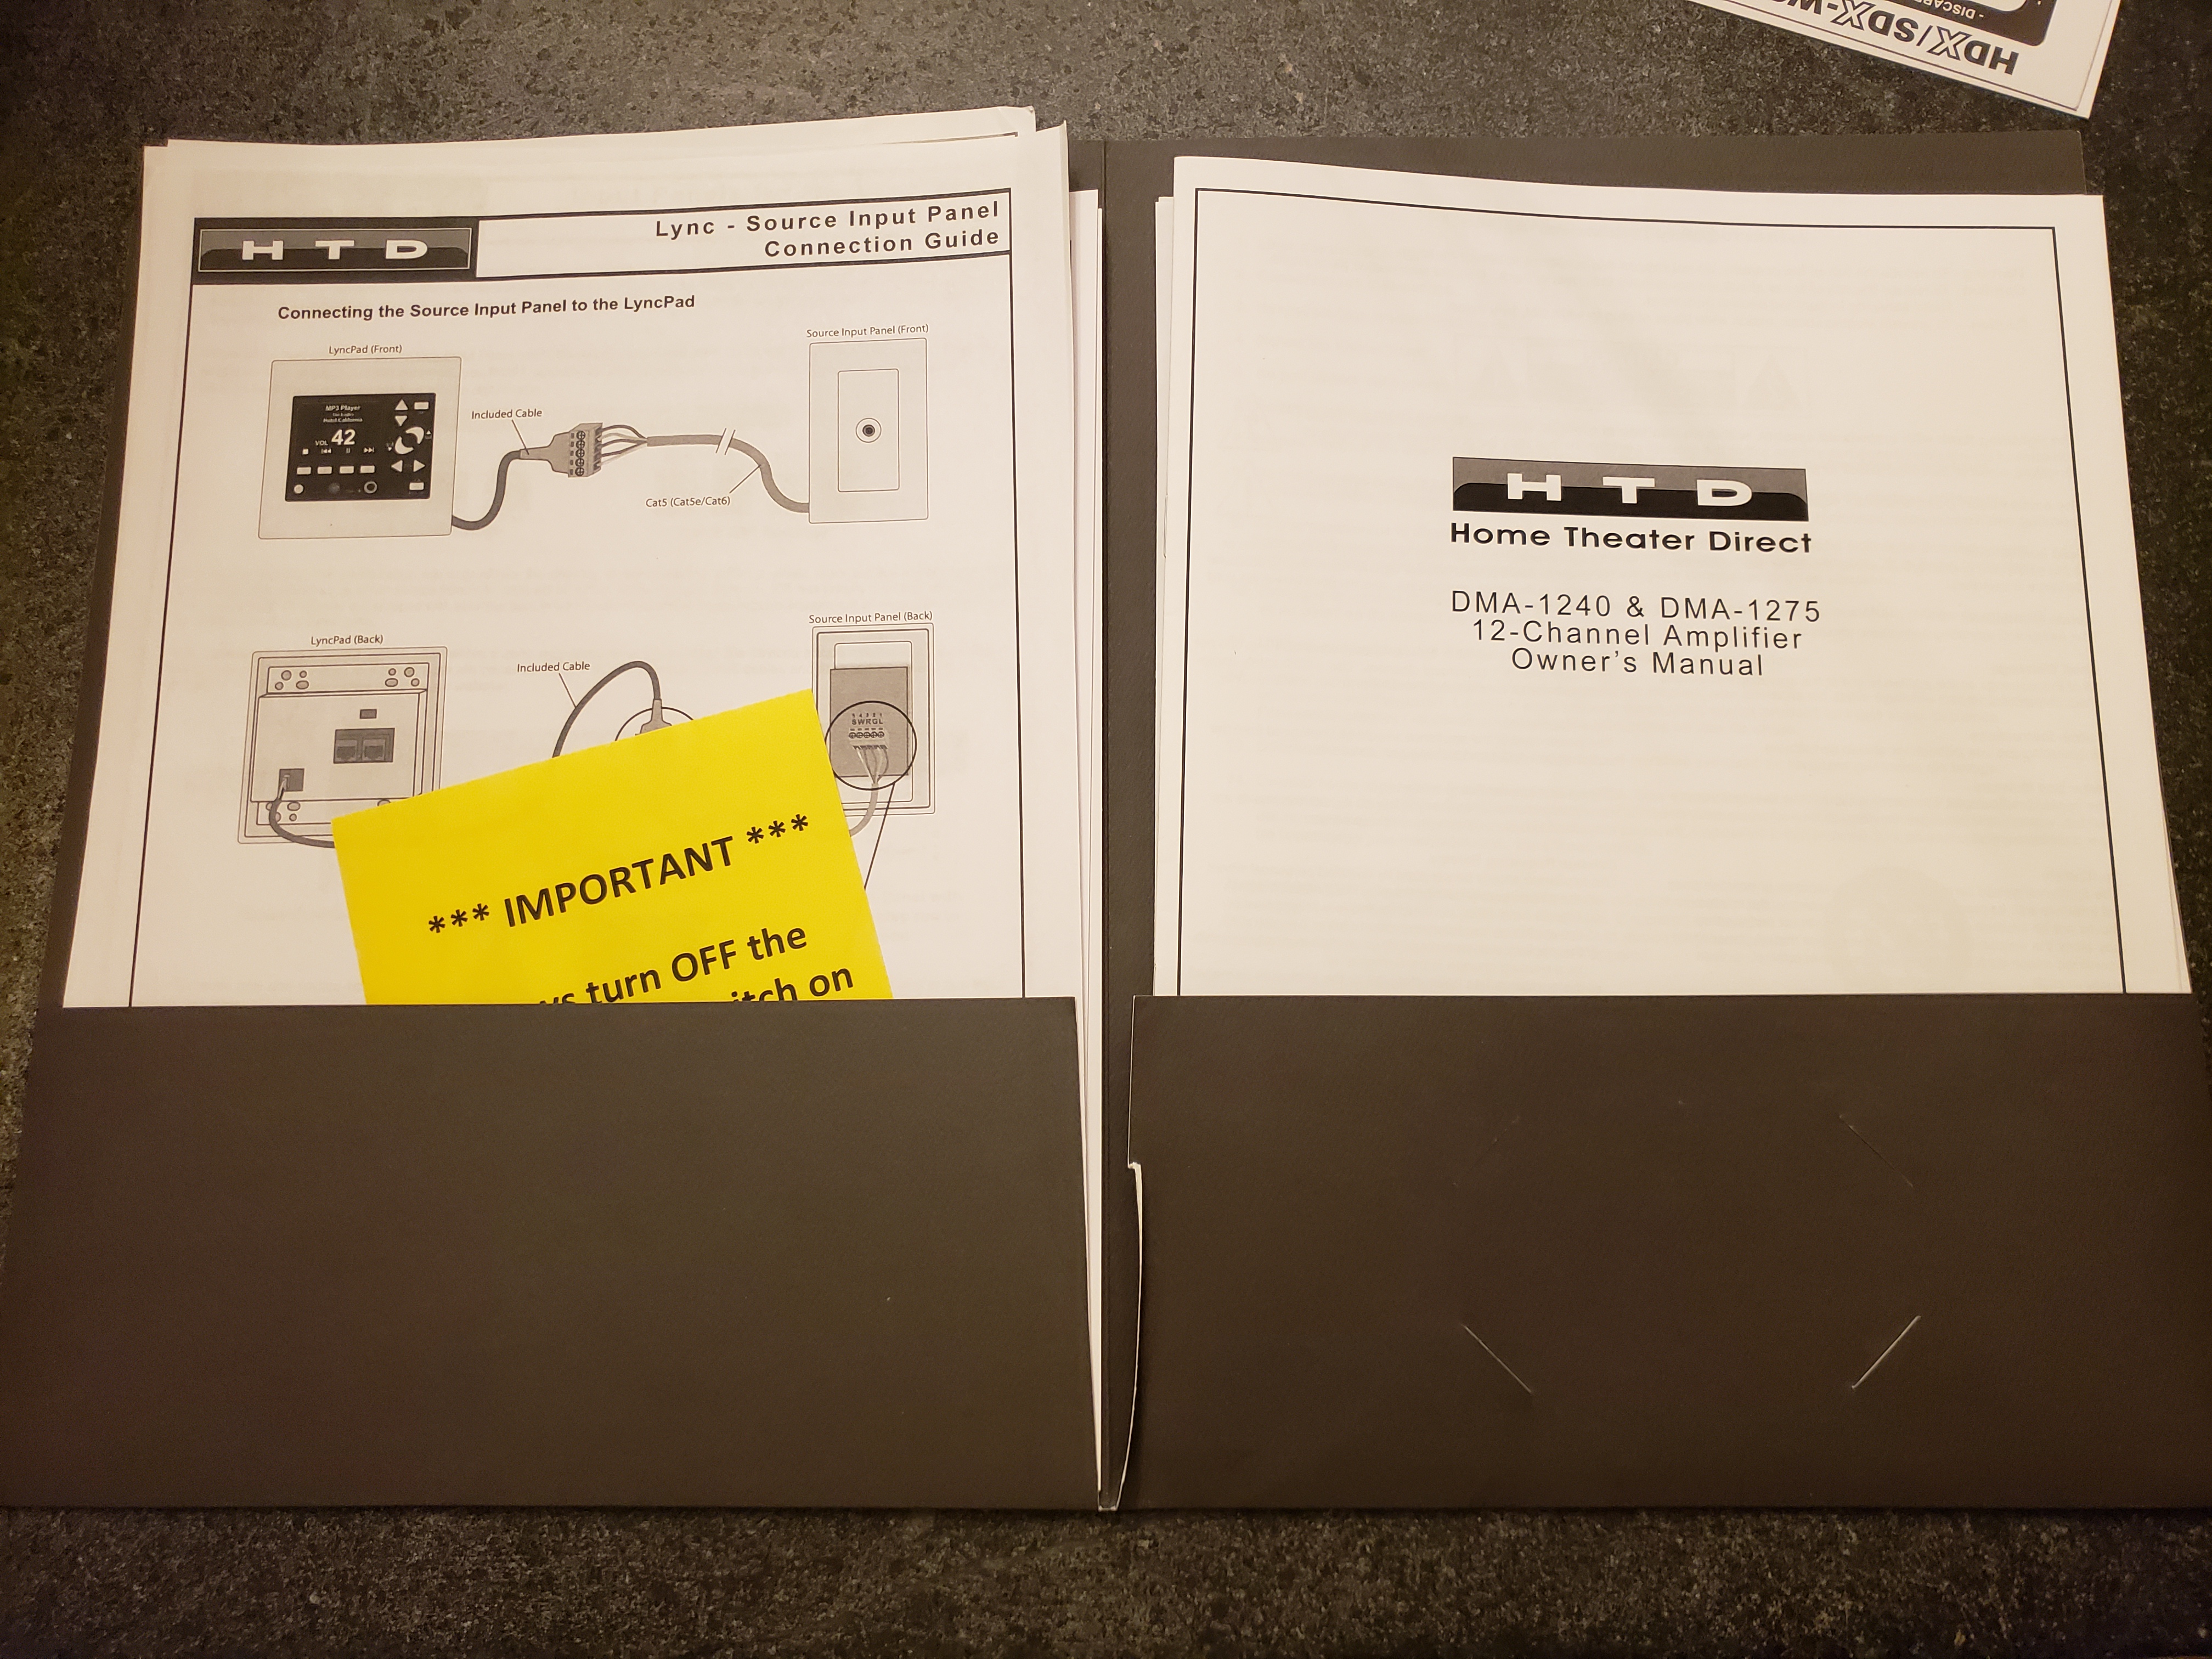
Manual Folder

Manuals

Manuals

Review

The Not So Good

I'll start with the few minor issues that I had.  The first one I already mentioned above, the app and the fact that it comes locked by default.  You can't customize any of the zone or source names until you can unlock the app.  I had to contact HTD to get the unlock code. 

Second minor issue is with the face plates. The input panel face plates don't match the face plates for the keypads.  Since they will likely be right next to each other, it would have been nice to have matching face plates.  The keypad plates are rounded and the input panel plates are square.  You can see this in the picture above.  Also, the keypad face plates are held on with magnets, so they come off pretty easily.  You will need to be careful when dusting.

My final minor complaint is with the screw down banana connectors on the back of the amp. I have this same complaint with any of these style connectors, which is why I use the banana plugs. If you don't use the banana plugs, trying to get the wires under the screws is a real pain in the butt because of how close they are to each other.  It's simple enough to use the banana plugs but you need to remember to purchase those separately.  

The Good  

Just about everything else.

Their support.  It is pretty responsive.  I contacted them a few different times via email and got a response back pretty quickly.   

Very easy install and setup.  Everything just worked.  I know it isn't a complicated system, but it is nice to have things just work, without a lot of configuration.  The Bluetooth connection paired easily with my phone, the standard input worked great to connect a TV as an input.

The controller. The ability to have both local and central inputs is very nice.  I have a mini tuner installed on one of the inputs set to the local radio station that we listen to and I have a USB stick loaded with background music installed in the MP3 USB port in the back of the controller.  This is perfect for background music loops that you can select as a source whenever you want relaxing background music. 

The speakers.  The build quality is pretty nice.  The magnets were heavy for 6.5" speakers and tabs that pop out to hold the speakers against the drywall were beefy.  The sound quality from the speakers is pretty good.  I installed two pairs of the ceiling speakers and one pair of the wall speakers. I haven't installed the others yet, because they are going outside and it is still cold here in New England.  When I first tried the ceiling speakers, they sounded tinny, with little bass.  They have +3db and -3db switches for both bass and treble. I boosted the bass by 3db, which made them sound better to me.  As I mentioned, I did put insulation into the holes before installing the speakers.

Conclusion

I would recommend Home Theater Direct as a company and I would recommend the Lync 6 system to anyone looking to install a wired whole house audio system.  Overall, I think this is a great system for the price.  All in, I paid around $2700 for five pairs of speakers, two input panels, a volume control, and the controller and 120 watt amp. Installation and setup was pretty easy. It will be much more difficult if you haven't pre-wired and need to get the wires to the keypads and speakers.  As I said, I had pre-wired my house while we were building it.

I didn't get into the details of the app, as I just got the unlock code.  I'll perhaps do that later as a followup to this post.

As always, if you have any questions, please feel to leave them in the comments below and I will do my best to respond to them.
DIY Motorized Shades-Featured Image

DIY Motorized Roller Shades

Would you like to learn how to create your own automated shades for a fraction of the cost of buying them?  In this blog, I will walk you through how I created my own blackout shades for my home theater.
Continue reading