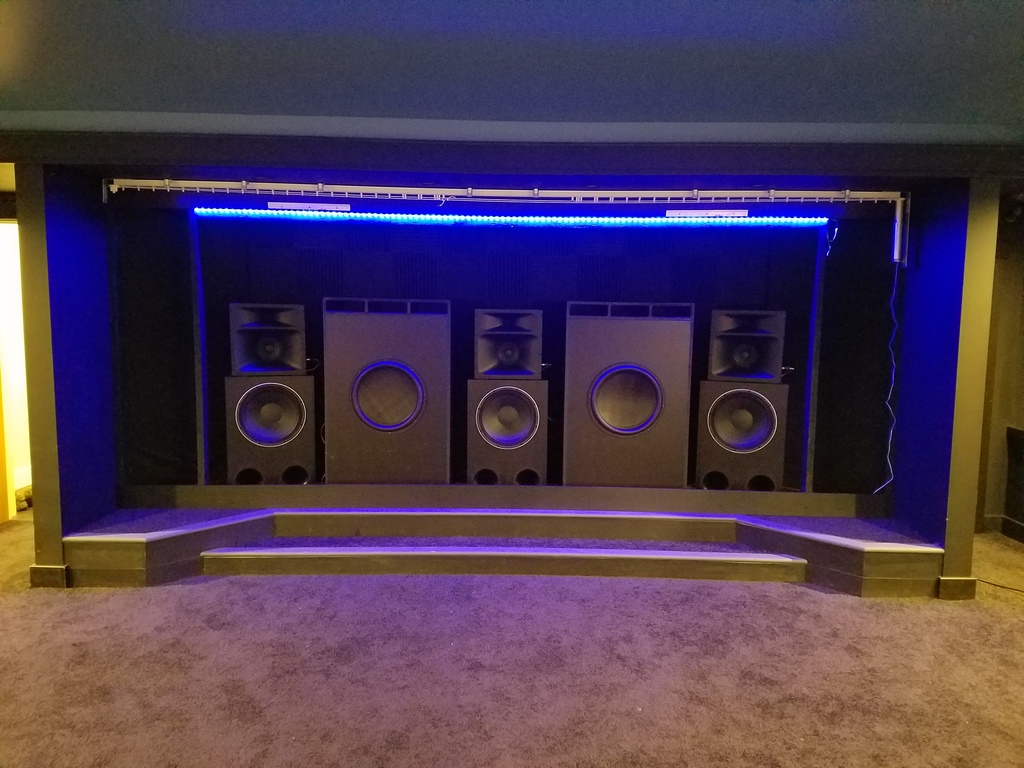
If your building your home theater on the second floor like me, you may have run into the same problem as me. How do I build my stage? Most home theater stage builds involve filling the stage frame with sand to give it mass to stop it from transmitting sound.
So how do you do that when your theater is on the second floor and you don't want to add tons of sand load? This is how I did it and it worked out great.
The Stage Base
Rubber Mat
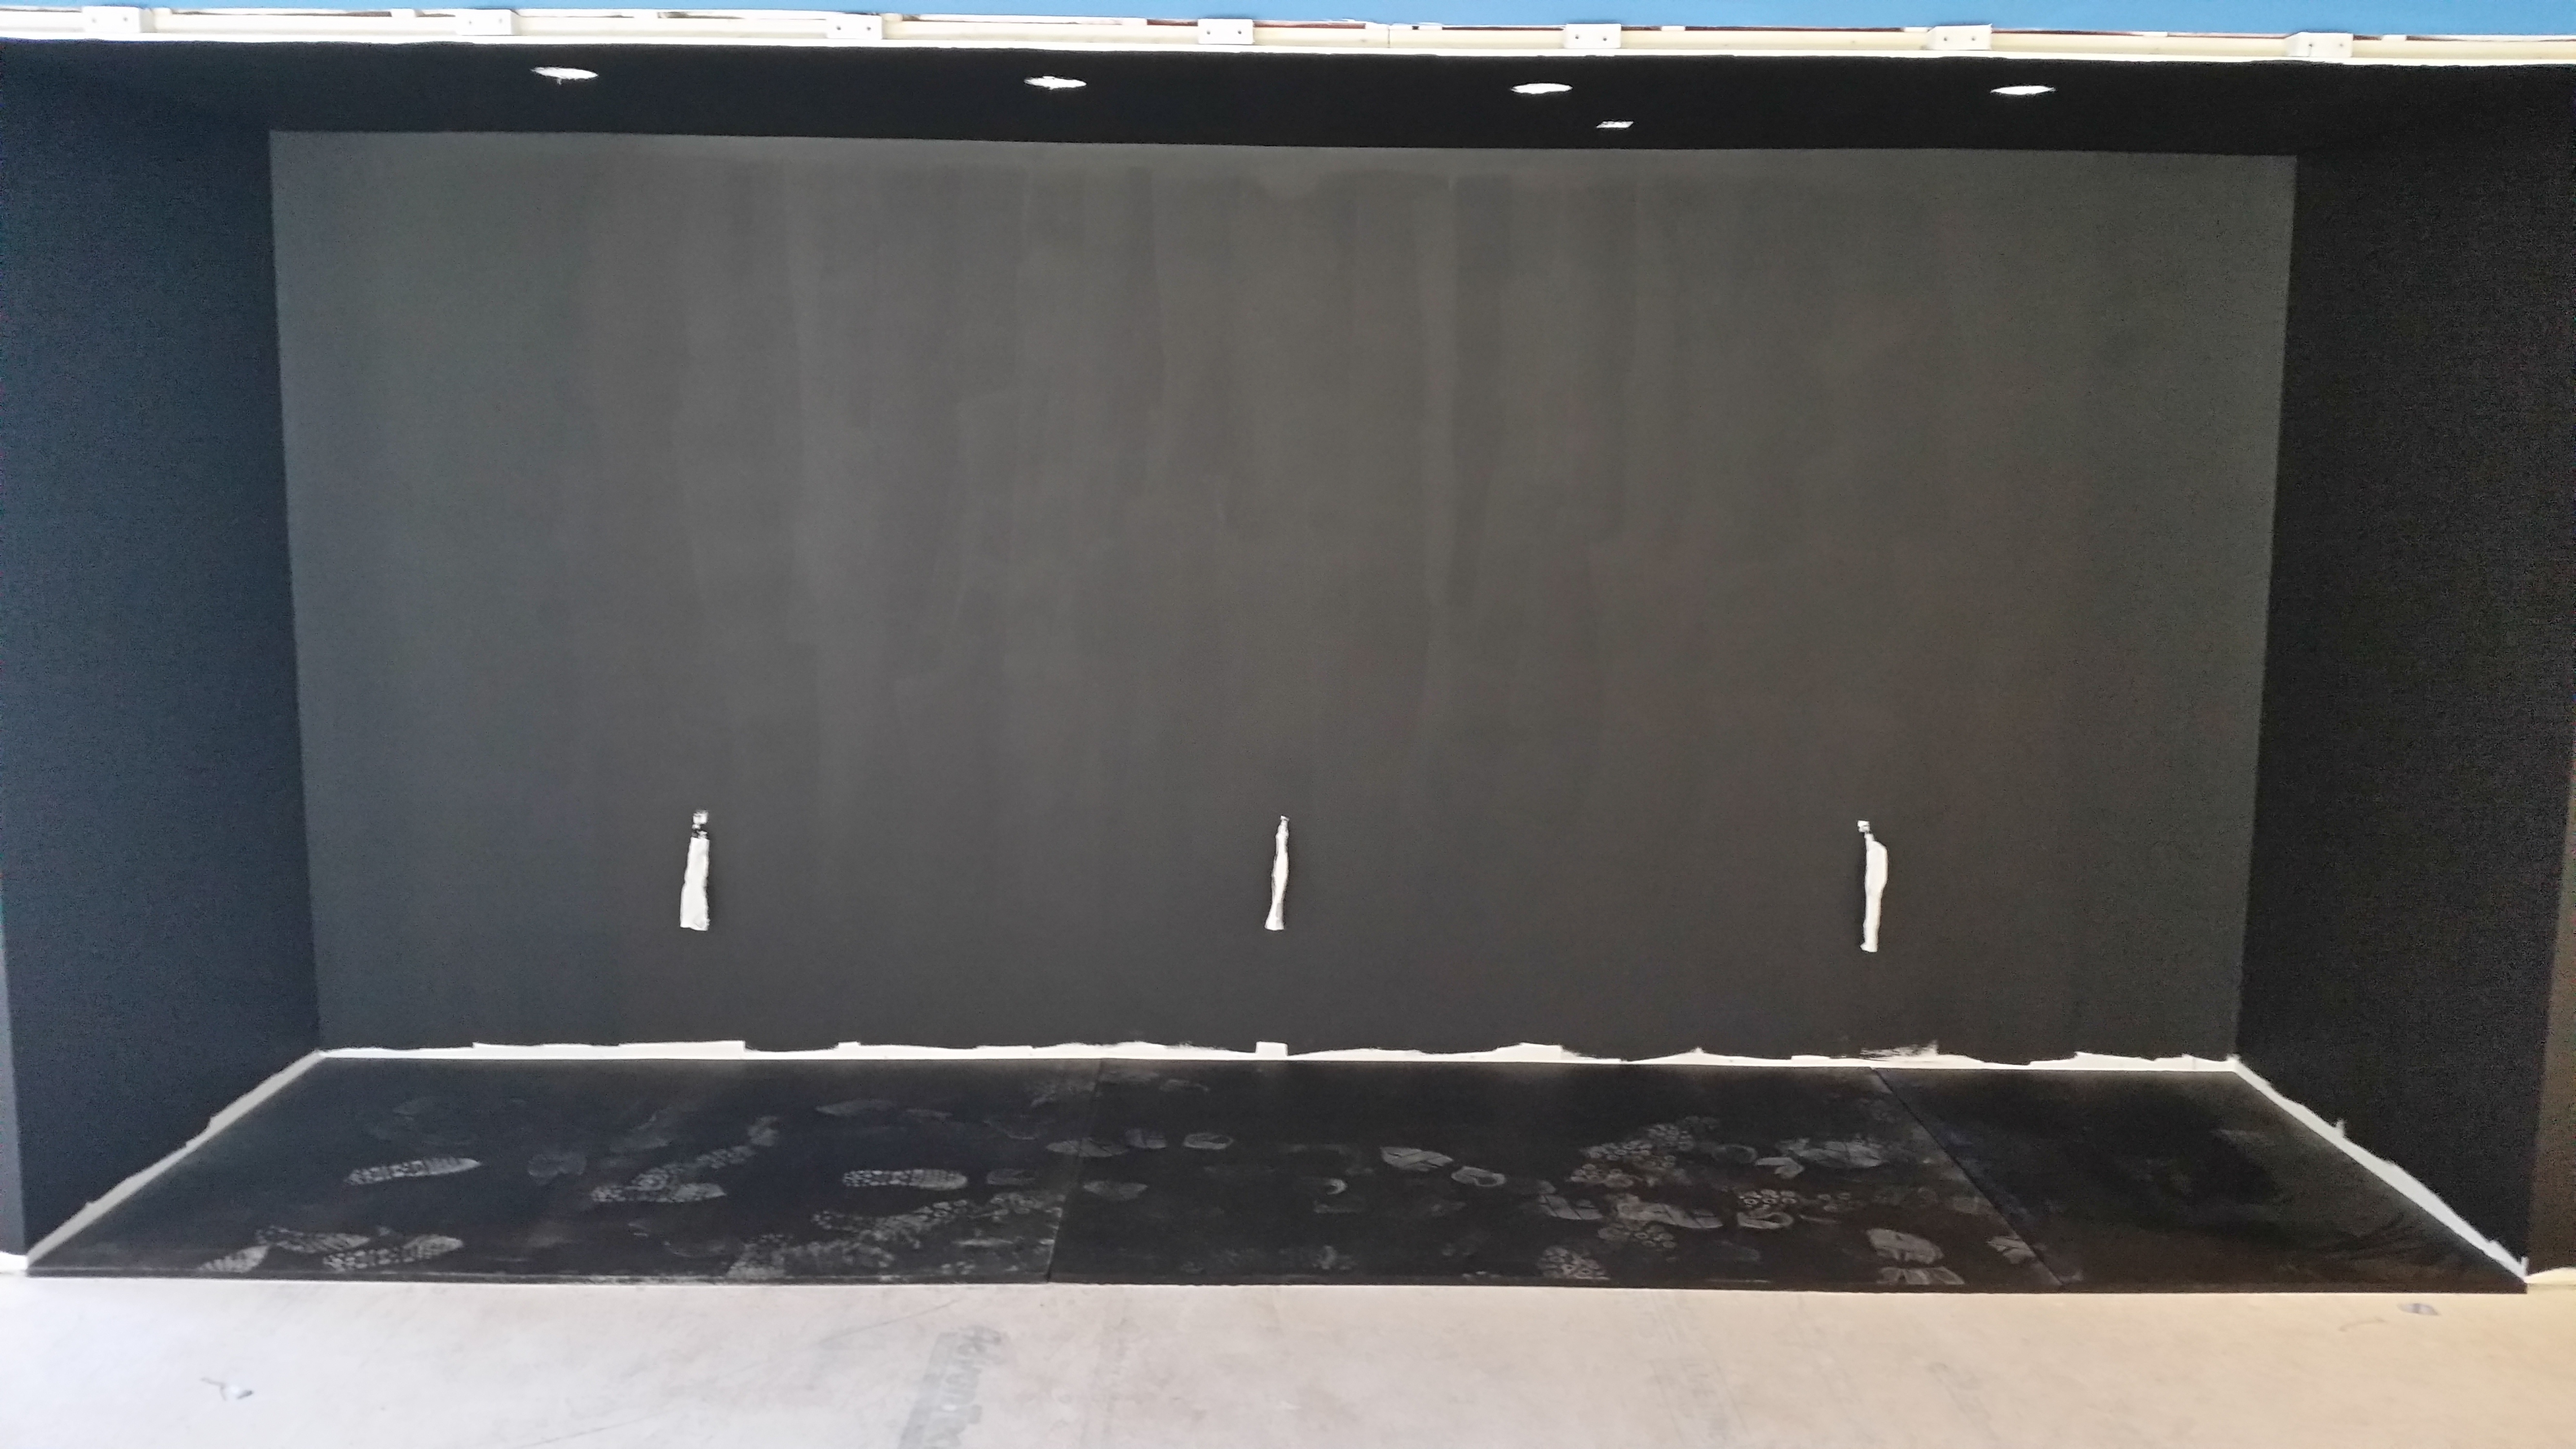
Rubber Mat Under Stage
The first thing I did was to purchase 3/4" thick rubber mats from Tractor Supply and put them down where I was planning on building the stage. These are the very heavy, so make sure you have help.
I found it easy to cut these with an oscillating tool. This is the one I use and it works great. Be aware that when you cut these, it will smoke and smell like burning rubber... because it is burning rubber.
Home Theater Stage Framing
Main Stage
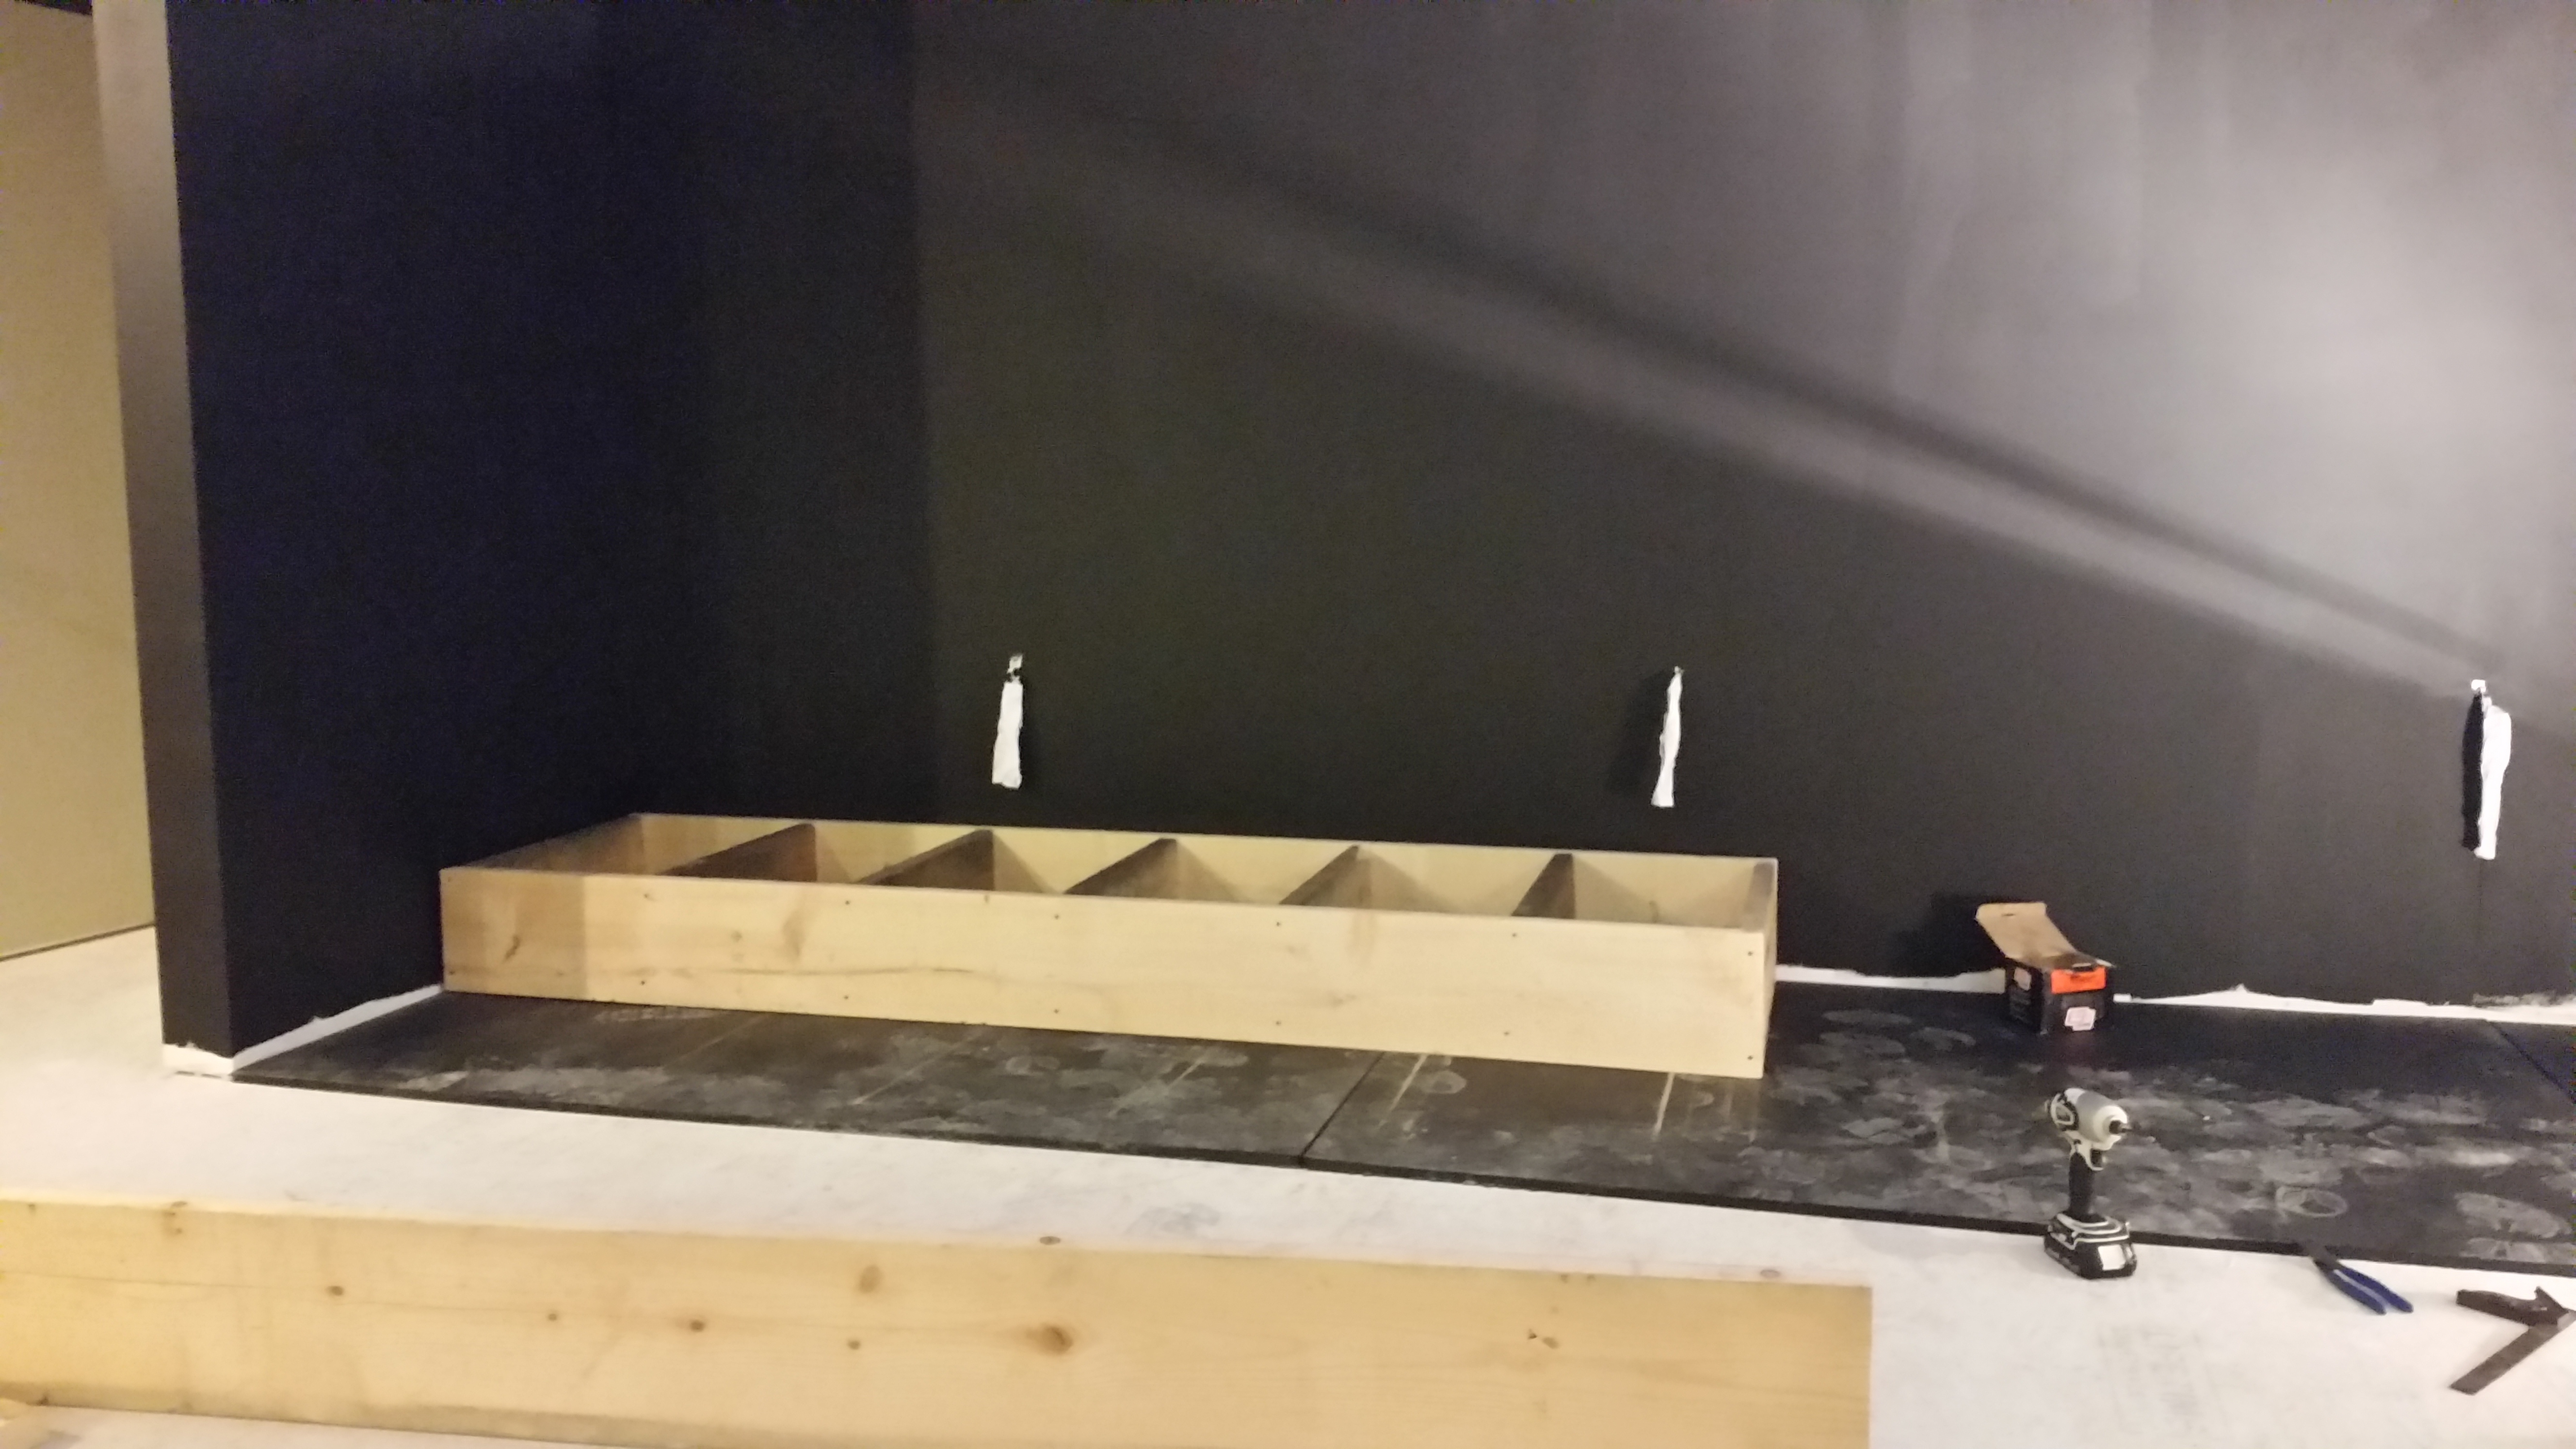
Stage Framing
I built mine with 2" x 10" lumber and used standard 16" OC framing. Leave a 3/4" space between the frame and the walls. DO NOT attach the stage to the wall. This will help keep bass from transferring to the wall from the stage.
Stage Step
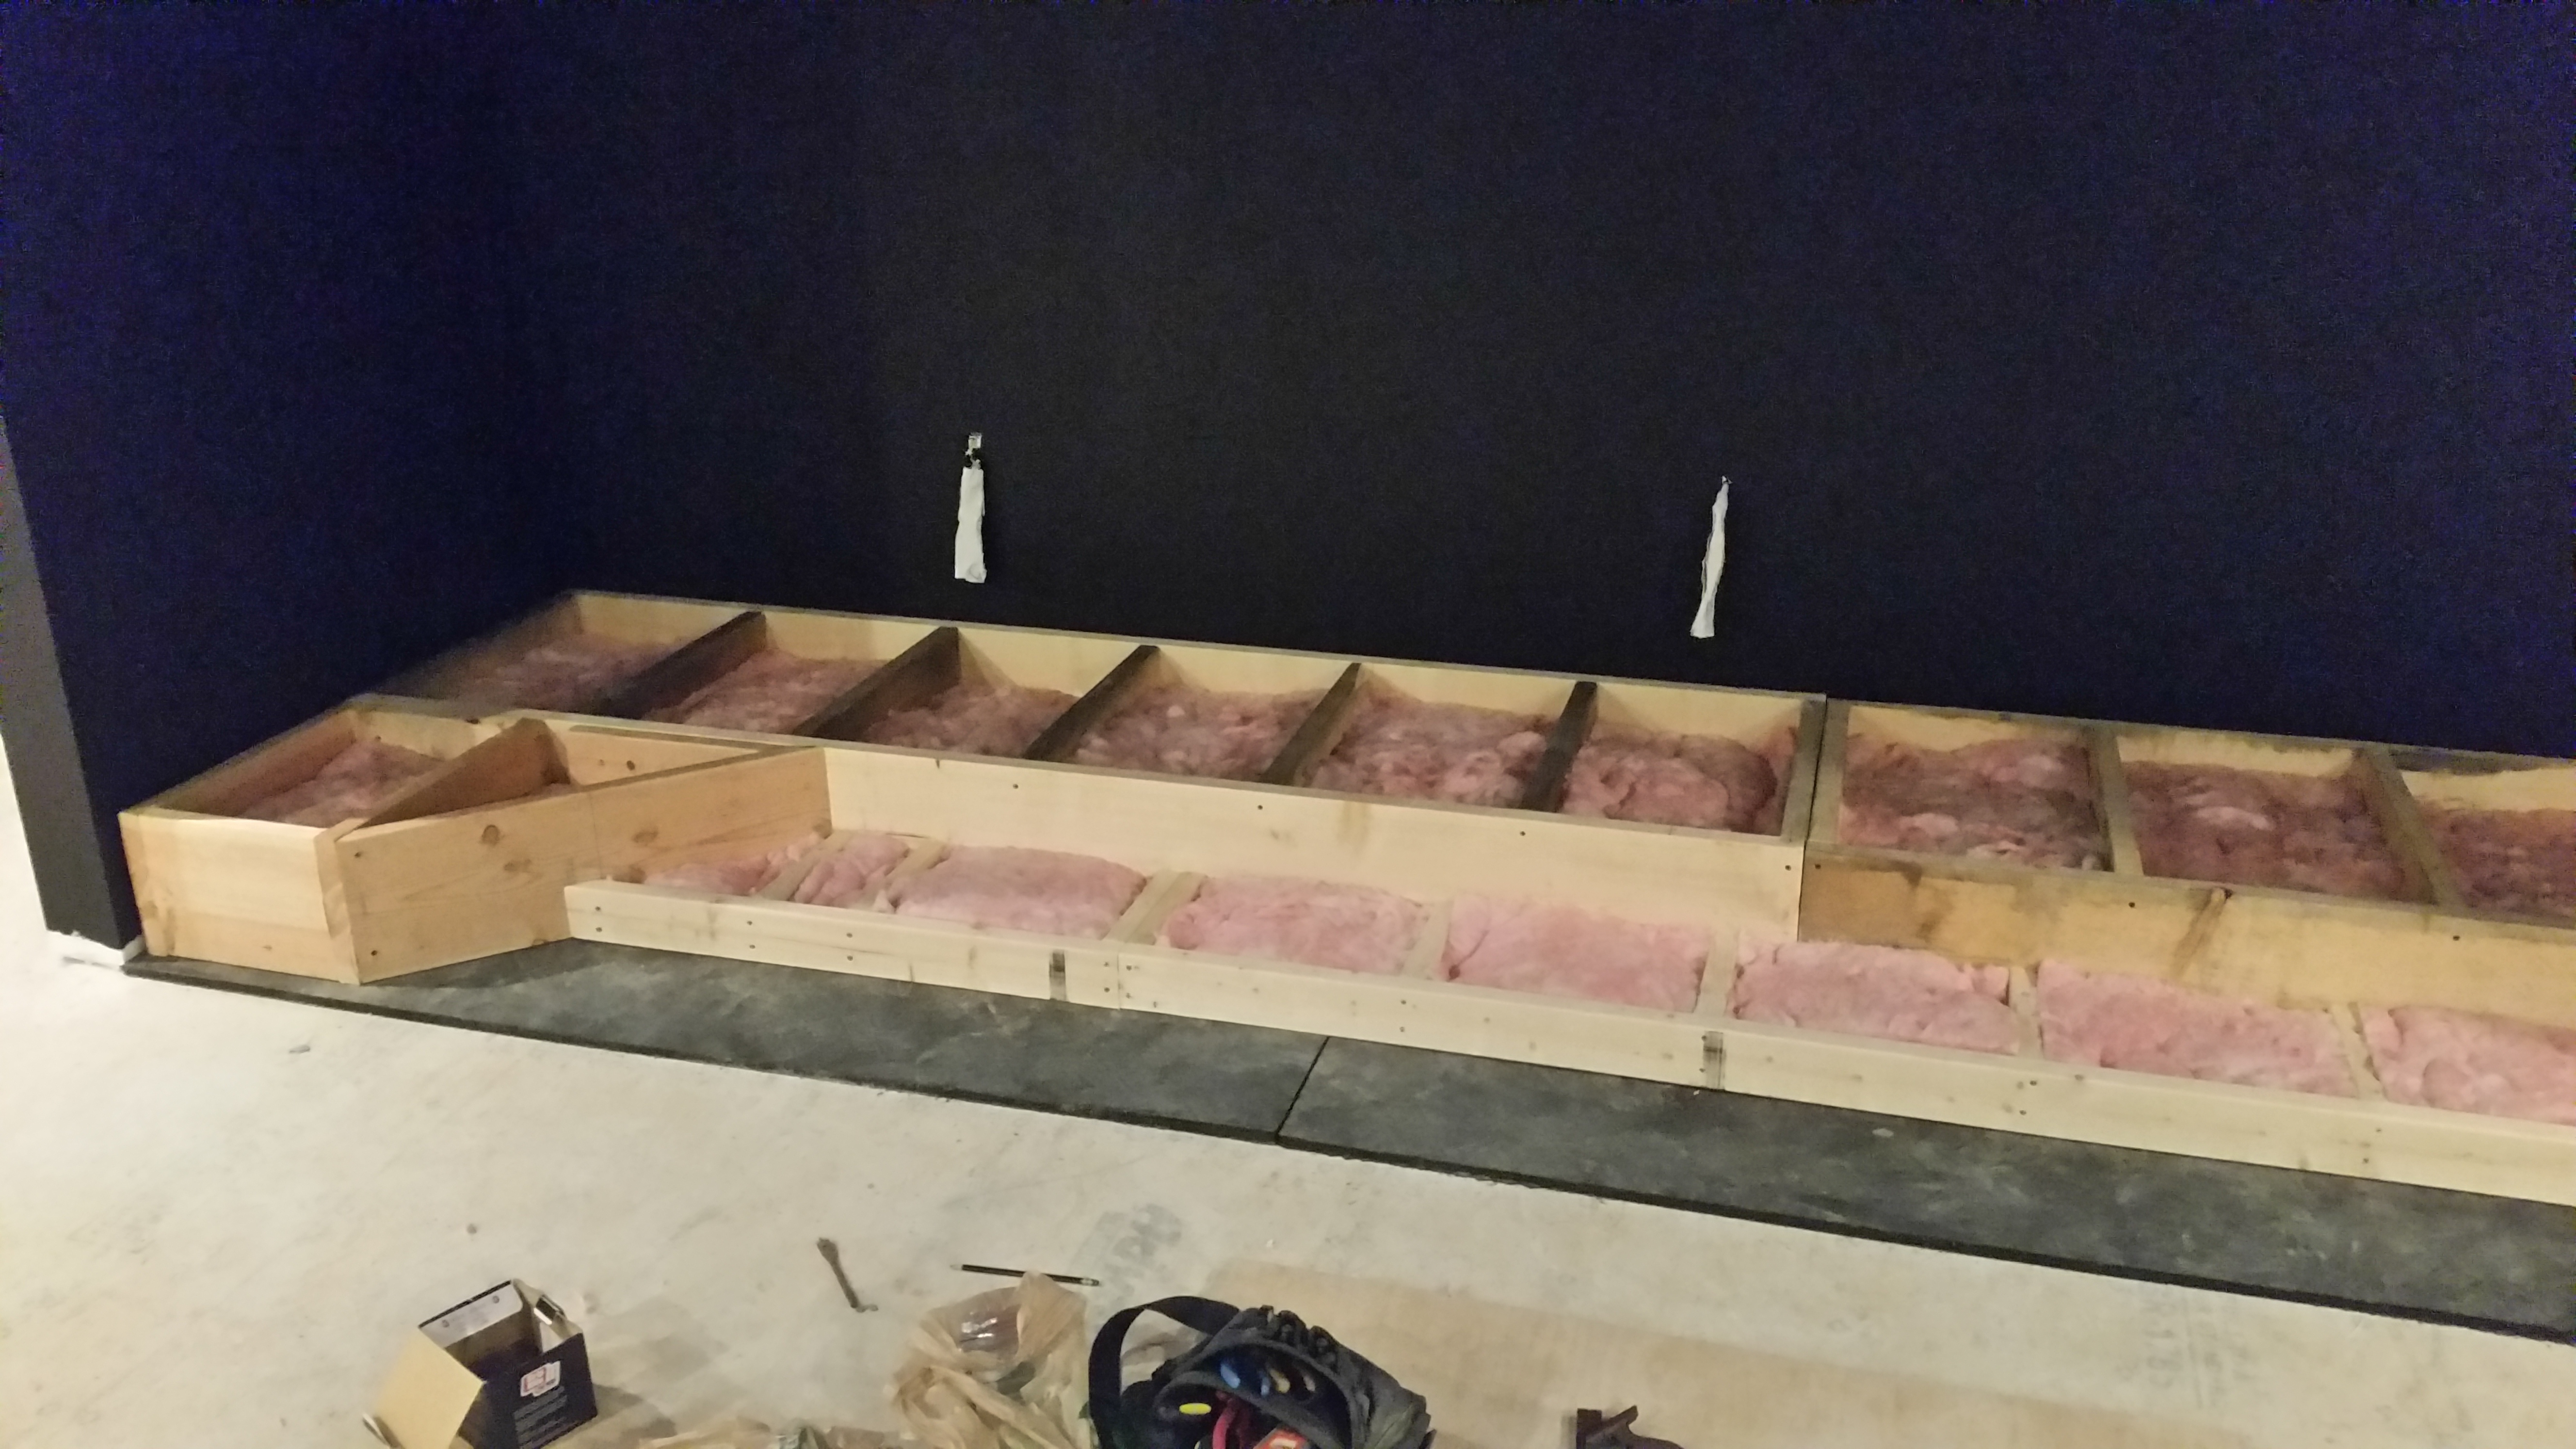
Stage Framing
Once the main stage is built add 2" x 10" boxes to each end of the stage and run another 2" x 10" at a 45 degree angle back to the main stage. The size of these depends on your taste. I made mine so that the step was roughly the same width as my screen (140"). Again, be sure to leave a 3/4" gap between the frame and the wall.
Next run a 2" x 4" between the two angled 2" x 10" 's and frame it out using the same 16" OC framing technique. This creates a step for the stage.
Insulating the Stage
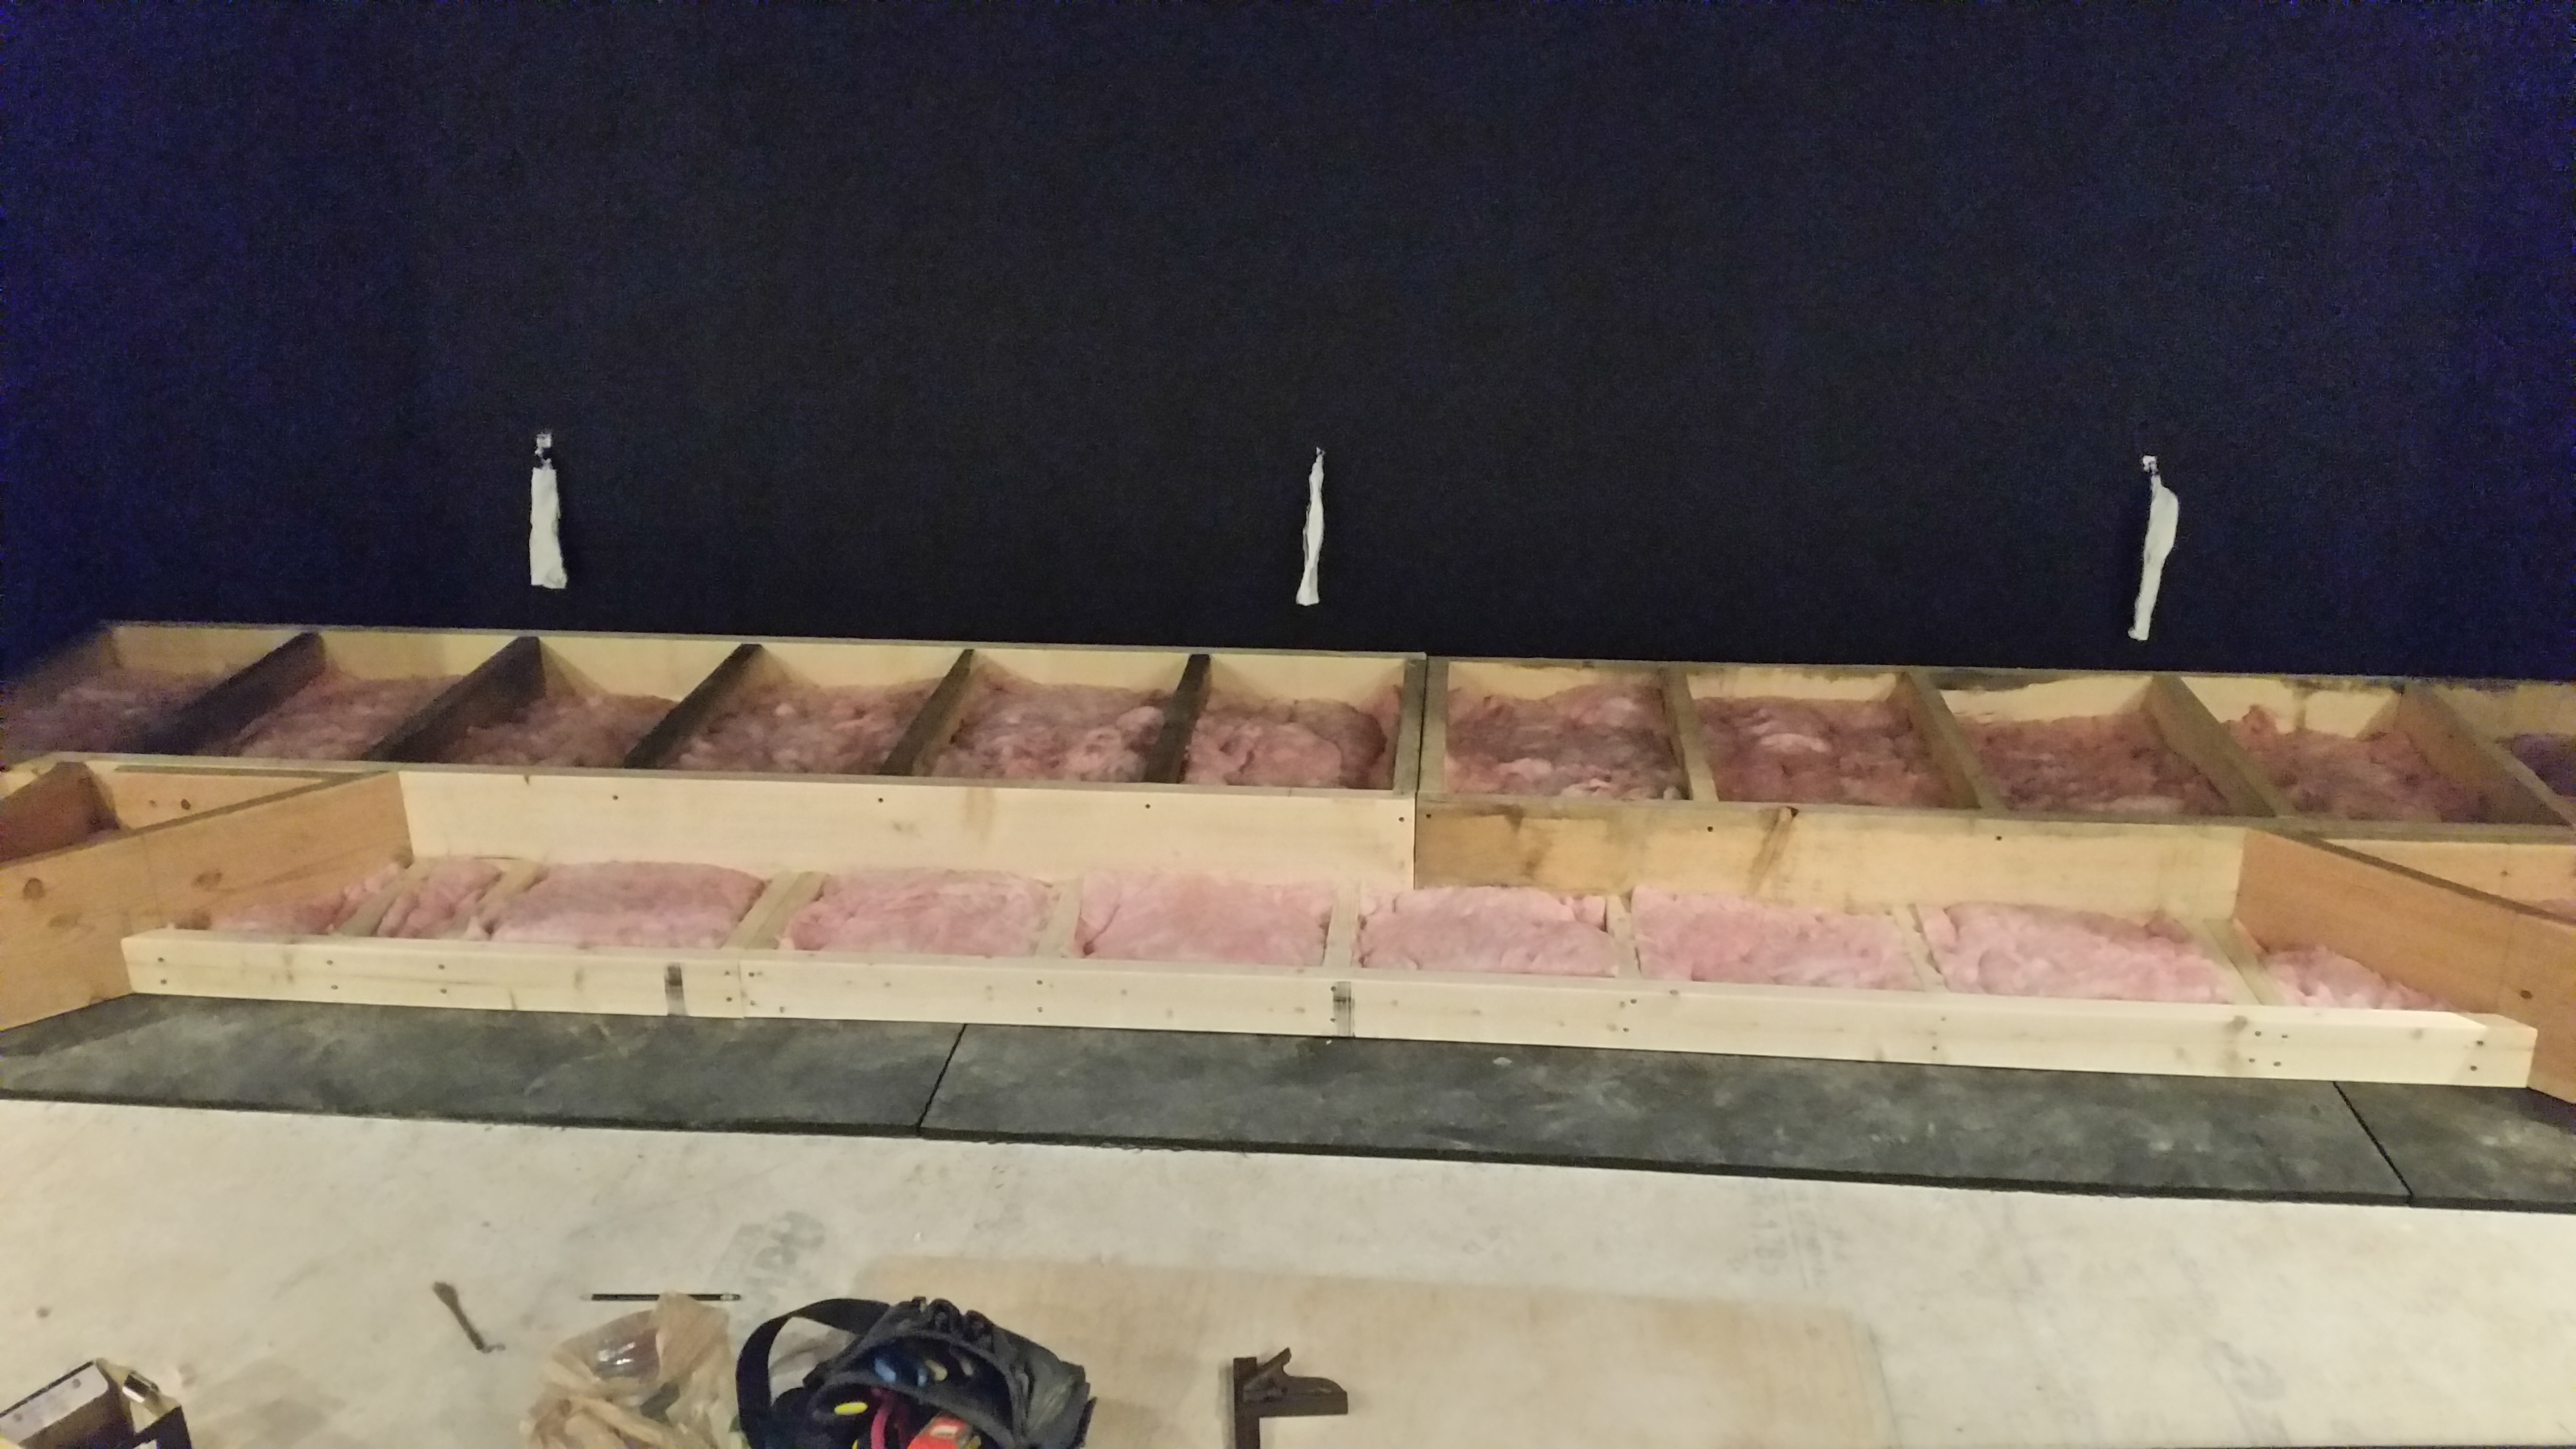
Stage Framing
Now you should have something that looks like this. It's time to add fiberglass insulation in the cavities. Don't worry about filling them up all the way. As long as it is 3/4 full that should be fine. You are trying to prevent it from becoming a bass box.
Adding the Flooring
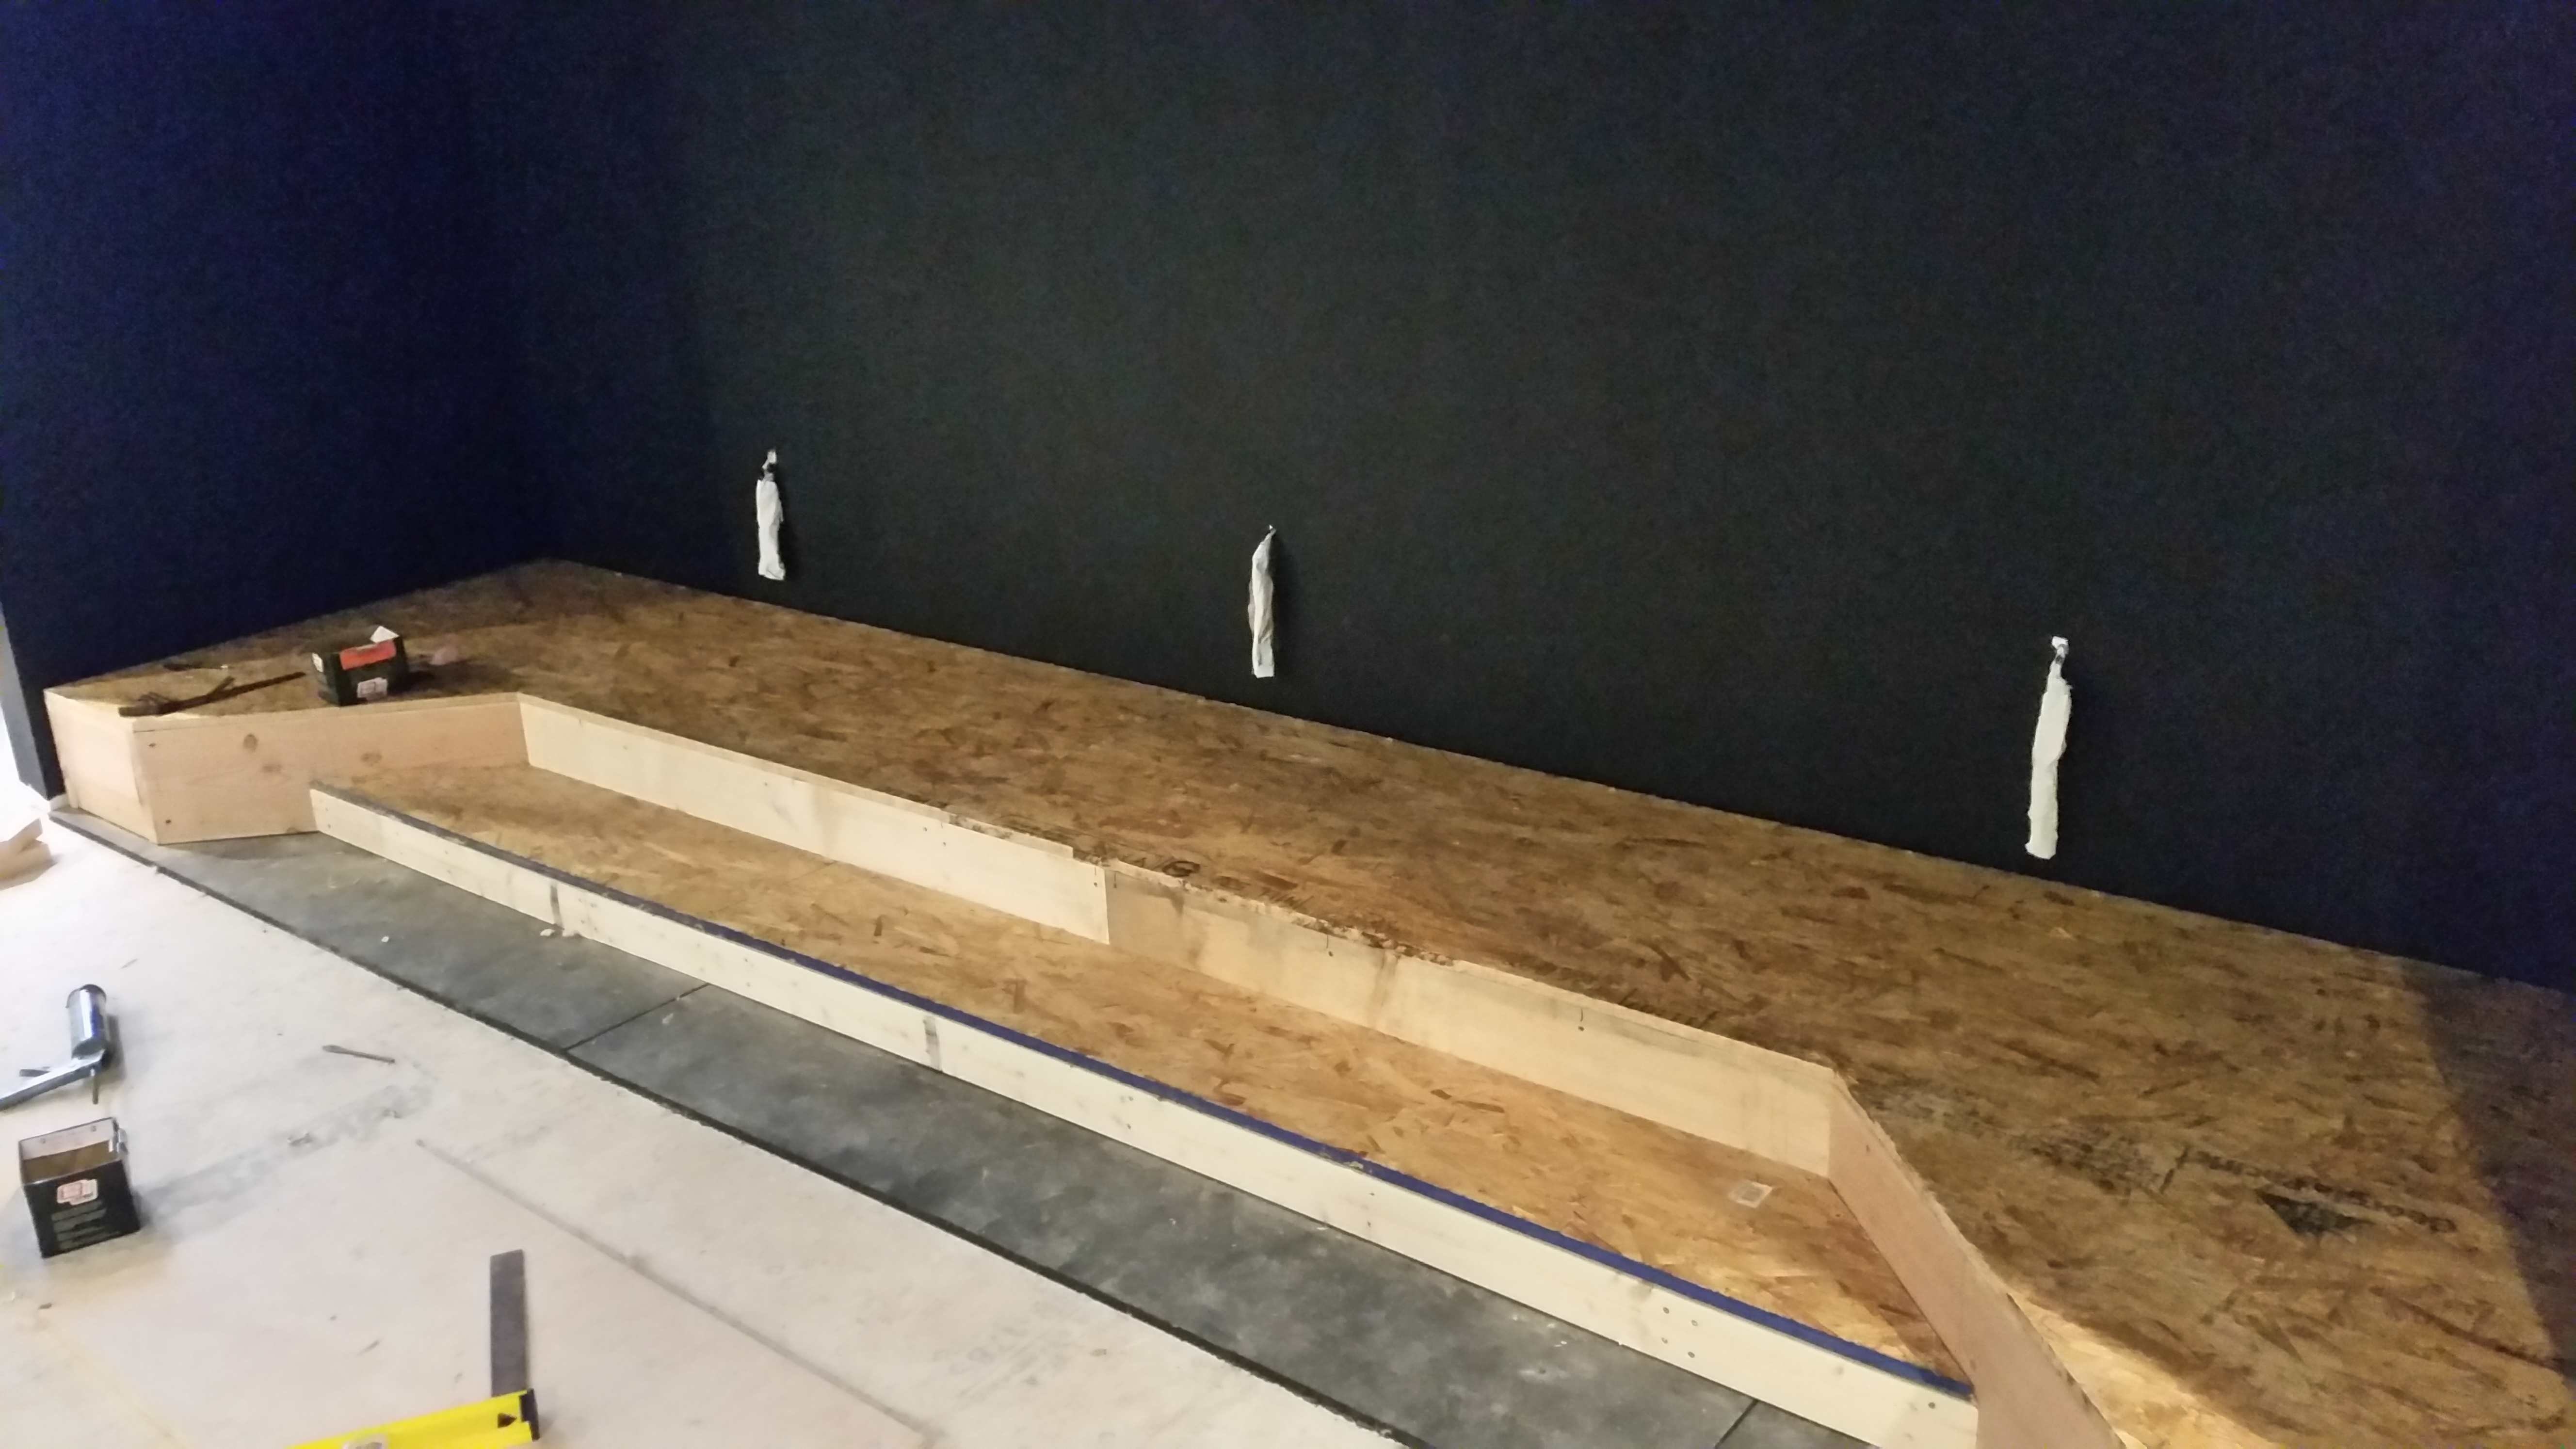
Stage Flooring
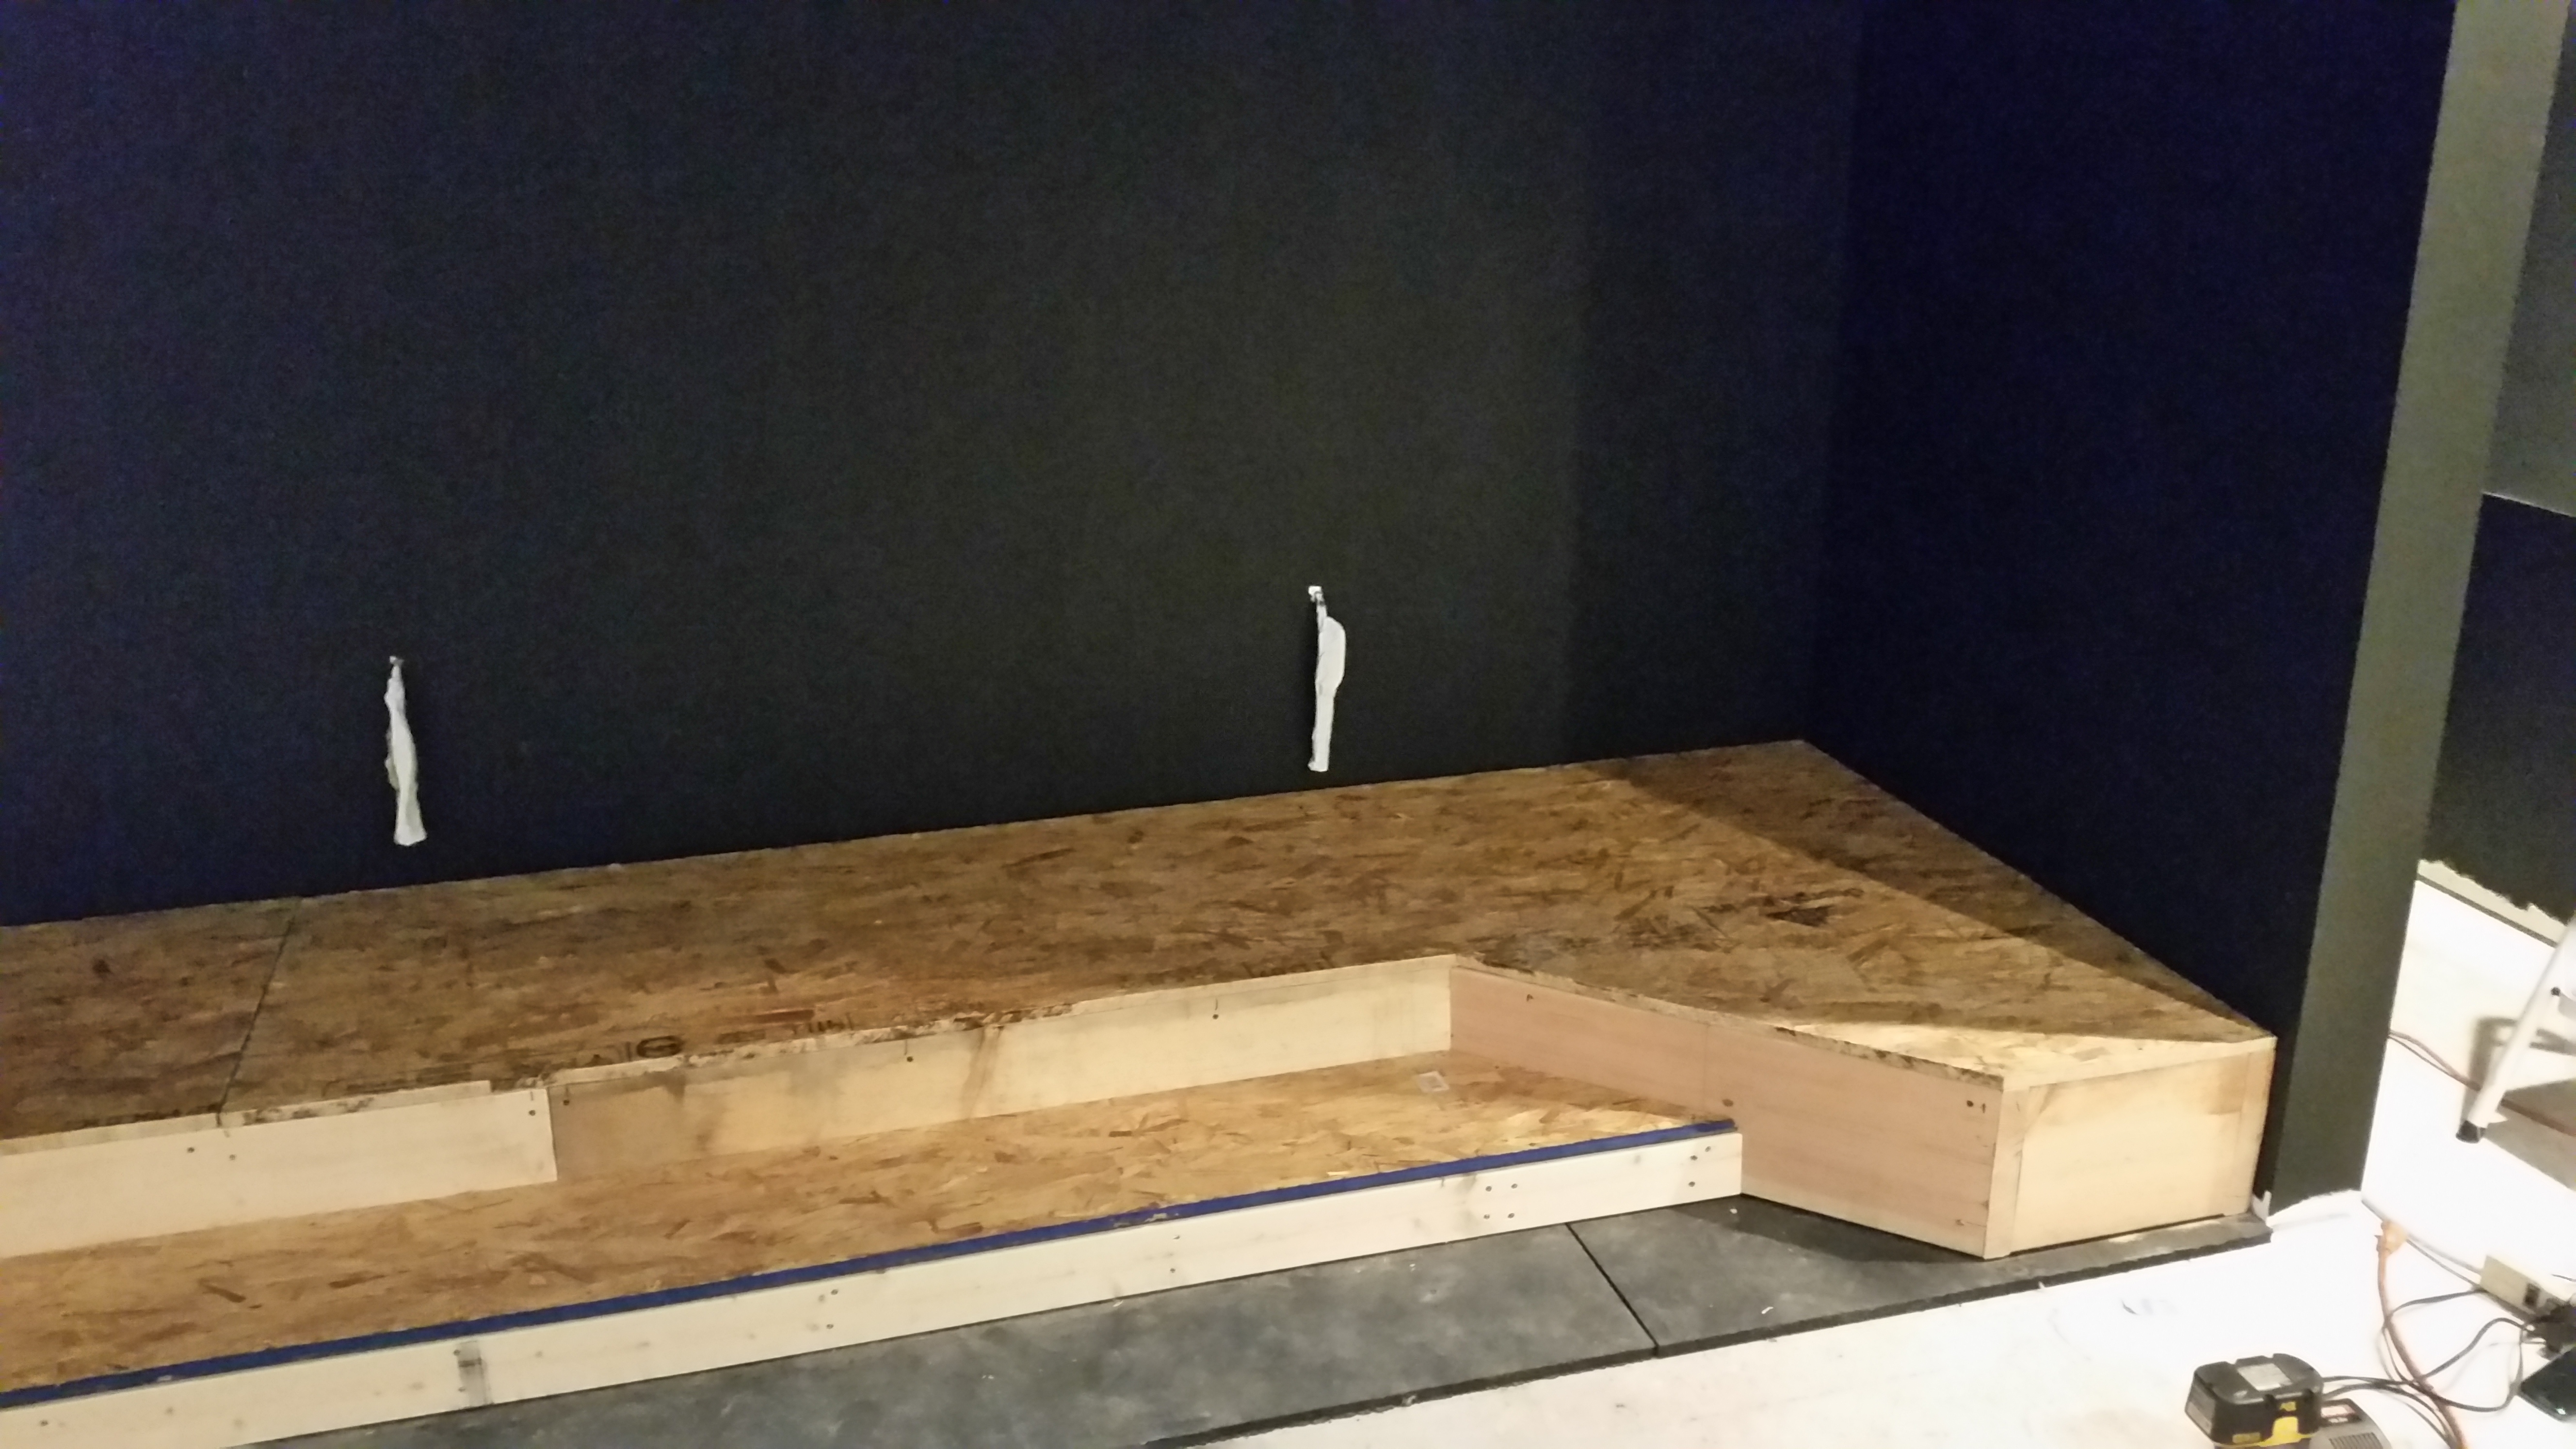
Stage Flooring
Glue and screw 3/4" sub flooring to the top of the framing. I used sub-floor adhesive and 1-1/4" drywall screws.
Bullnose
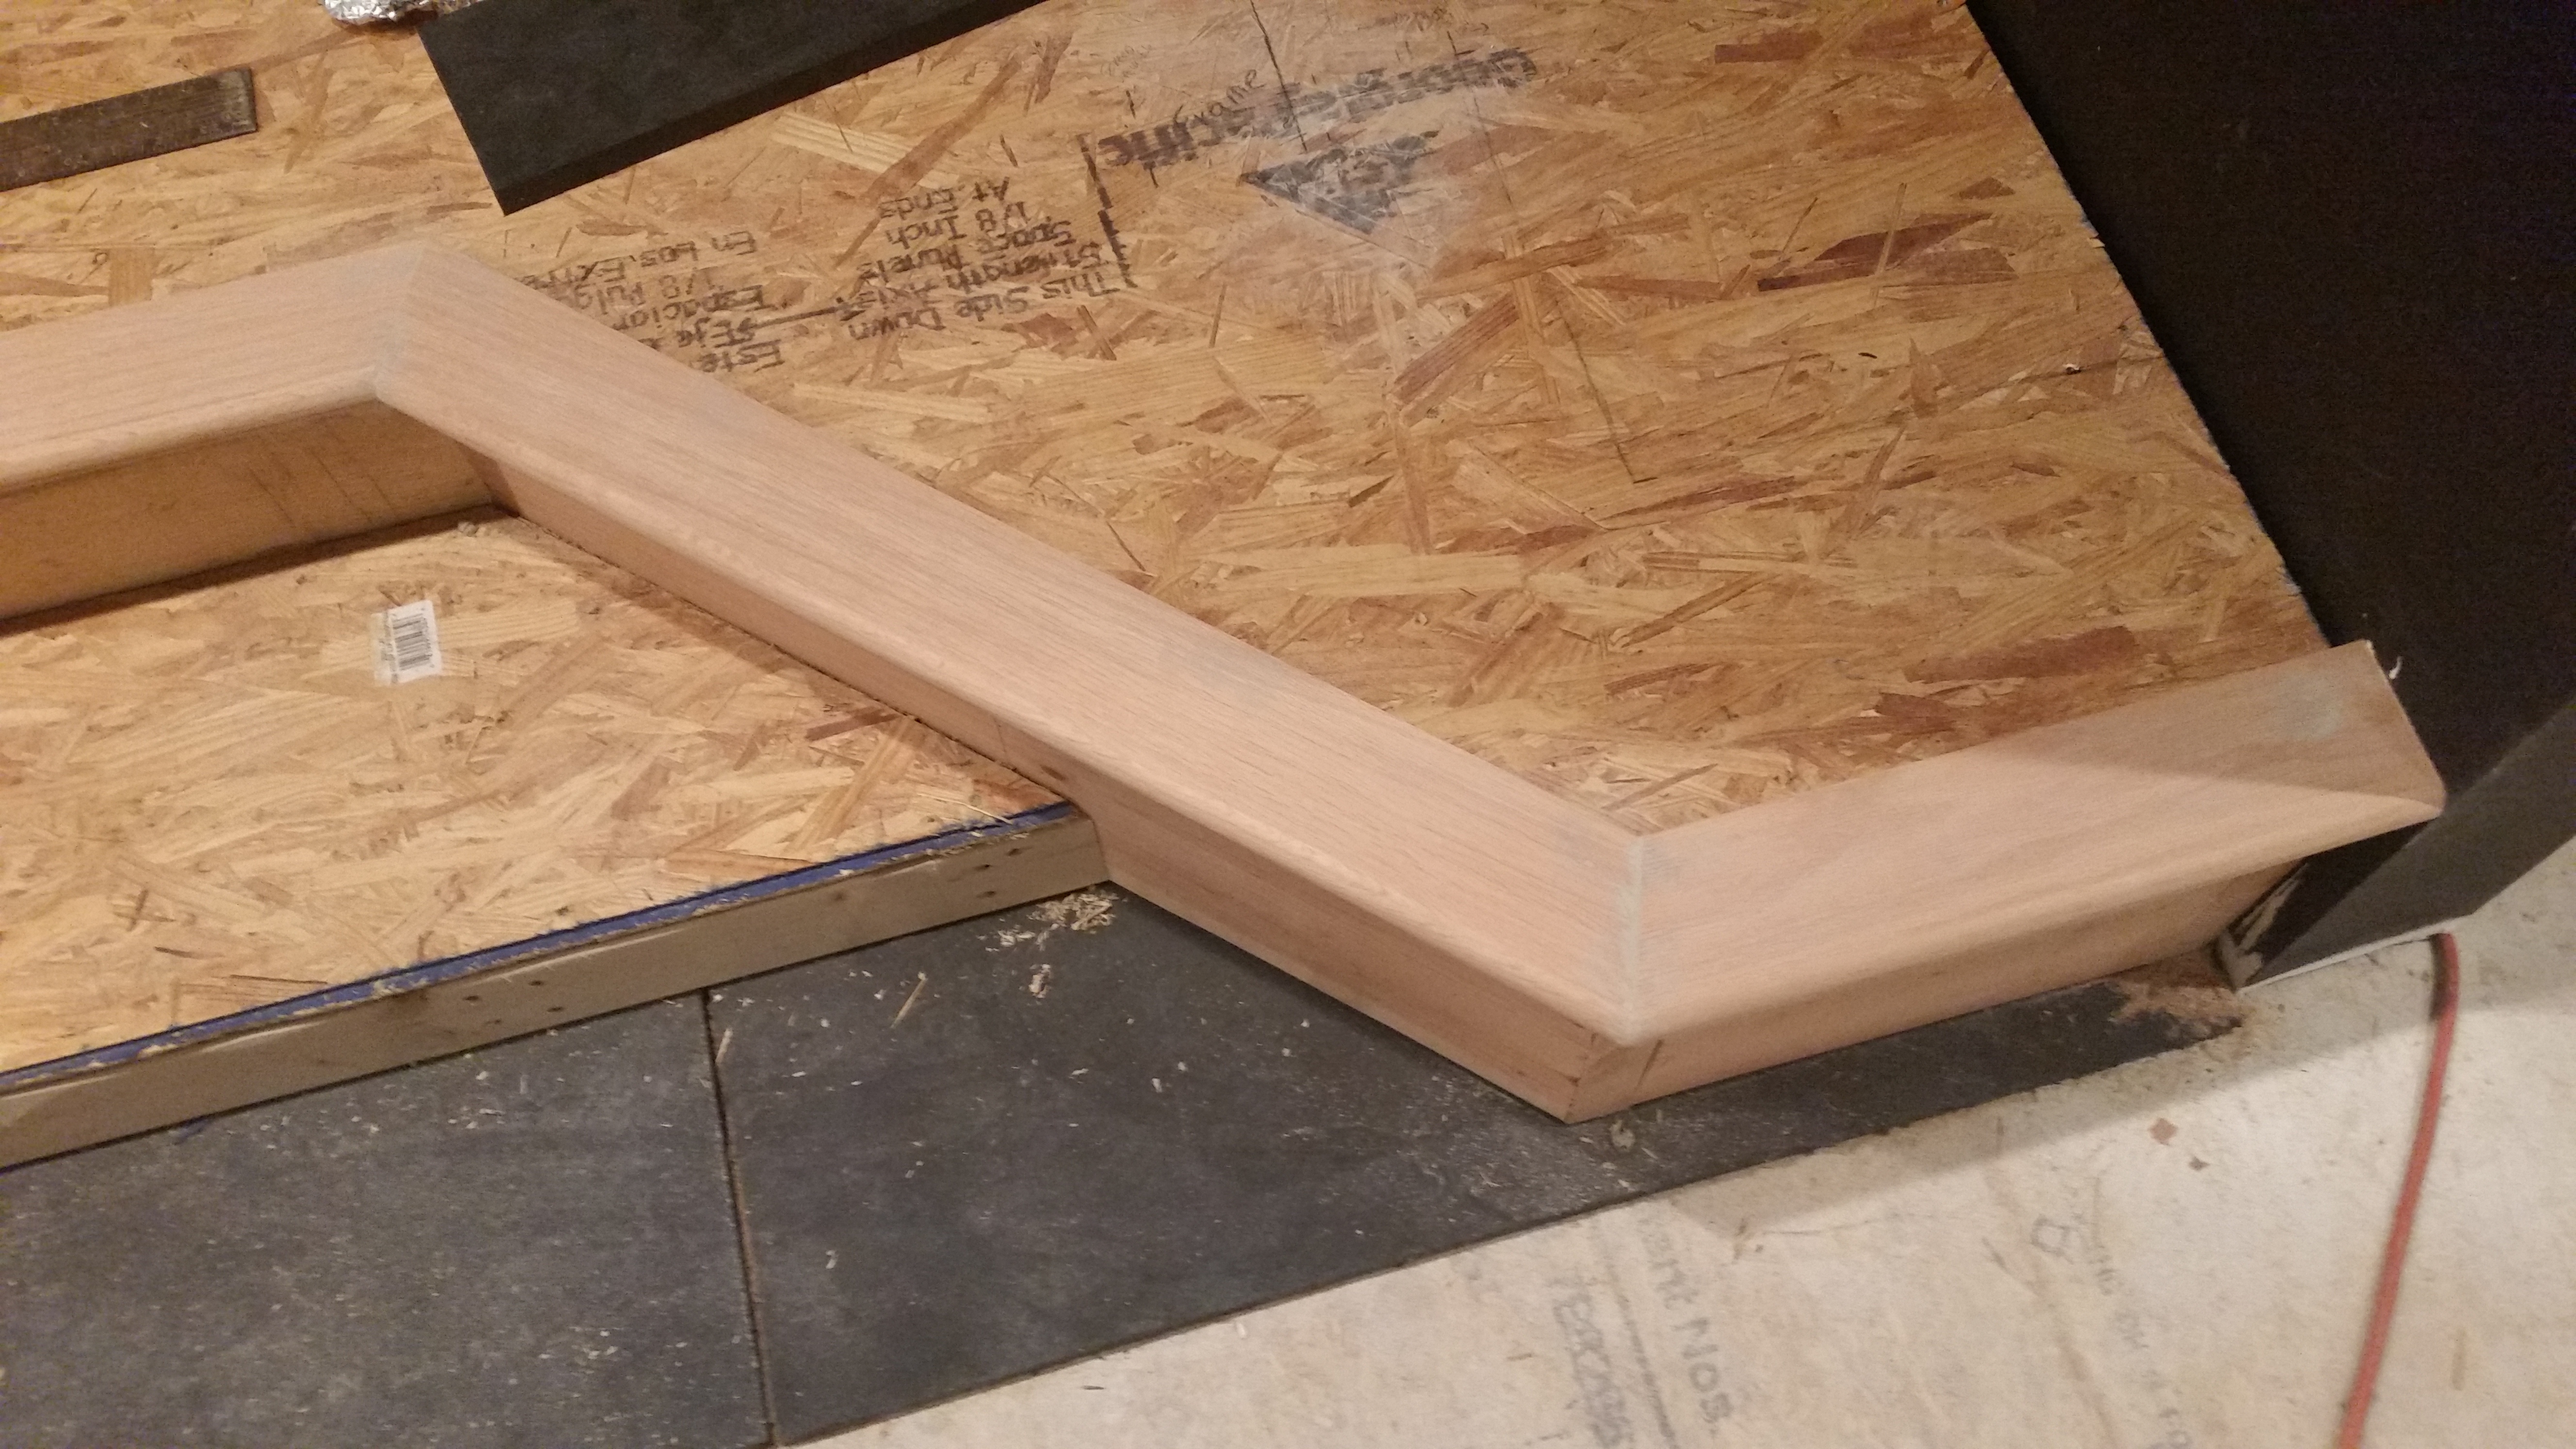
Hardwood Bullnose
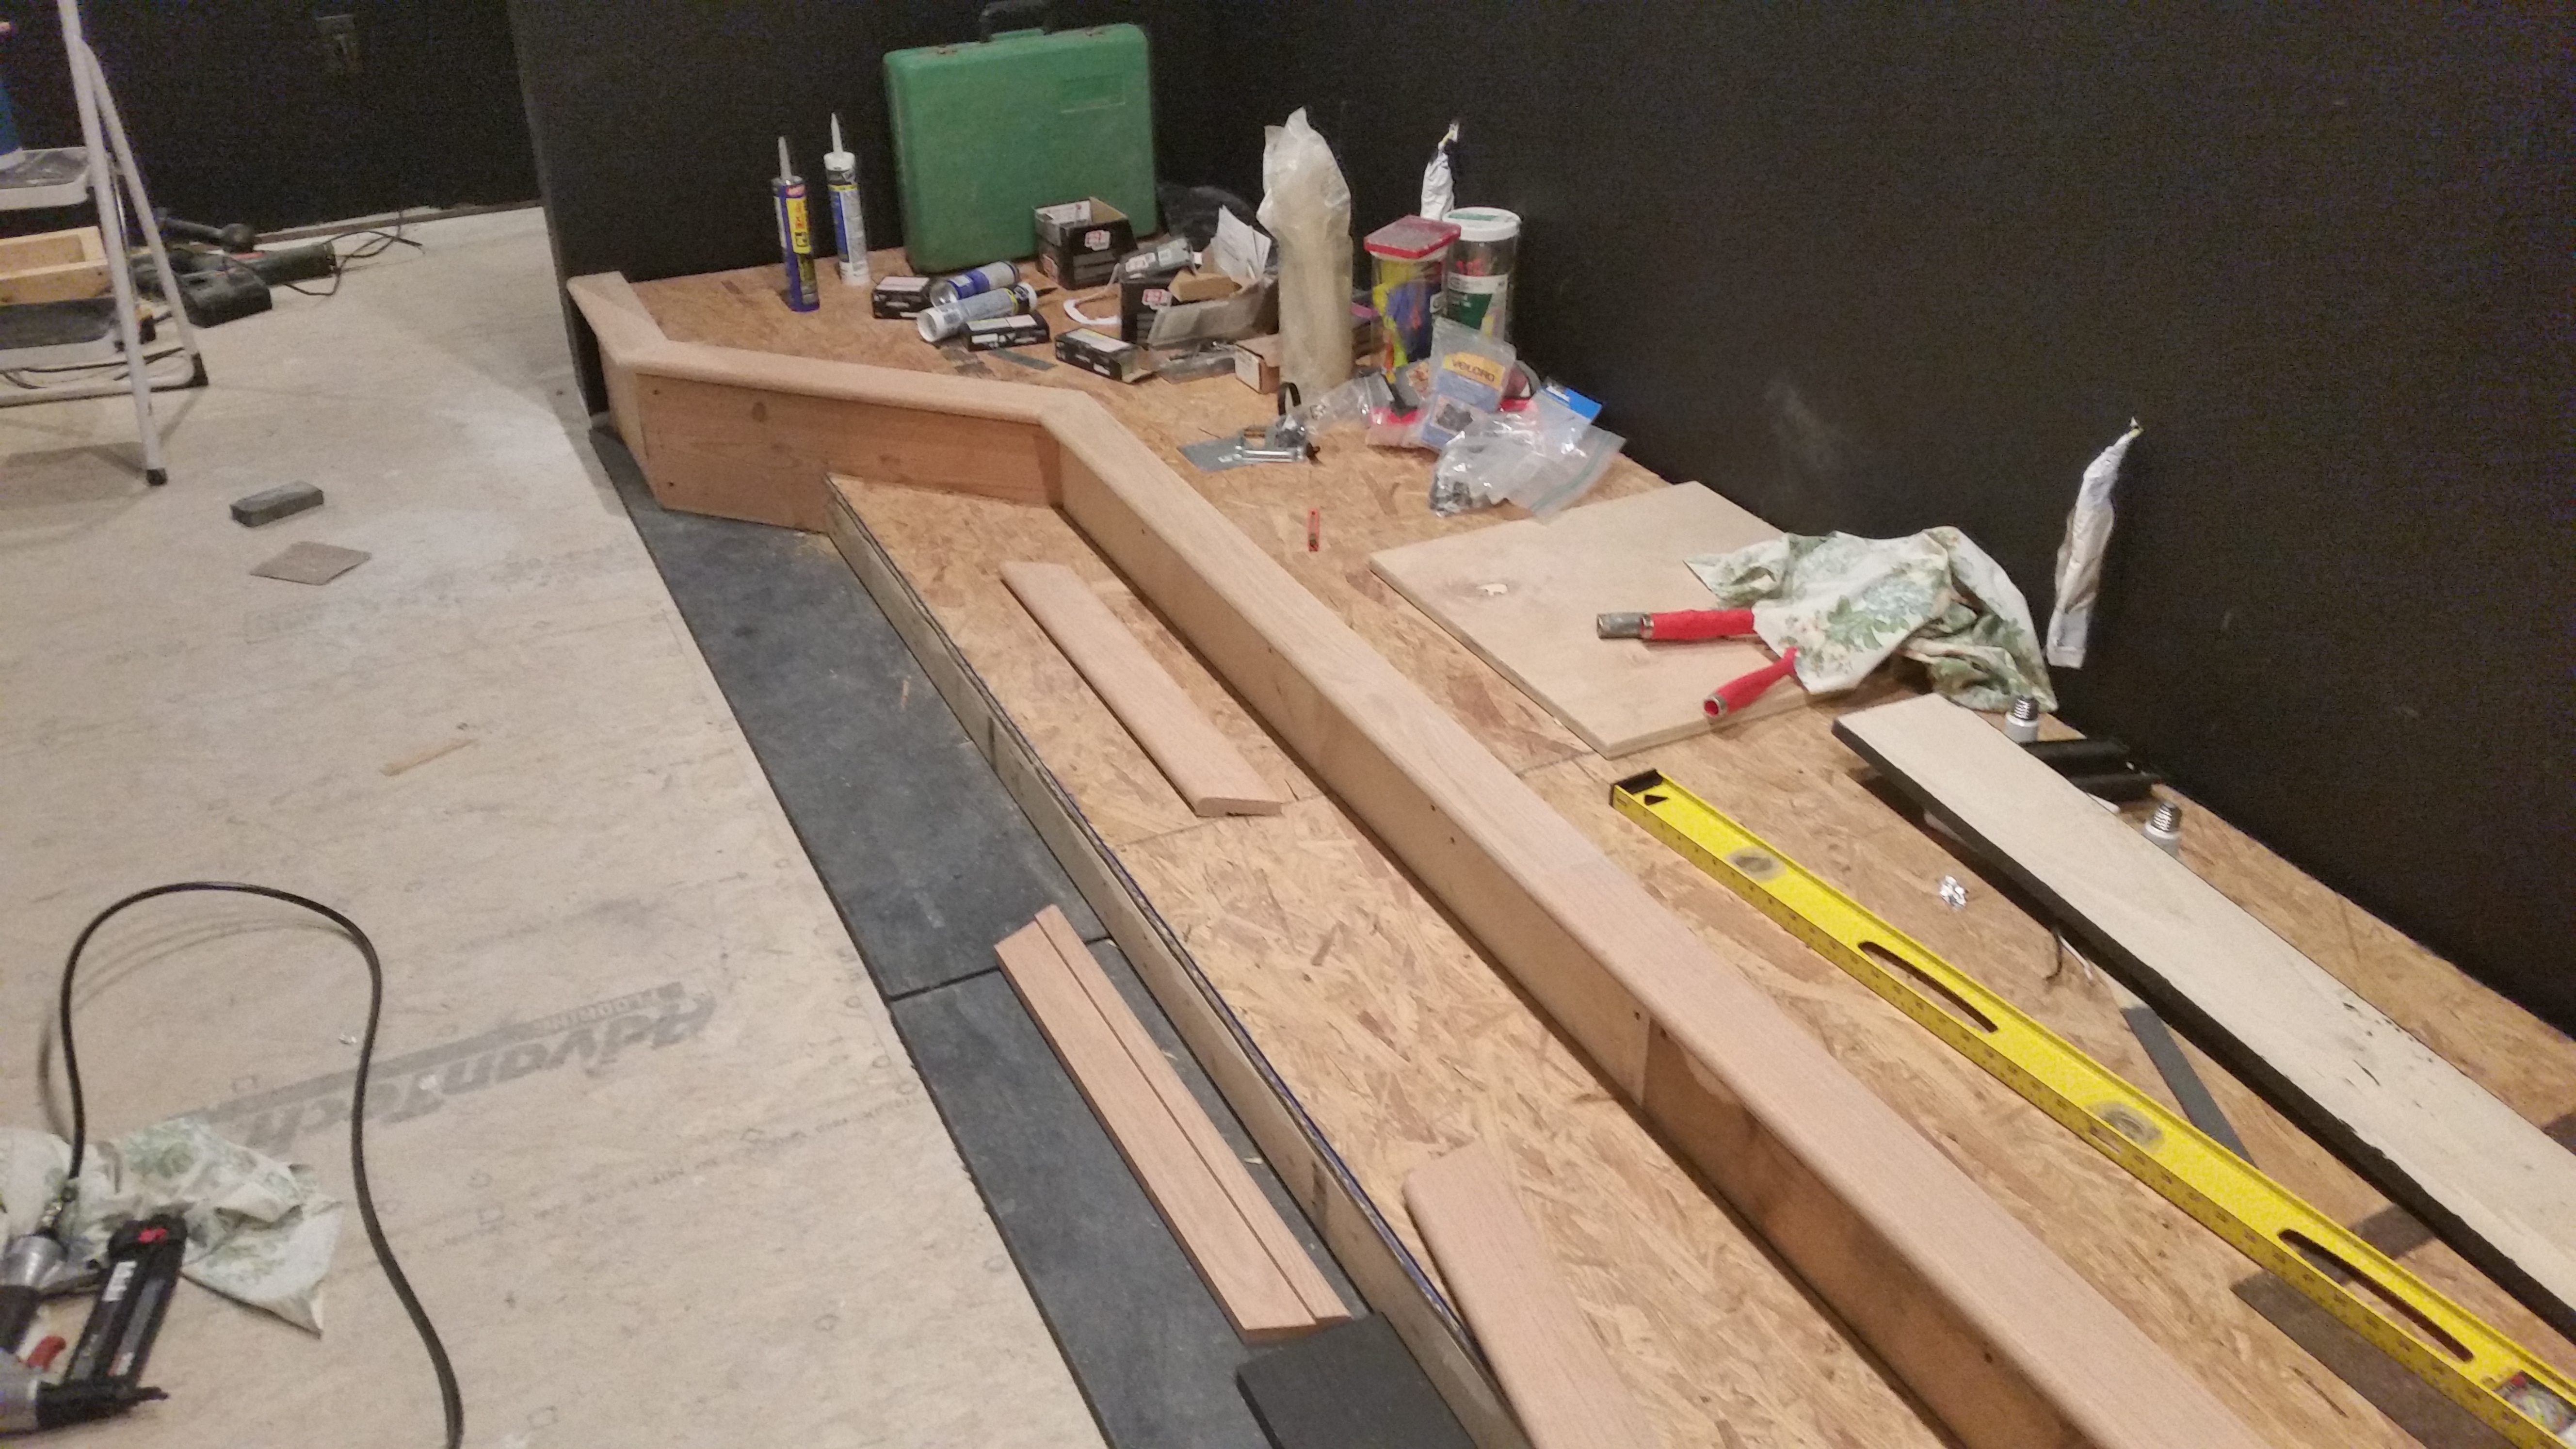
Hardwood Bullnose
I used hardwood bullnose to trim off my stage. Use good wood glue and 2" nails to attach it to the flooring. NOTE: Before adding the bull nose to the step, you should add the trim to the front.
Before adding the trim, use the same oscillating tool to cut the mat off flush with the framing.
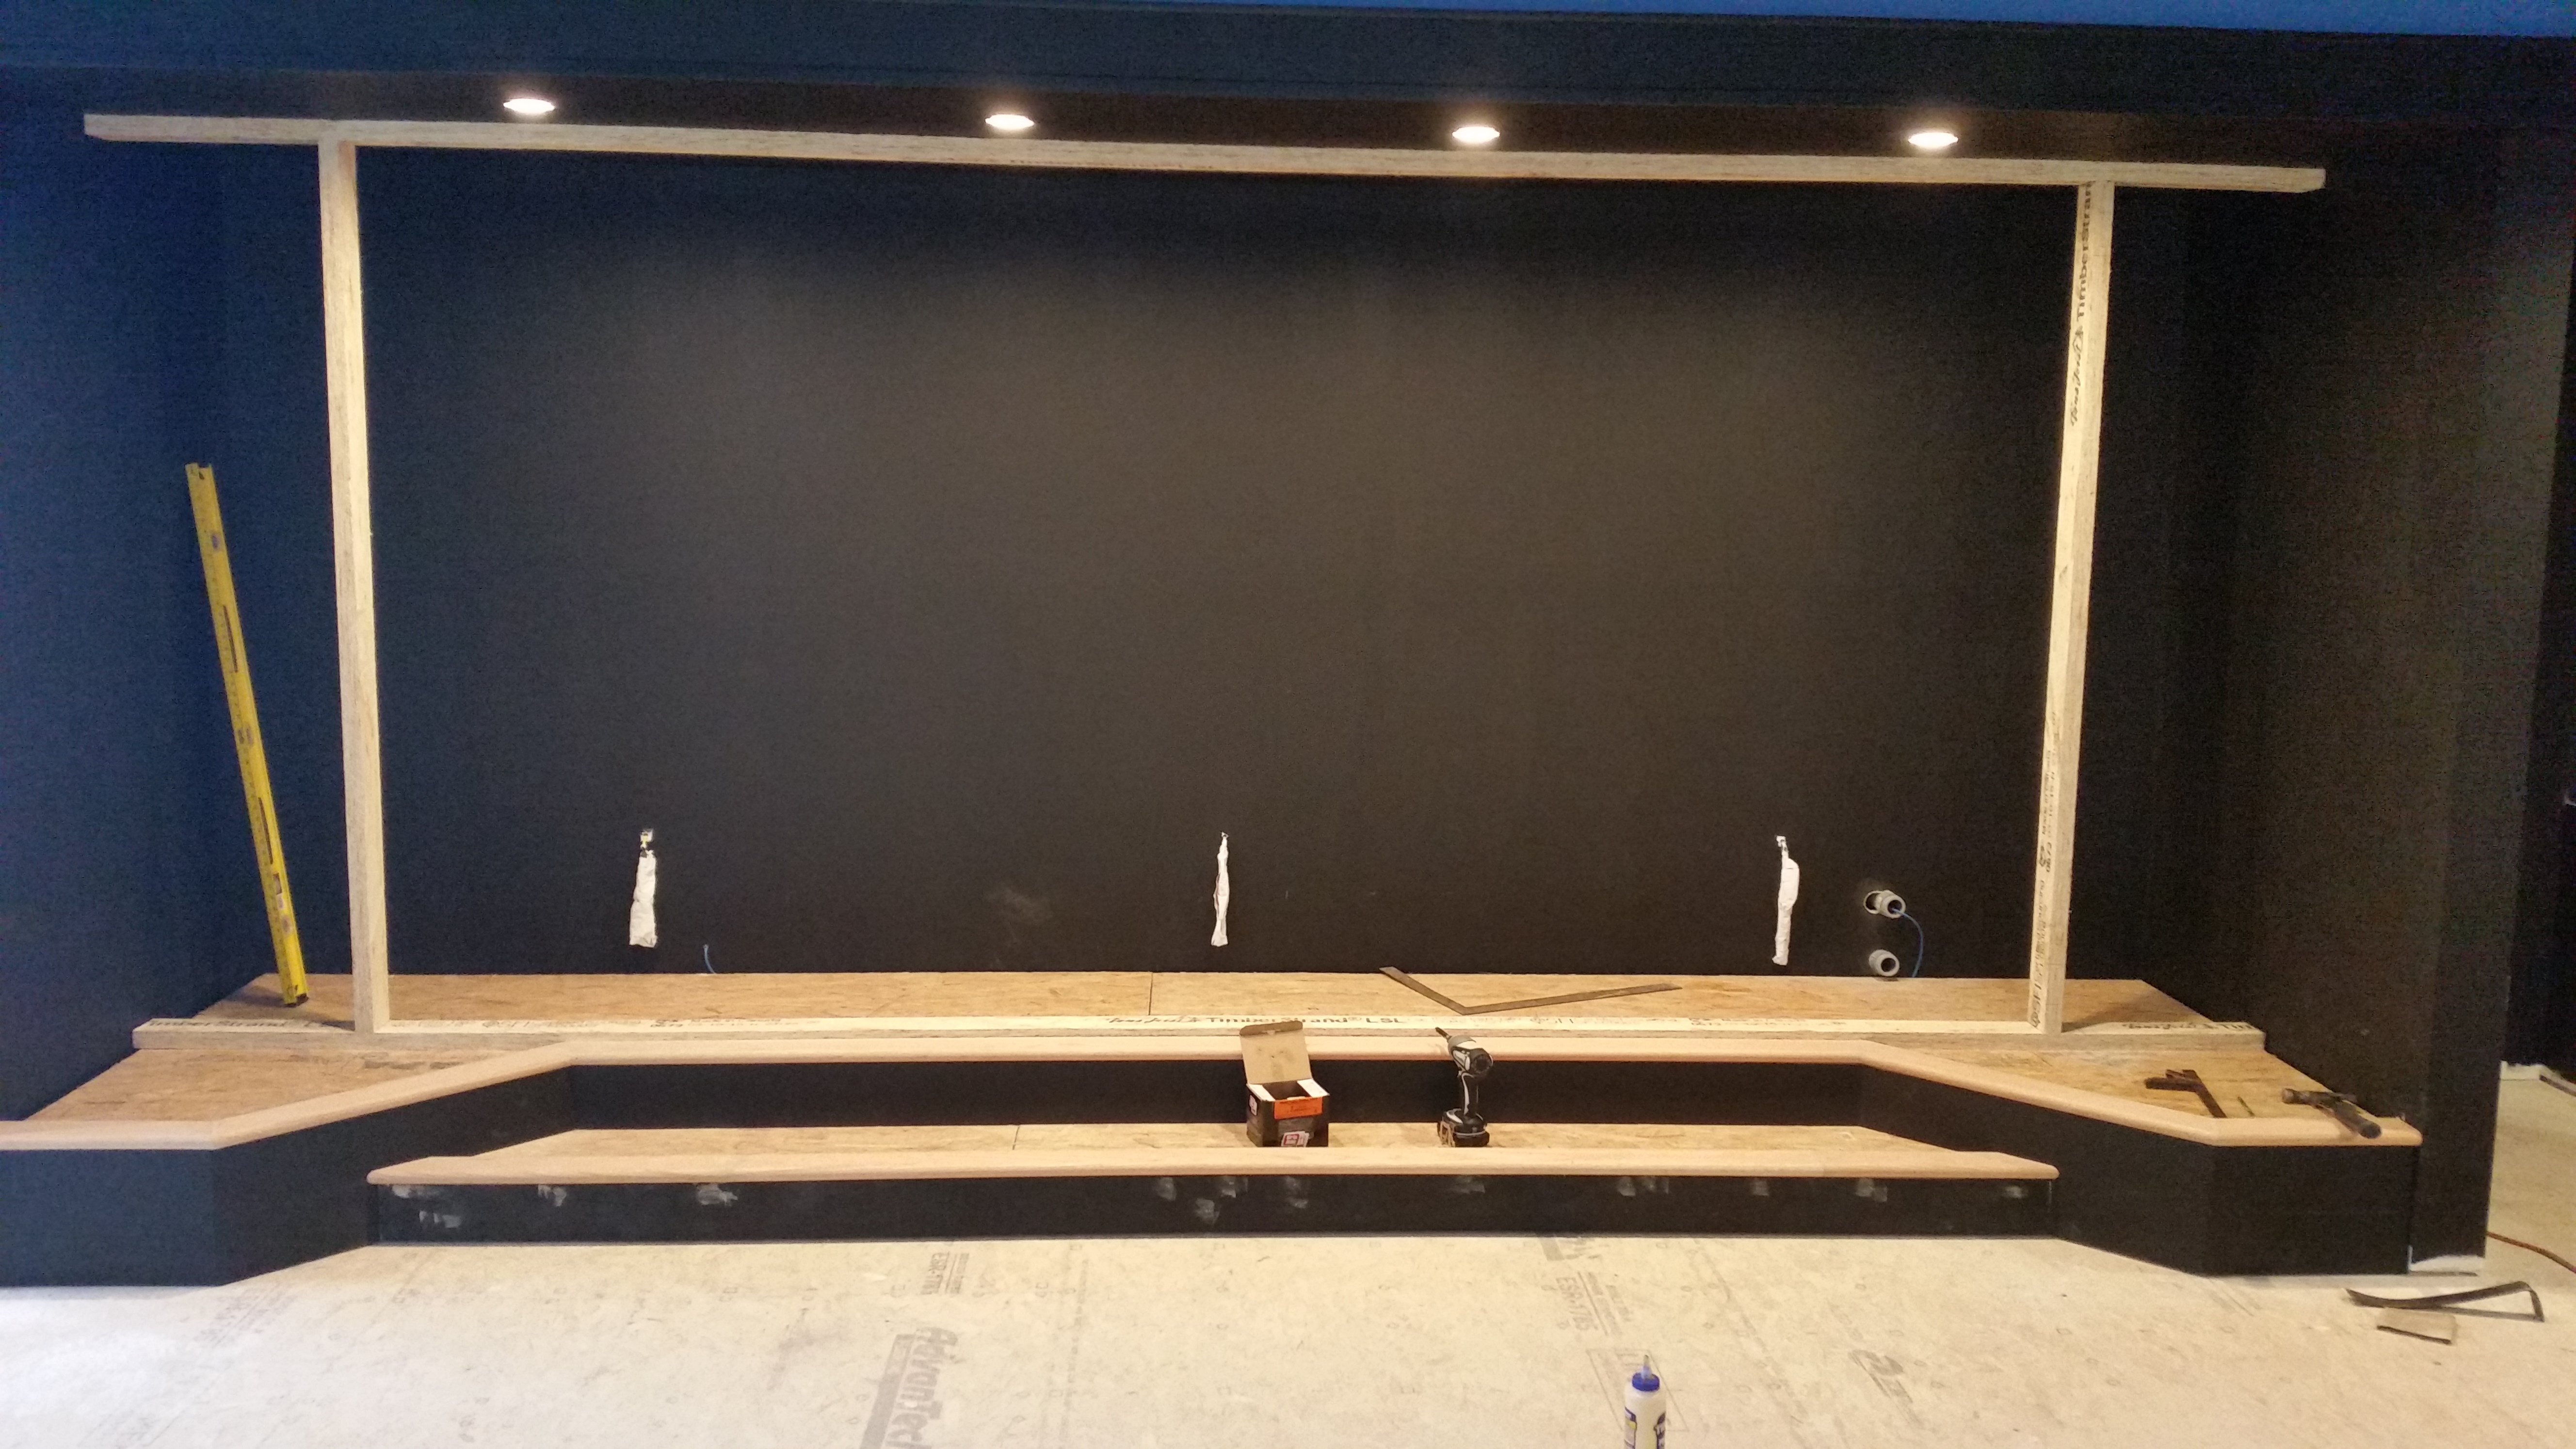
Stage Trim
Now put some poplar trim on the front of the stage to cover the framing. Make sure that the trim doesn't touch the floor or the wall. This will provide a nice spot to tuck the carpet under.
Once that trim has been attached you can add the bullnose to the step as well. This is also a good time to paint the stage.
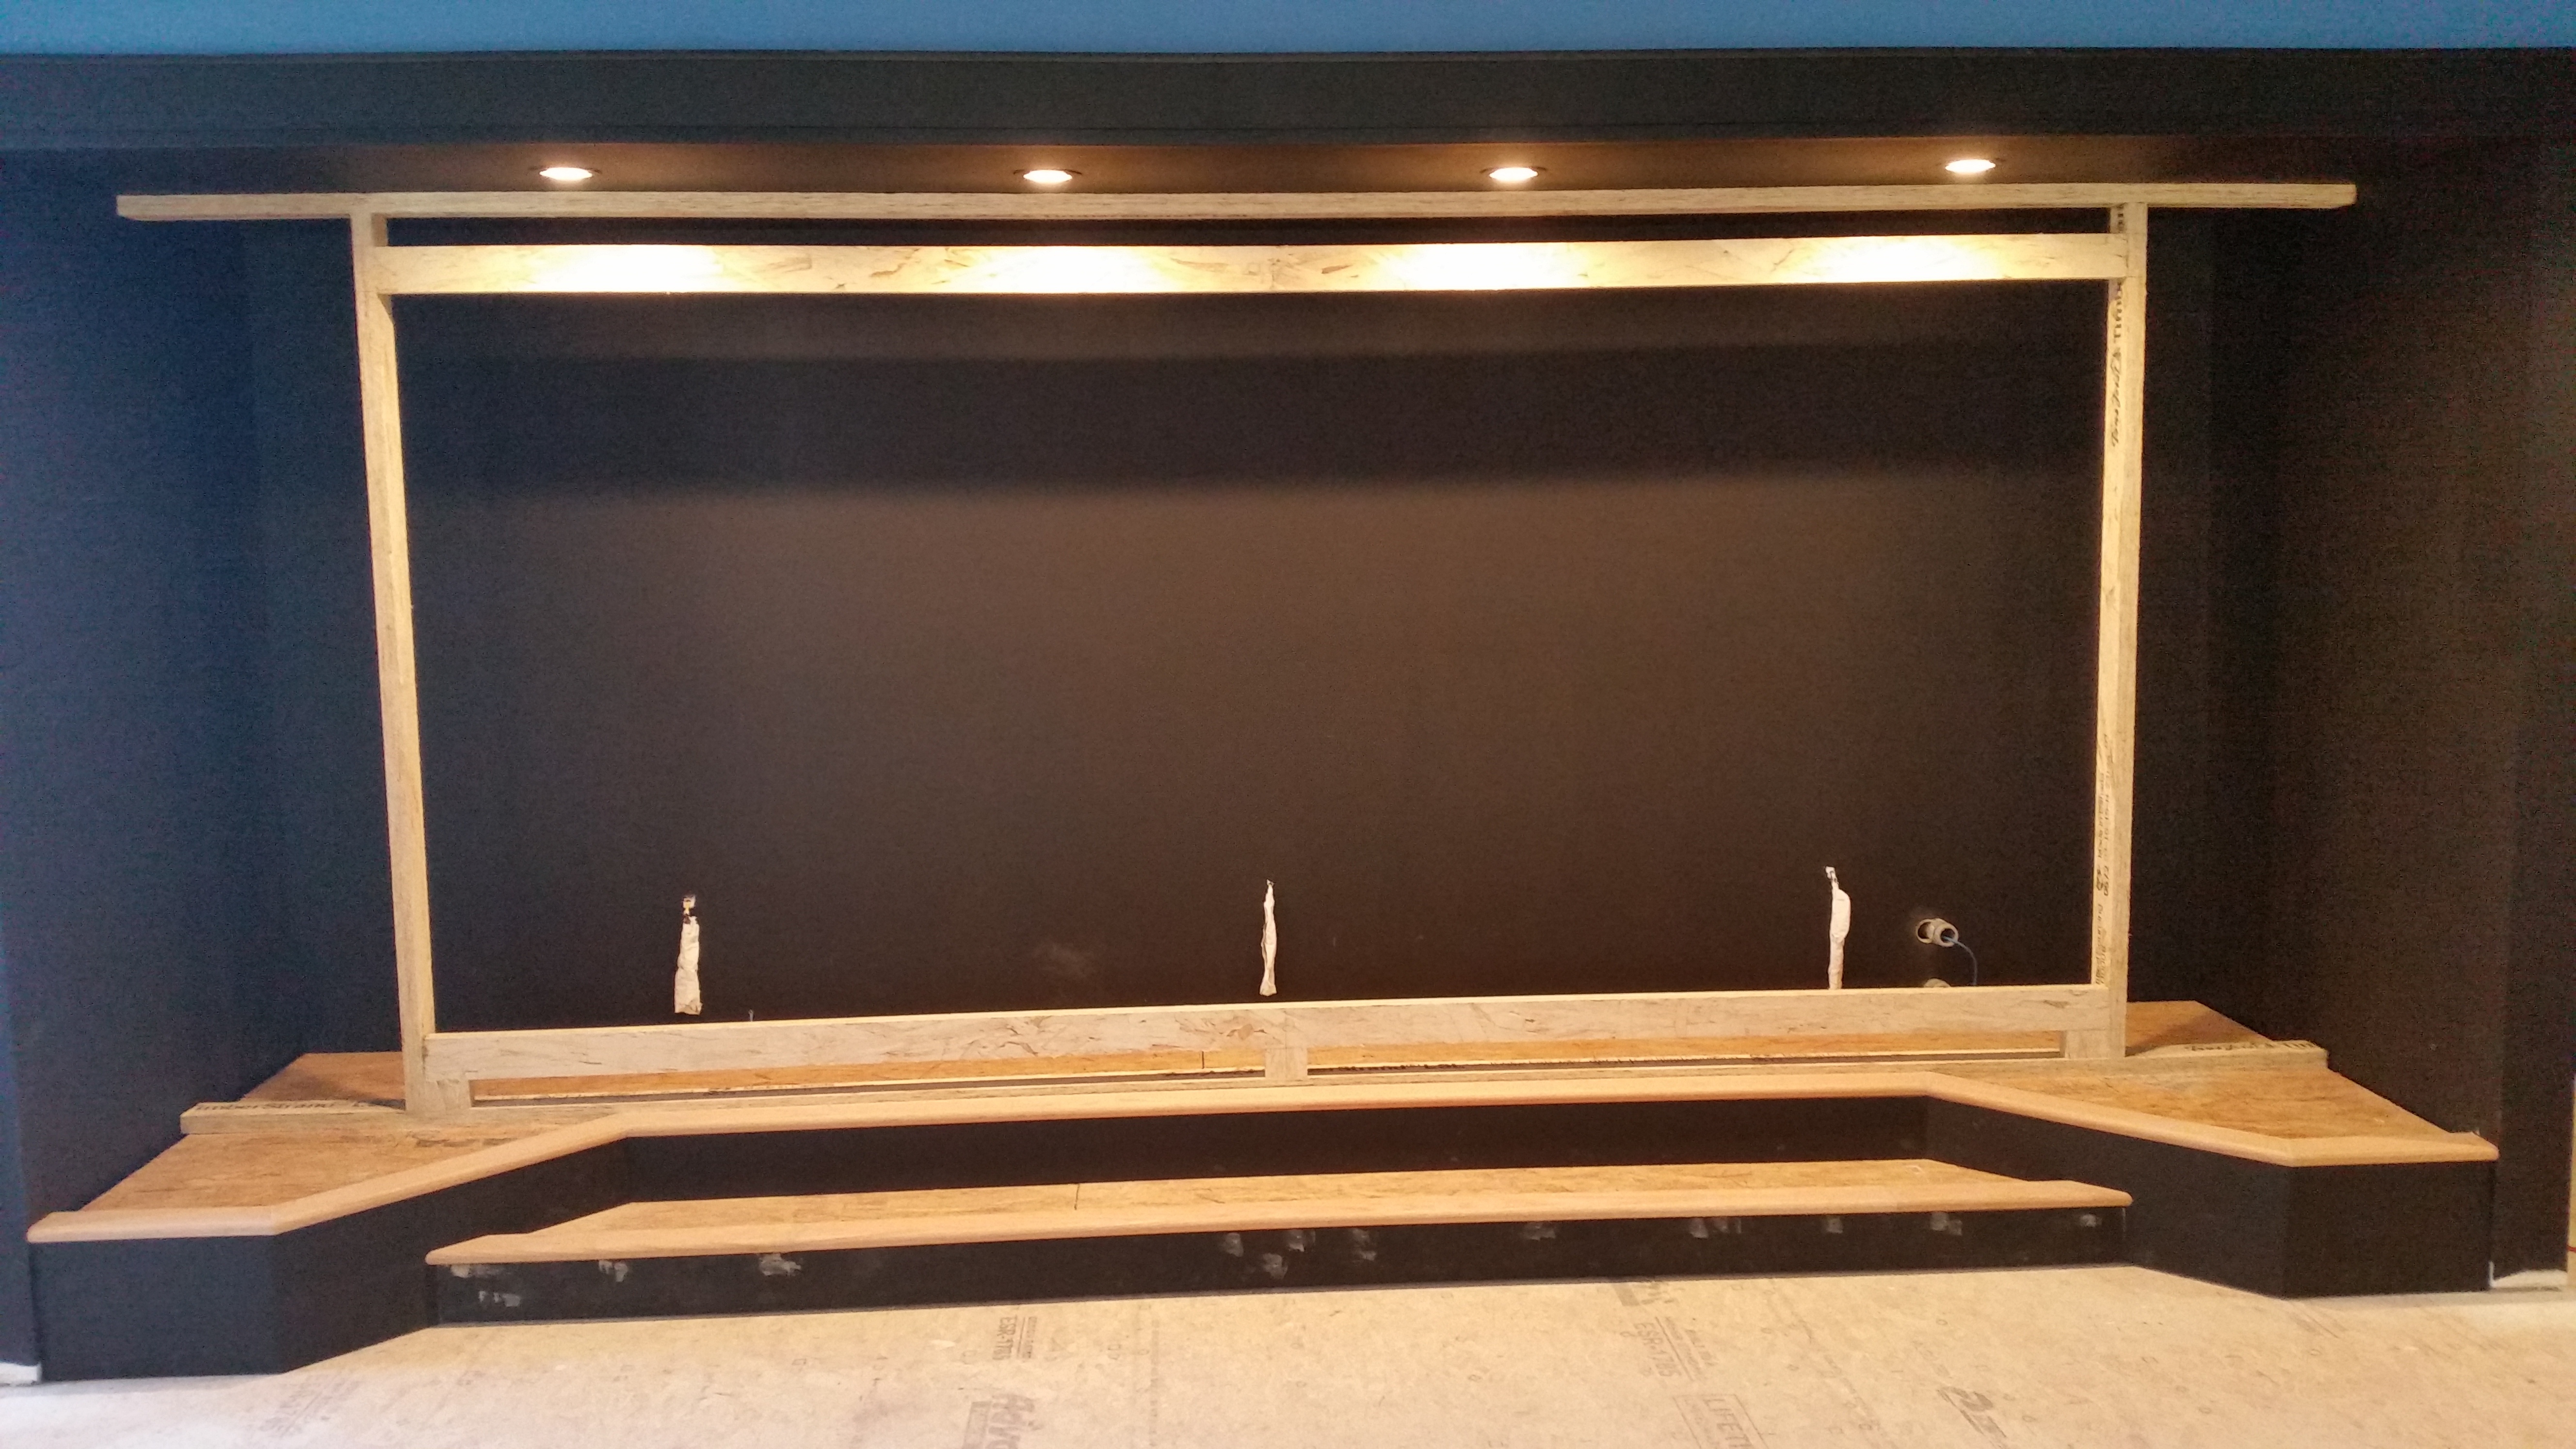
Trimmed Stage
To build the frame that holds the screen, I used engineered 2" x 4". They are pricey, but very straight and won't twist.
Bass Traps
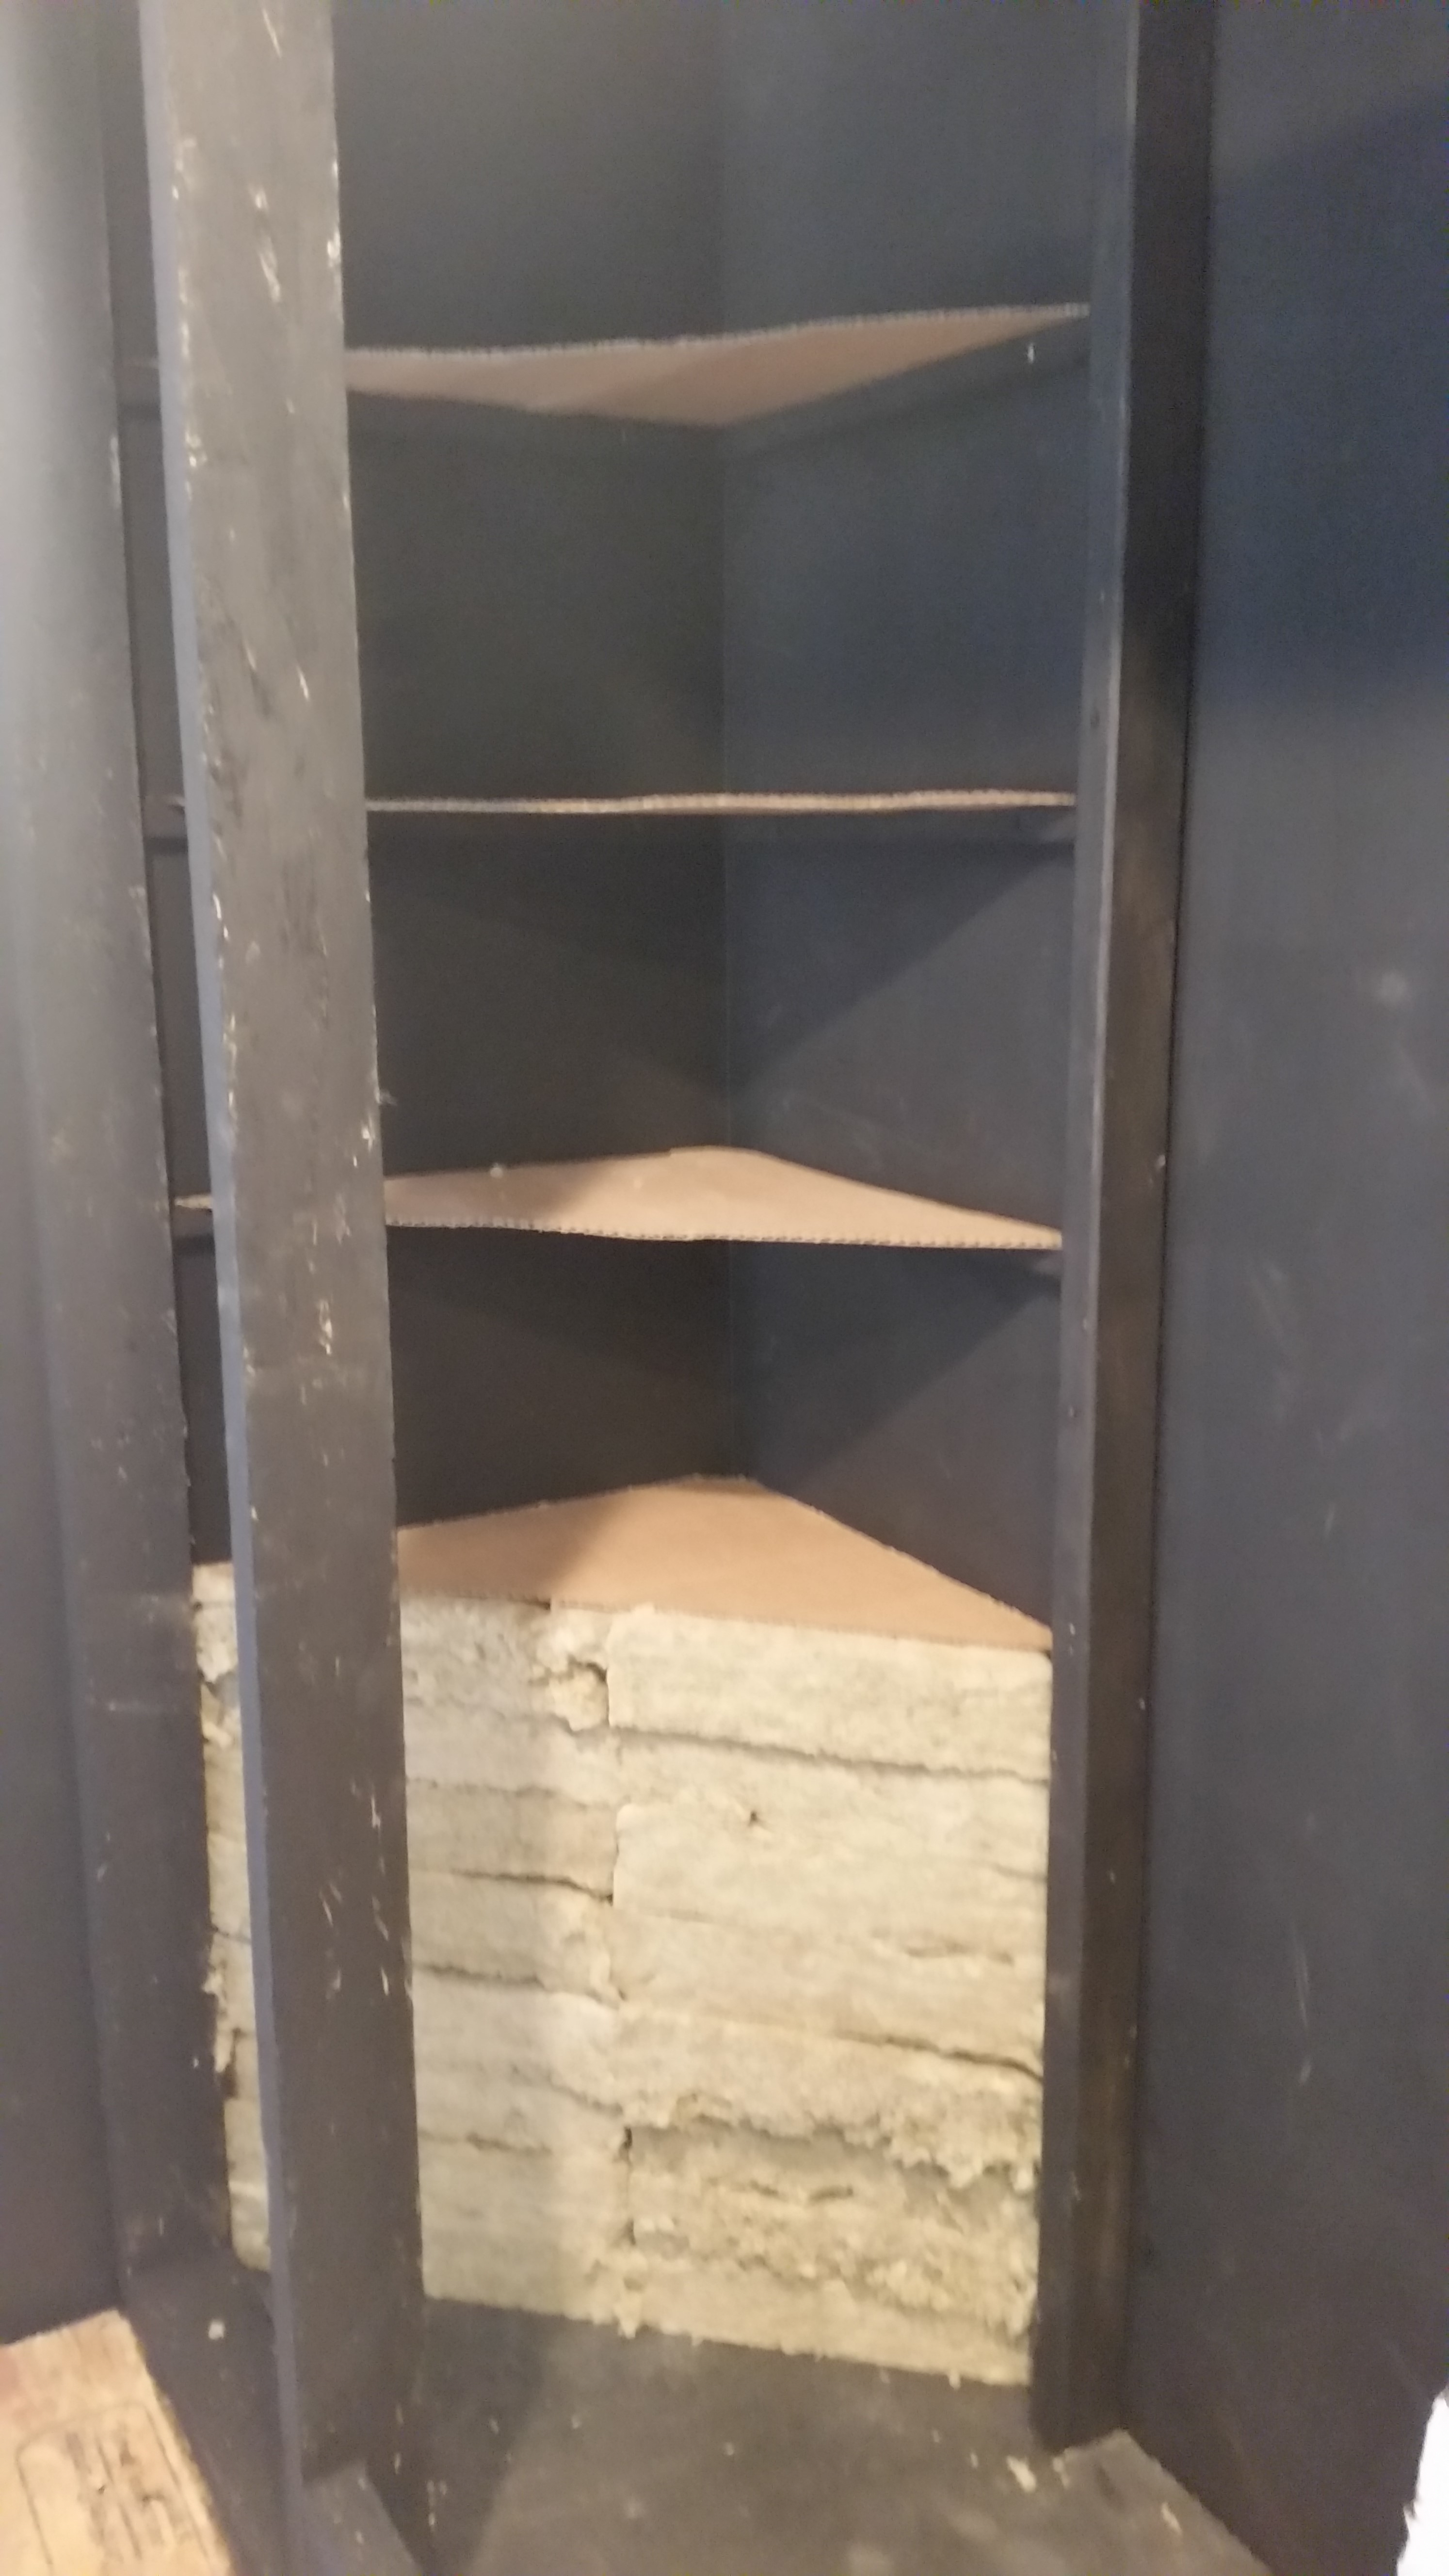
Bass Traps
Before putting in the bass traps make sure you put another layer of the 3/4" rubber mat down behind the screen frame. This will provide another layer of isolation to keep the vibrations from the speakers from transferring into the floor.
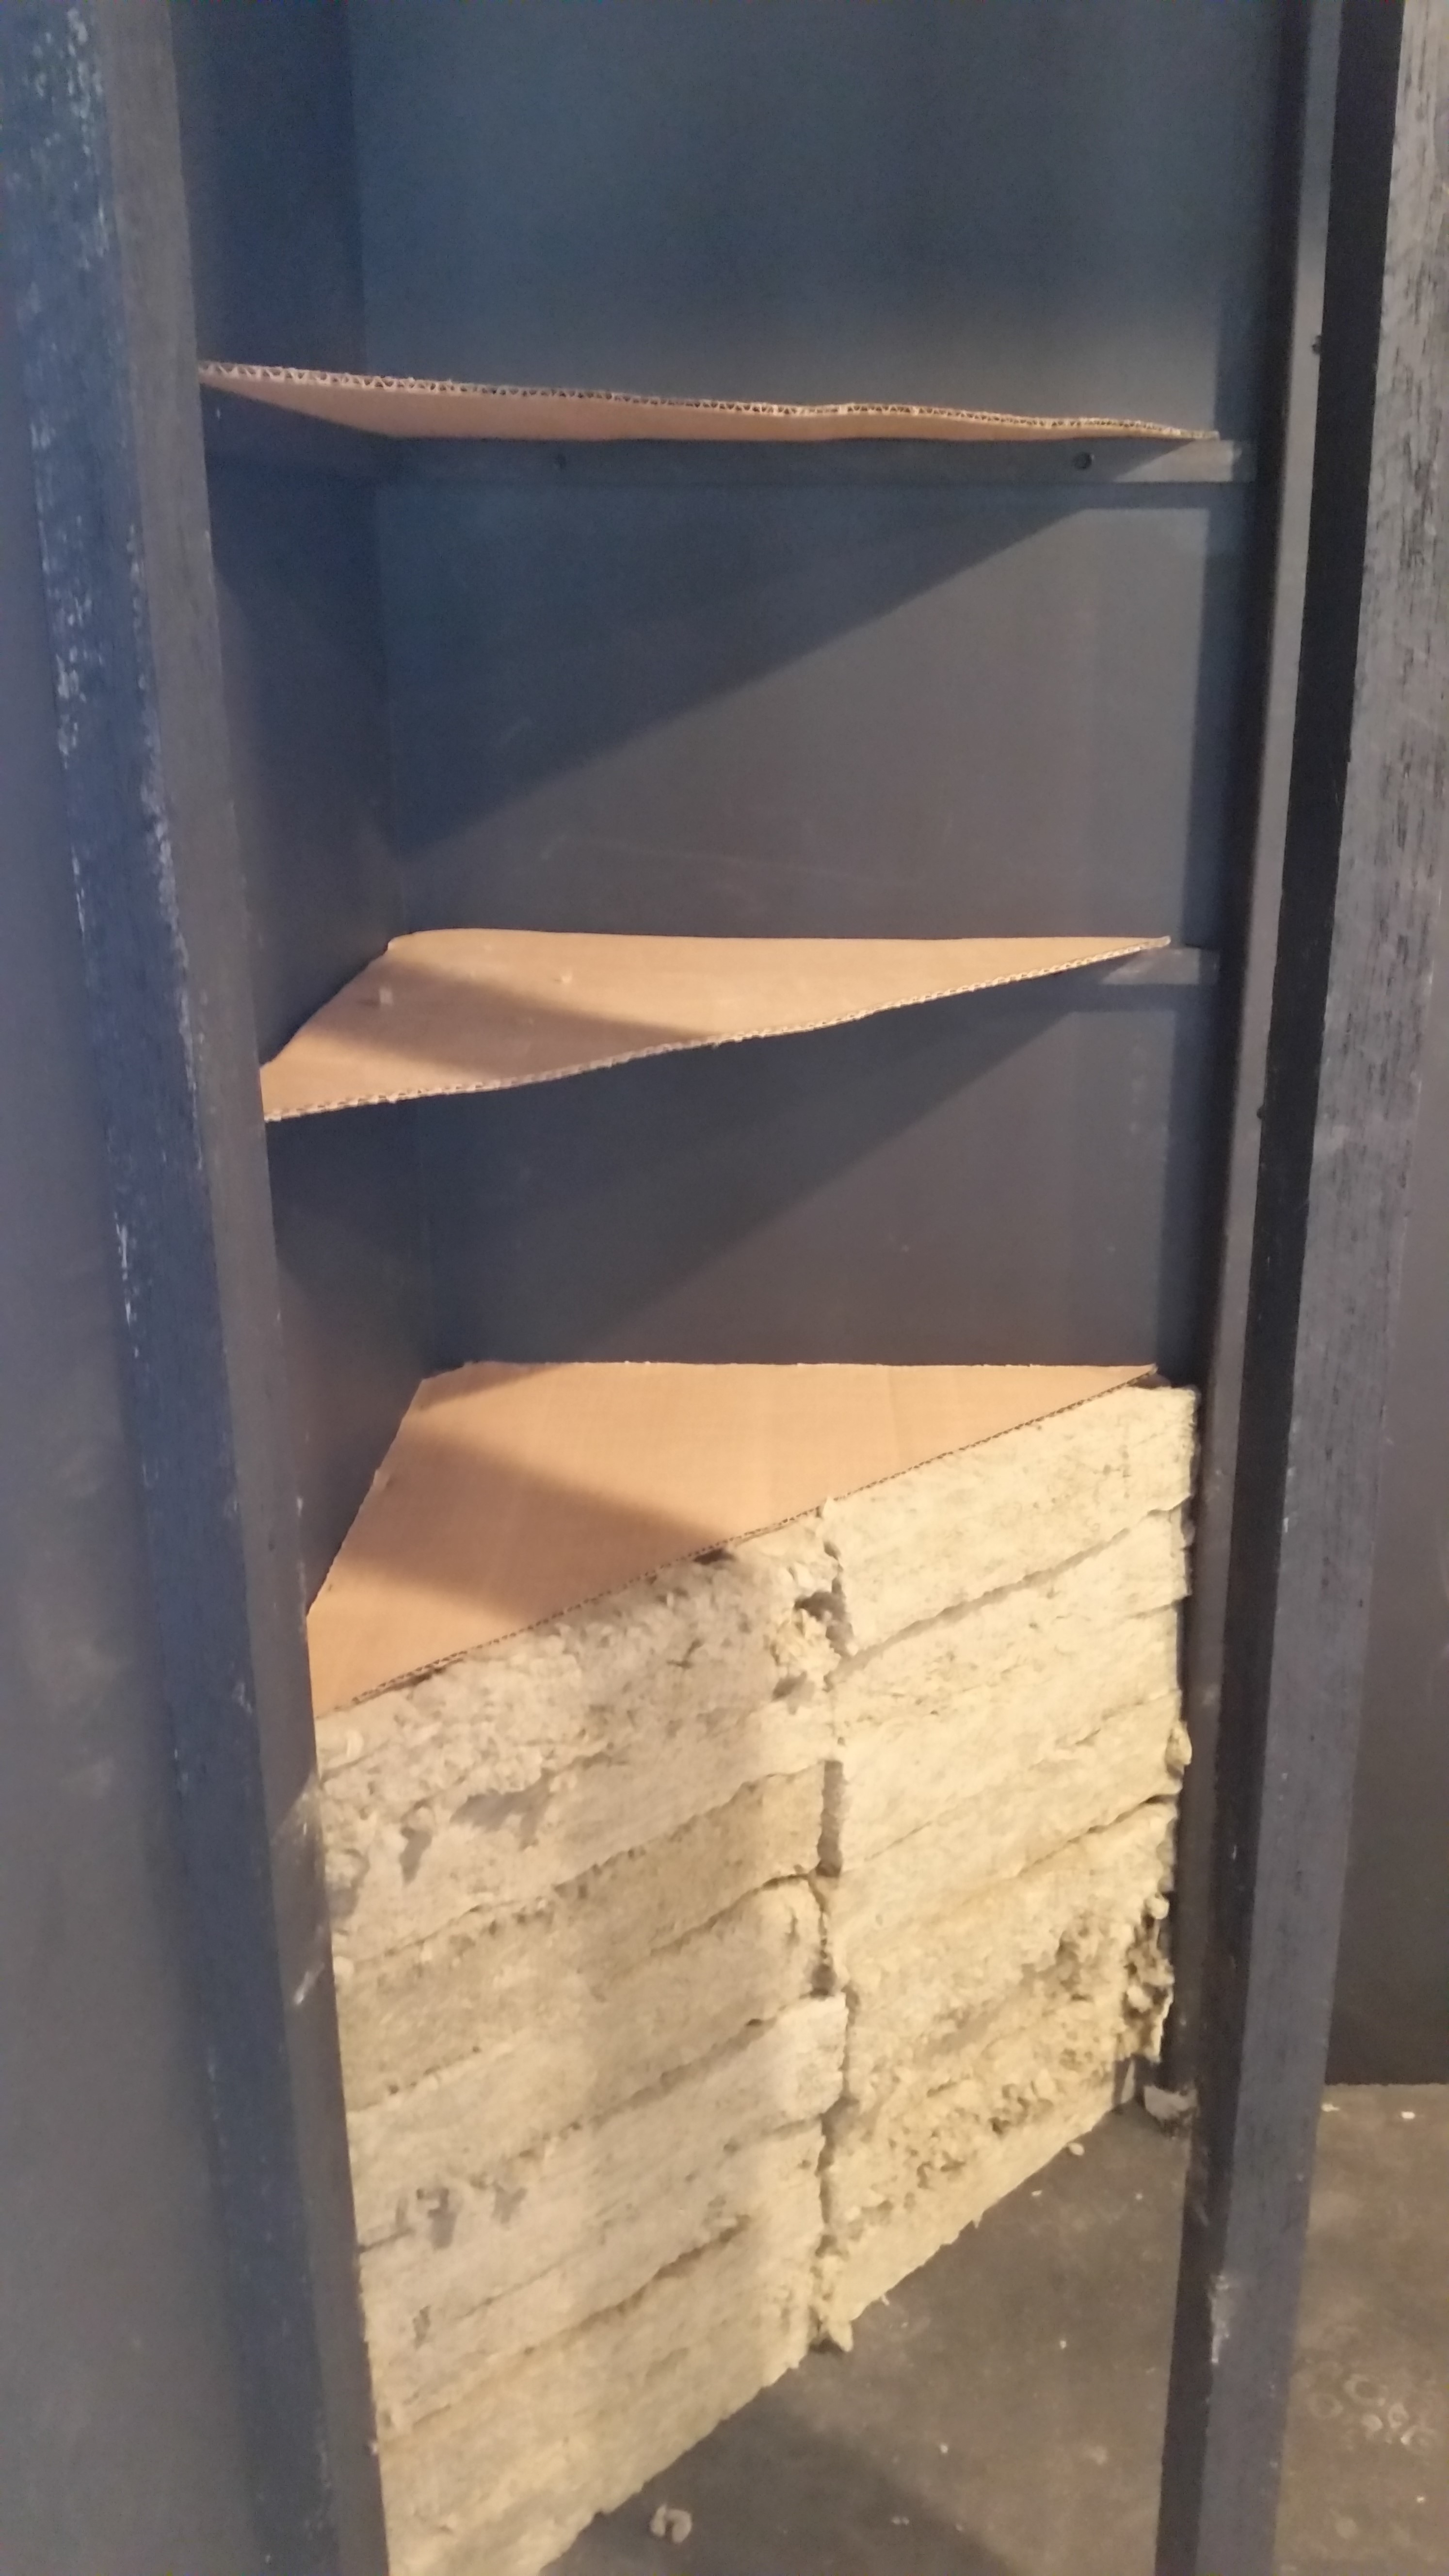
Bass Traps
For the bass traps I used Roxul Safe N Sound. I cut them into triangles and put cardboard shelves every couple of feet to help support them.
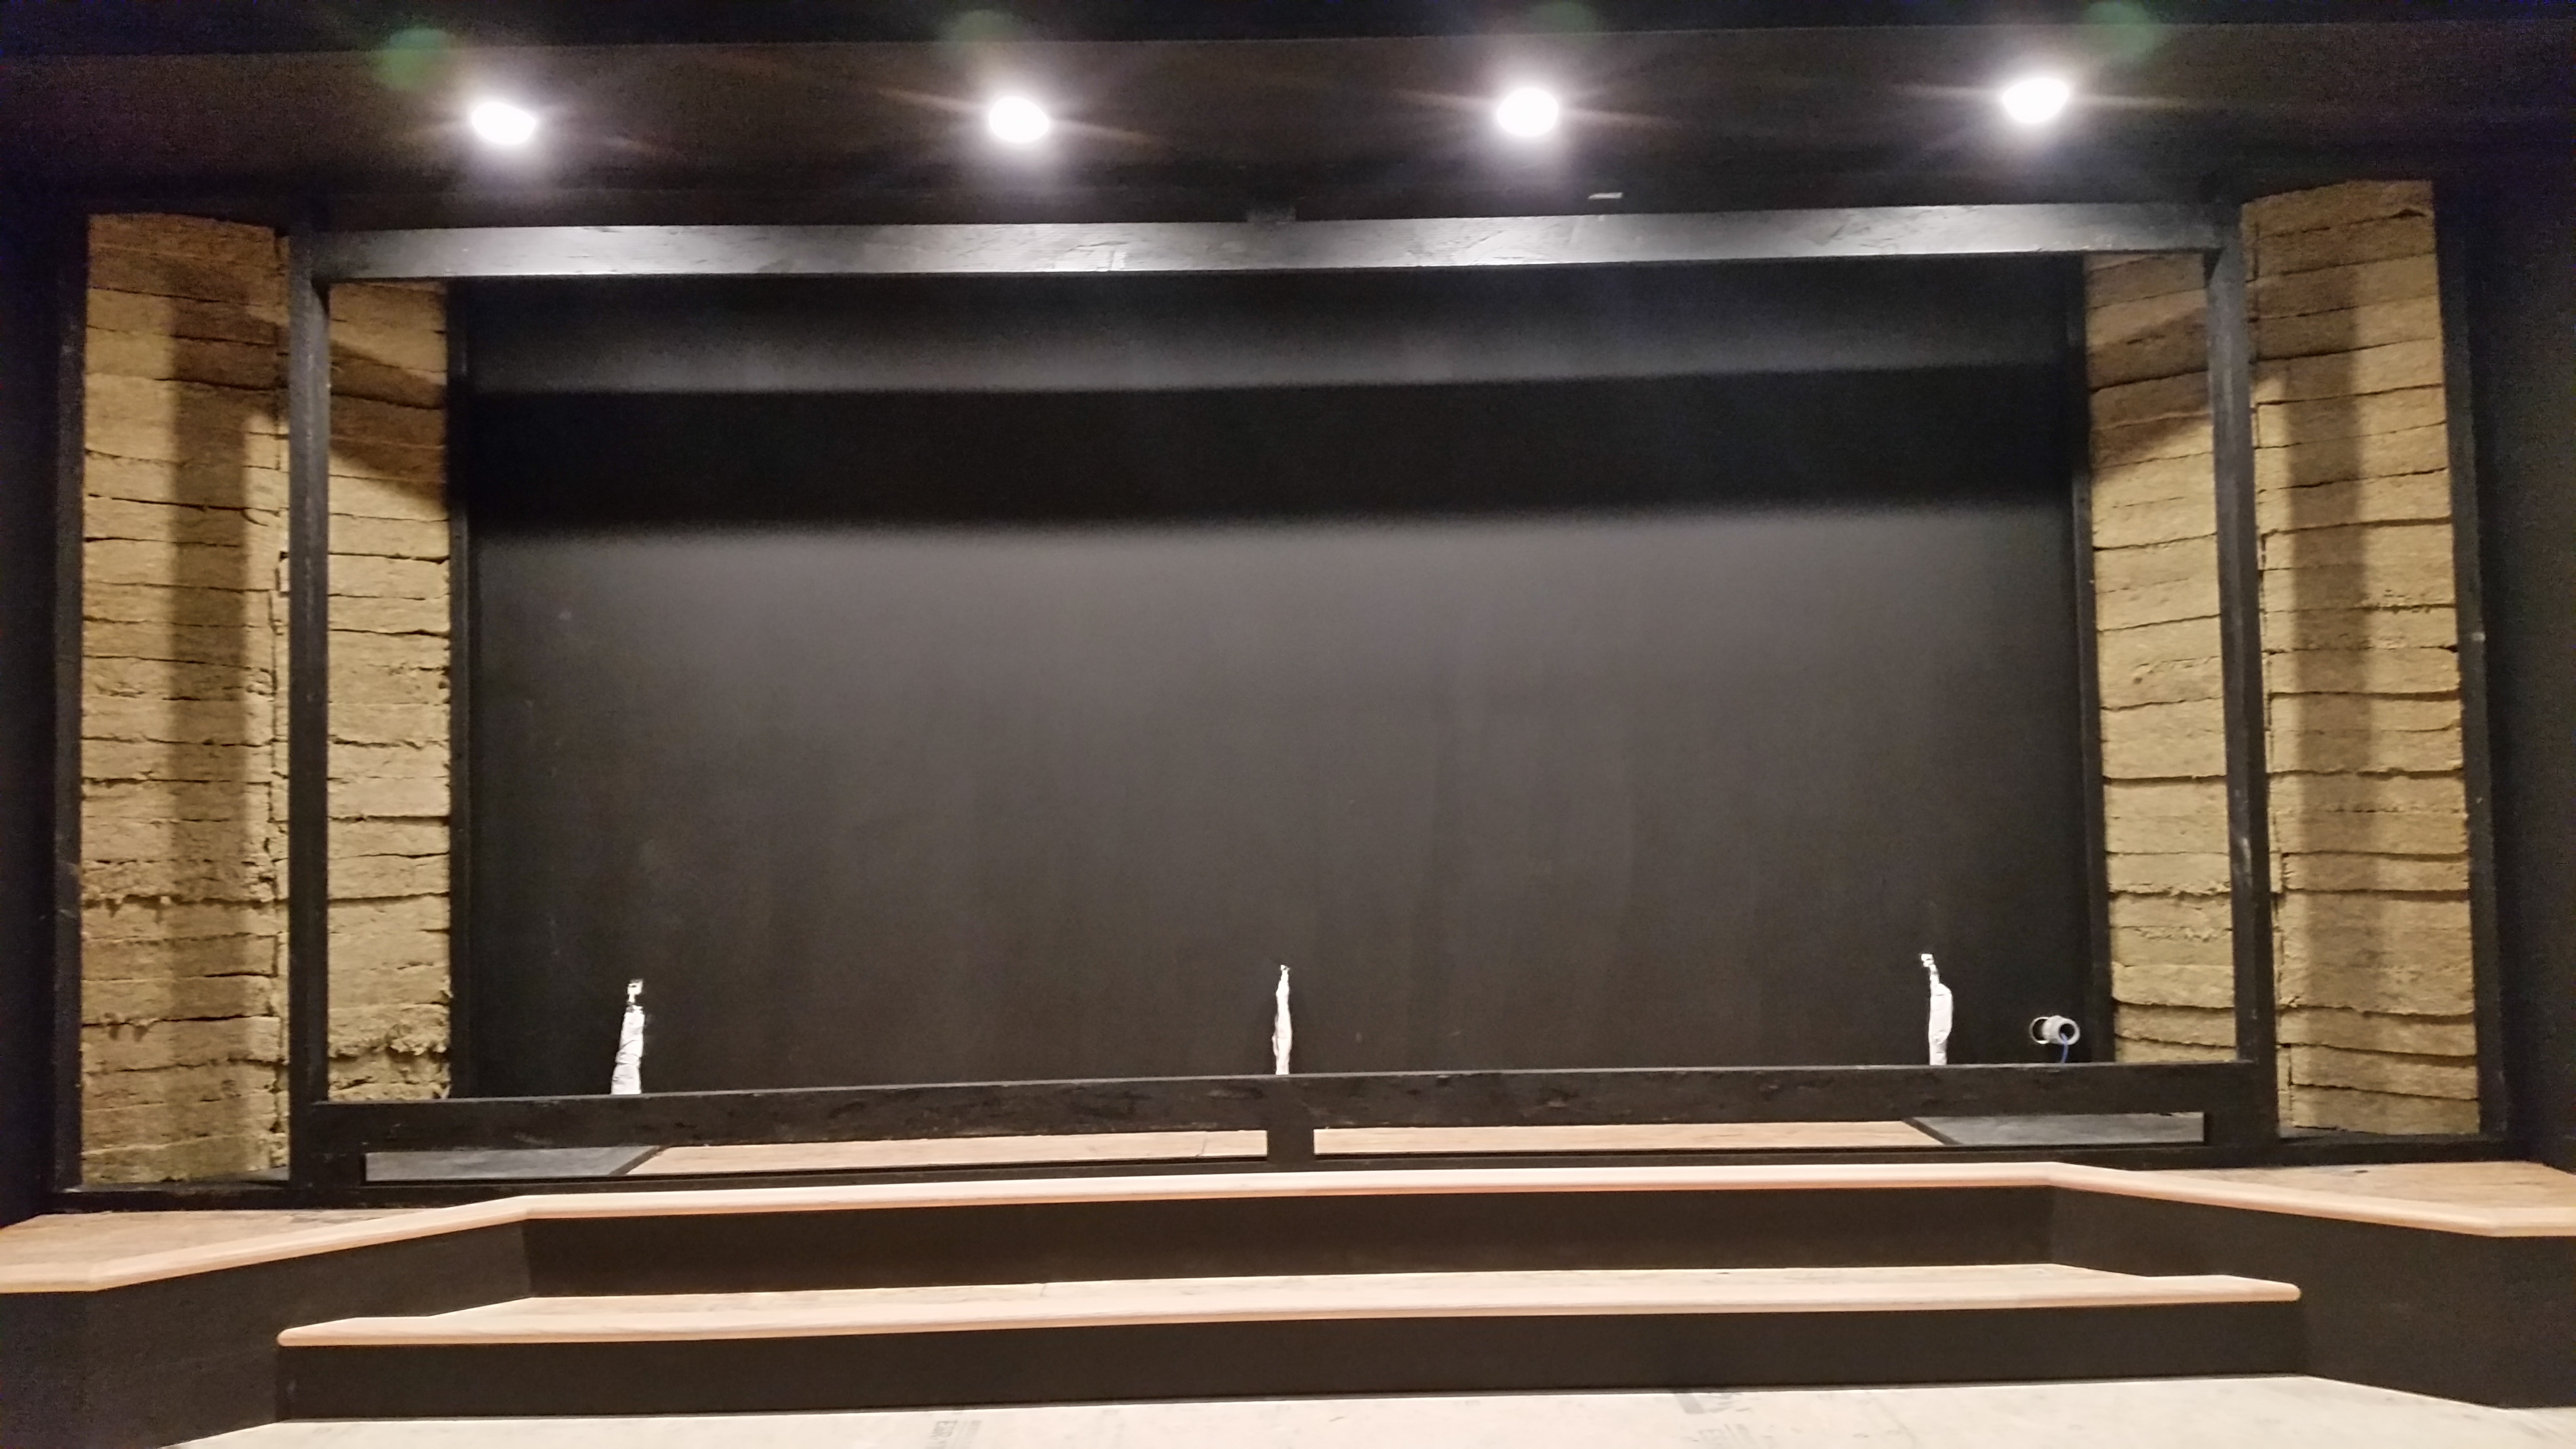
Bass Traps
Once you have all of the Safe N Sound put in, your stage should look like this.
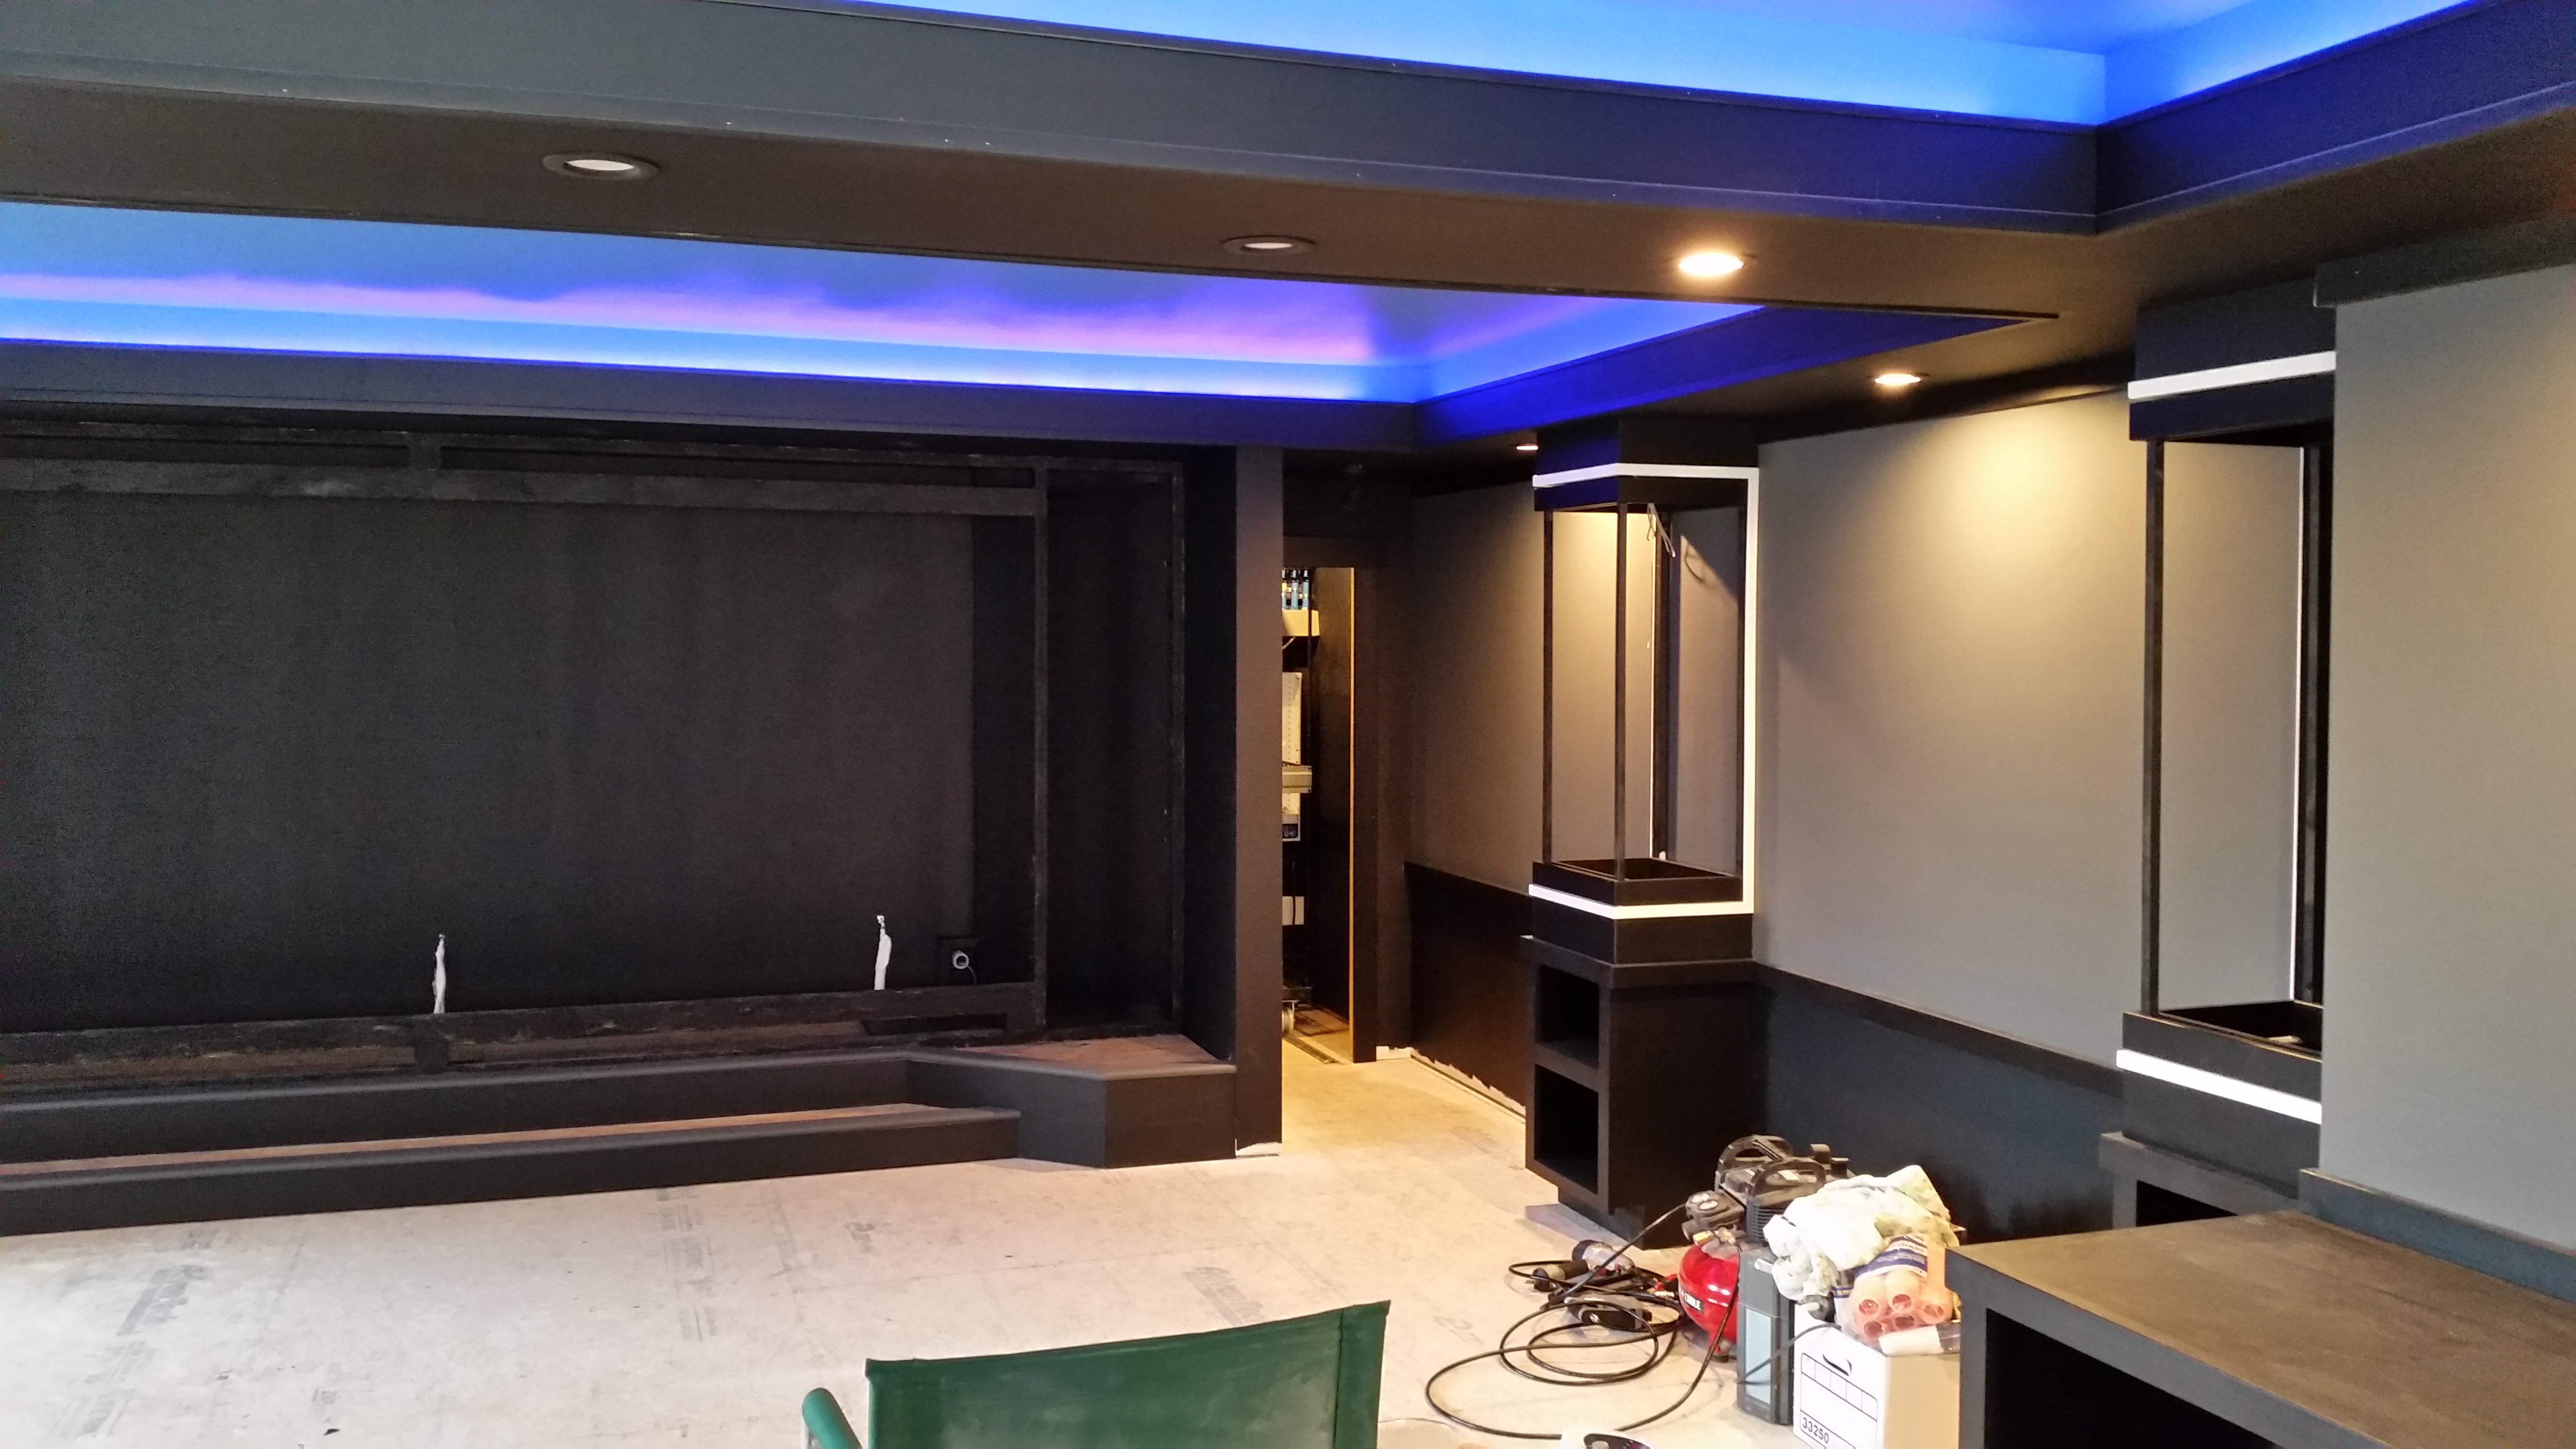
Bass Trap Covers
You don't want to leave the Roxul exposed. You need to cover it with some acoustically transparent fabric. I bought some speaker fabric from Joanne's Fabric and covered the Roxul by stapling the fabric to some trim broads that I mounted on each side of the bass traps.
Acoustical Panels
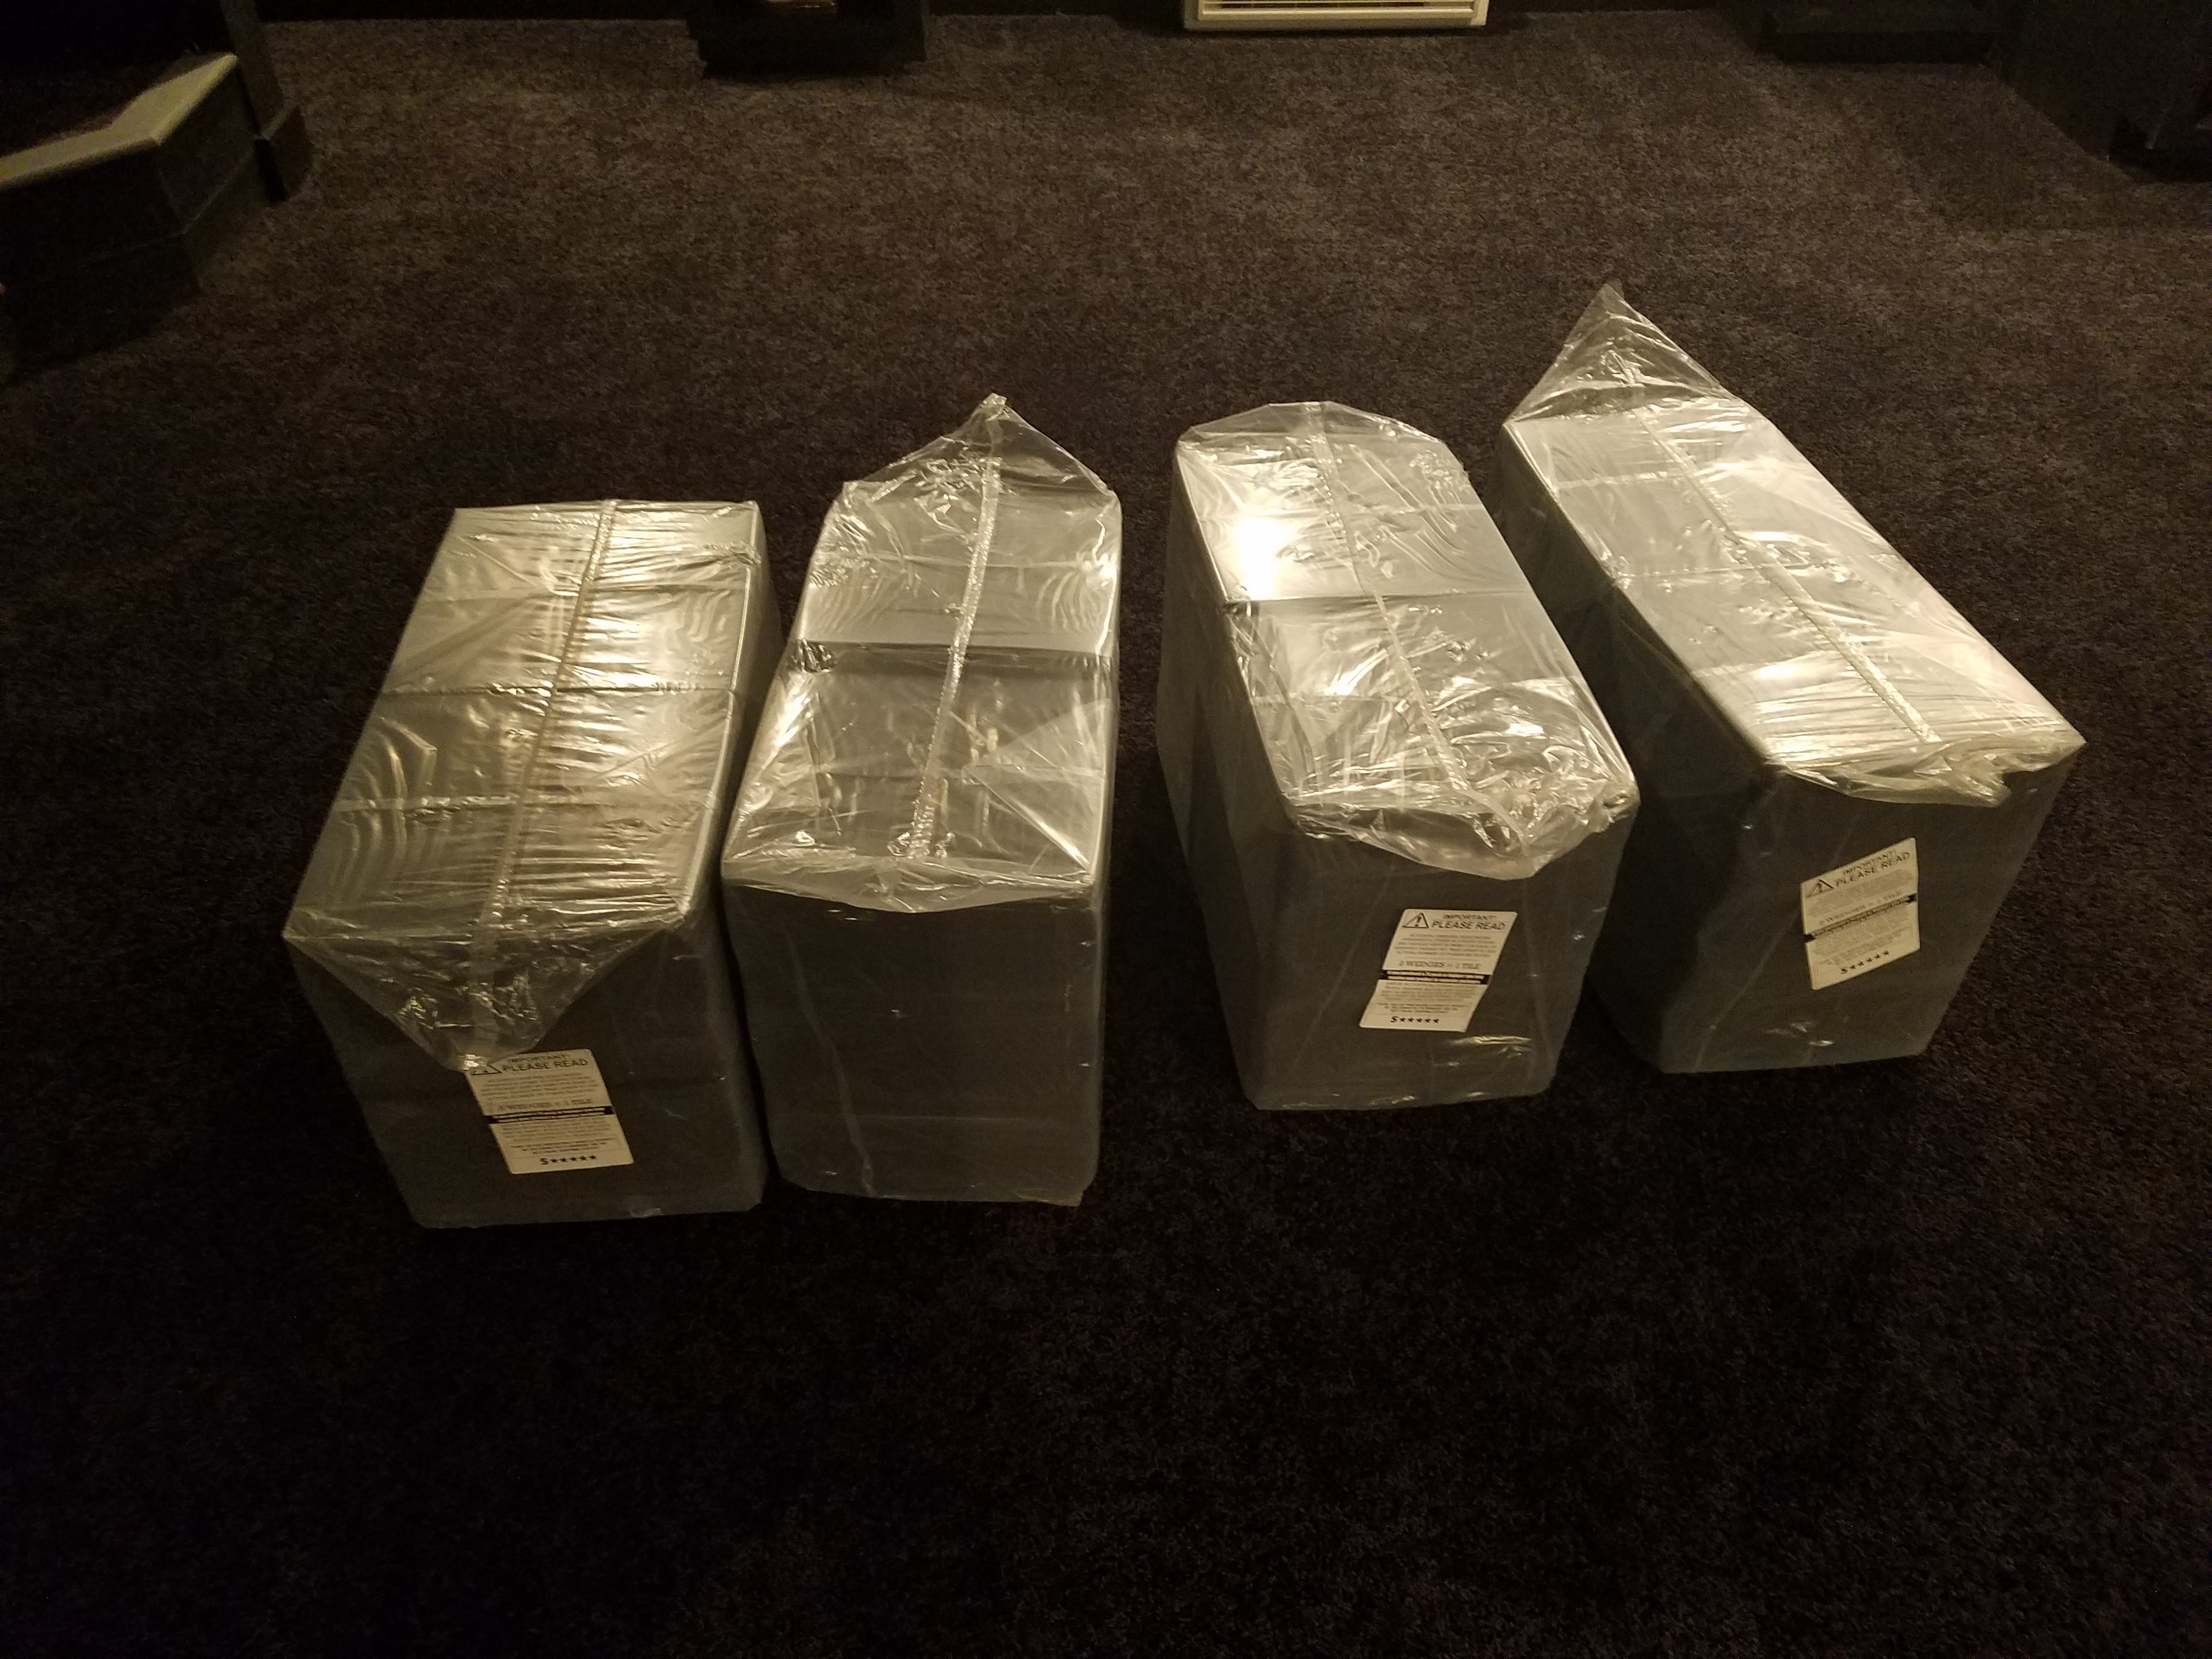
12" x 12" Acoustic Panels
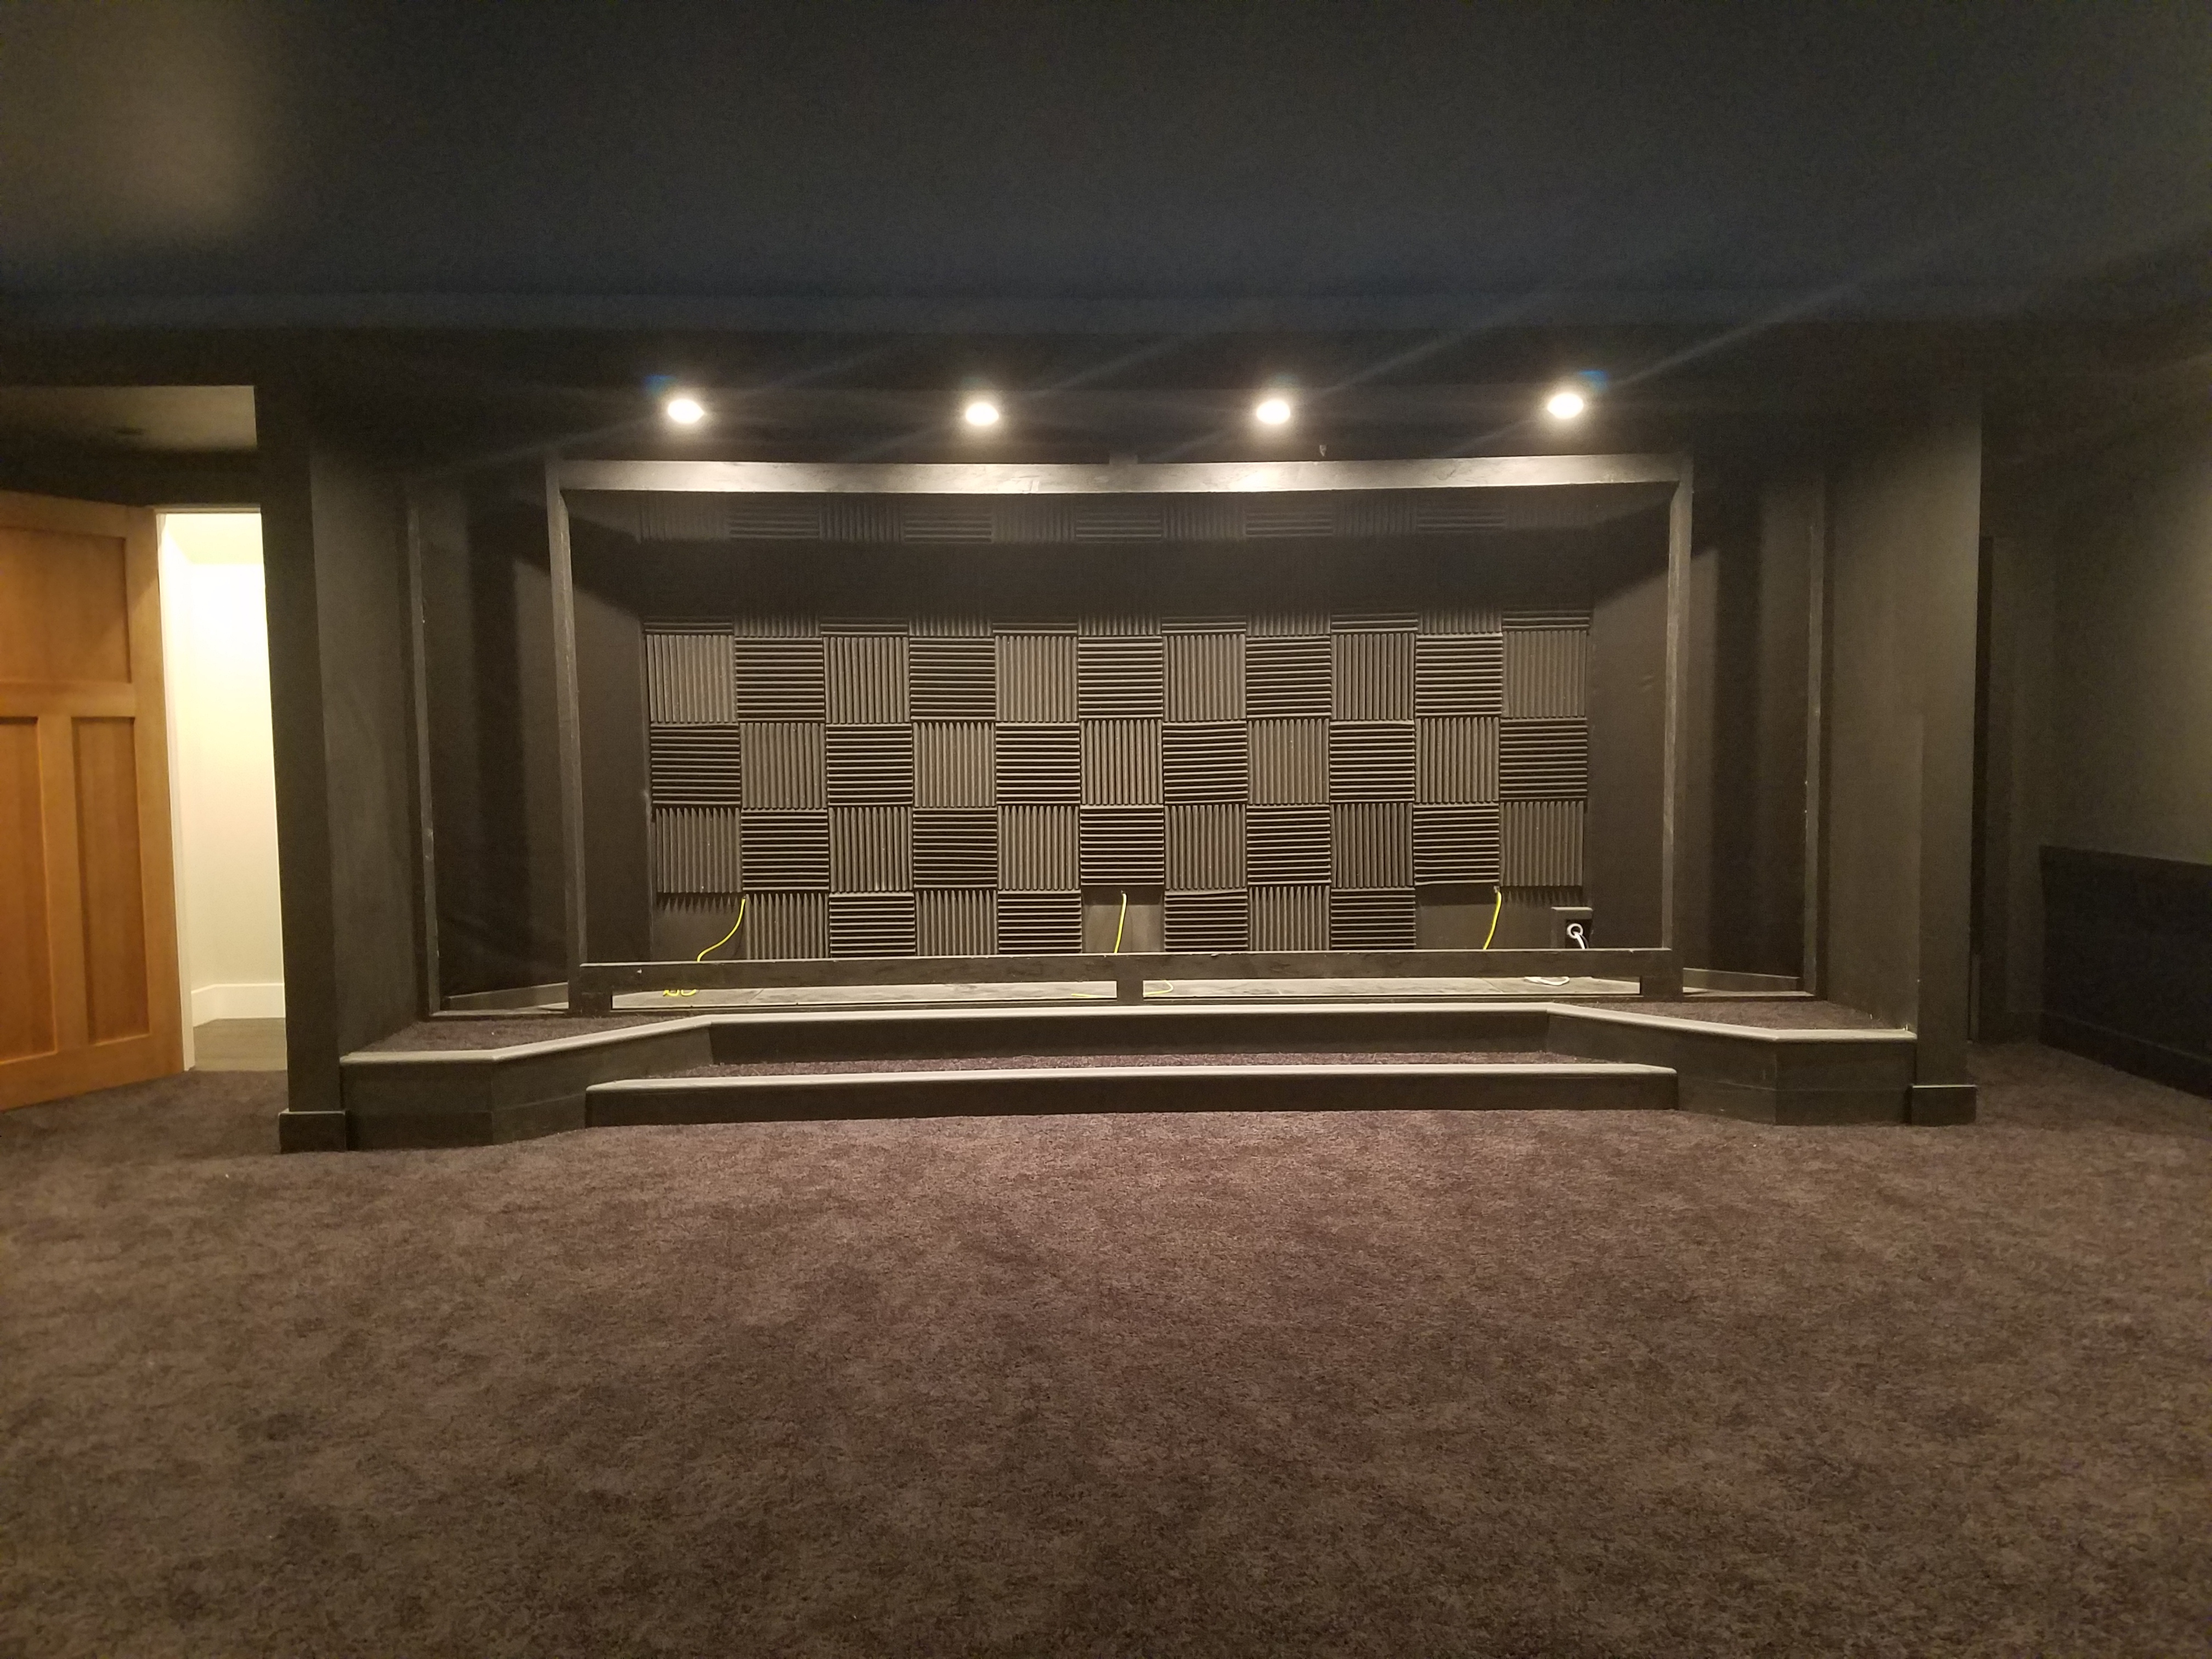
Acoustic Panels Installed On Back Stage Wall
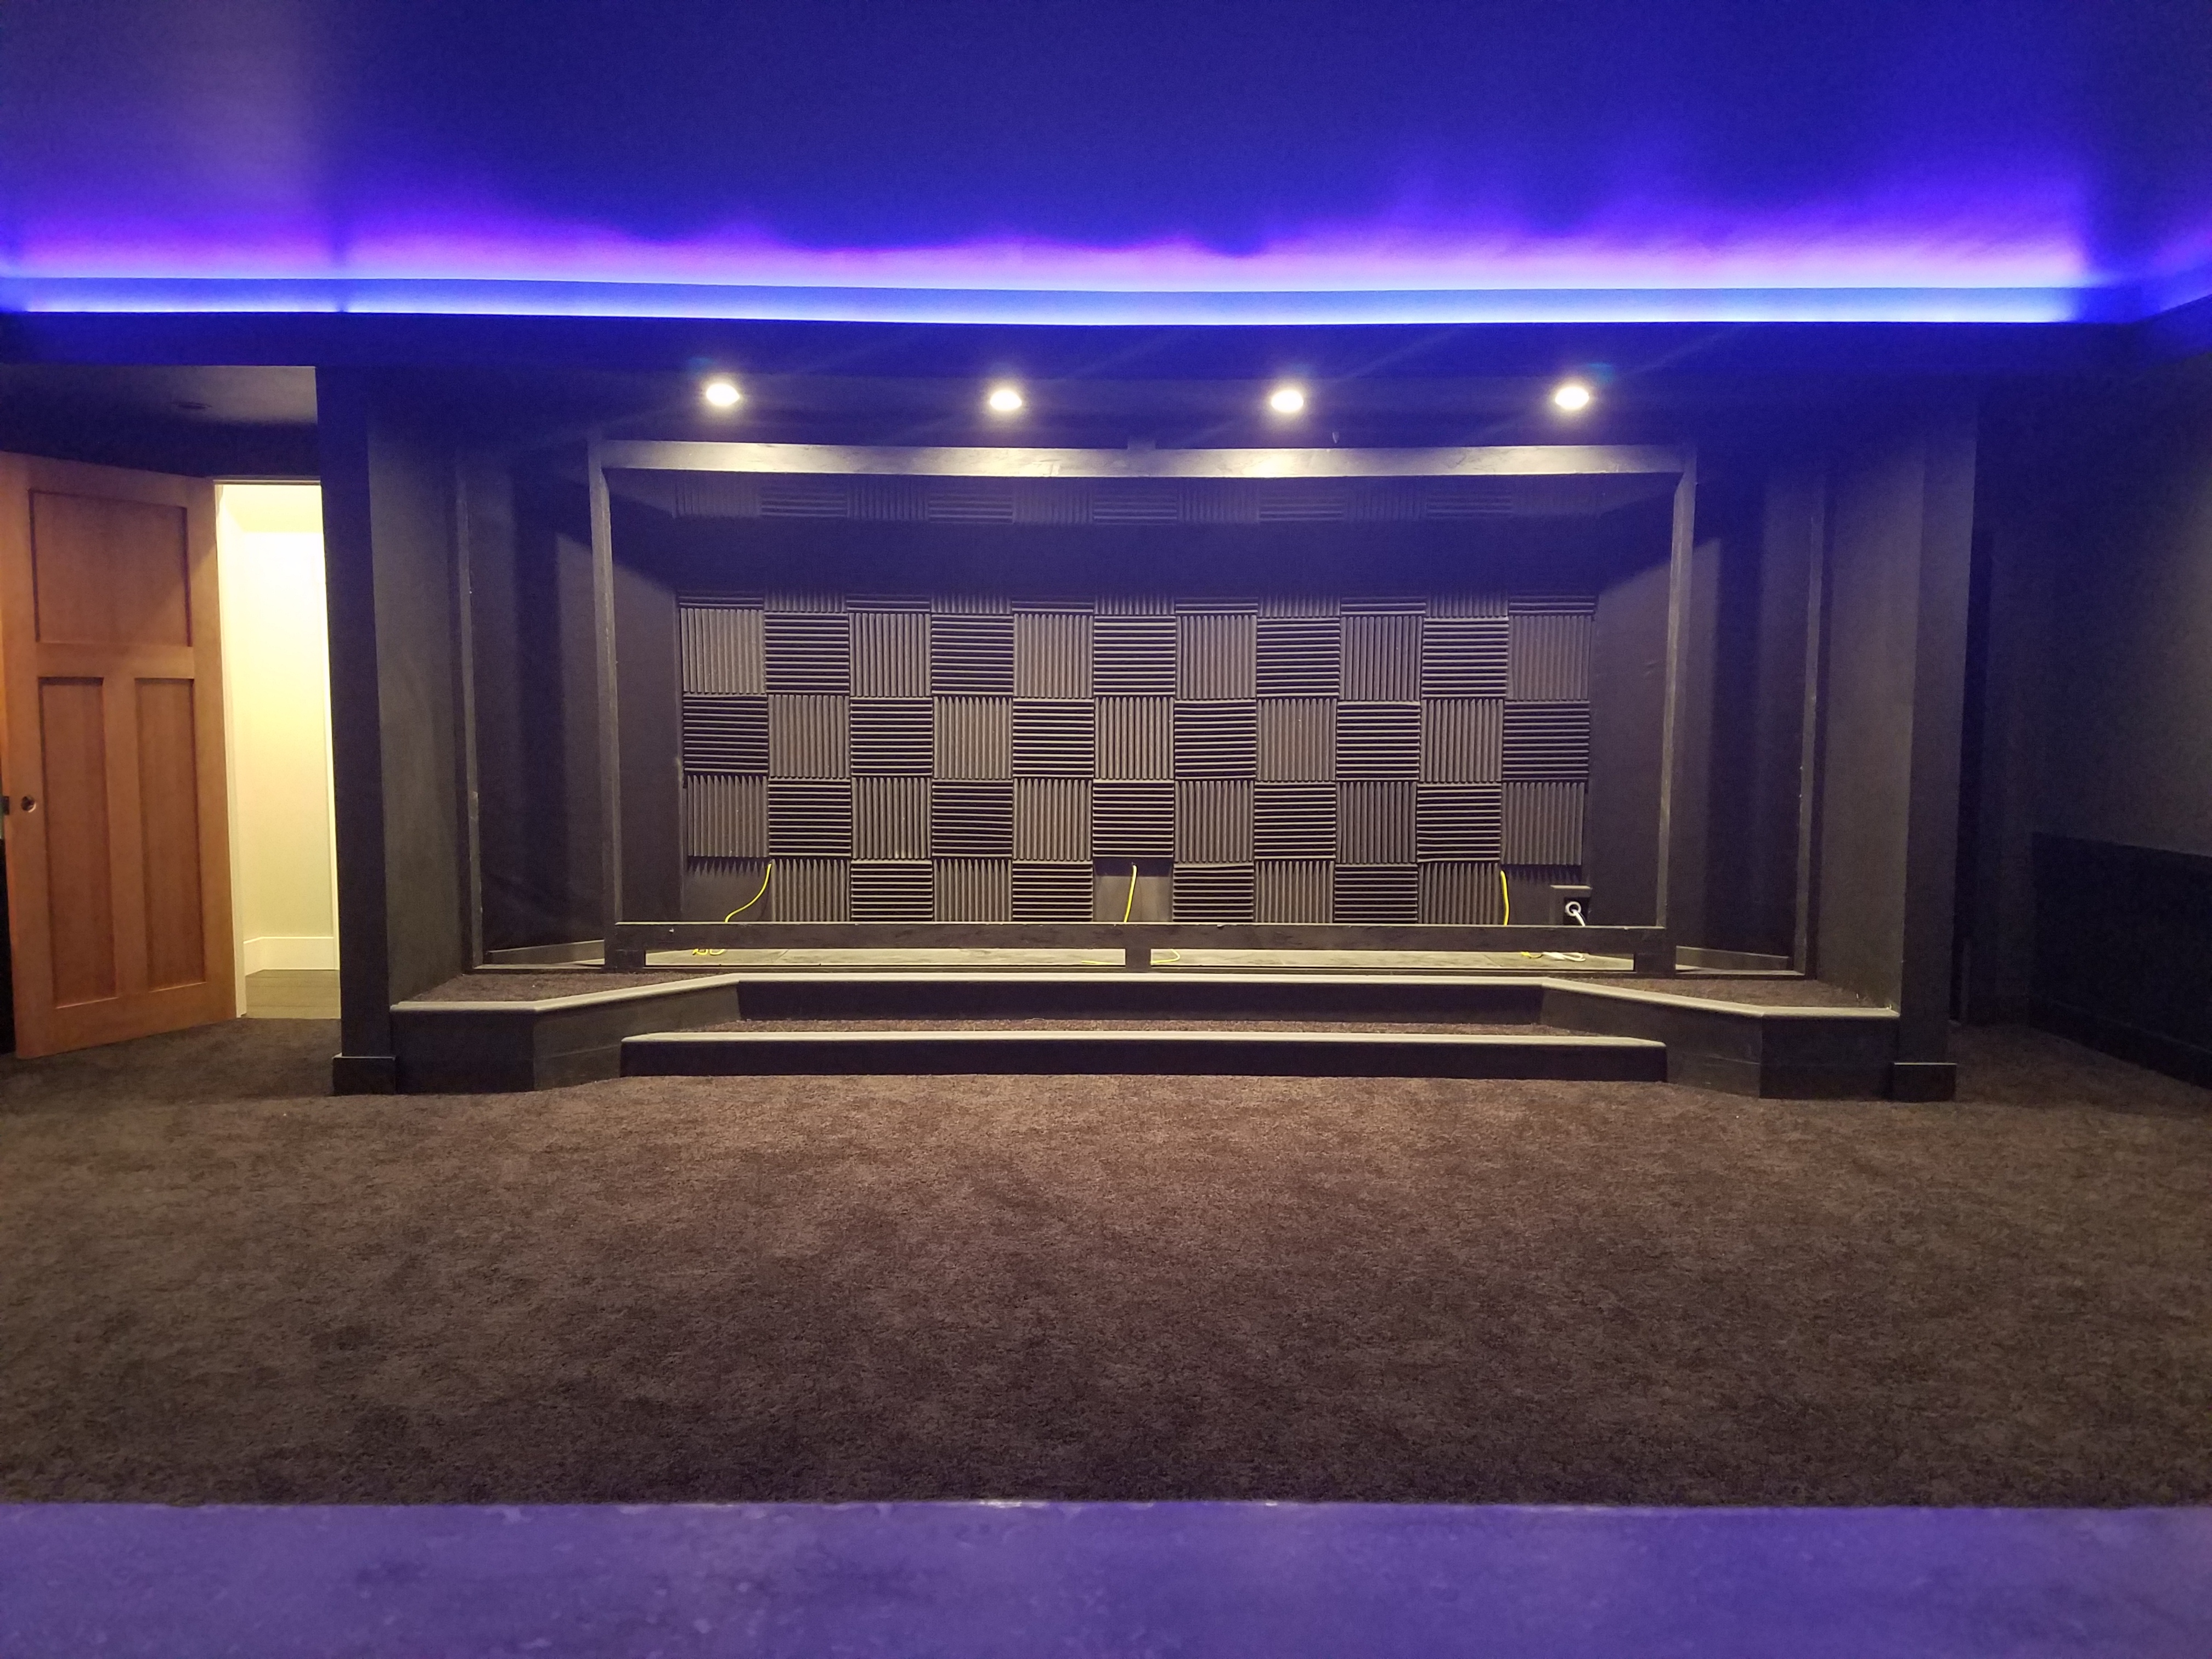
Acoustic Panel Installed on Back Stage Wall
Now it's time to install acoustic panels on the back wall of the stage. You want to kill as many of the reflections coming from that wall as you can.
I used 3M Spray Adhesive to attach them to the wall but found that many of them started coming off after a while, so I ended up putting finish nails through them as well. Since doing that none of them have come off.
Finishing It Up Your Home Theater Stage
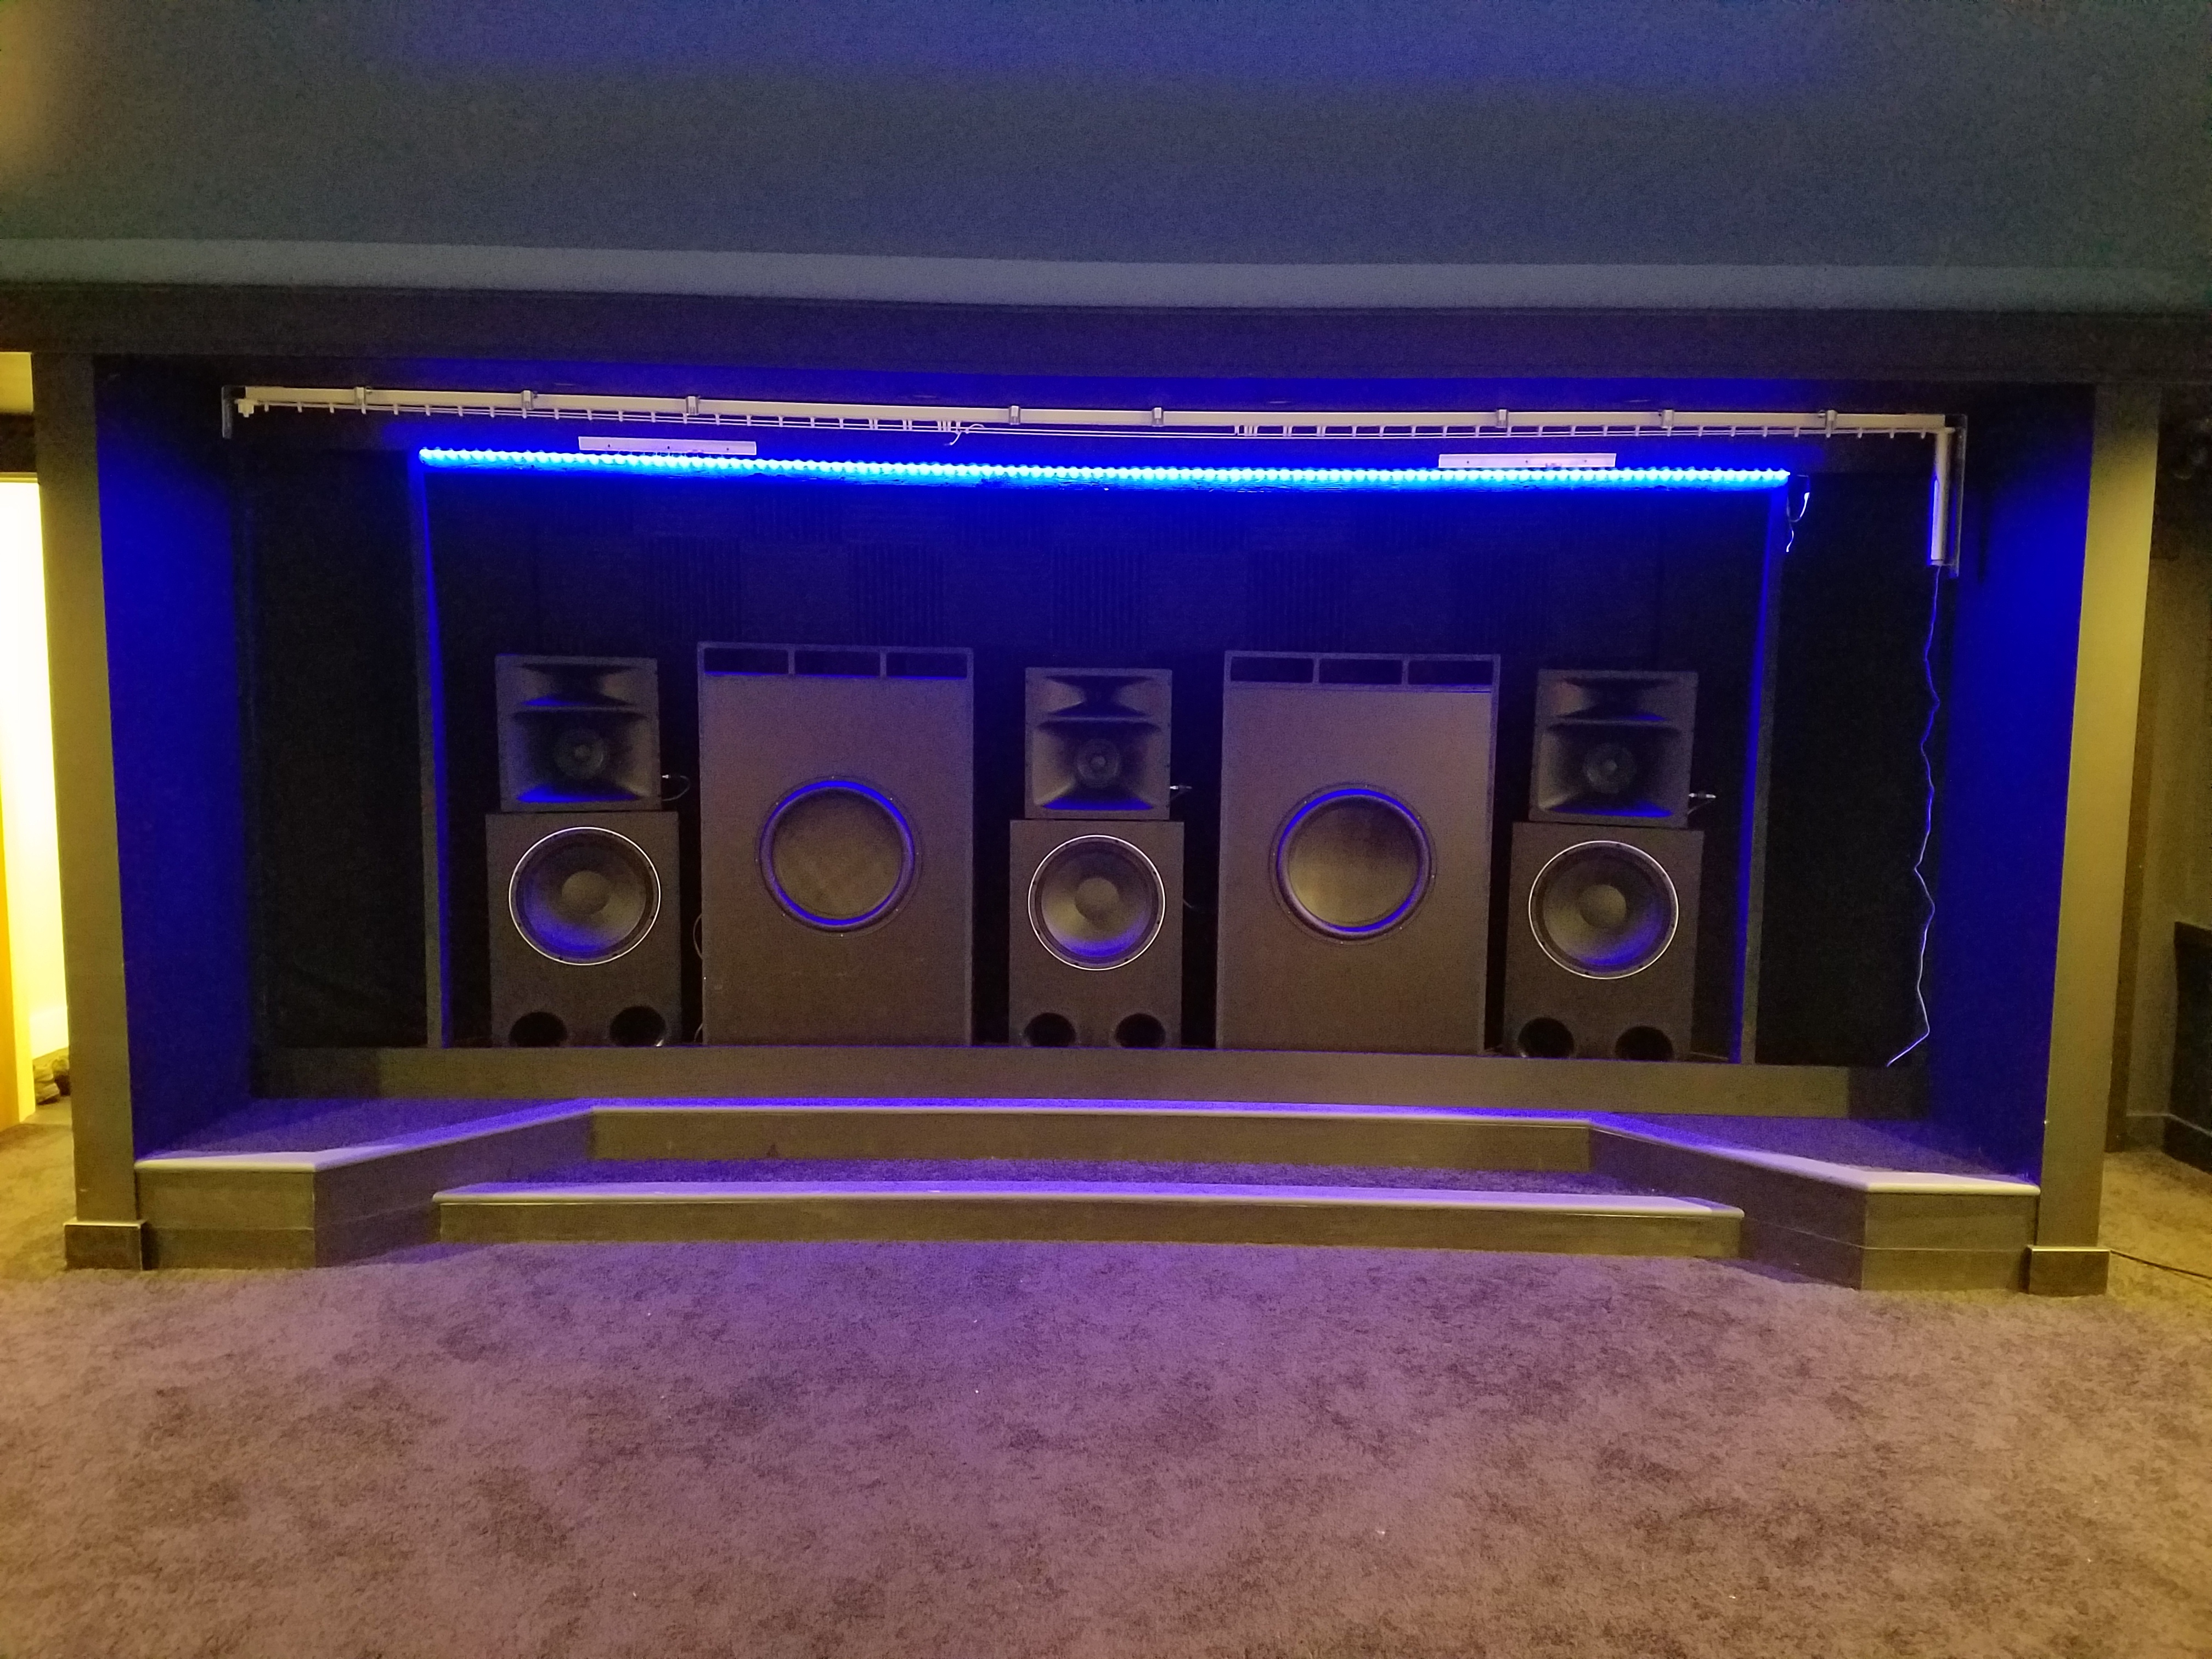
Home Theater Stage
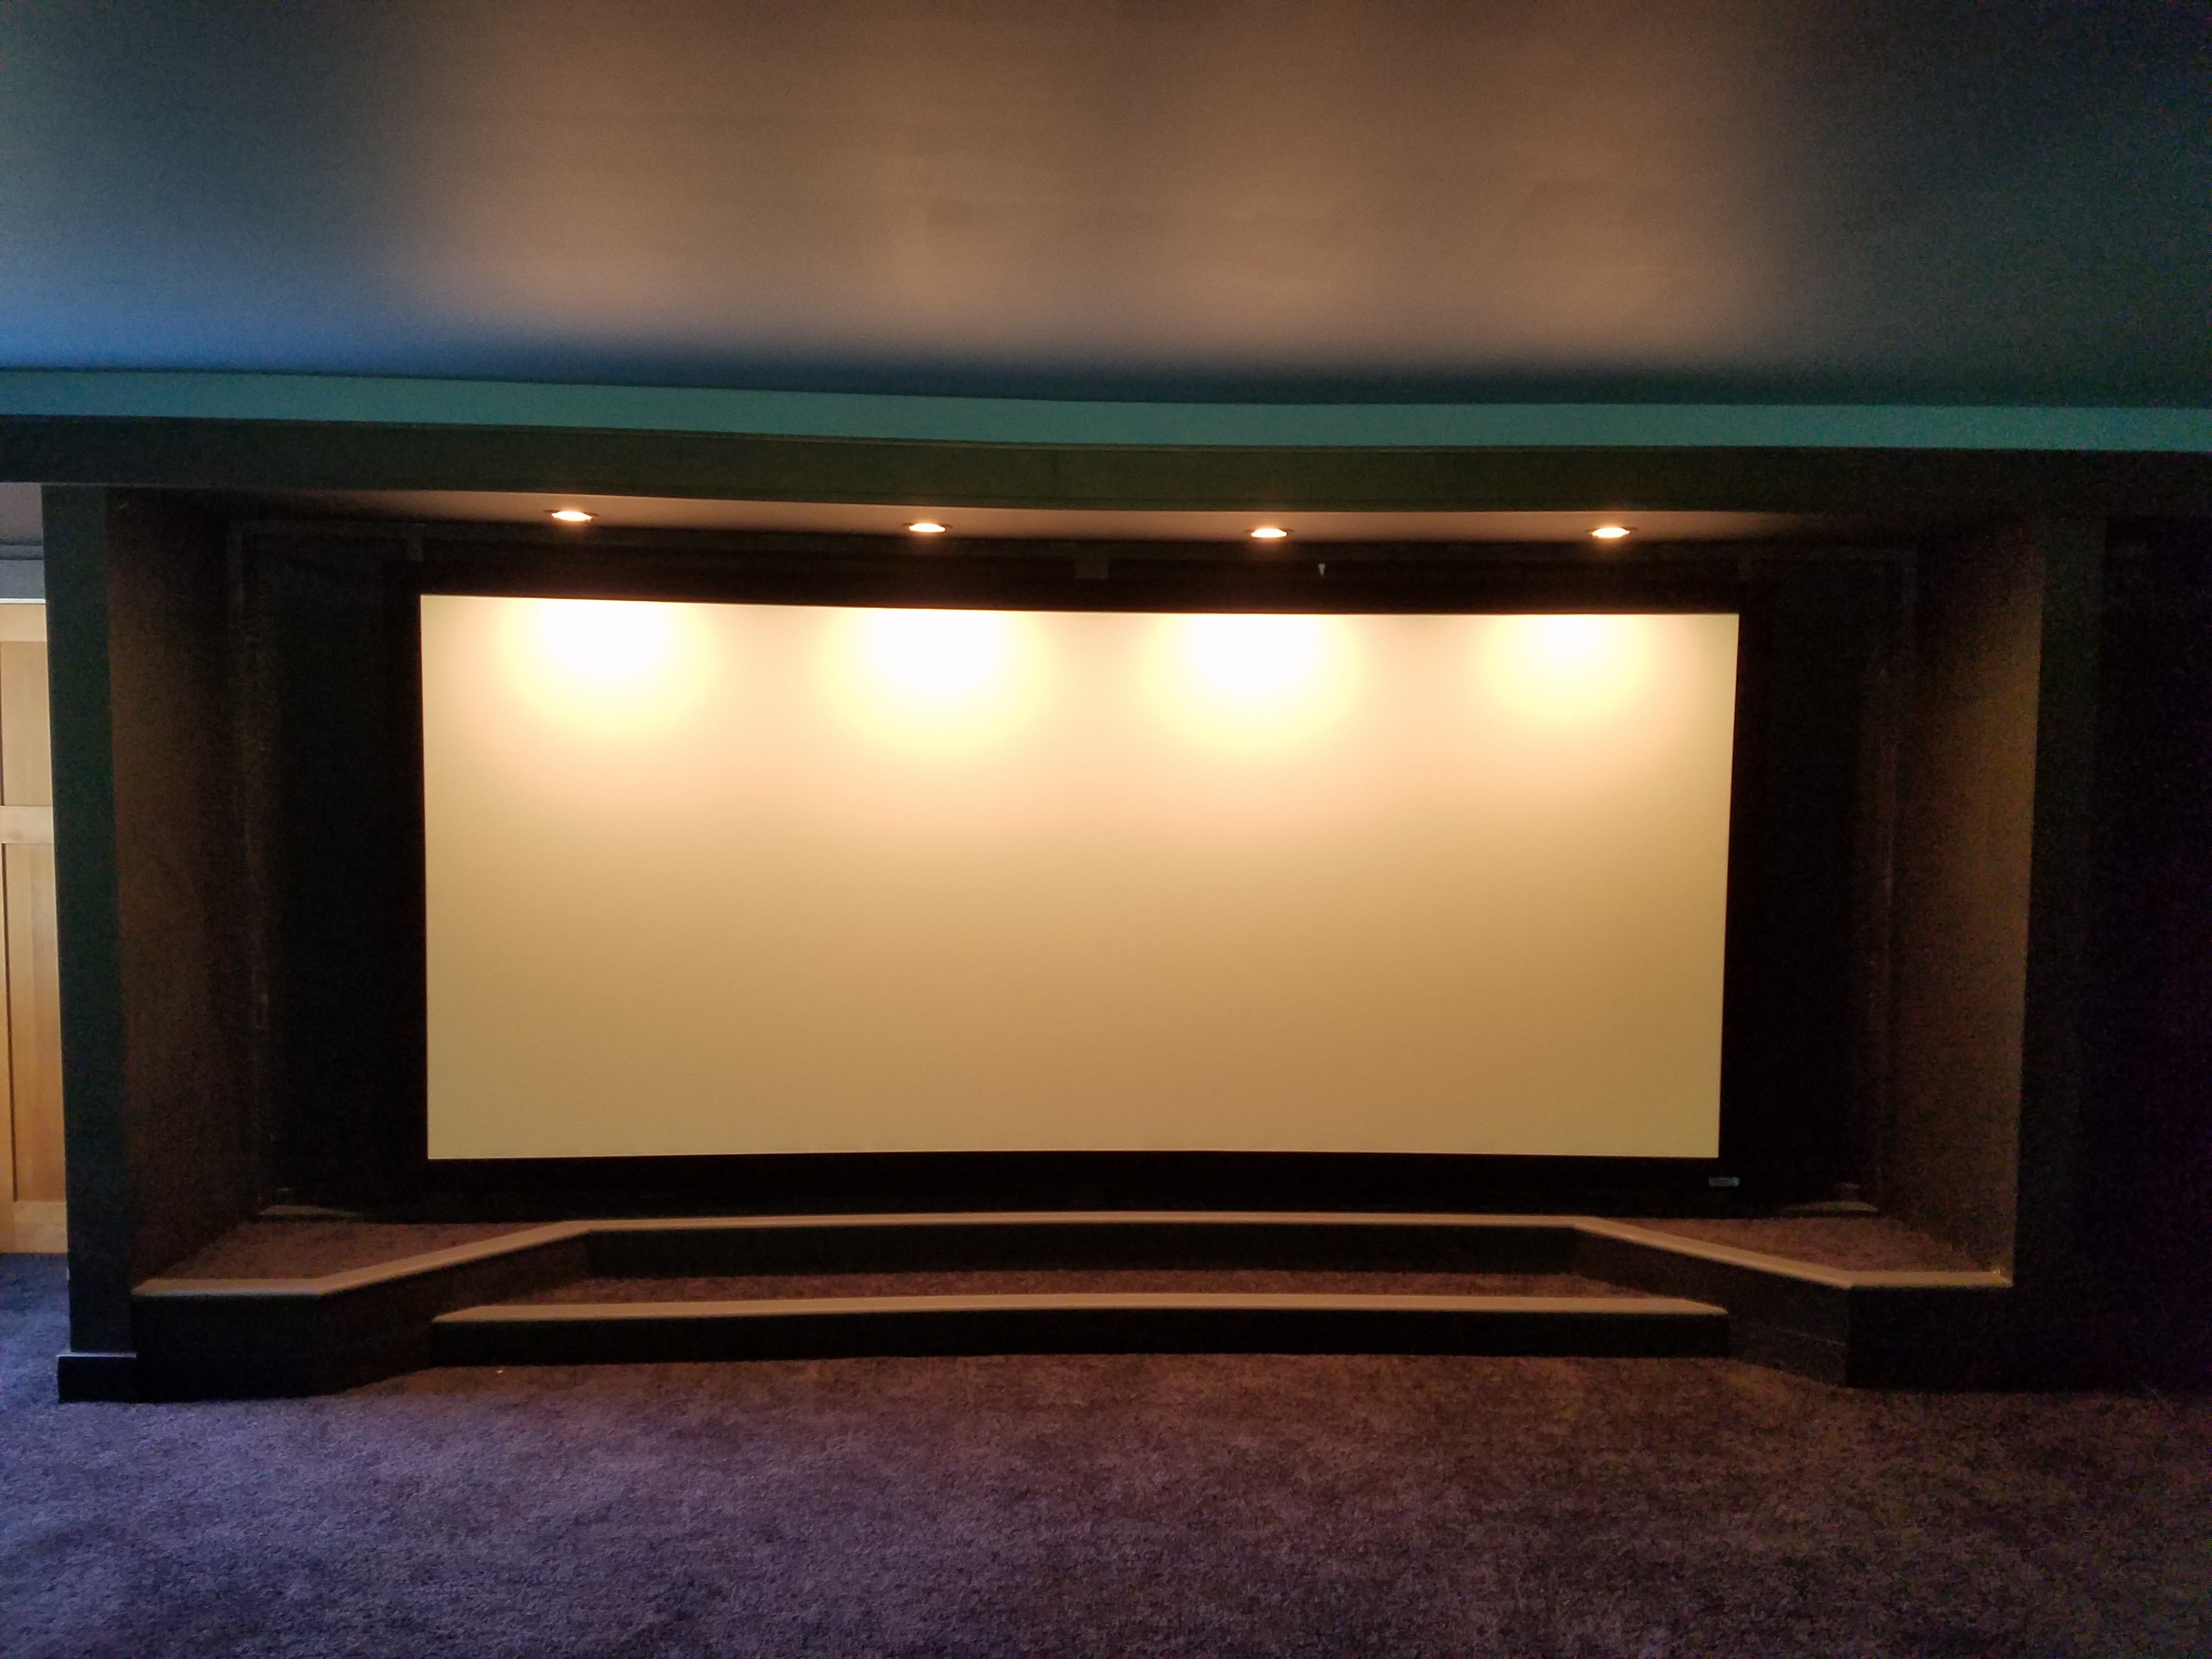
Screen
The final coats of paint and carpet inserts are all that is left. Fill in the step and the sides of the stage with the same carpet that you use for the floor covering in your theater. This gives it a nice clean look.
If you paint the bullnose, use a slightly different color for a little contrast. You should use flat paint in these areas as you don't want any light reflections from your projector.
Now it is time to load up your stage with speakers and add a screen and enjoy it. Make sure that you have the additional layer of rubber mat down. To add yet another layer of isolation, I took scraps, cut out small squares and used those to set the speakers on.
Conclusion
This setup has worked very well for me. I can play the speakers and subs you see in the picture above at pretty high levels without getting any complaints from my family in other parts of the house. The walls of the home theater are 6" and are insulated. They have a layer of 1/2" OSB and a layer of 1/2"drywall. I didn't use any isolation clips, acoustic glue between double layers of drywall or any hat channel.
So, if you are building your home theater stage on a second or third floor and can't load it with sand, don't worry. There is still an effective way to build a stage and isolate sound.

