
Learn how to build your own LED lighted handrail. The handrail is the perfect spot to put an LED lighting strip. A lighted handrail provides safety when walking up and down the stairs at night, it also adds a unique look that can be customized to match your room.
More...

LED Handrail
The LED Light Strip
When purchasing the LED light strip, make sure you get the one that is labeled waterproof. The waterproof LED strips are encapsulated in an epoxy, so they are smooth to the touch. Even though the LEDs will be tucked up under the back part of the handrail, your fingers could hit them. The LEDs on the strips that aren't labeled as waterproof are exposed and sharp.
The other thing to be sure of is that you get the RGBW LED strips if you are interested in being able to change the color of the light.

LED Strip Lights
Here is the light strip used in the picture above.
Installing the LED Light Strip
Remove the handrail
Remove your handrail if you don't have easy access to the back part of the handrail. The LED light strip will be installed on the back part as shown in the picture below.
Measuring and Cutting
Before installing the LED strip, you need to figure out how long of a piece you need. Measure your handrail with a tape measure. Leave a few inches on both sides so that it can't be seen from the end and so that there is room for the connector.
If your handrail is over 16 feet long, you may want to just center the 16 foot LED strip on the handrail. Trying to connect two pieces of LED light strip together on the handrail, will create a joint that will likely get hit while people are running their hands up and down the rail.
Using the measurement from above, unroll the LED light strip from the wheel and measure out the amount of light strip that you need. You will notice that there are marks on the LED strip where you can cut it. Using a pair of scissors, cut the strip at mark nearest to the length you need.

Attaching the LED Strip
How you attach the LED strip to your handrail depends on what your handrail is made of. The one in the picture above was made from poplar and painted with semi-gloss black paint, so I was able to use the adhesive on the back of the LED light strip and some carefully placed staples.
If your handrail is made out of hardwood, you will not be able to put staples into it very easily. If it has a high-gloss finish, the adhesive on the back may hold it just fine. However, if it isn't painted with a gloss paint or has a rough finish, you may want to add some additional fasteners to help hold it on. Just be careful what you use, that you don't puncture the LED.
As noted, the back of the LED light strip has an adhesive on it. That adhesive is covered with a protective cover. You need to pull the protective cover off the back as you work your way down the handrail. Do NOT try to remove the entire cover before installing, you will have a mess on your hands.

LED Adhesive

Handrail Cross Section
If your handrail is made of a softer wood, like poplar, you can use a staple gun to help hold the strip to the handrail. Again, be careful not to puncture the LED strip. I put a staple every foot and then took a hammer and gently tapped the edges down into the epoxy so that everything is smooth.

LED Handrail
Powering the LED Lighted Handrail
Before reattaching the handrail, you need to decide how you are going to power your lighted handrail. The connector on the end of the LED strip light will need to attach to the white controller box with the 5 pin connector. The power adapter also needs to plug into the controller.

LED RGBW Connector
If you have an outlet near your handrail, you can simply plug everything in and tuck it out of the way. You also have the option to install an outlet near your handrail, either by using an old work electrical box or a regular box if you have your walls open.
I like cleaner installs. Instead of installing a power outlet near my handrail and trying to figure out how to hide the controller and power adapter, I installed a network jack and used an RJ45 plug. This allowed me to run CAT6 cable to a different area of my house where it was easier to hide the controller and power adapter.

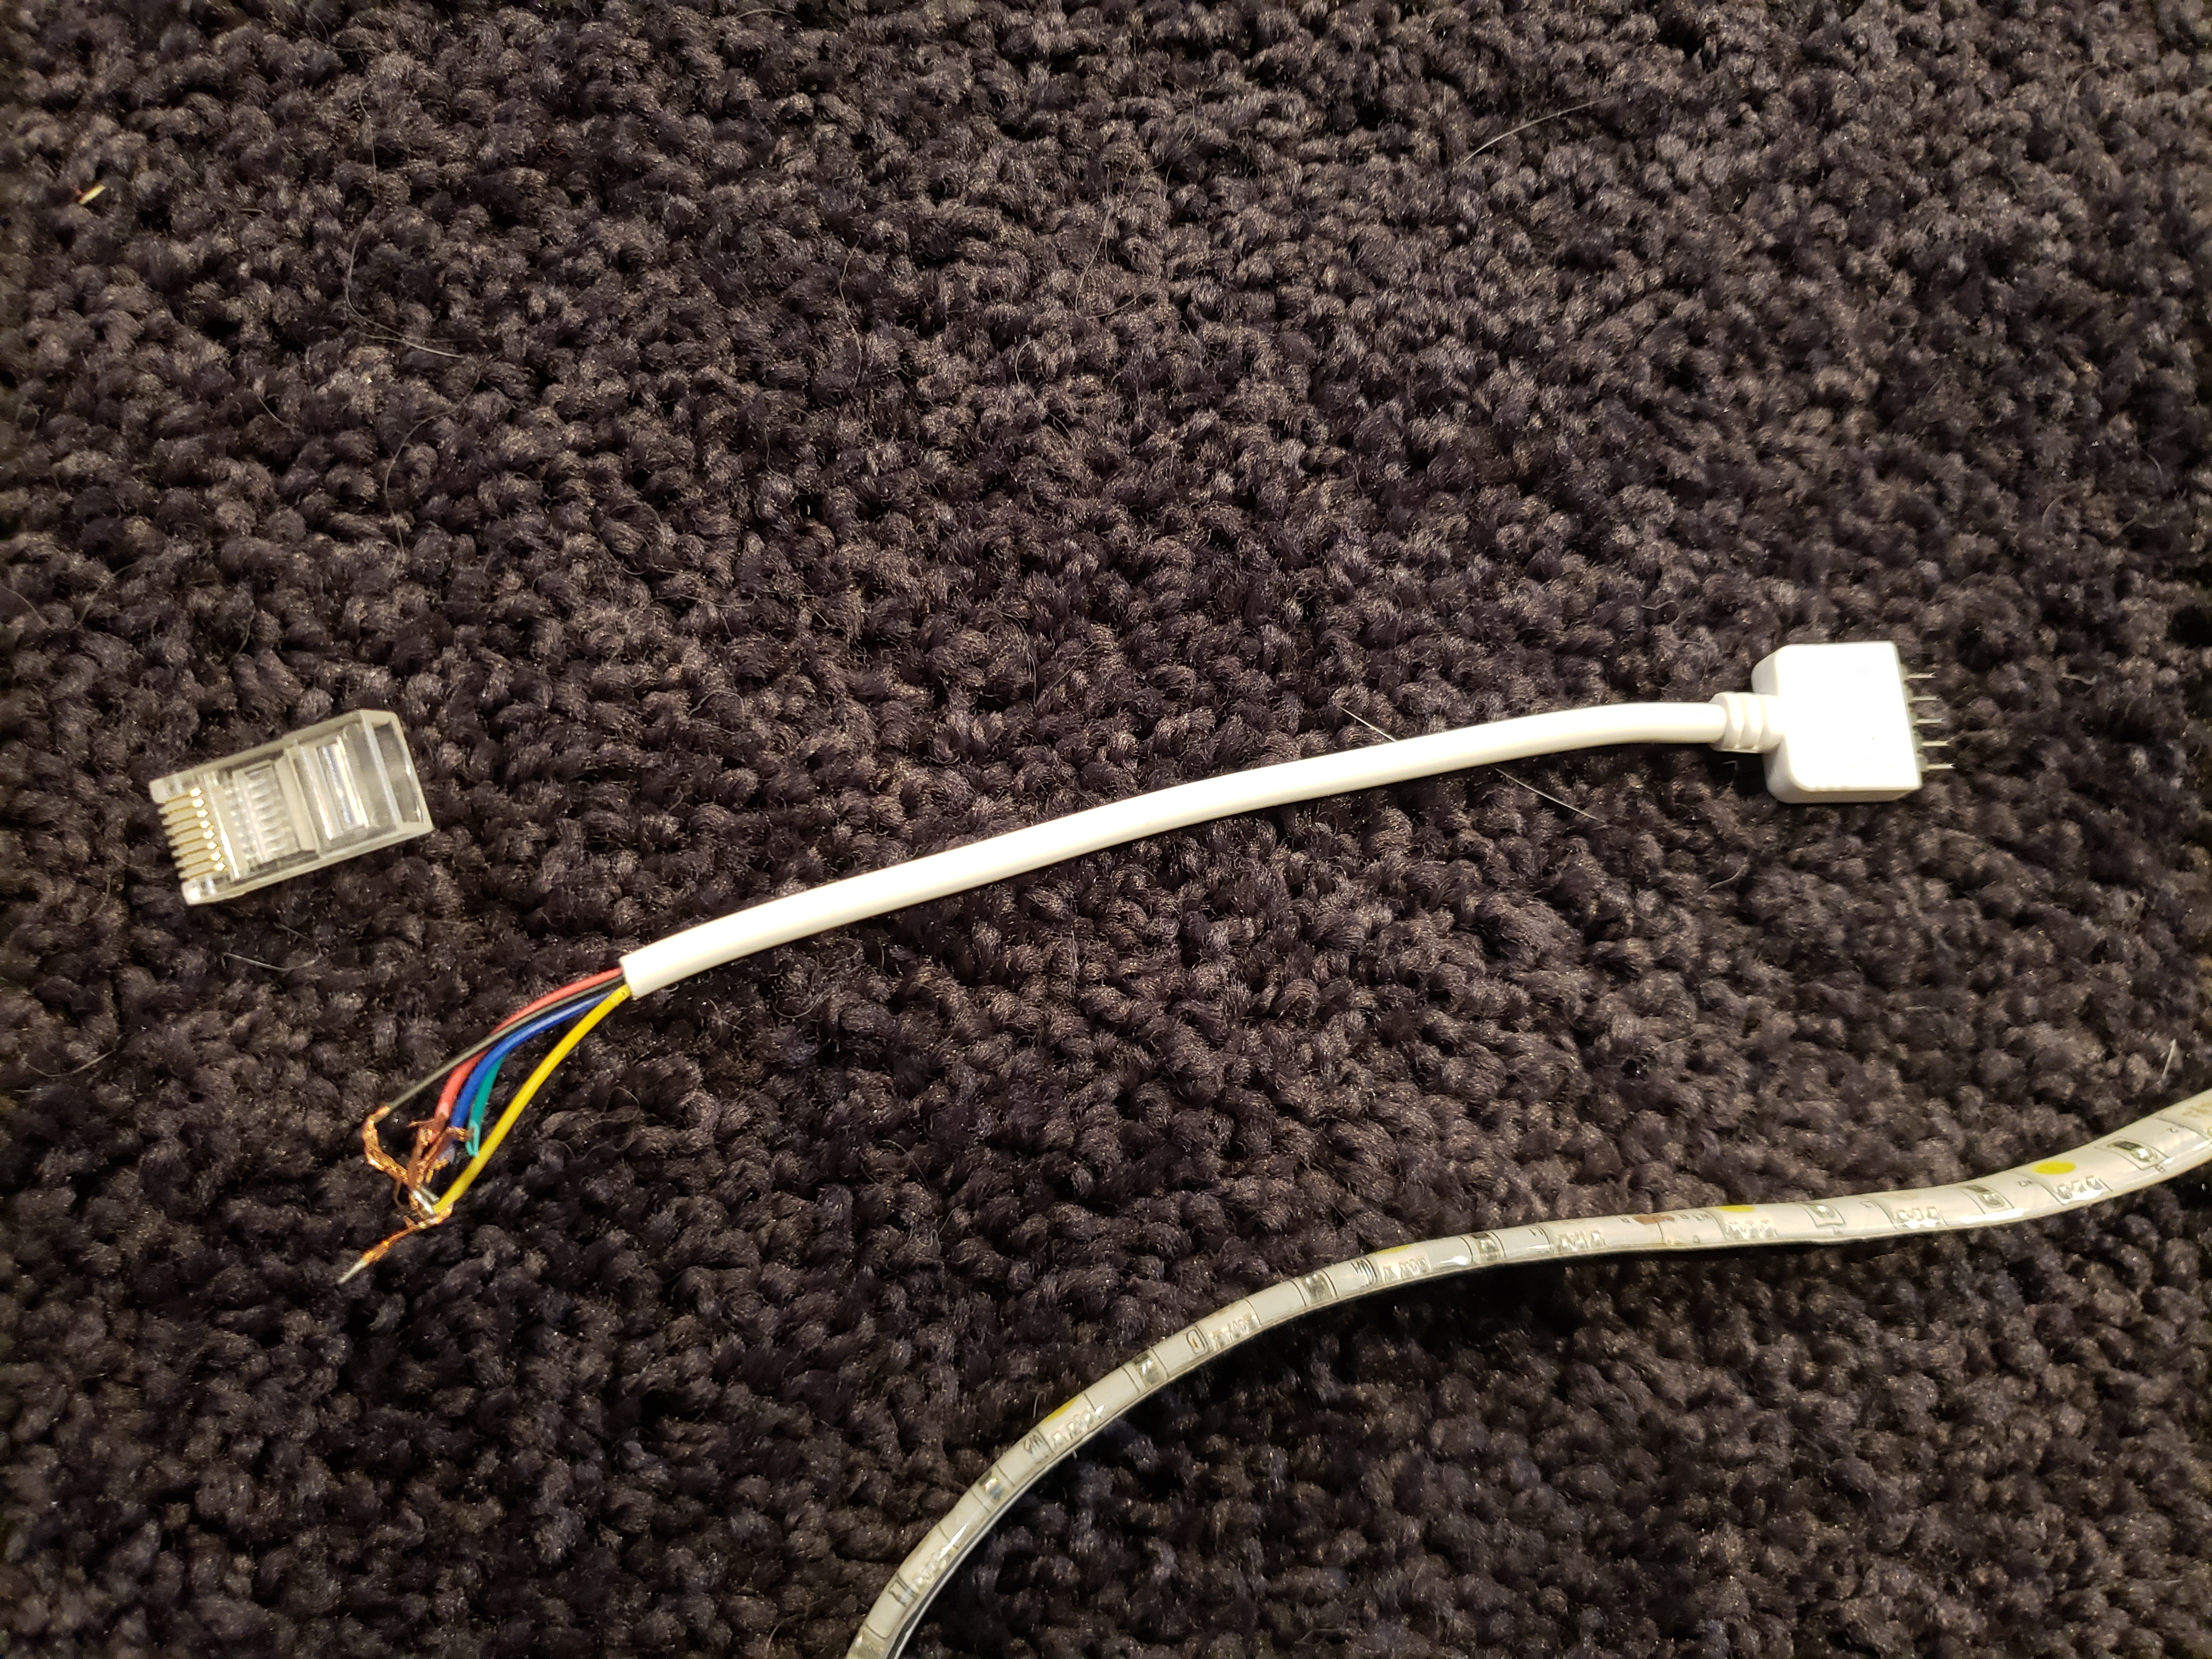
LED RJ45 Connector
I crimped an RJ45 network plug on the end of an LED RGBW connector using a crimp tool. Here are the parts and tools that you would need.

CAT6 Keystone

Faceplate

Low Voltage Ring

RGBW Cable

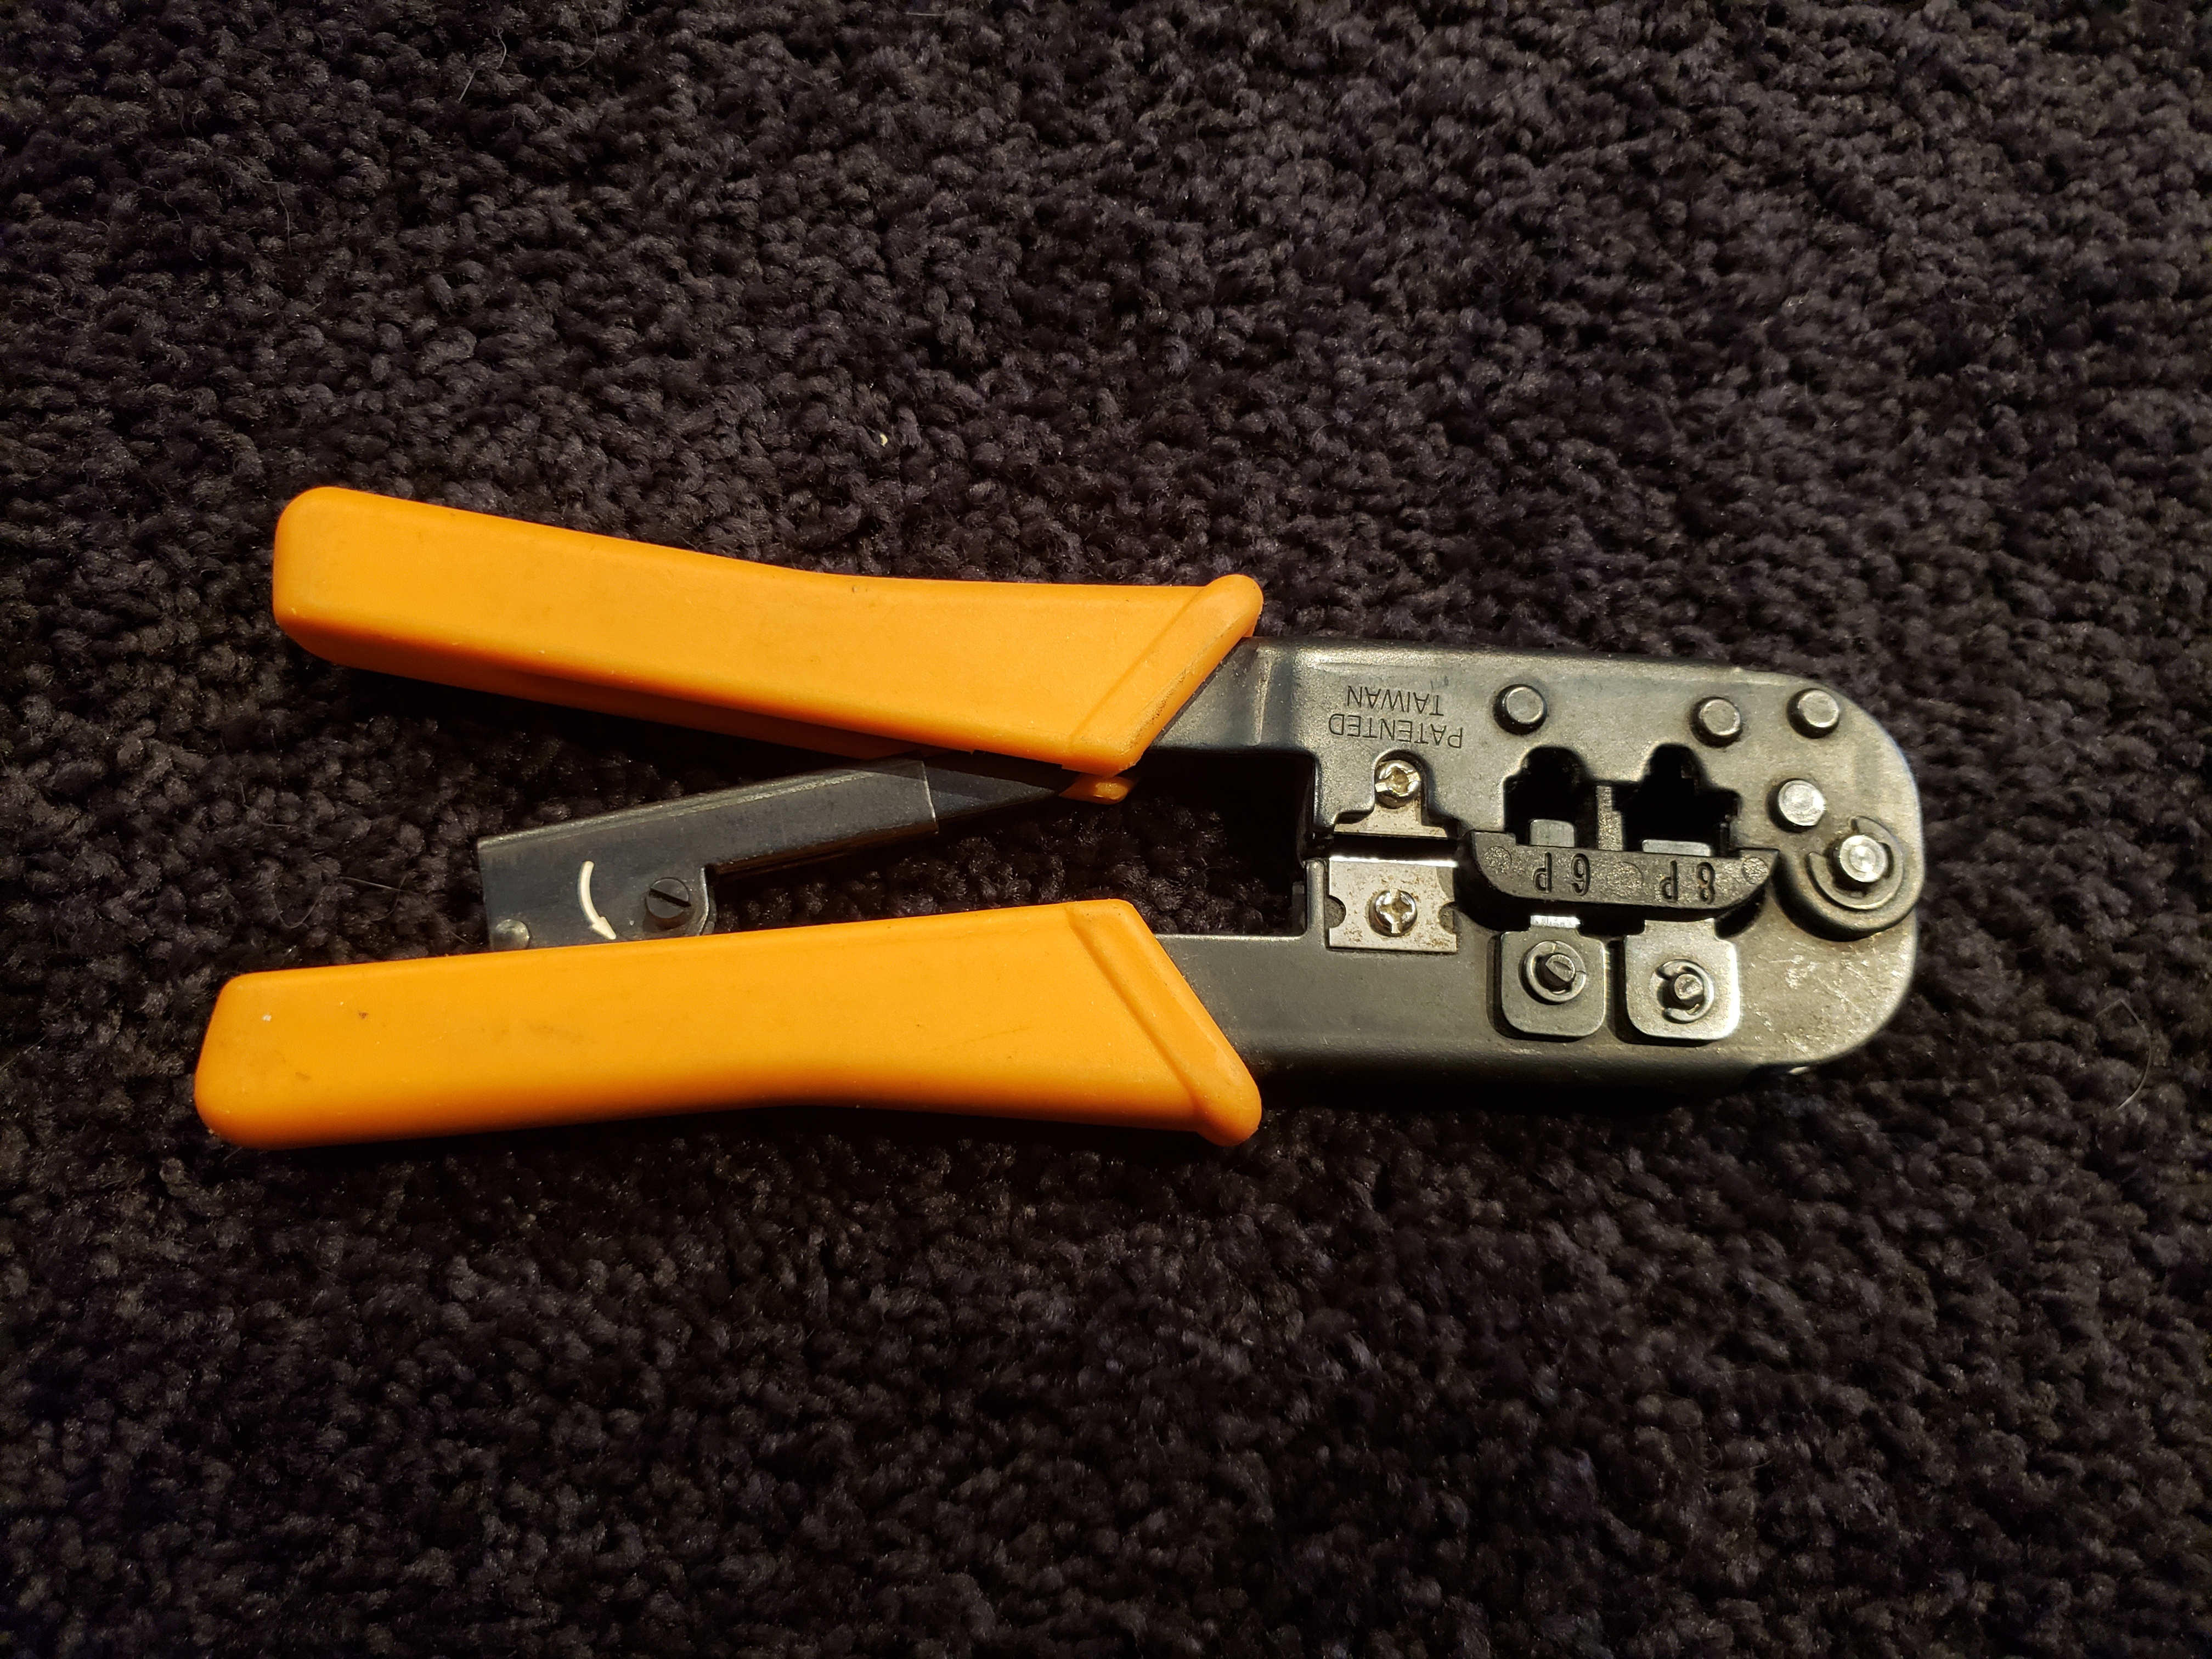
Crimp Tool

CAT6 Cable

CAT6 Plug

RGBW Amplifier (Optional)
I ran the CAT6 cable into my home theater wiring closet, since these are the stairs to my home theater. I also use an amplifier, because I use the same controller for the LED lights located in the soffits of my home theater.

Home Theater Soffit LEDs

LED Wiring

LED Controller
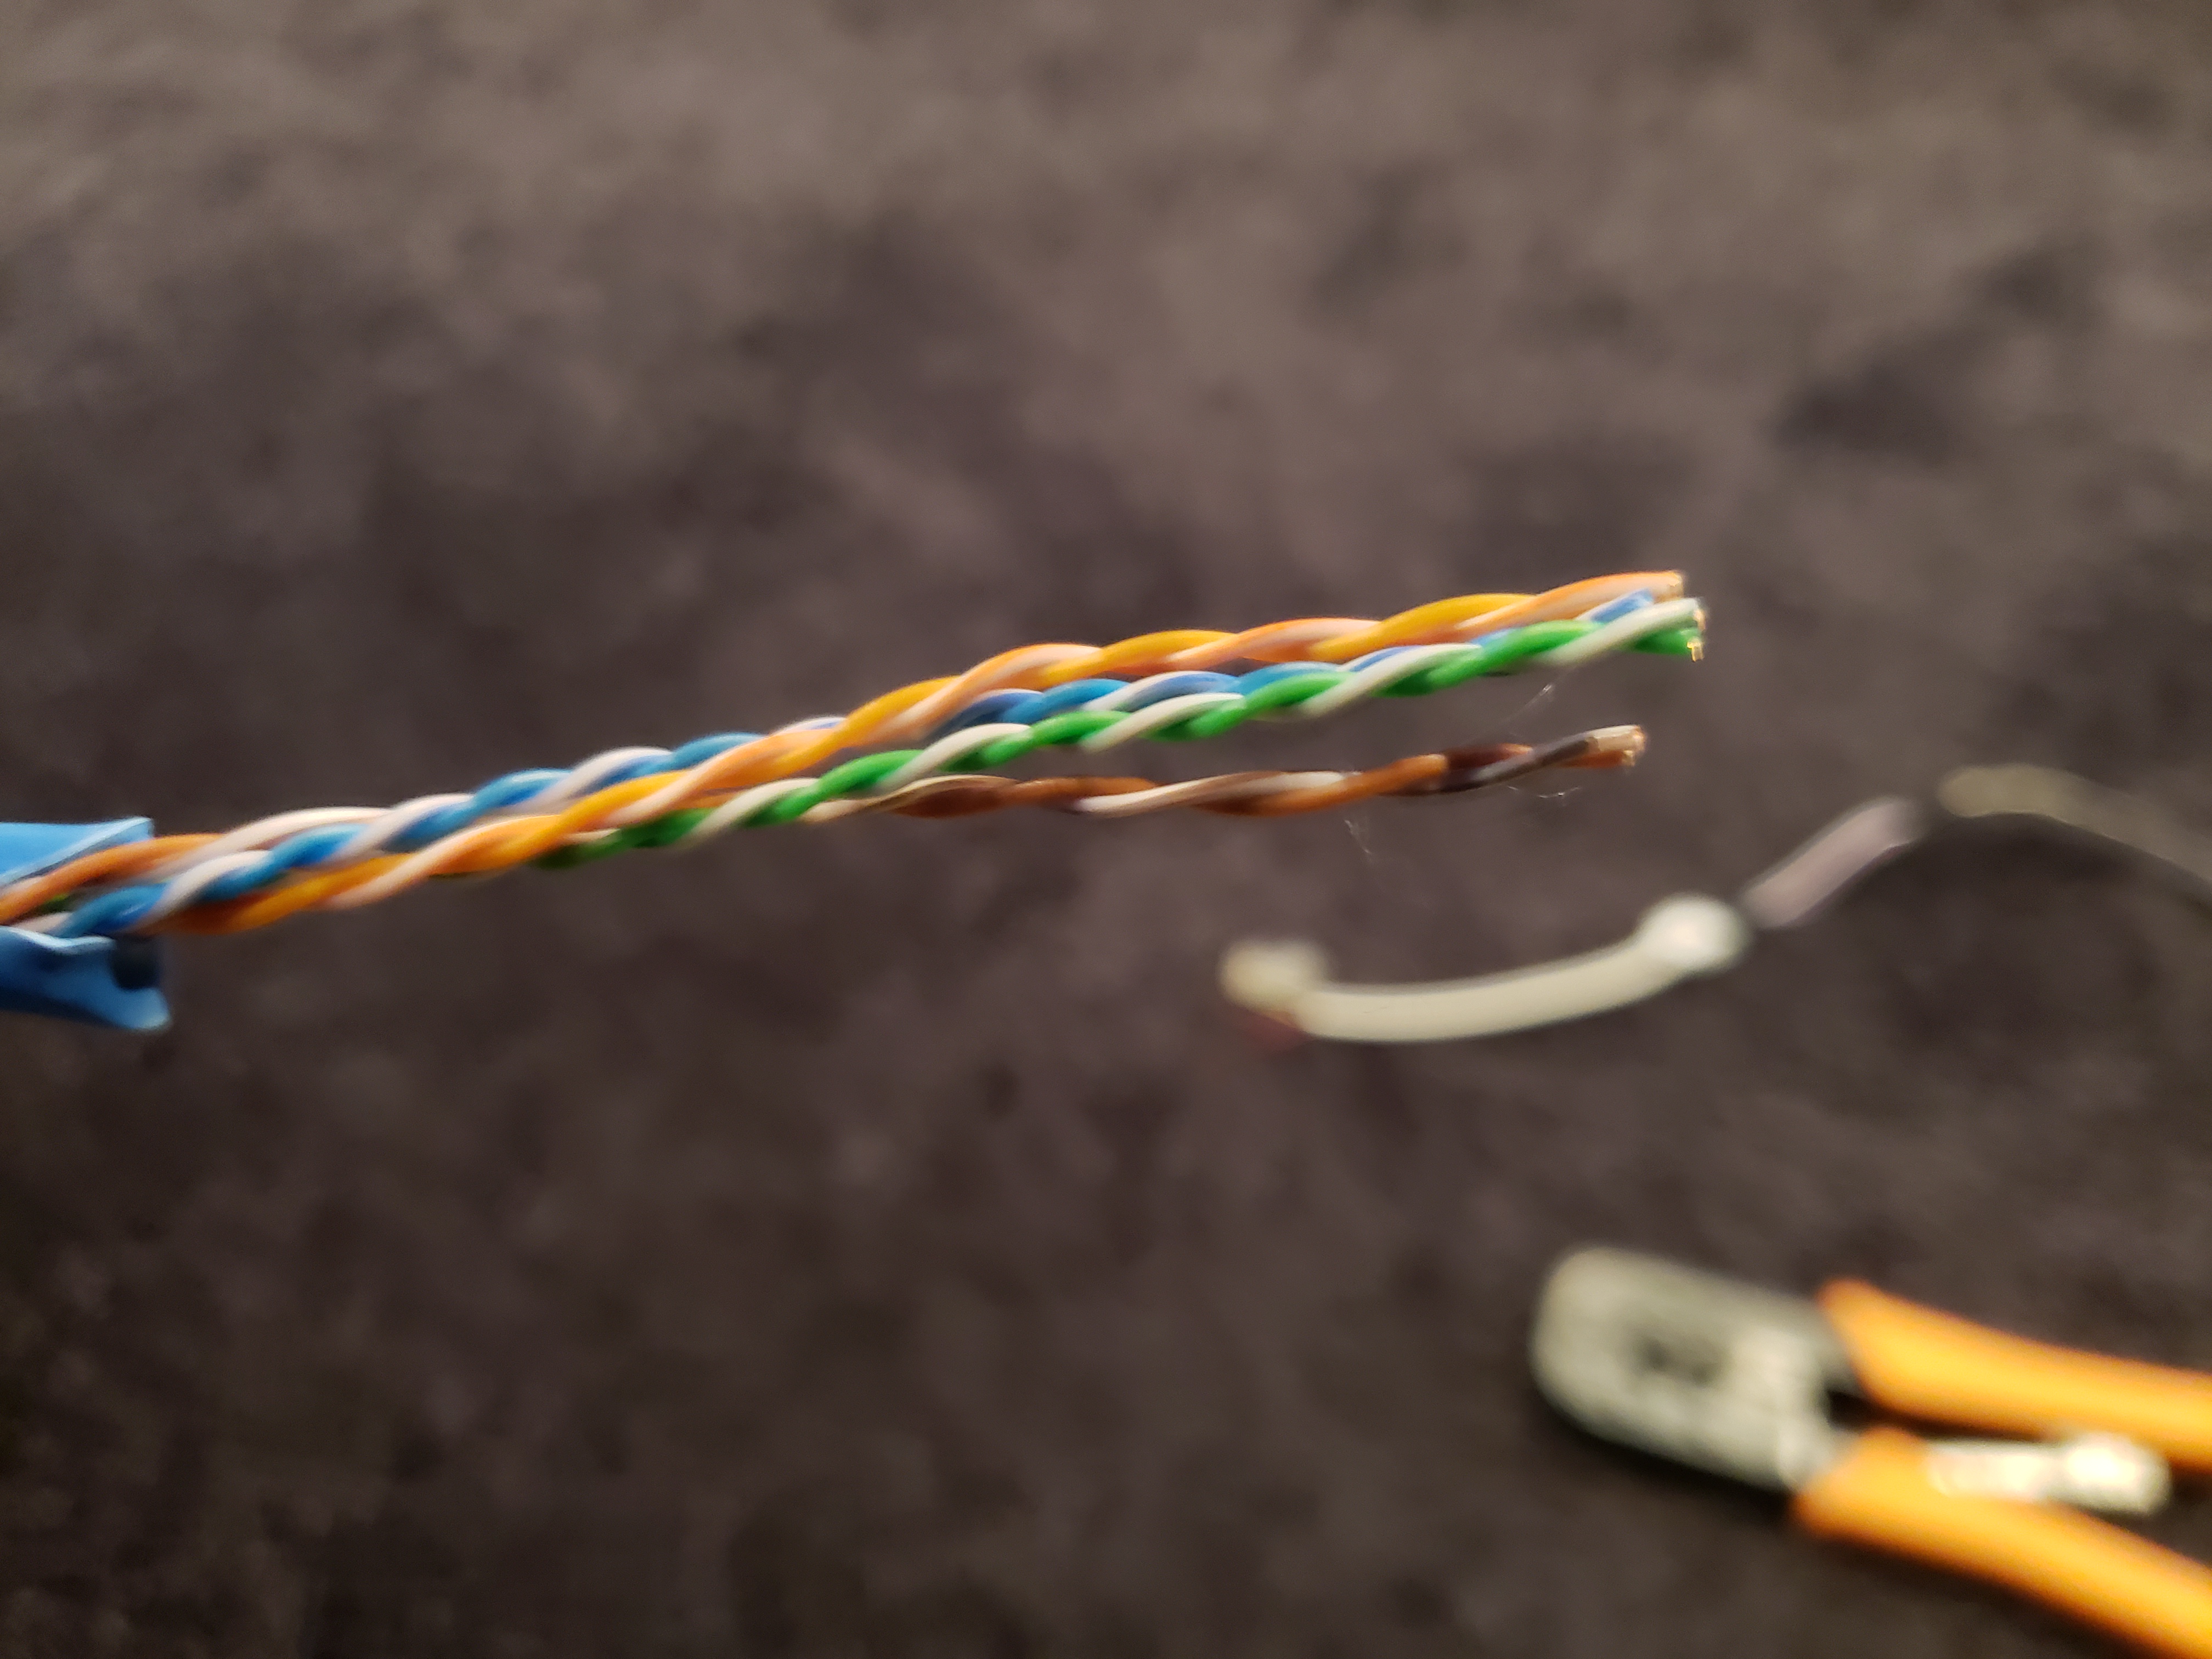
Don't worry, your install doesn't need to be this complicated. You would just repeat the same process on this end that you used on the other end (CAT6 cable into a jack, then crimp a RJ45 plug onto a RGBW connector) so you end up with the connector that plugs into the controller. Just make sure when you crimp the plug onto the RGBW connector that you use the same pattern (same wires in the same slots of the plug) that you used on the other end.
Switching for the Lighted Handrail
So you may be wondering, "how do I turn these on and off if the controller and power adapter are located in a different area?" For that we can use an Insteon smart switch and a plug in module.

6 Button Keypad

Lamp Module
Replace one or both of the switches in your stairway with the 6 button switches above. You can then use the large on and off buttons to control your regular stair lights and program one of the smaller (A,B,C,D) buttons to control the lamp module. Finally, plug the power supply into the lamp module. Now you can turn the LED lights on and off from your stairs. If you add a home automation controller, you could also schedule them to come on during the night, or trigger them based on other events.
Conclusion
Adding LED strip lights to you handrail is an easy way to add both safety and a unique look to you stairs. Using the remote control, you can customize the color of the LED lighted handrail to suit your needs.
If you need help setting up the smart switches to act as a 3 way switch, please see our other post on how to do that here.
If you have any questions please feel add them in the comments and I will do my best to answer them.
To be notified when we add new content like this, please sign up for our email and you will get our free Smart-ER Home Beginners Guide.
Thanks,
-Tim