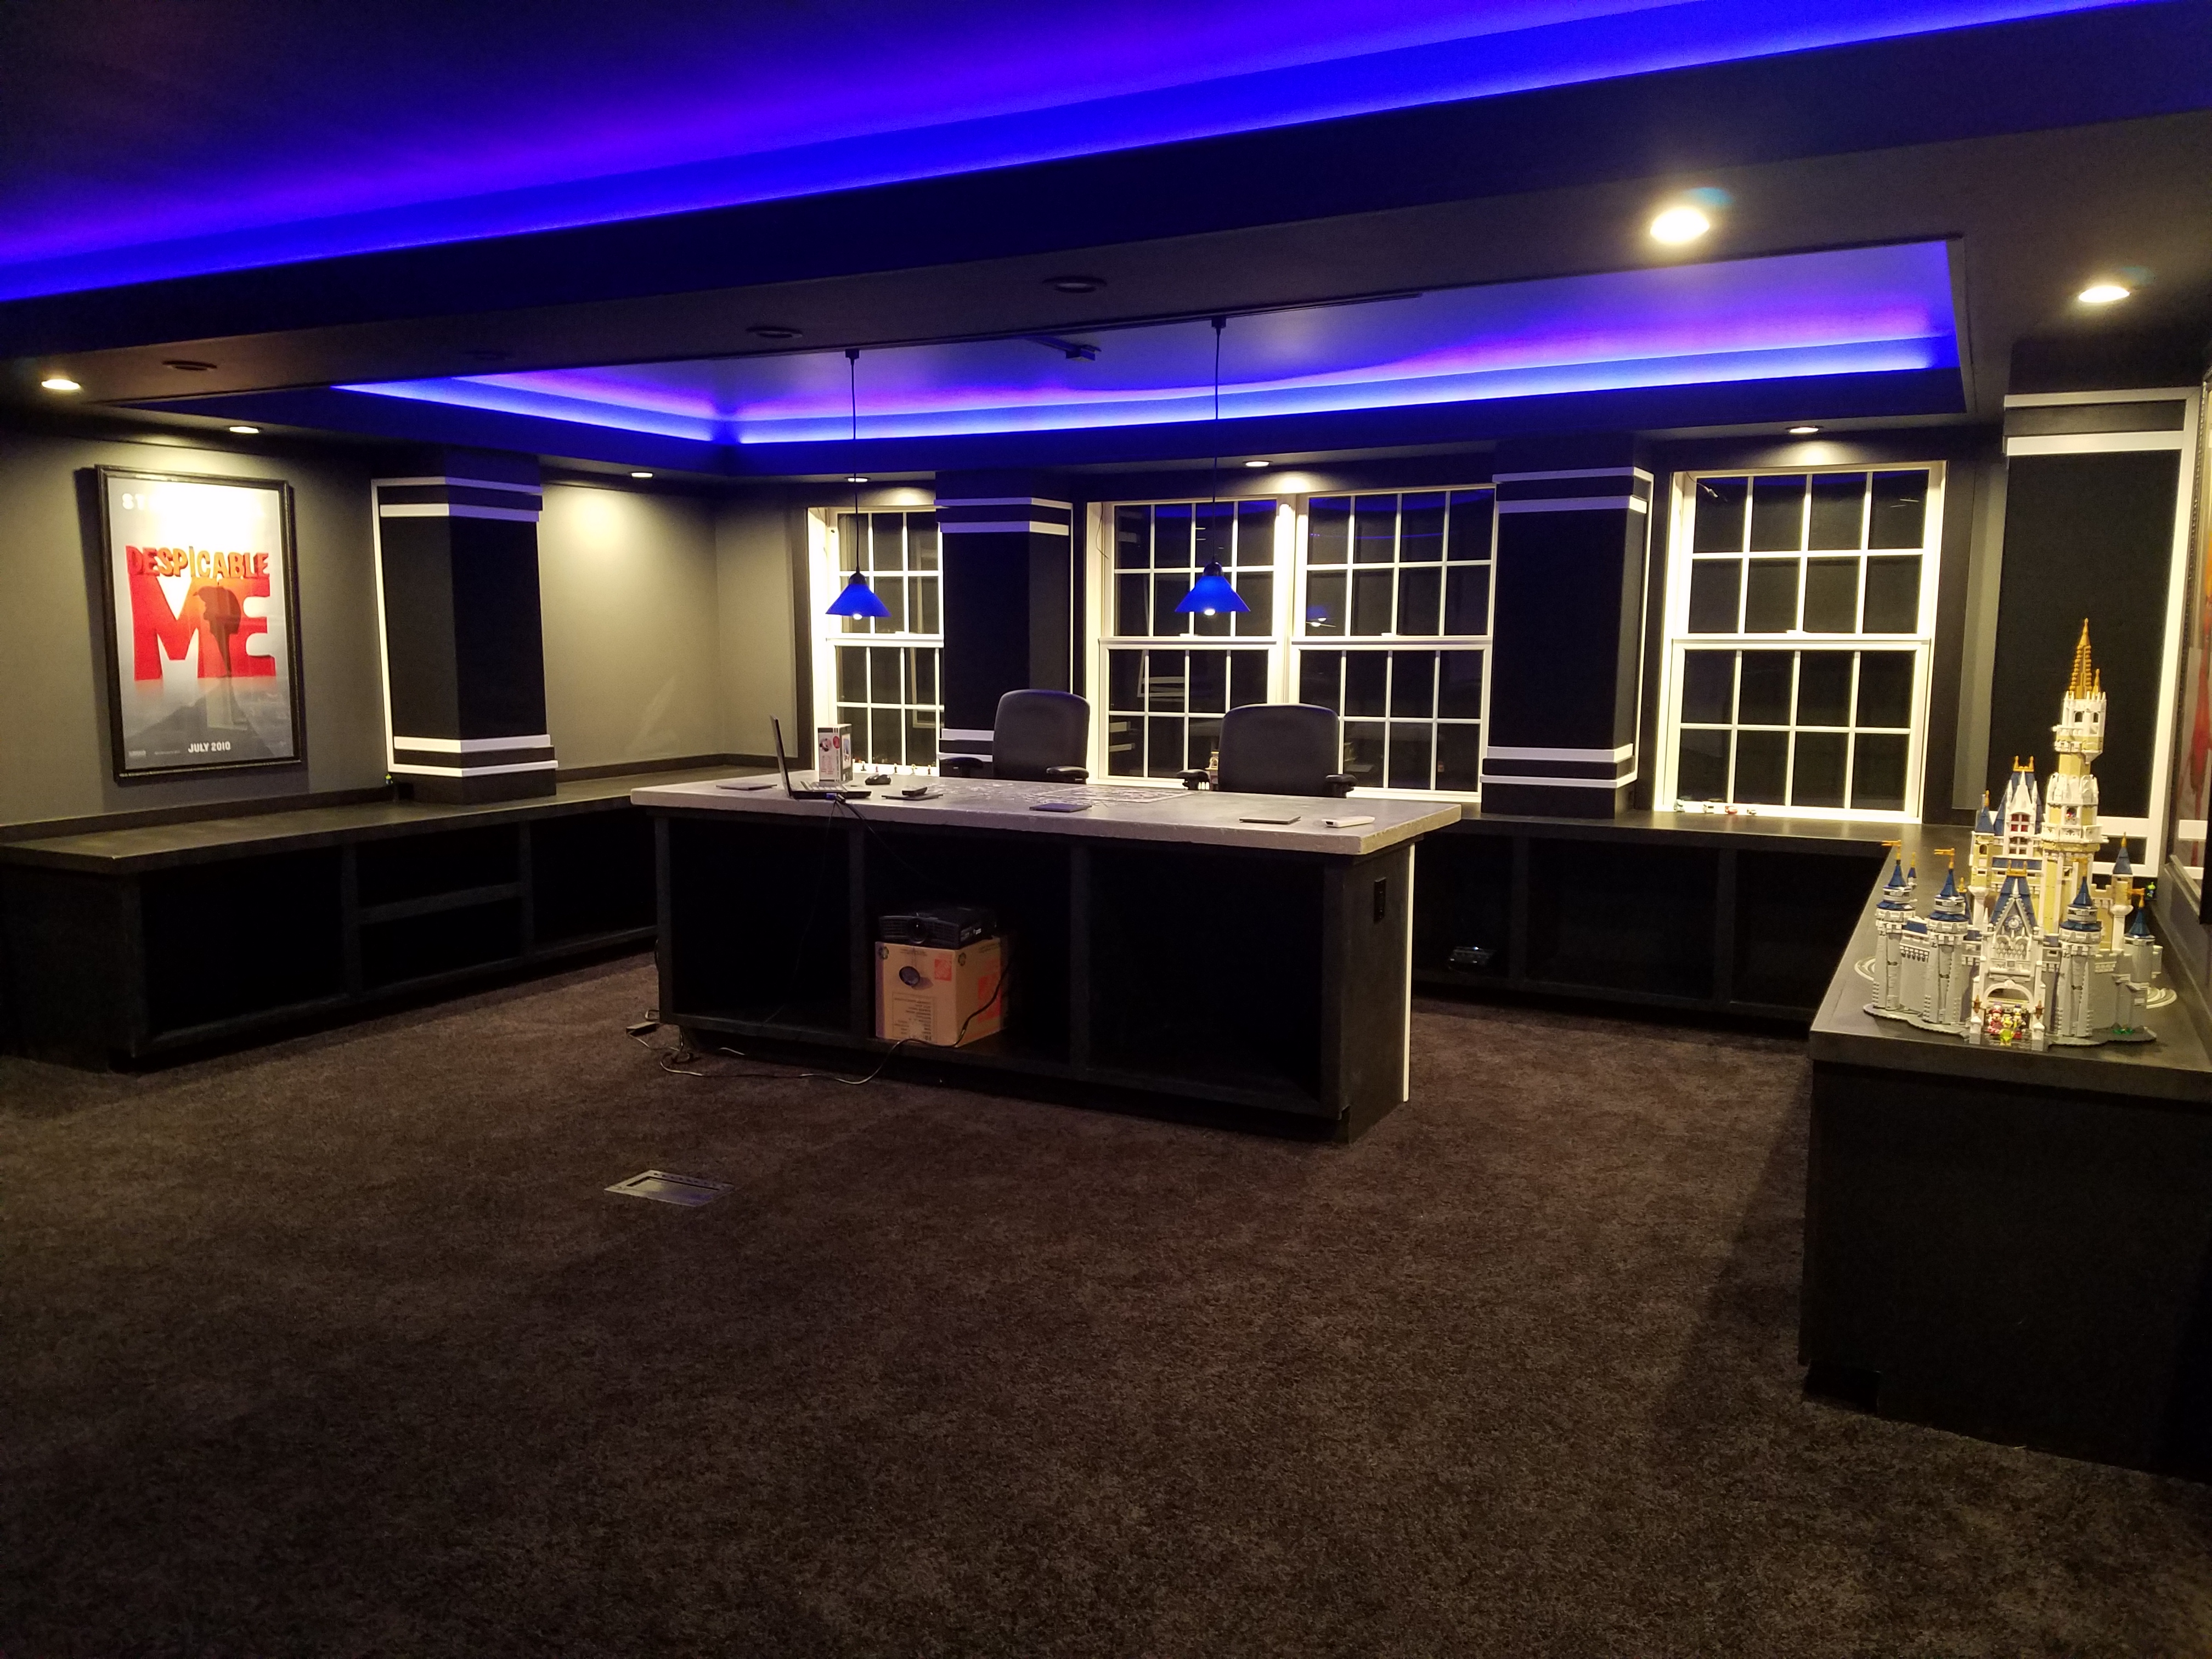
In this post I show you how I built soffits with LED lighting for my home theater! You will learn how to install your own LED soffit lighting for any room in your house.
More...
Home Theater Soffit LEDs
Soffit Framing
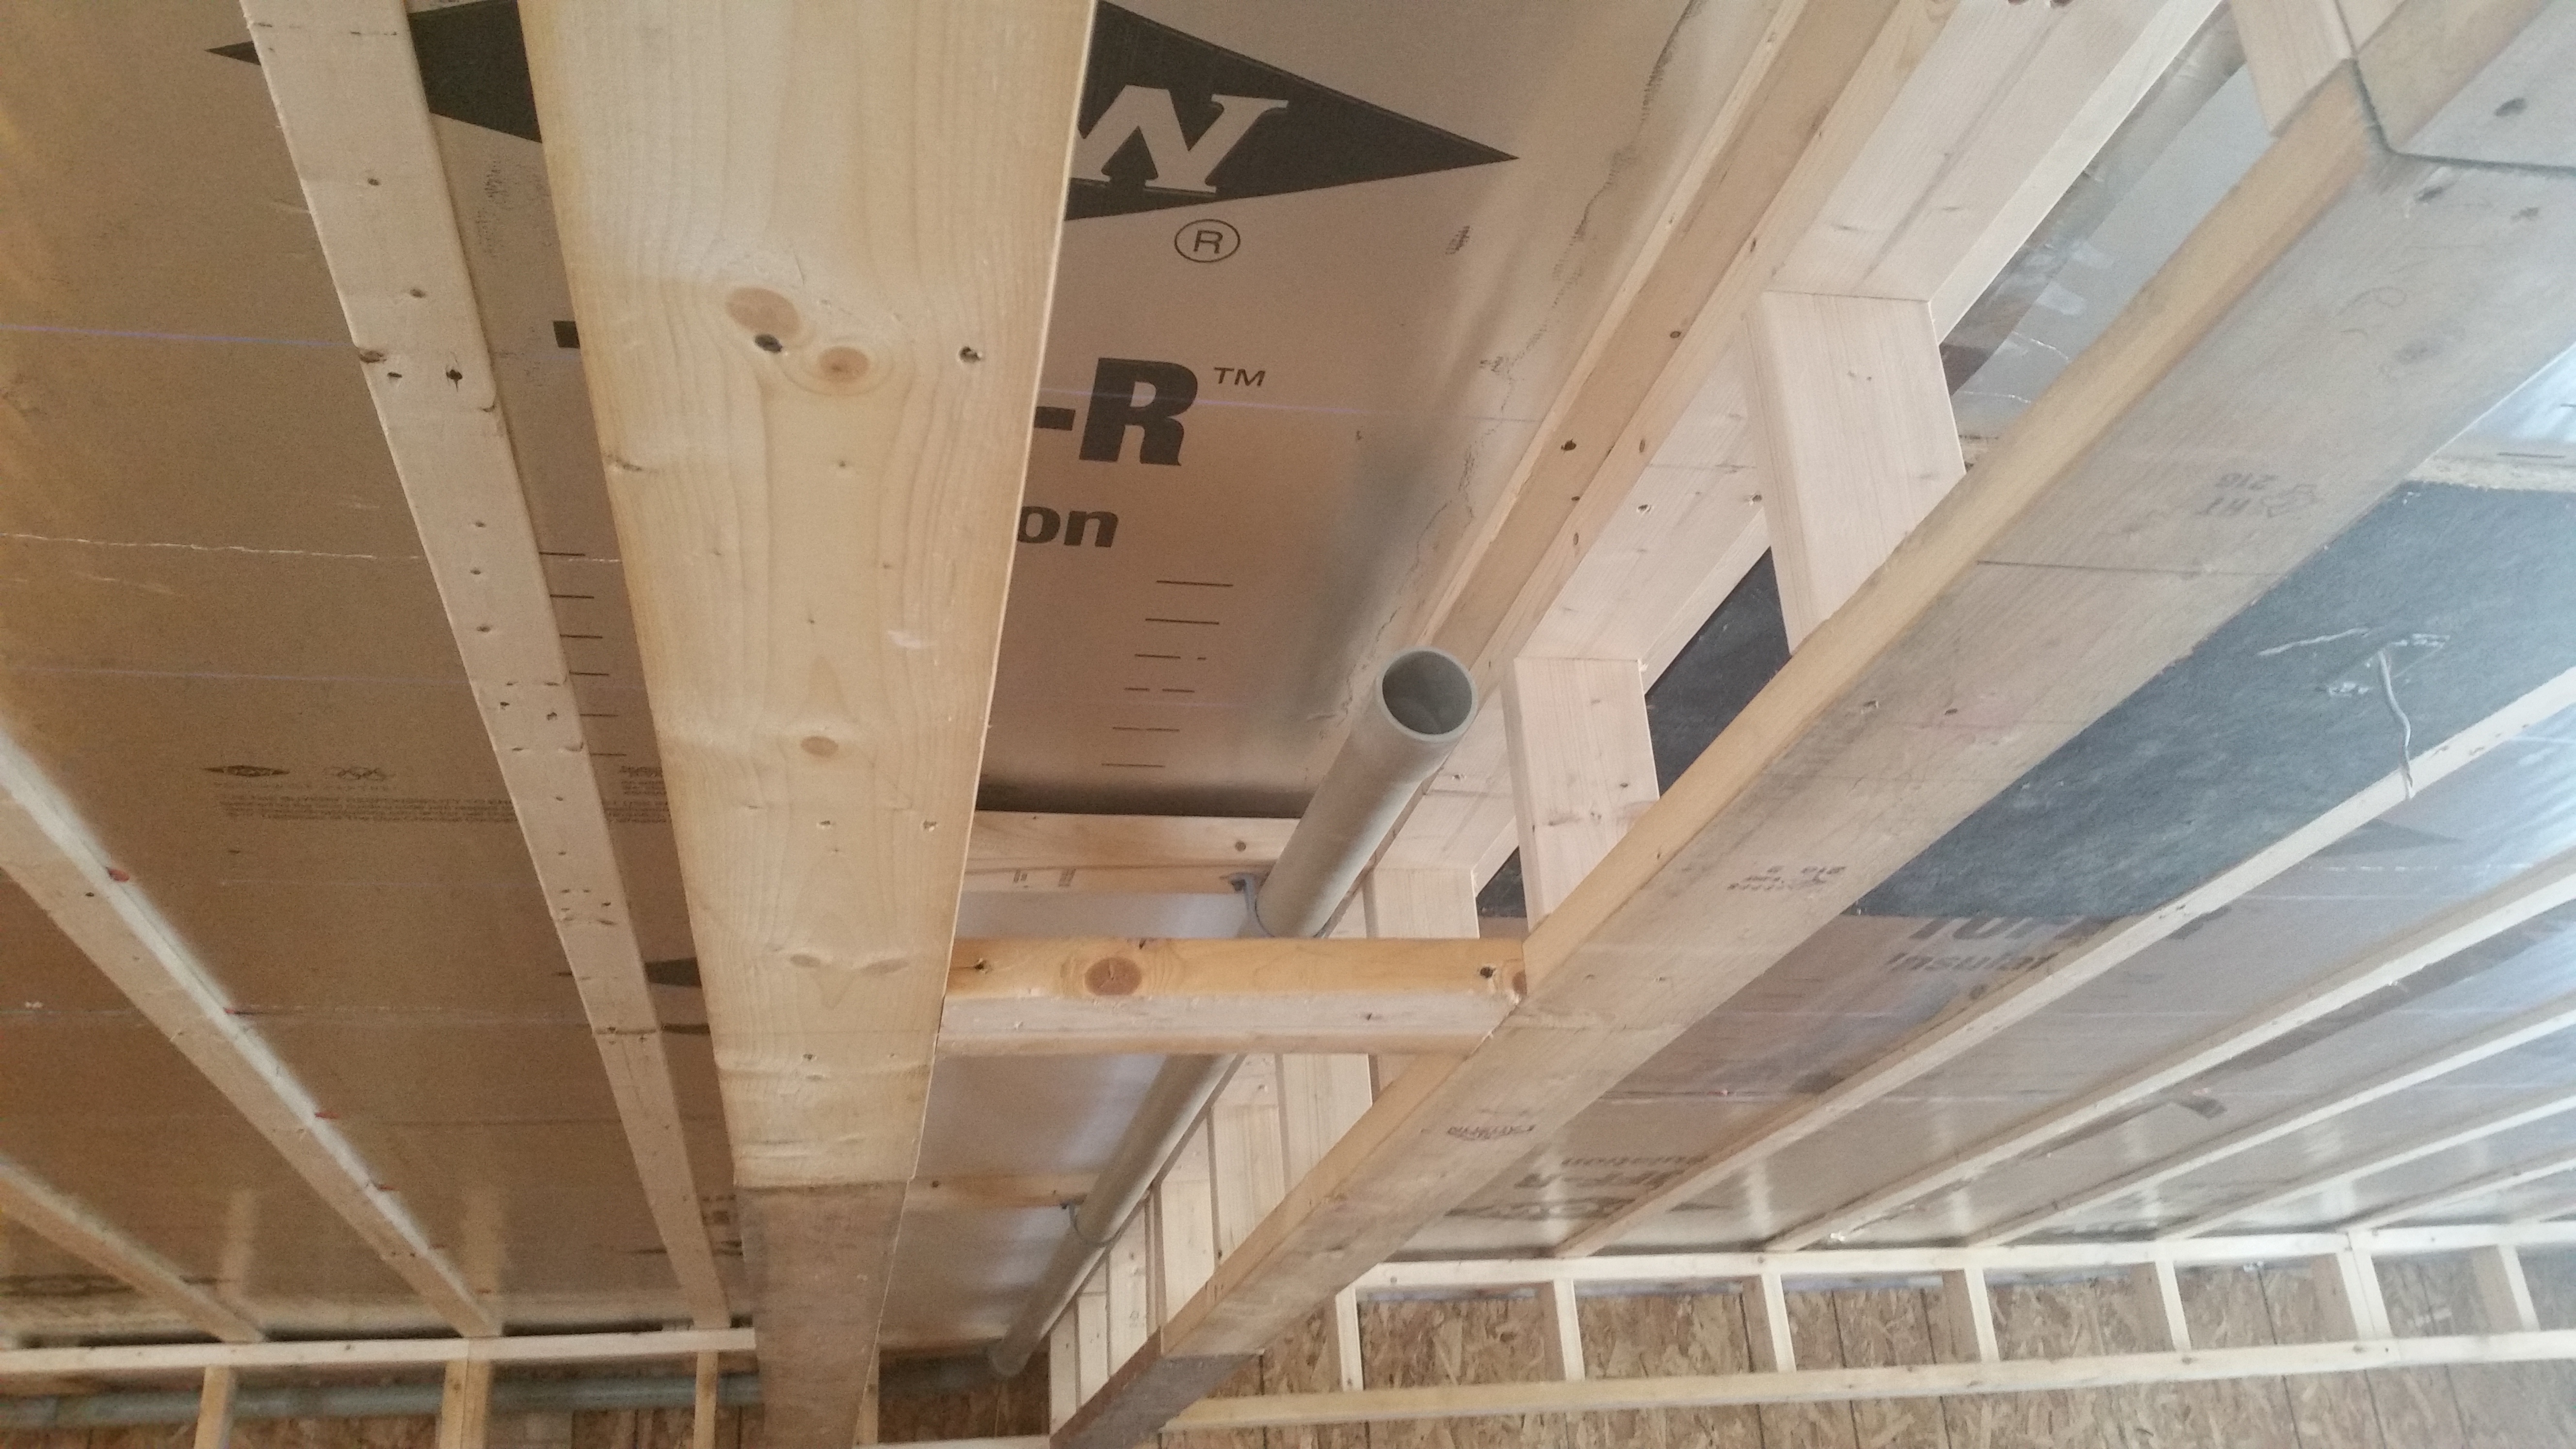
Soffit Framing 1
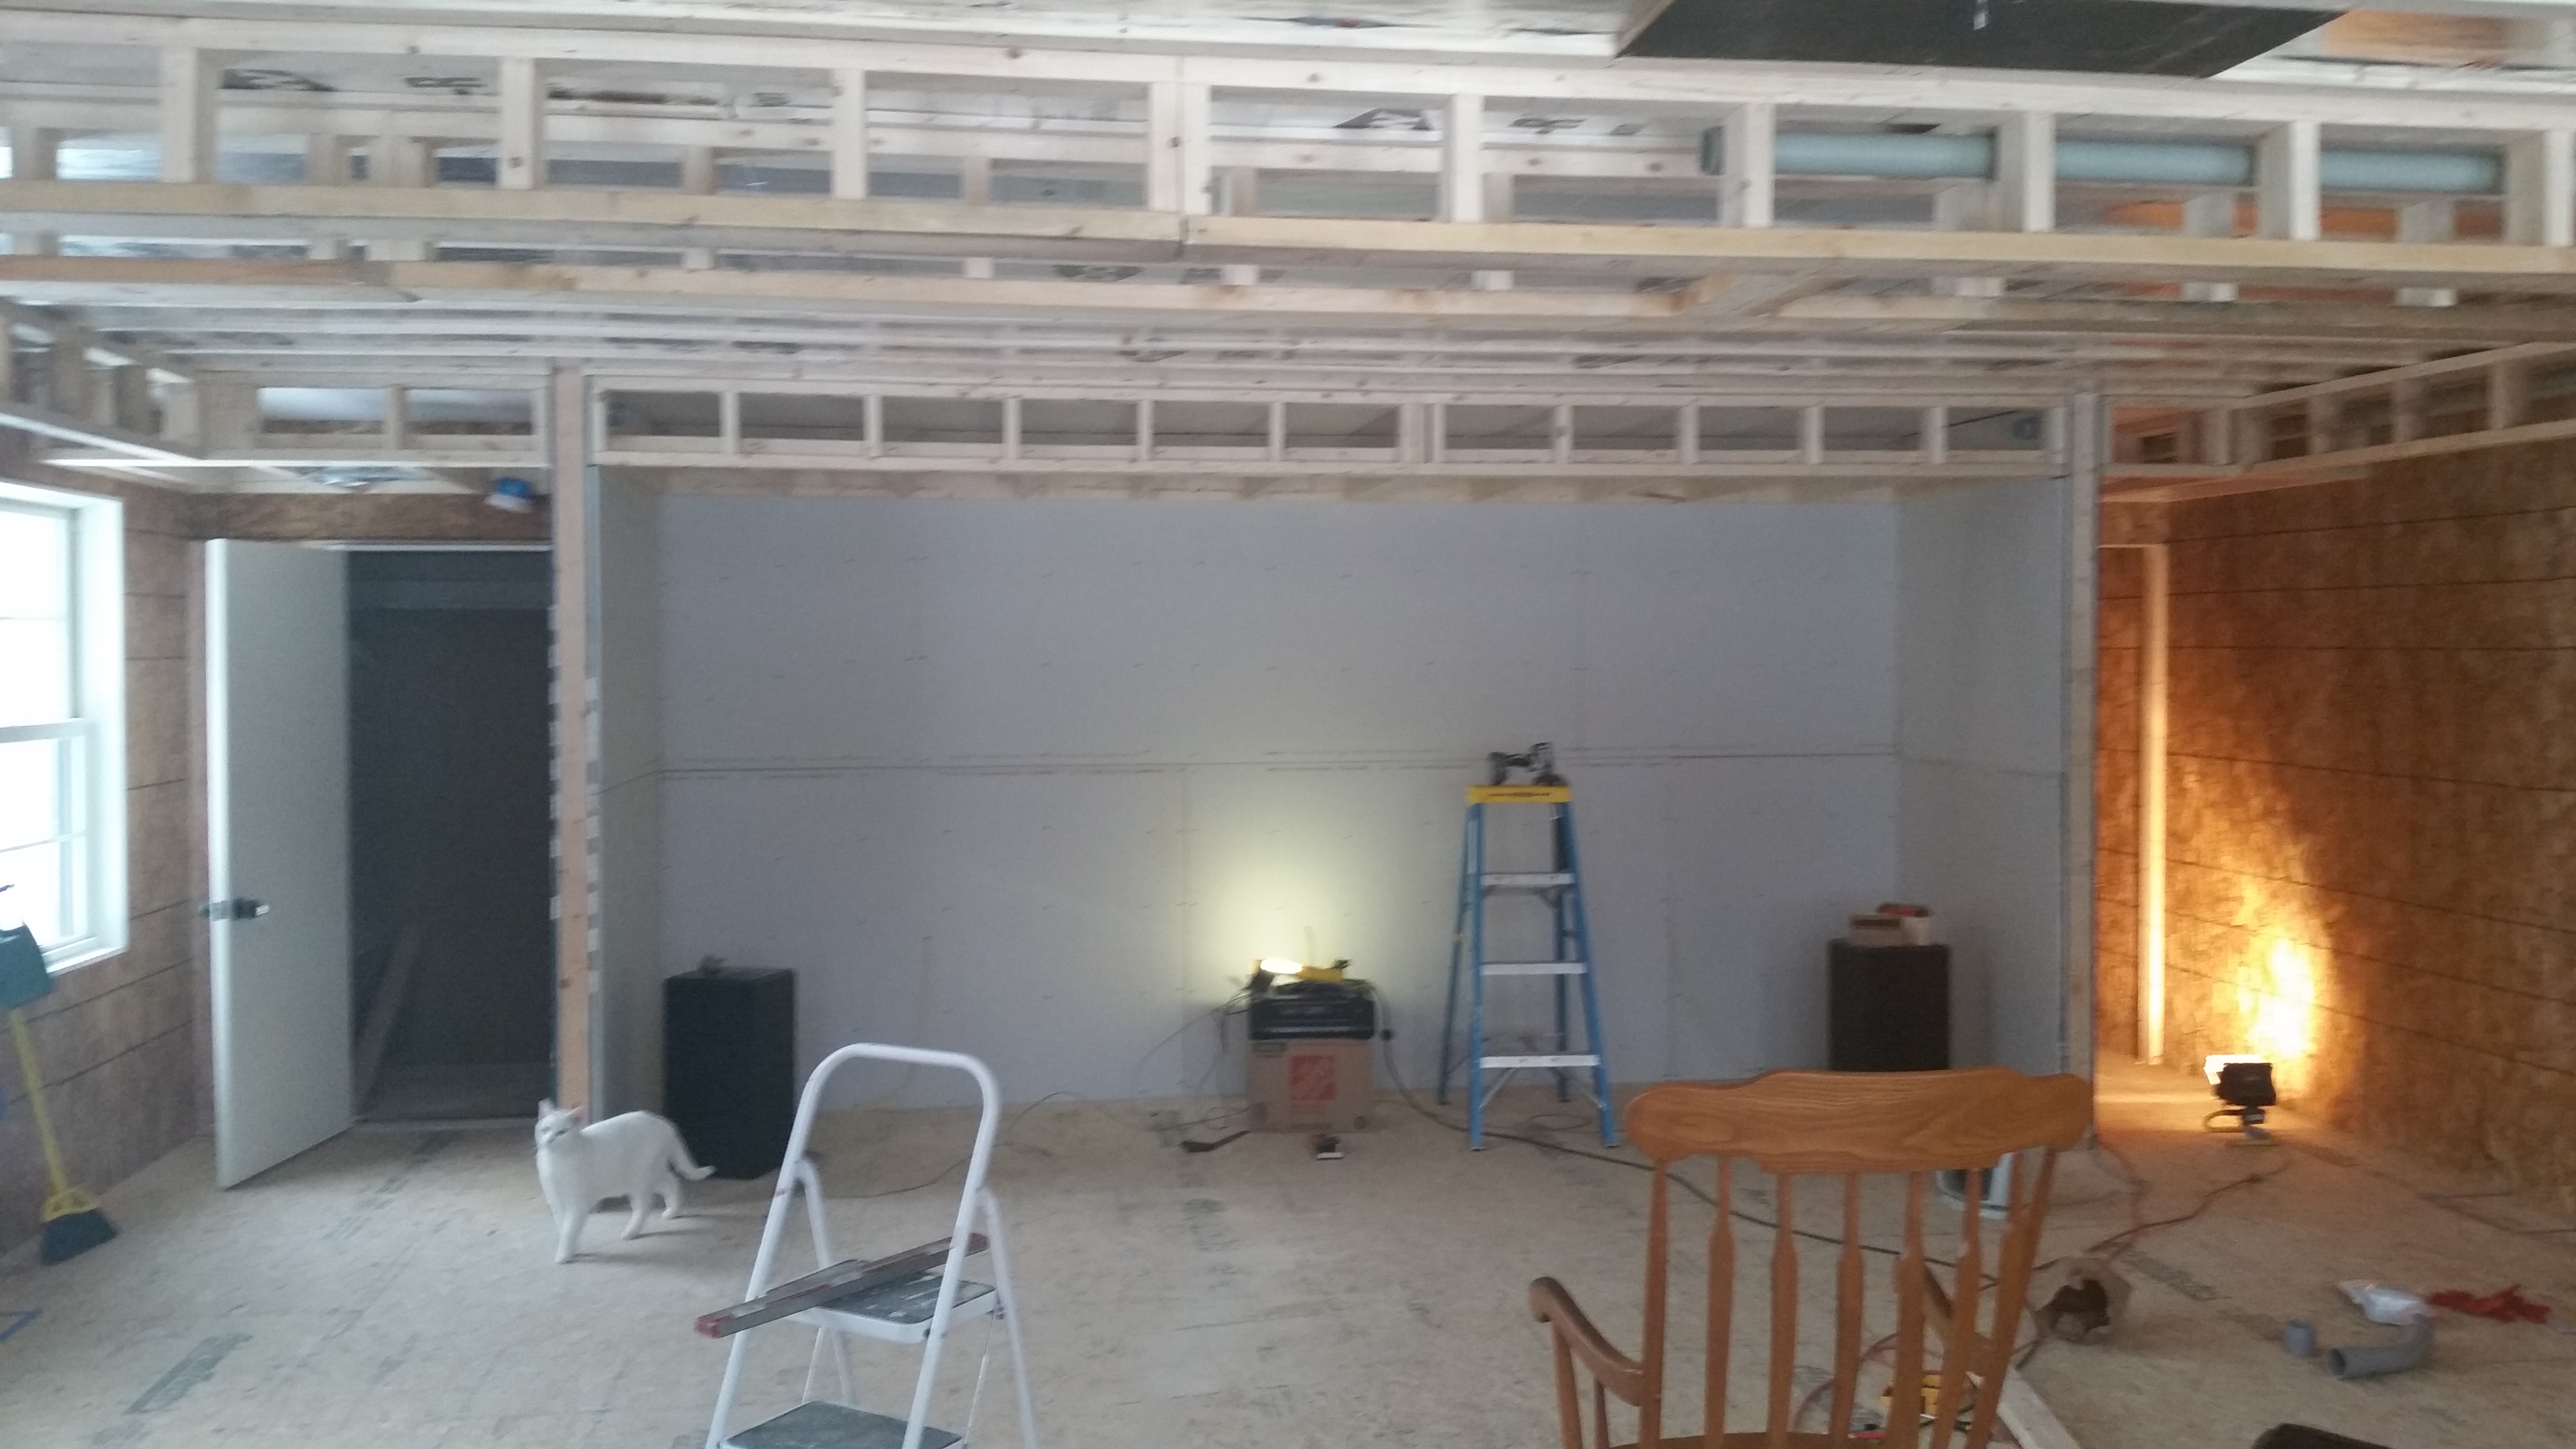
Soffit Framing 2
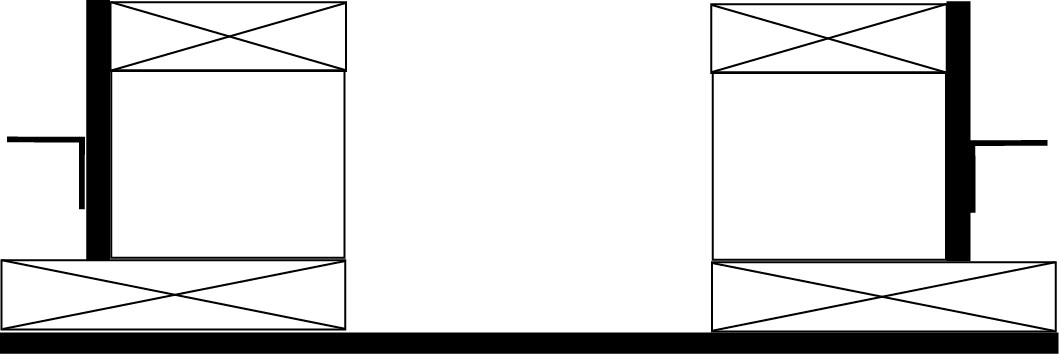
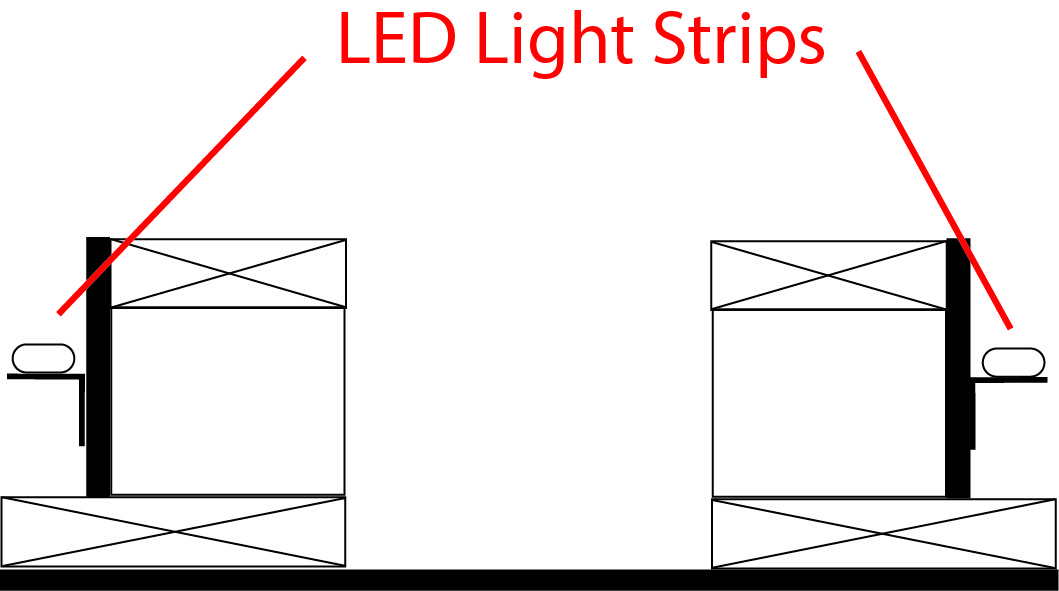
I built my soffits using the standard ladder method as shown in the pictures above, except I used a 2"x4" for the top of the ladder and a 2"x6" for the bottom of the ladder. This gave me space to install my RGBW 5050 LED lighting.
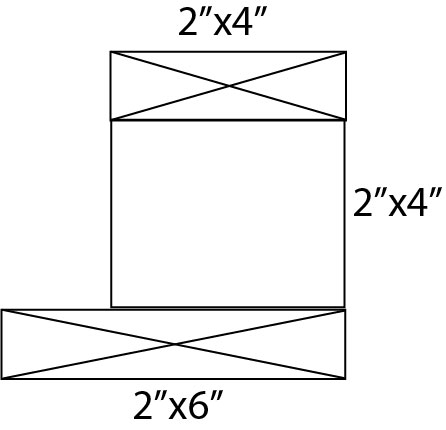
Soffit Framing
The length of the vertical 2"x4" will determine how tall your soffits will be. Don't forget to include the thickness of the drywall that will be attached later.
Rough Wiring
Now it's time to run the rough wiring. I used 18/5 thermostat wire for the RGBW strip lighting. It has the right number of conductors and is heavy enough gauge to prevent the lights from dimming from voltage drop. My soffits were big enough that I ran two of these wires to each soffit in the opposite corner from one another. I wouldn't recommend putting more than one and a half of the 16' LED strips together, as you will begin to notice them getting dimmer. Leave plenty of slack on the wire and make sure that it doesn't get covered by drywall.
The other ends of the wires should go to an area where you can connect them to LED amplifiers, so make sure it is an area where you have an outlet and that is out of sight.
Drywall
When hanging the drywall, make sure that it does't wrap around the 2"x6". Just cut it off clean as pictured below.

Drywall
Now you should have something that looks like this:
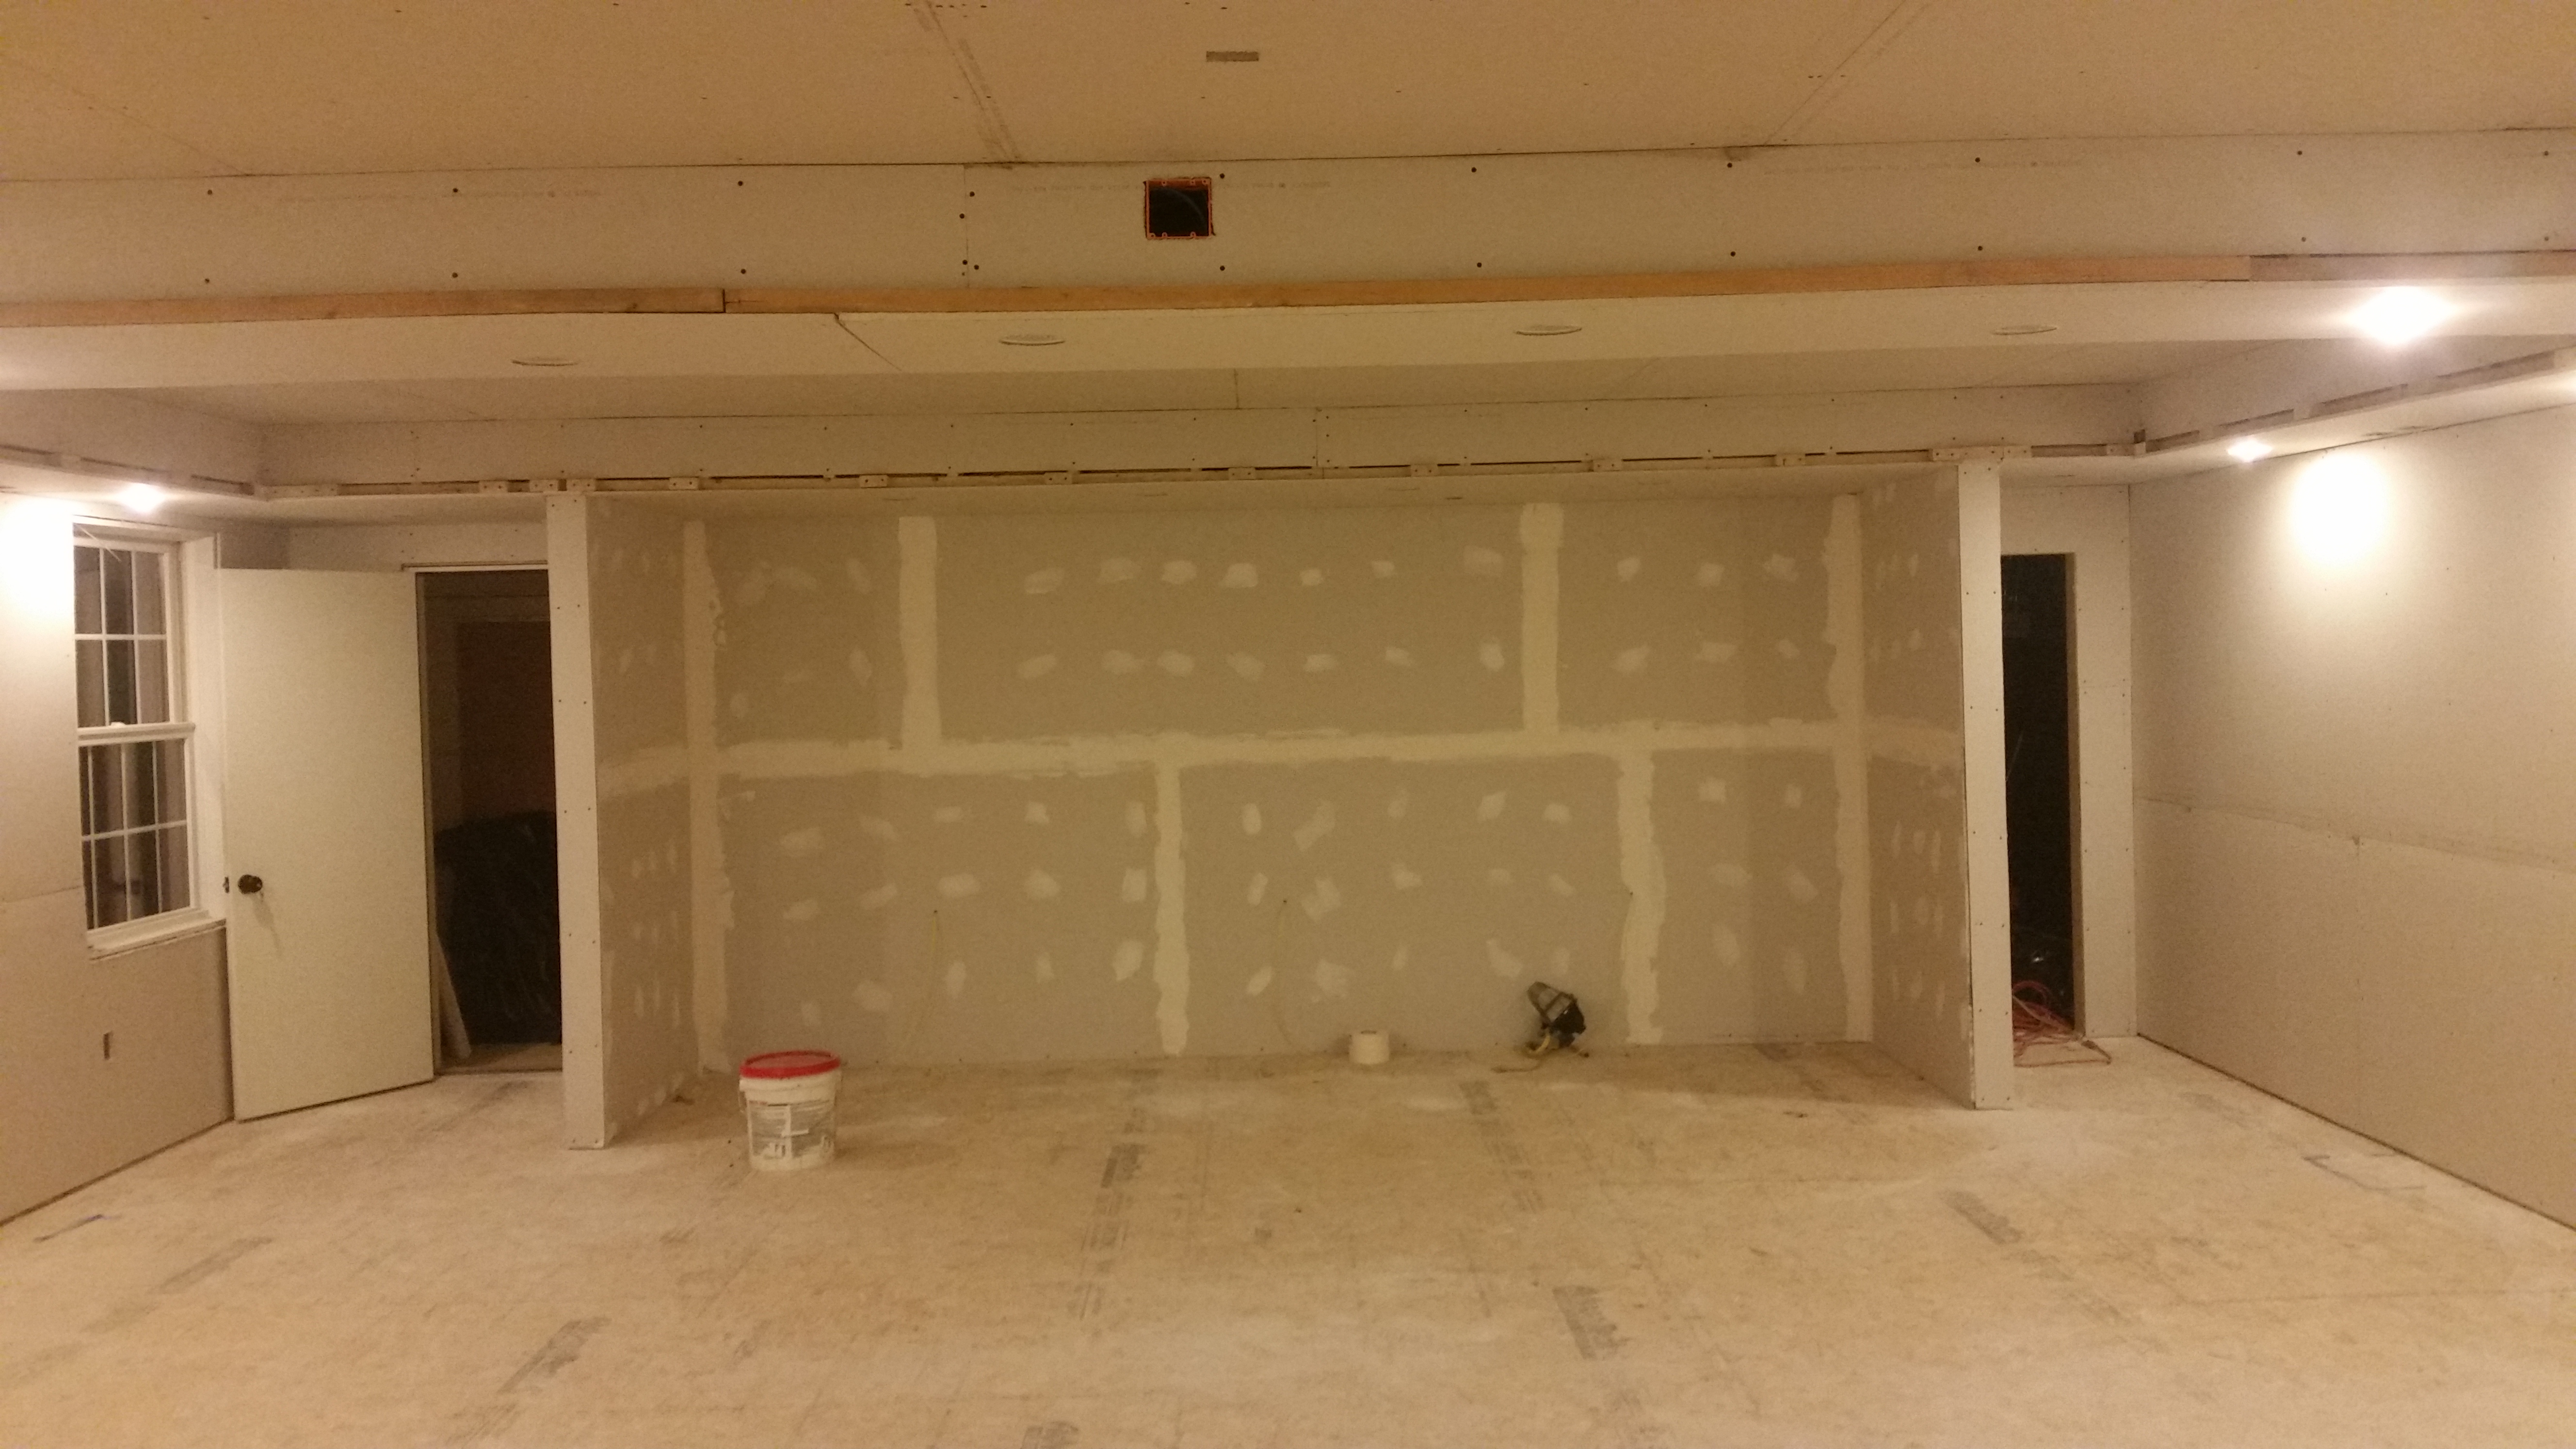
Drywalled Soffit
LED Mount
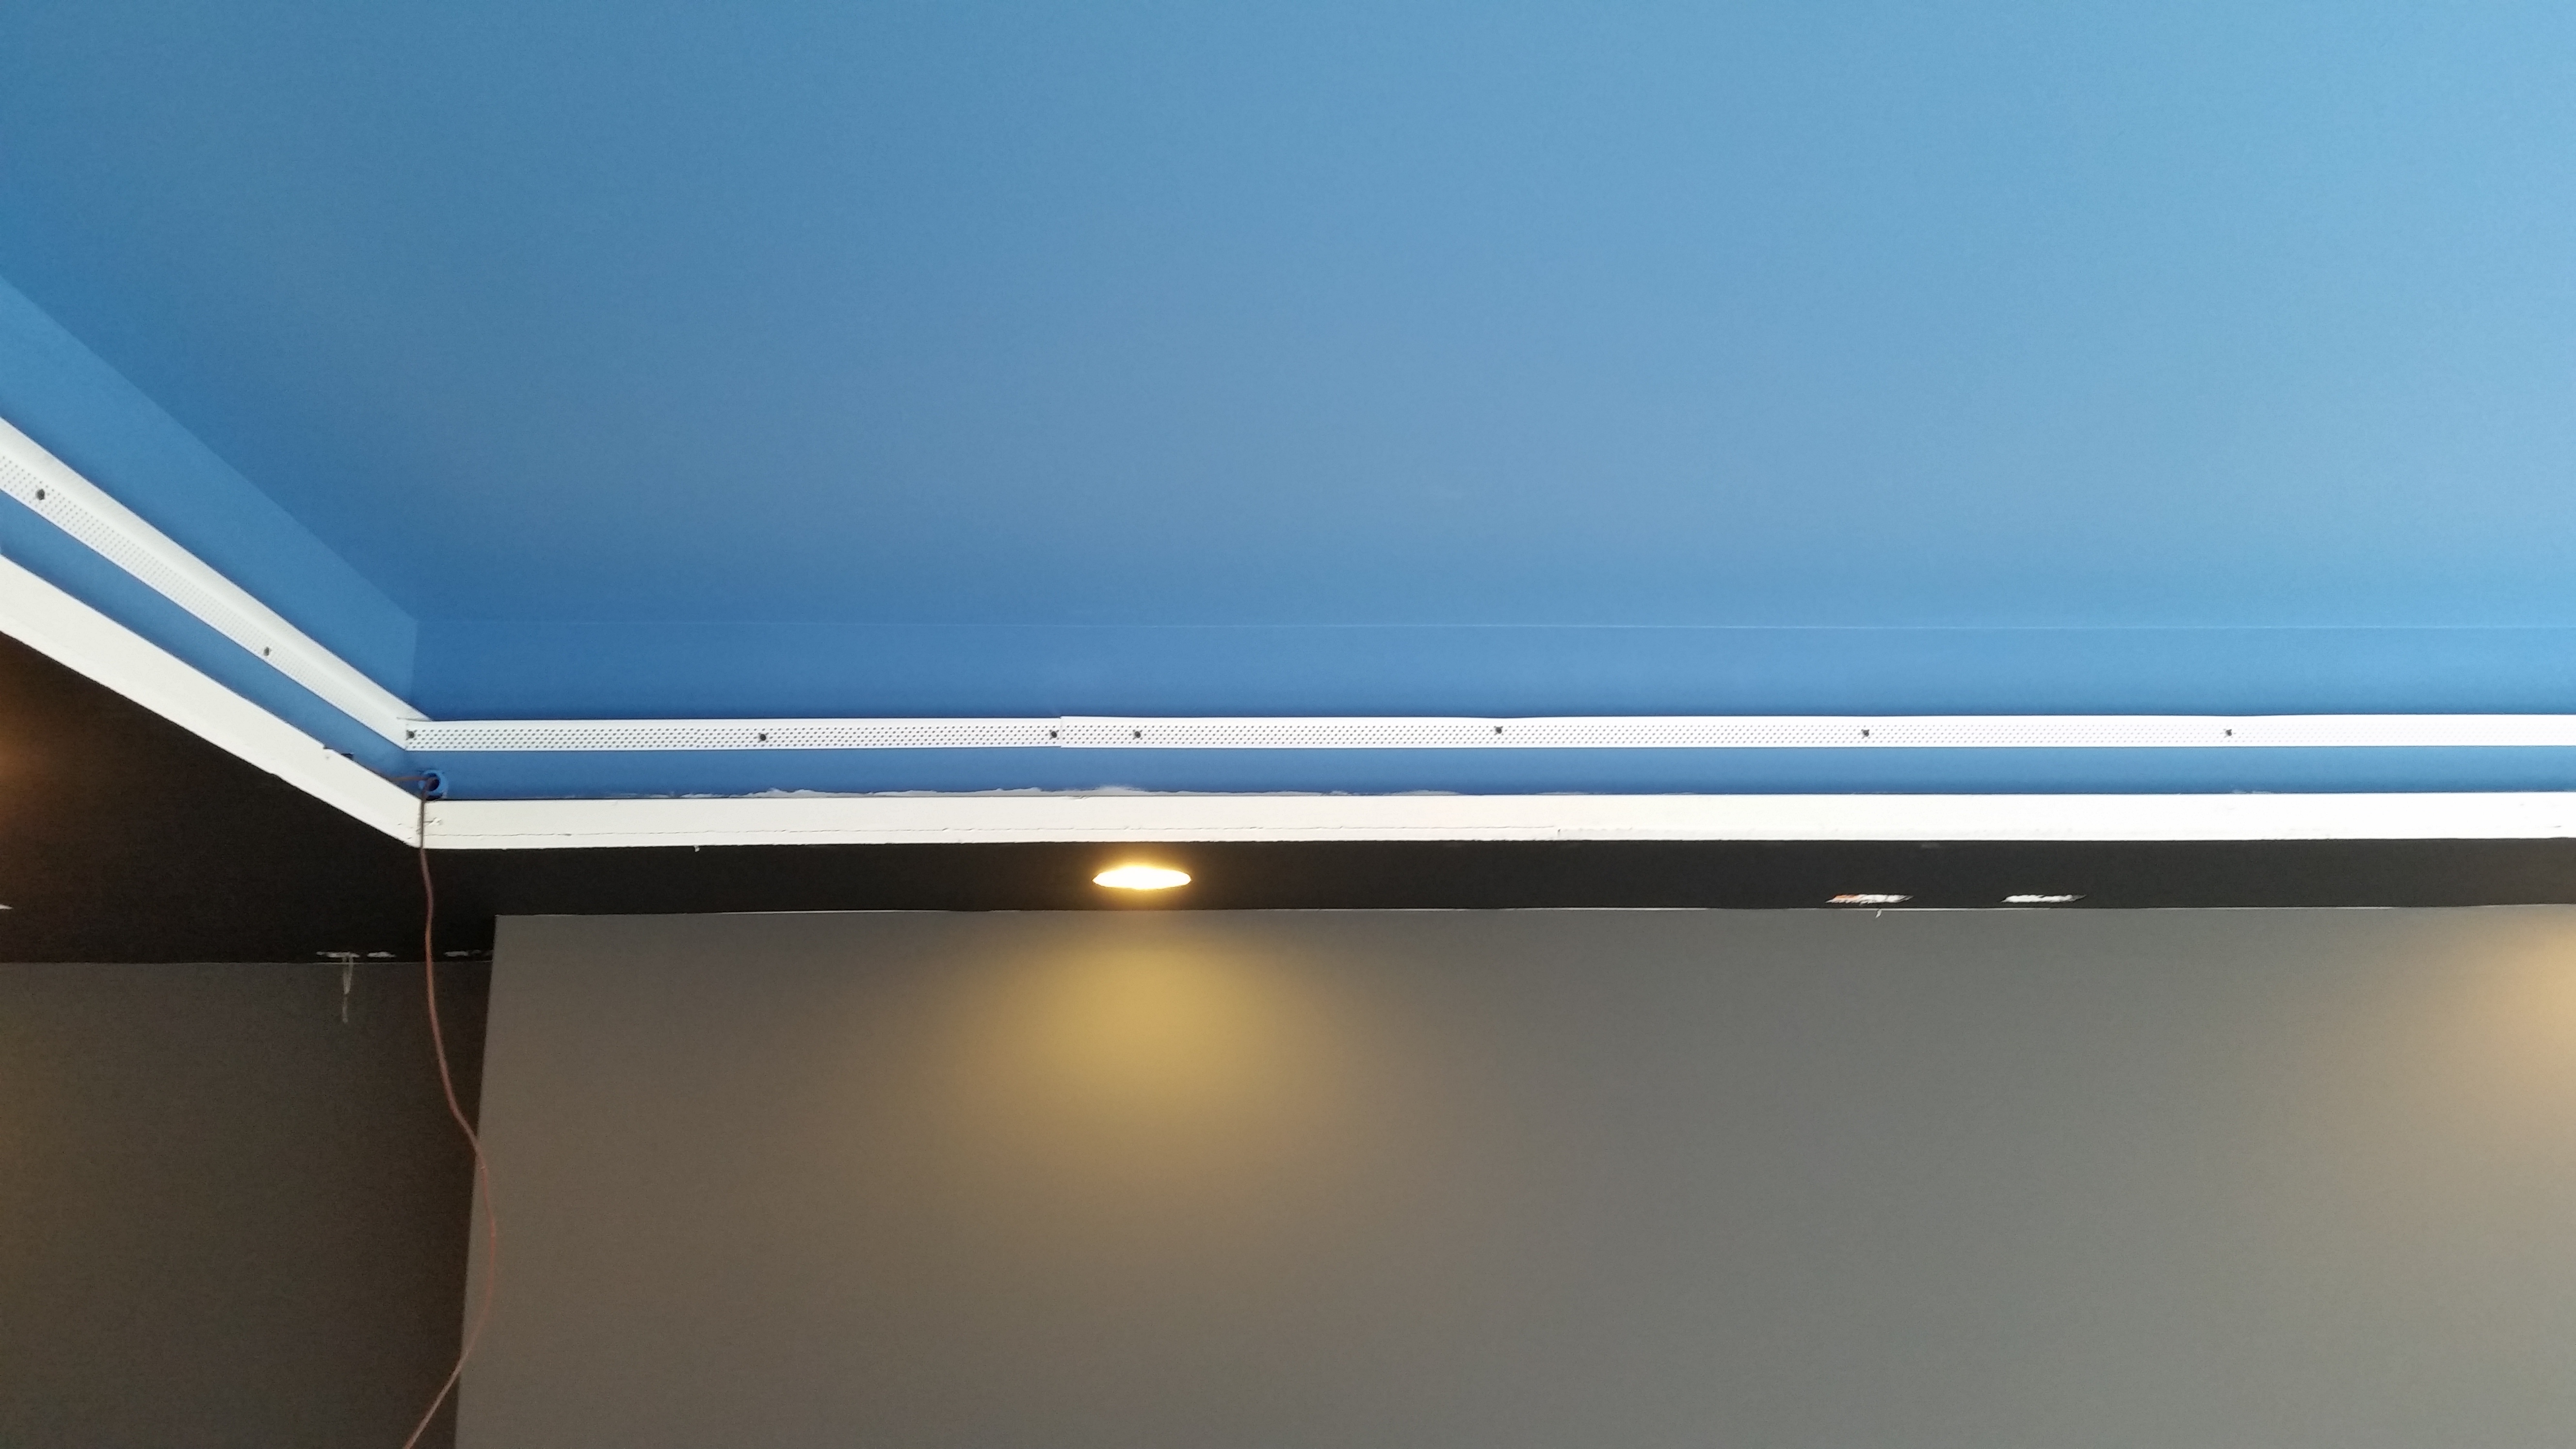
Now you need to install the mount for the LED light strips. I used plastic corner bead. It is inexpensive and easy to mount. Notice in the picture below the 18/5 thermostat wire is coming out of the blue low voltage conduit. I ran conduit to my soffits in case I eve needed to add or replace something in the future.
Corner Bead
Corner Bead
Install LED Light Strips
Now it is time to install the LED light strips. Use these LED light strips. They have an adhesive back. Mount them on top of the corner bead using the adhesive on the back. Start the strip where the 18/5 is coming out of the wall. When you hit the corners, you will need to cut the strip at the designated points and use these connectors.
LED Strips
Wire Termination
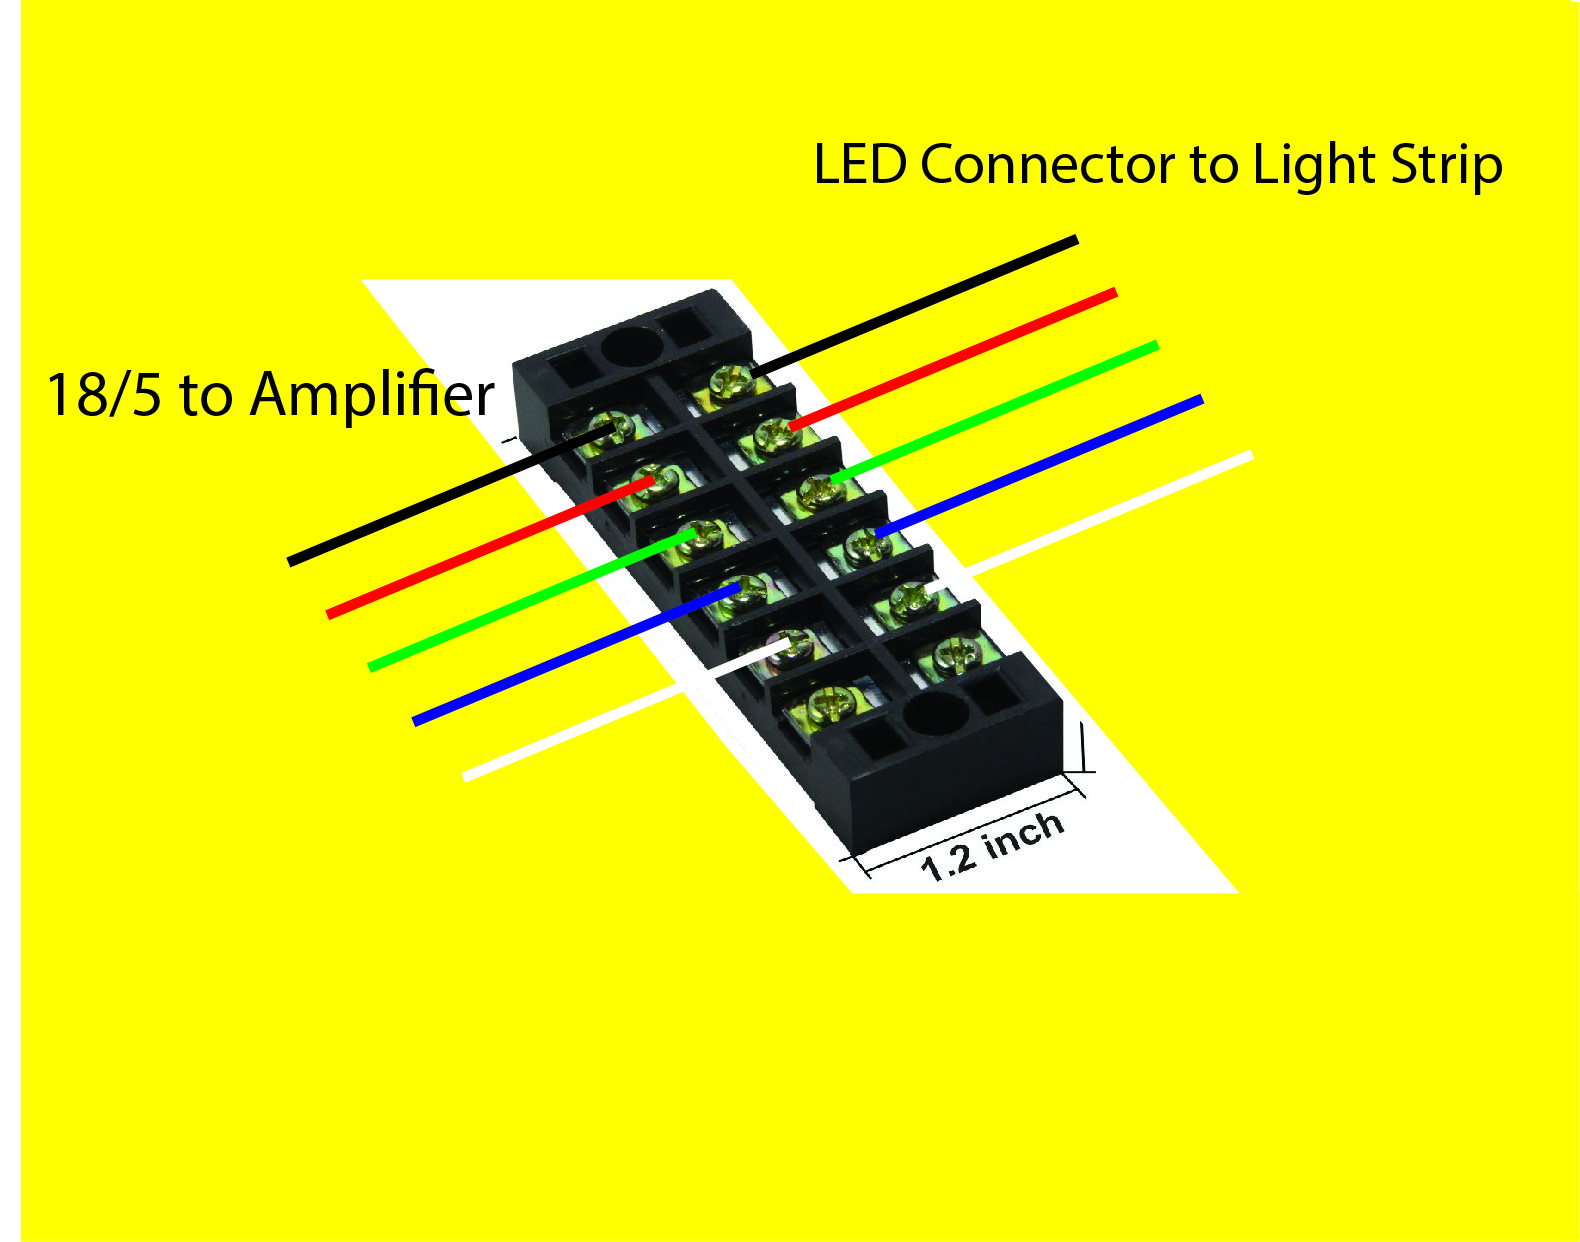
I terminated the 18/5 wire onto these terminal blocks and mounted them to the wall right above the corner bead. Then you use the same LED connectors that you used to go around the corners to connect the LED strips to the other side of the blocks. Match up the colors to make it easy to connect the other side.
Block Wiring
Wiring the Amplifiers and Testing
Before putting the trim and covering up the LED strips, you should test them all to make sure they work. Sometimes the connectors need to be adjusted. You don't want to find out that one of them isn't working after you get the trim up.
The other end of the 18/5 wire will be going into an LED amplifier. This will then be connected to the LED controller that came with the lights. They will both need to be powered with 12v power supplies. One comes with the LED lights, so you will need to be purchase one for each amplifier. You will need an amplifier for each string of LED lights.
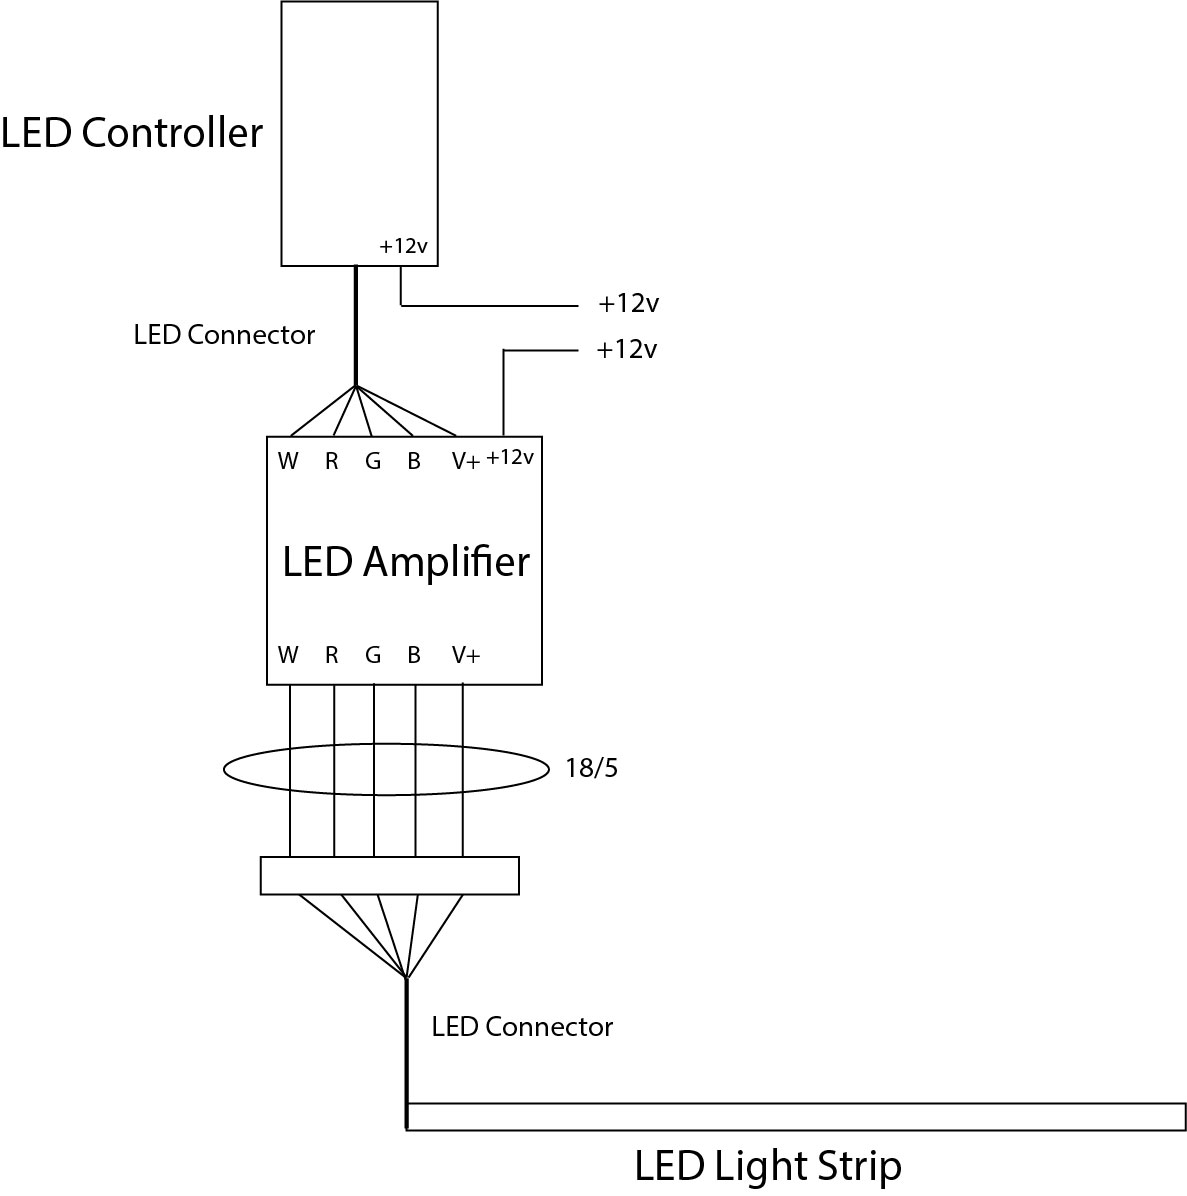
LED Amplifier Wiring
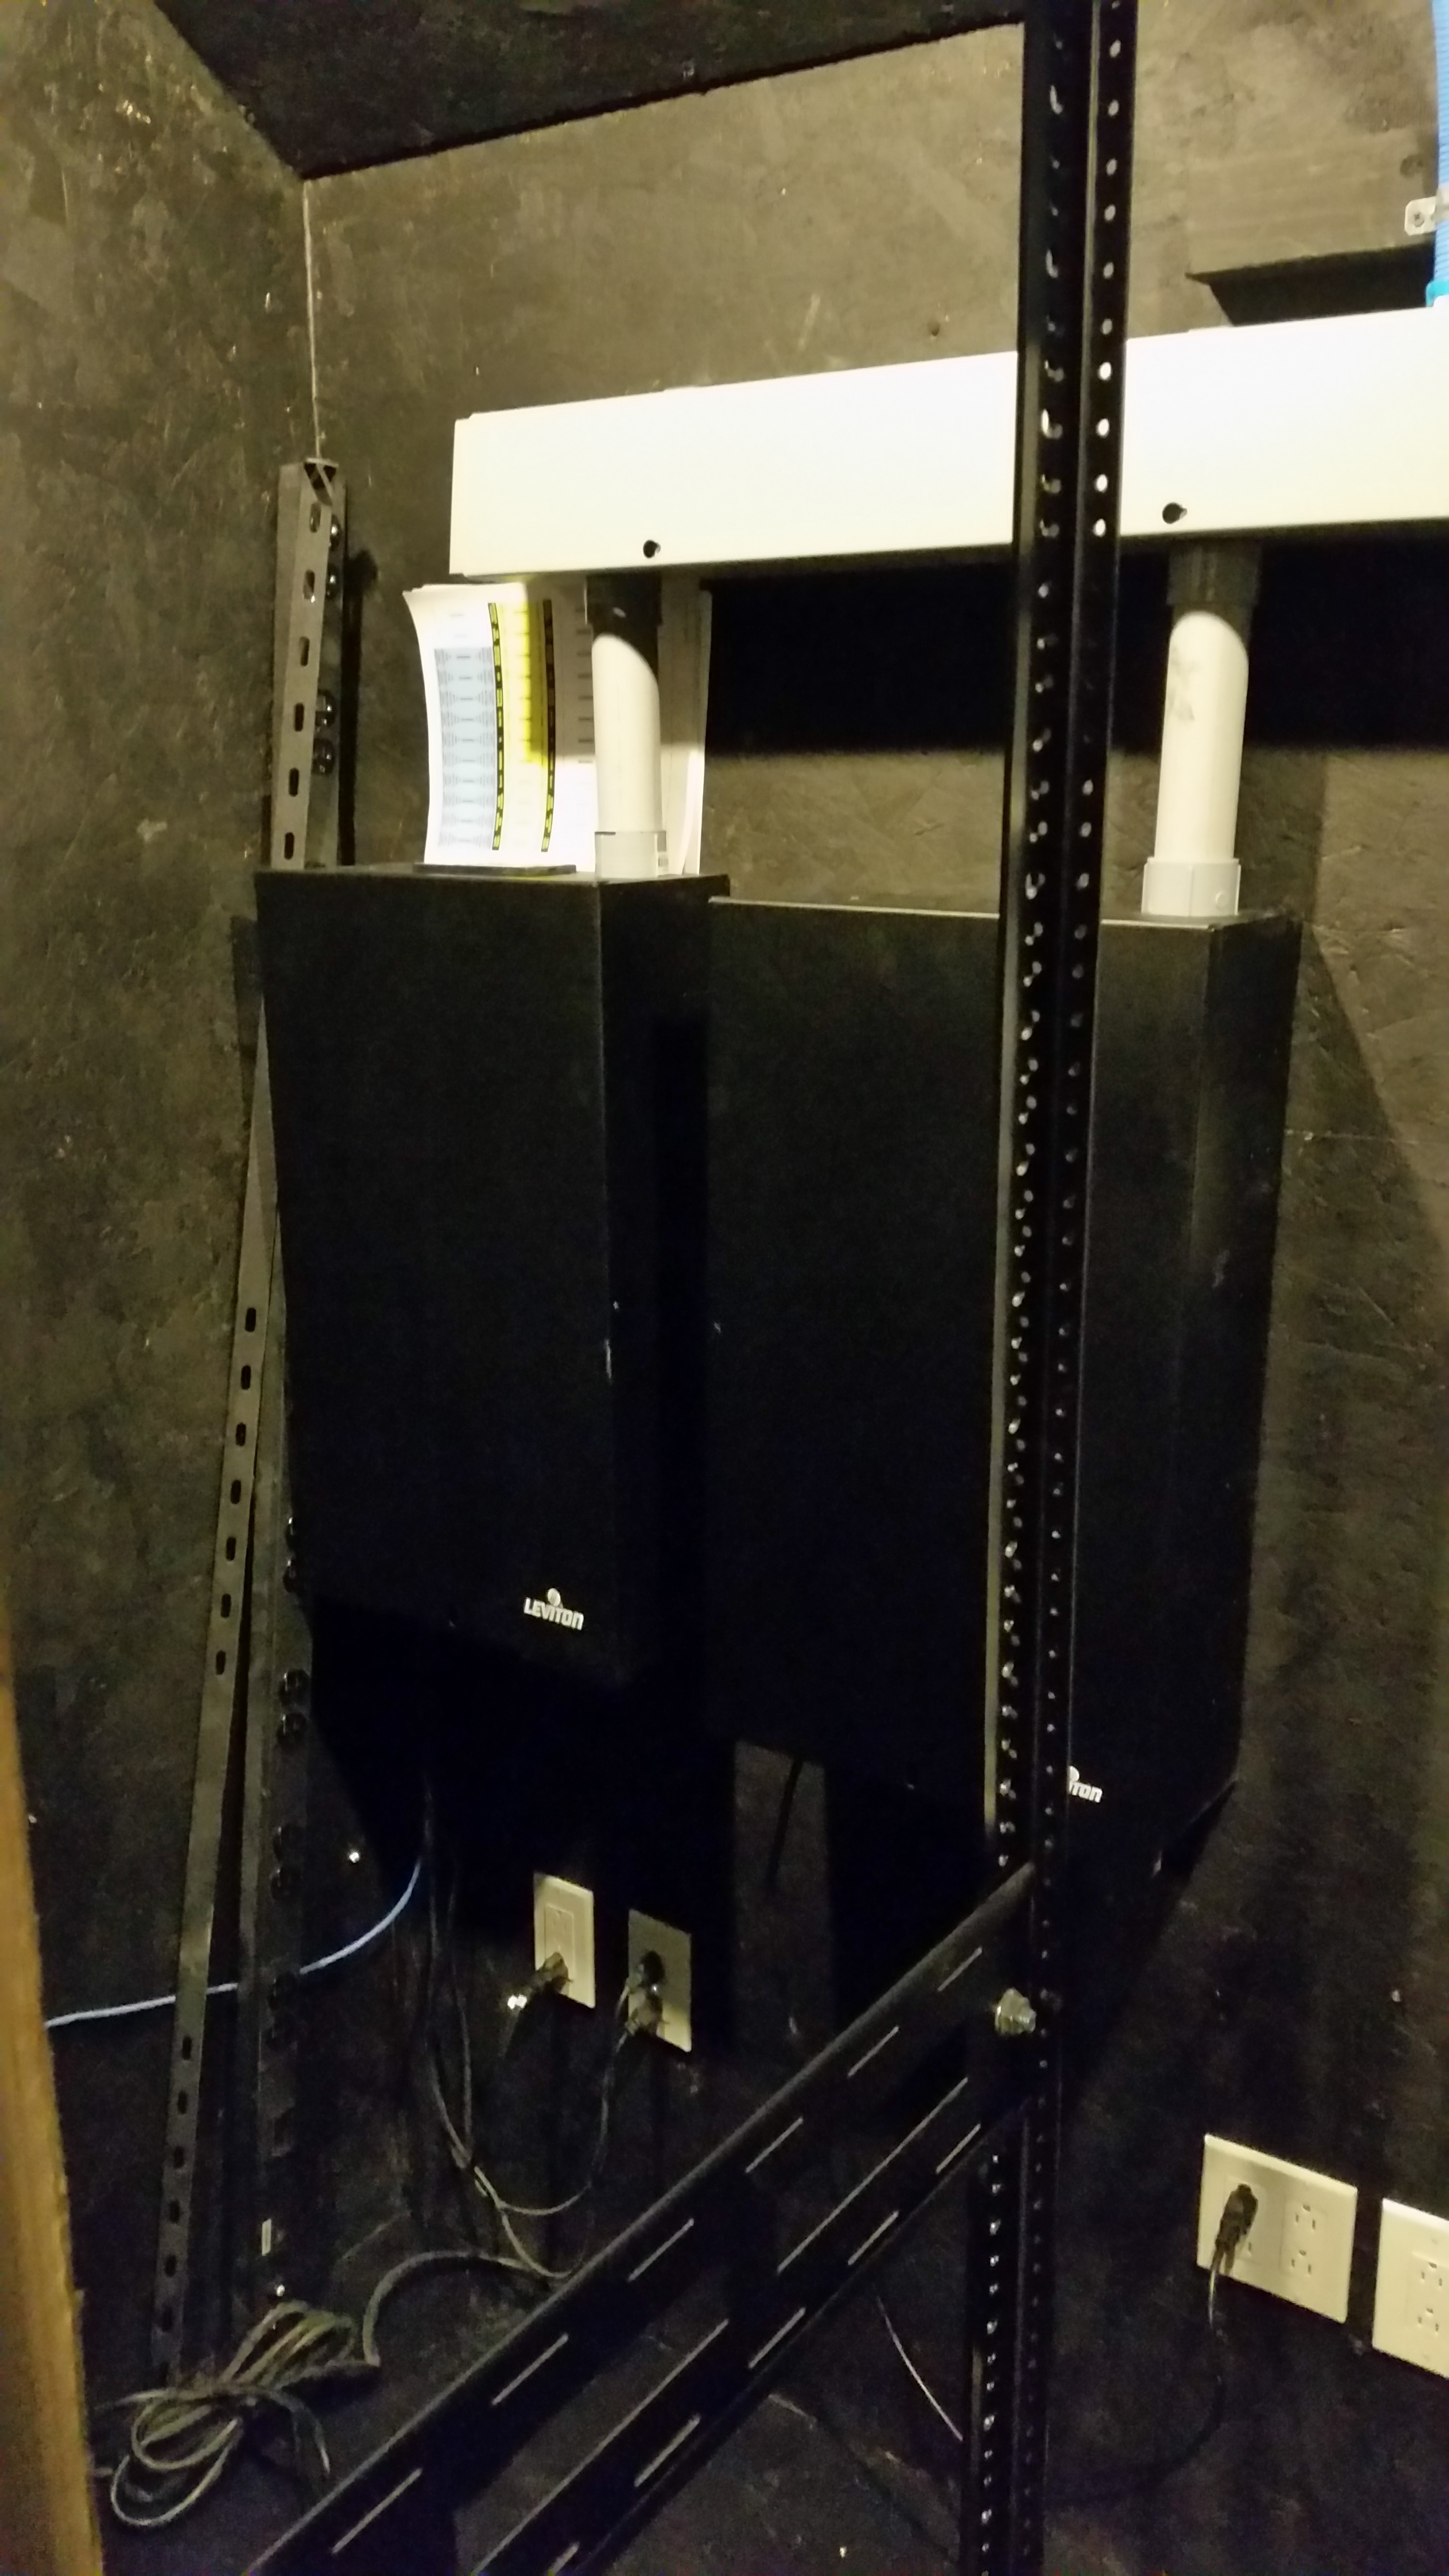
I ran mine into a Leviton low voltage cabinet in my home theater wiring closet so that it would all be hidden out of site. This is also running the LED strips on the handrail for the stairs that lead up to my home theater.
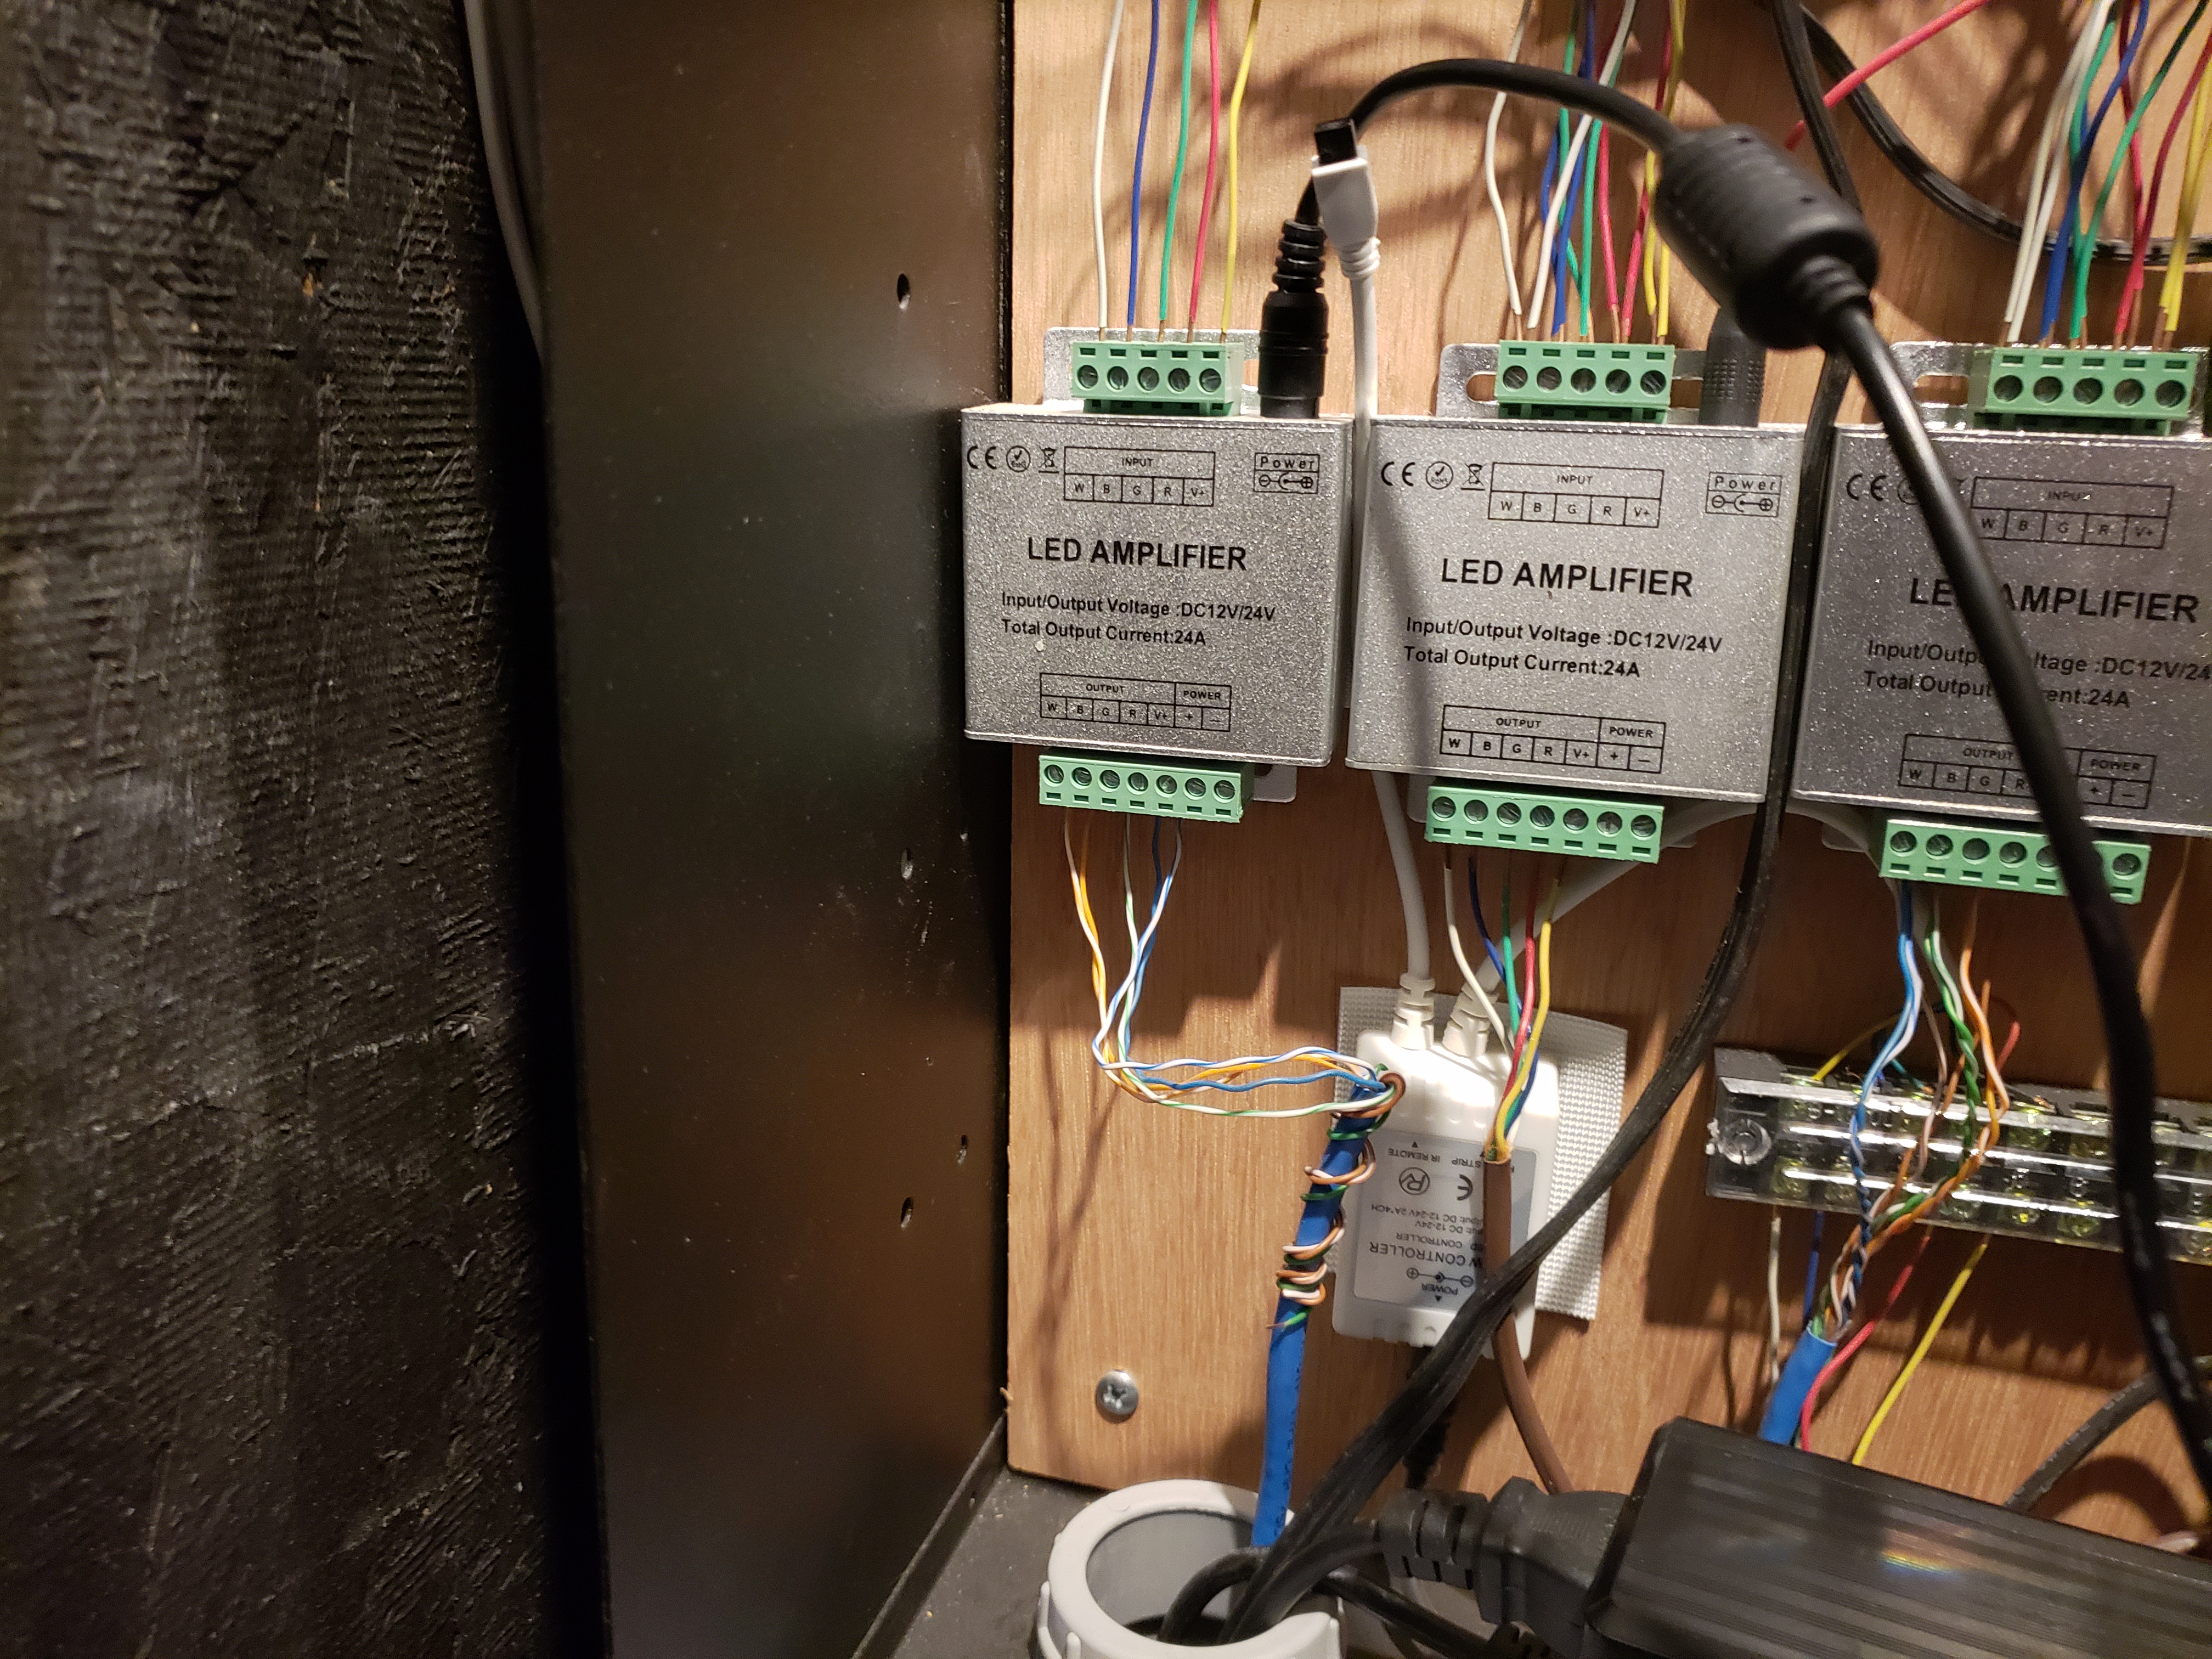
LED Amplifiers
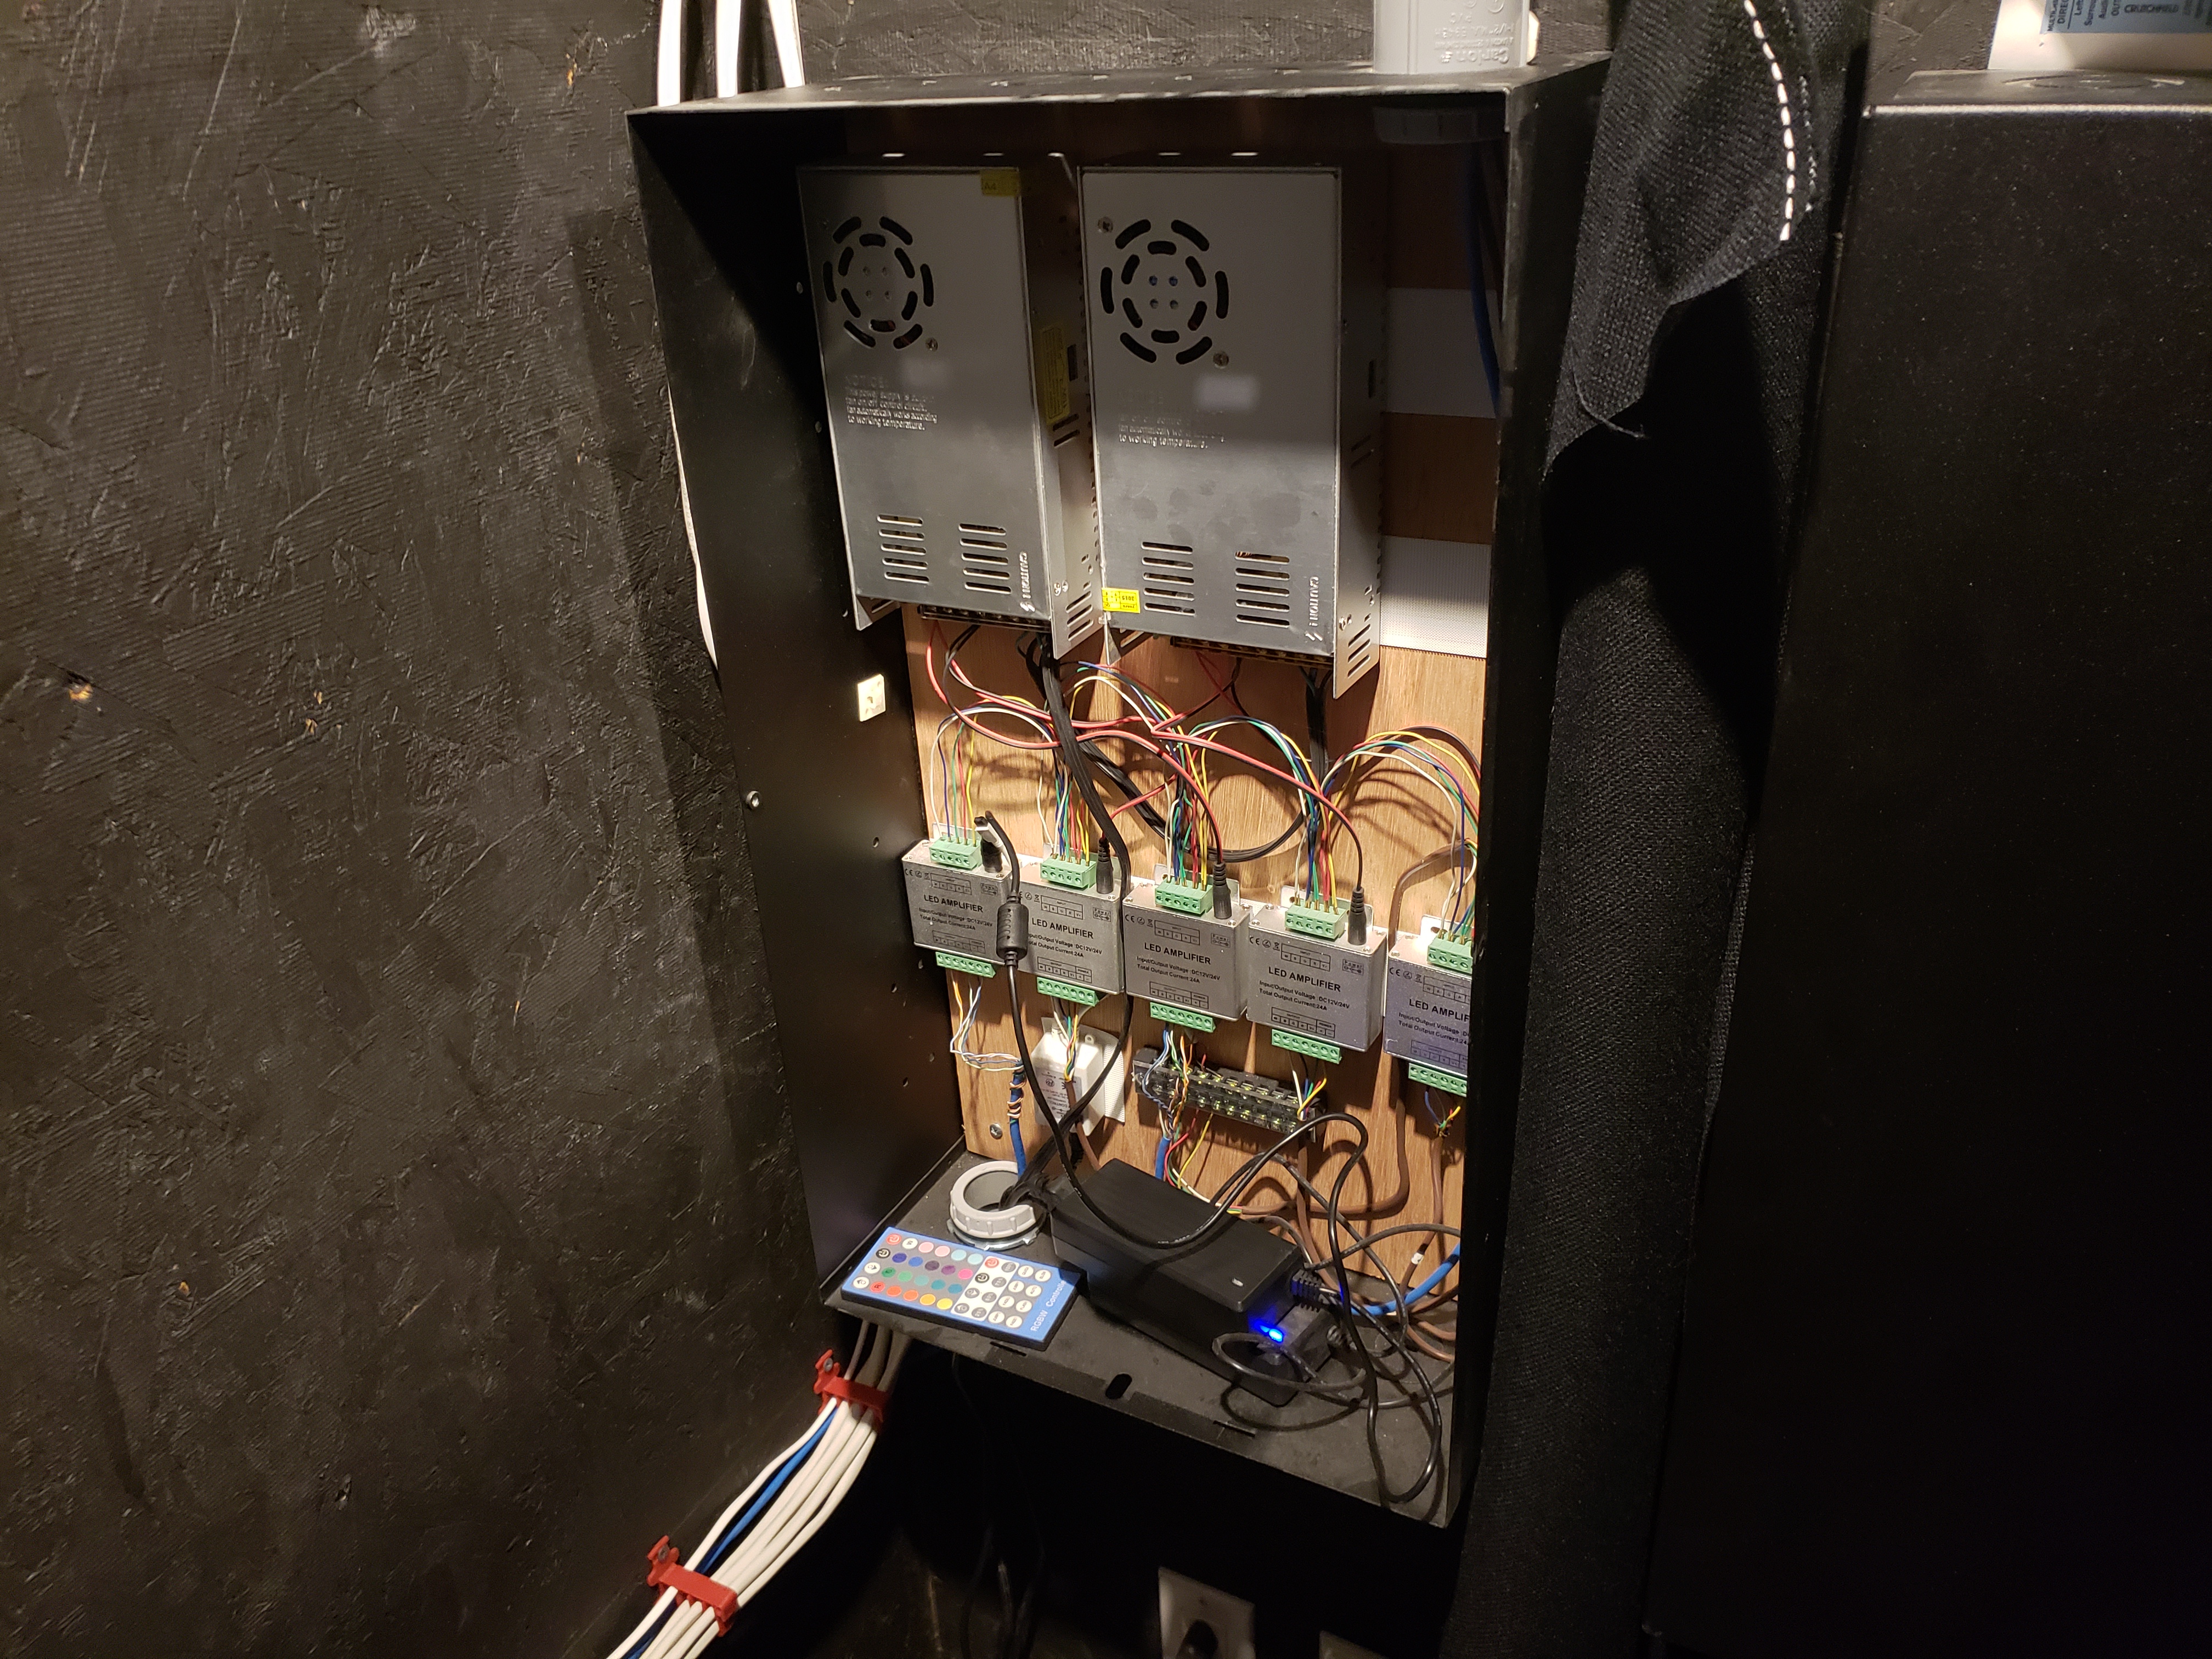
LED Cabinet
Since I had so many LED strips to power, I purchased large 12v power supplies and 12v pigtails to power everything. Add up the total watts for your application and make sure your power supplies are big enough to power everything.
Now that you have them wired, it's time to test. Power up the amplifier and controller and use the remote control to turn them on and change the brightness and color.
Add the Trim
Now you can add the trim to the front of the soffit. I used 3/4" Poplar, and 1-1/4" corner trim to cover the rough end of the trim board and the end of the drywall.
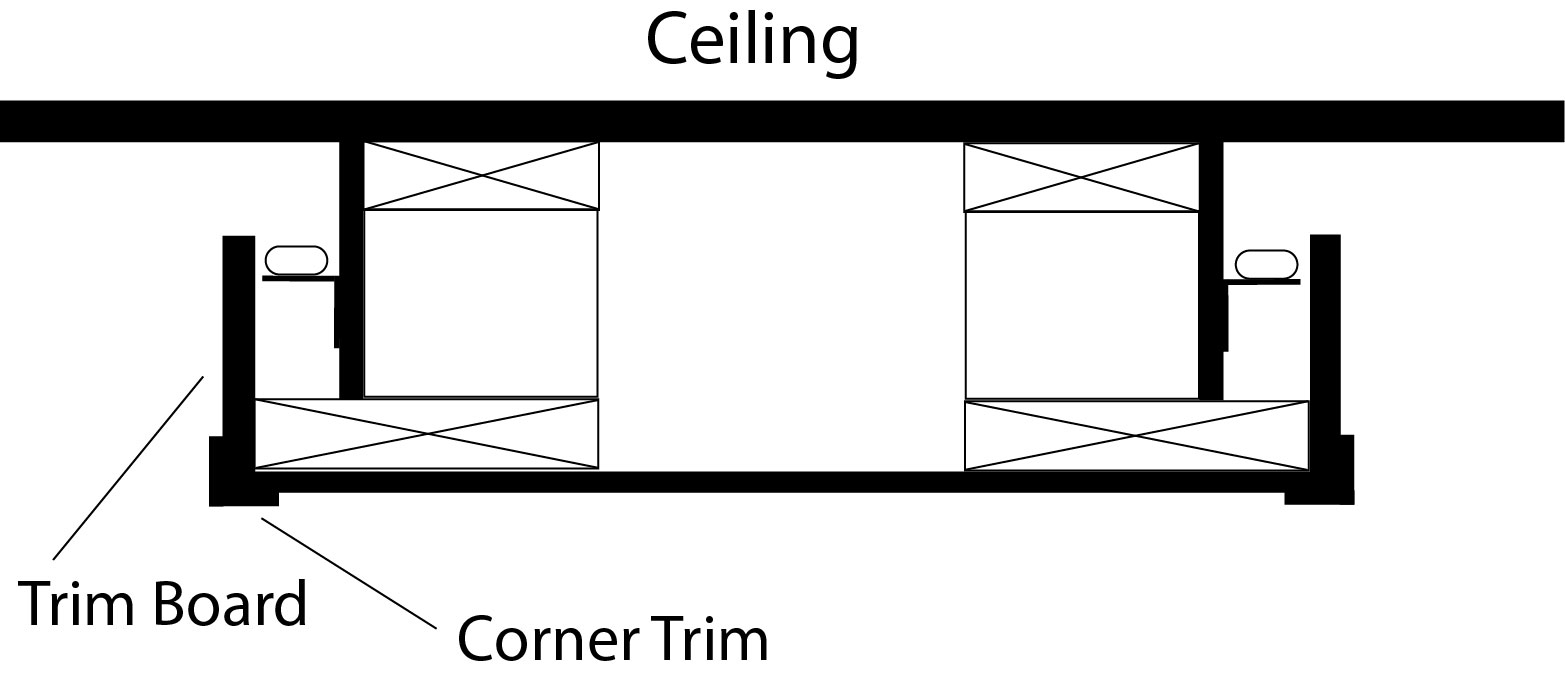
Trim
Switching
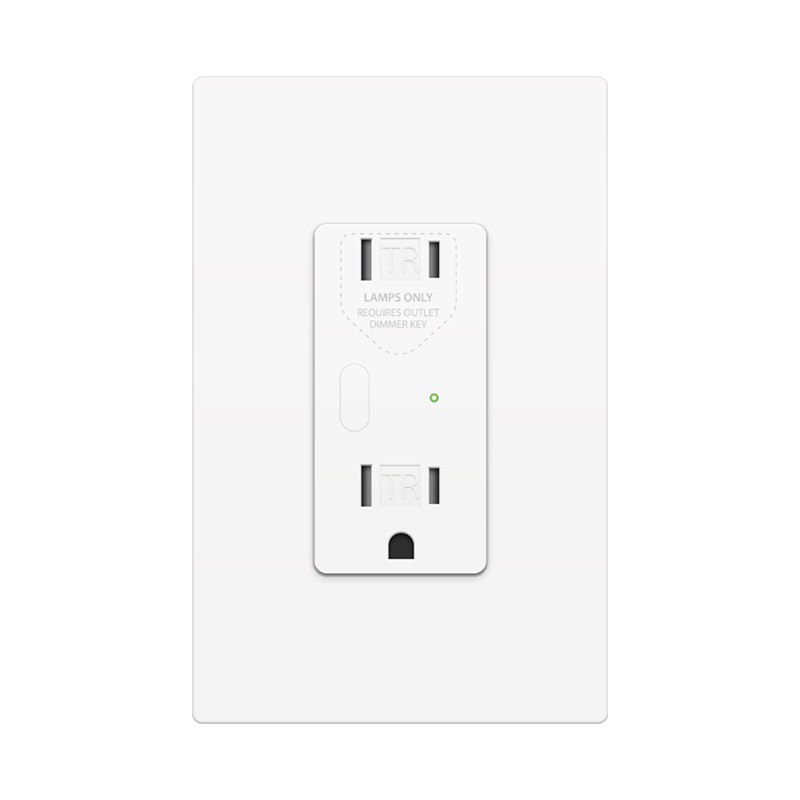
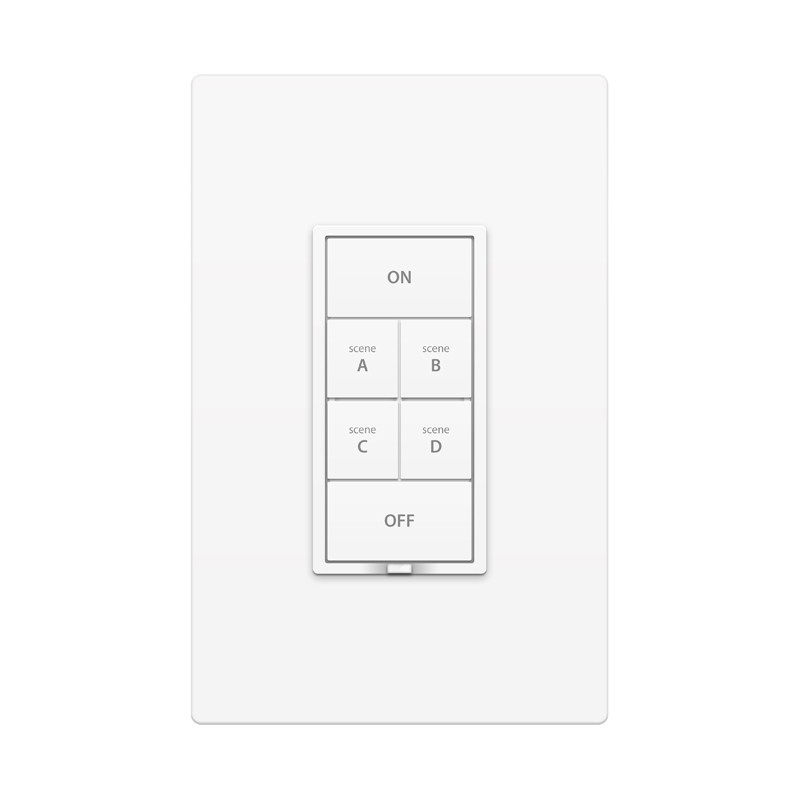
To turn the LED soffit lighting on and off, I use an Insteon remote control outlet. That's paired with a Universal Devices ISY994i home automation controller, so I'm able to setup scenes to dim my recessed lighting and turn the LED soffit lights on and off. Or you can pair it with an Insteon keypad.
Covers On
Conclusion
LED soffit lighting is a great addition to a home theater, but can be used anywhere you want some nice up lighting. The light colors can be adjusted to match your room, or you can change them to create different looks.
I hoped this how-to helped you to be able to build you own soffits with LED lights. If you have any questions, please leave them in the comments and I'll do my best to answer them.
-Tim

