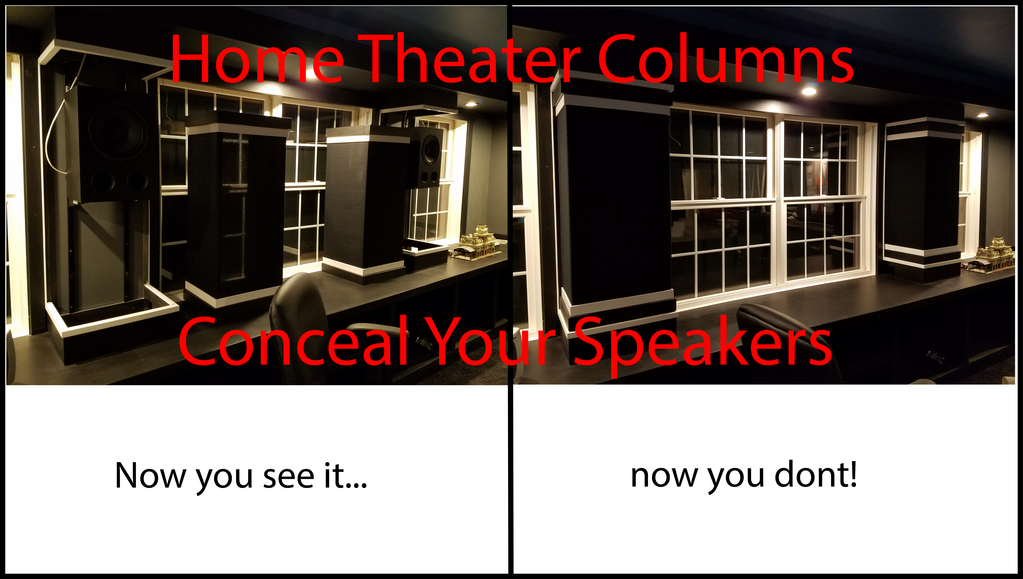
Building speaker columns for your home theater can be a great way to both conceal your surround speakers and provide some character to your room. In this post, I will walk you through how I built easily removable speaker columns for my home theater and how they server multiple functions.
More...
Pre-Wiring Your Home Theater Columns
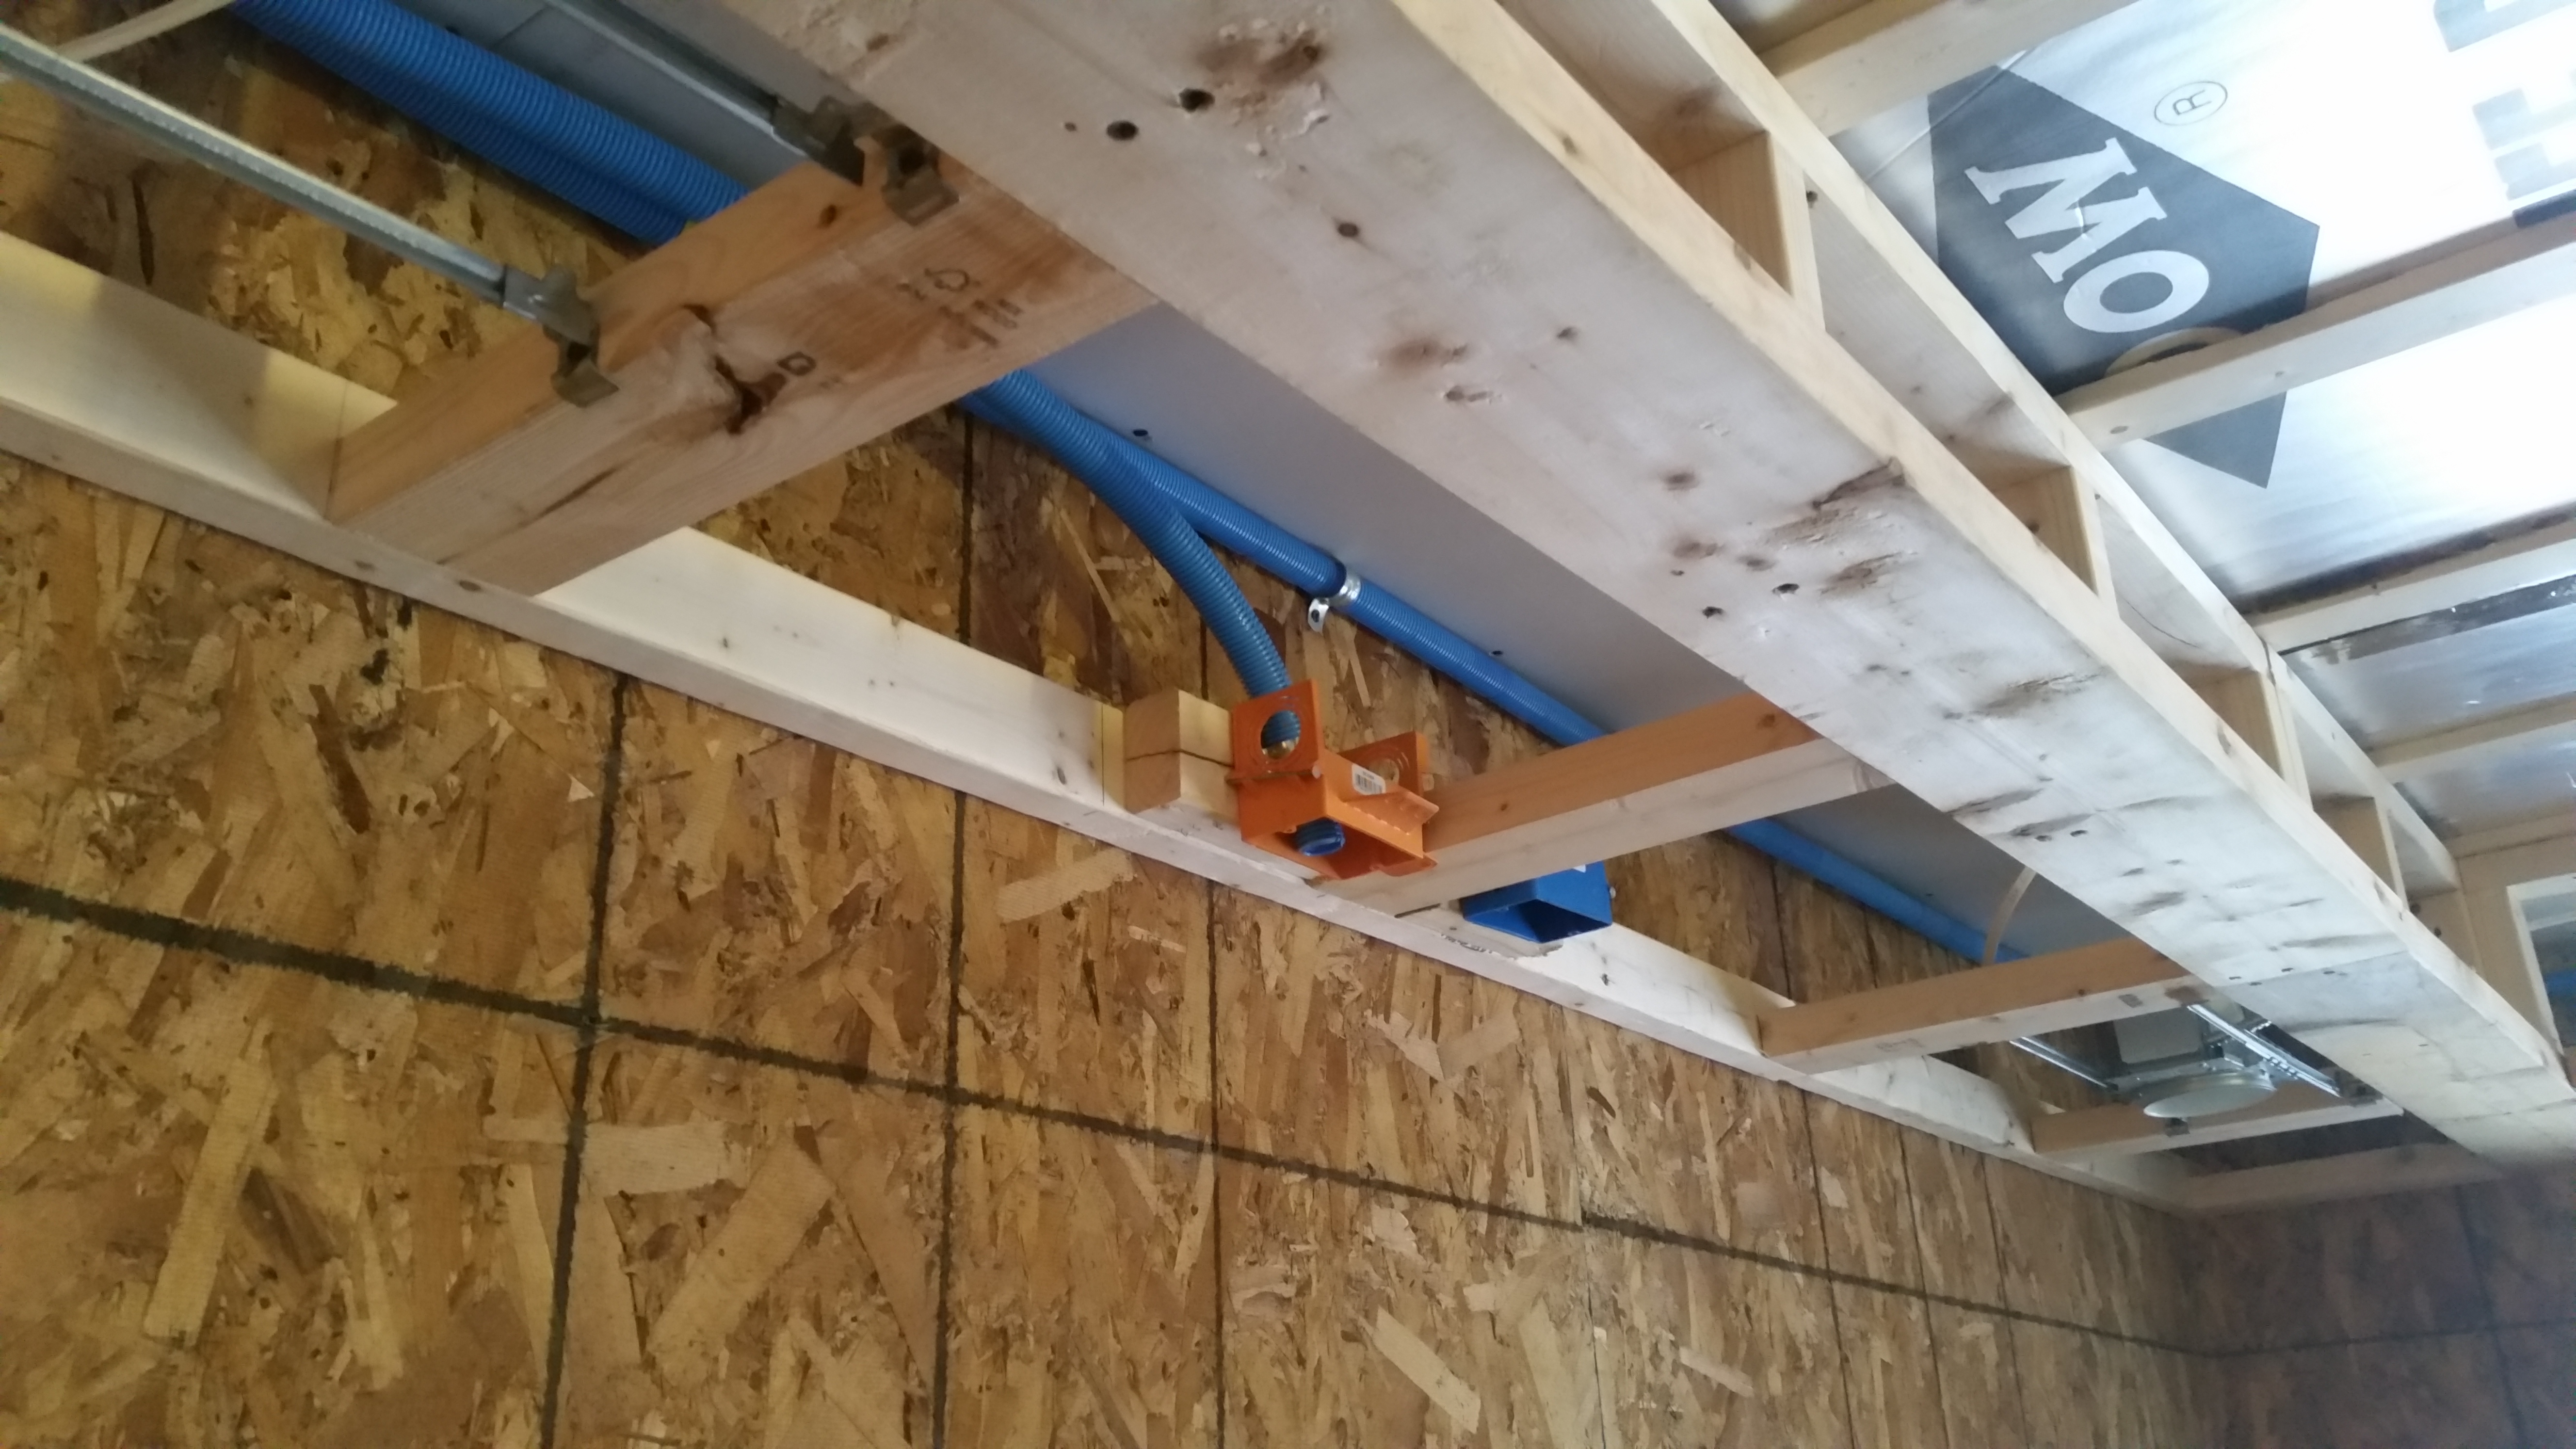
During your wiring rough in and well before you are ready to build your columns, make sure you have your speaker wires located where you want each column.
Column Pre Wire
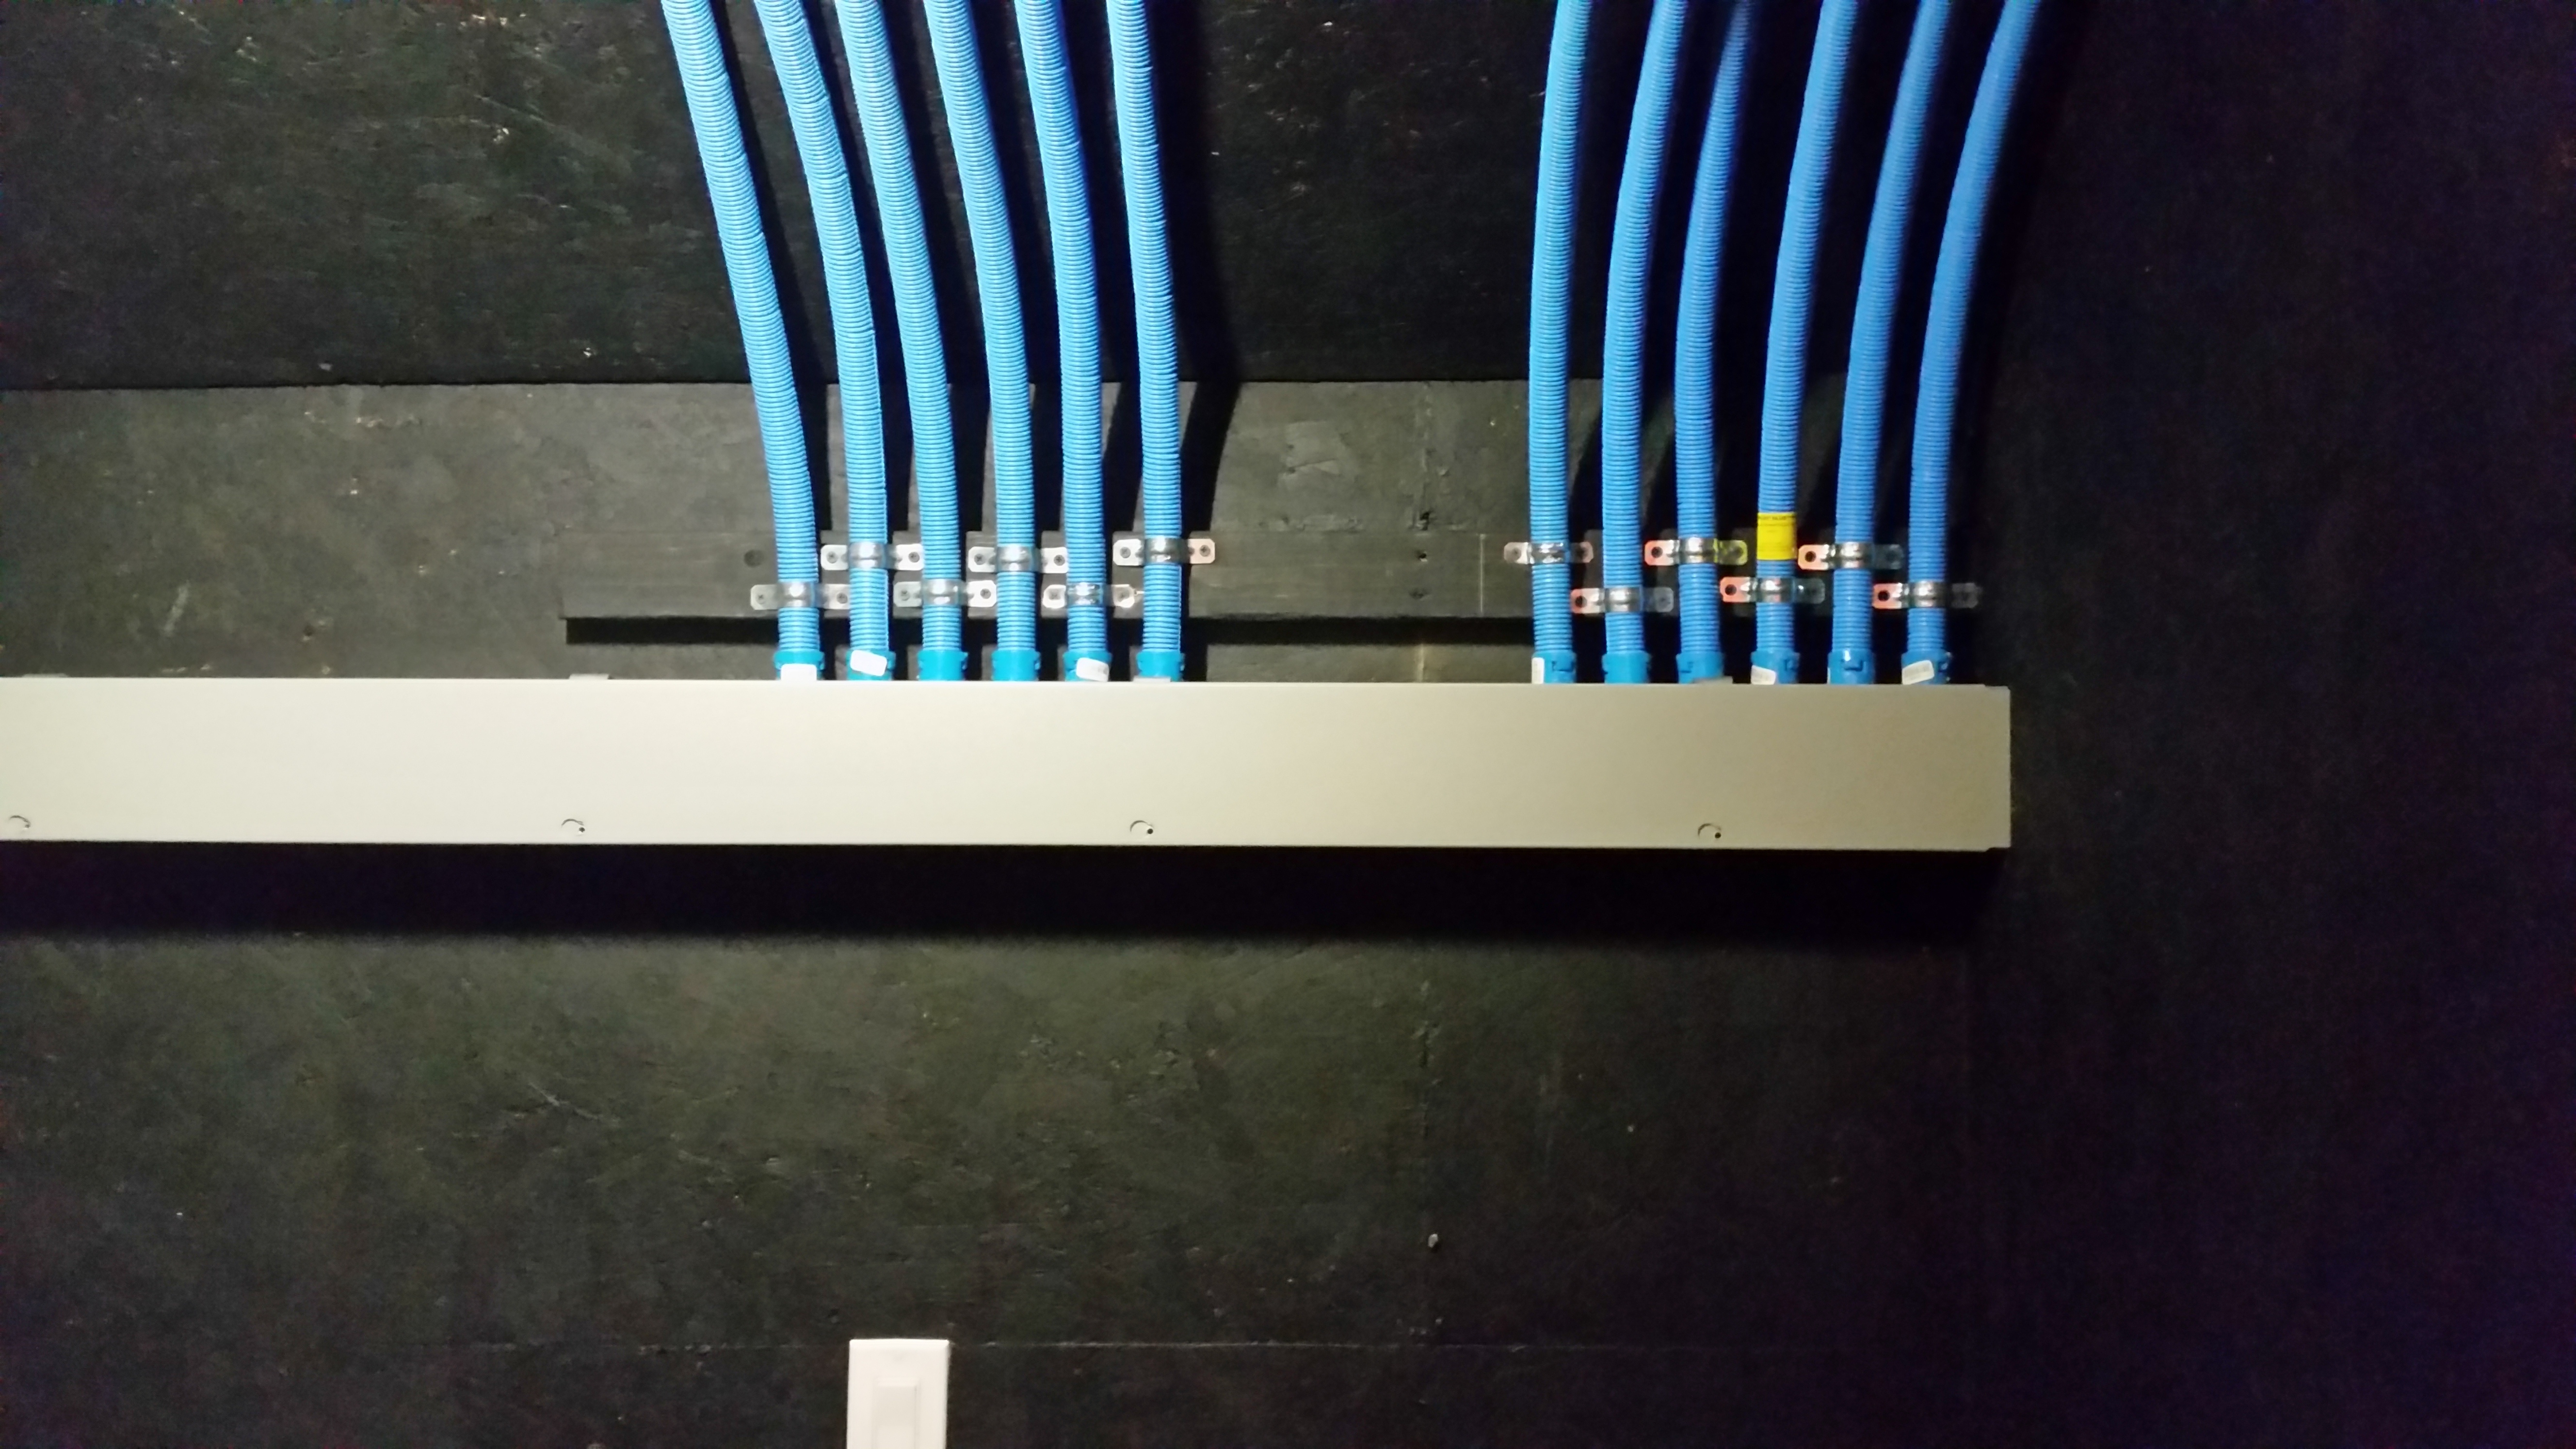
In my case, I ran flexible conduit (also known as smurf tube) and electrical to each column location. I used low voltage boxes for the smurf tube termination in the columns. This provides a lot of flexibility for different wiring options down the road.
Conduit Termination
That was all run back to my media closet and terminated in a trough. You can use a standard wiring trough, like this one, just make sure it has the correct knockouts for your conduit.
Home Theater Column Design
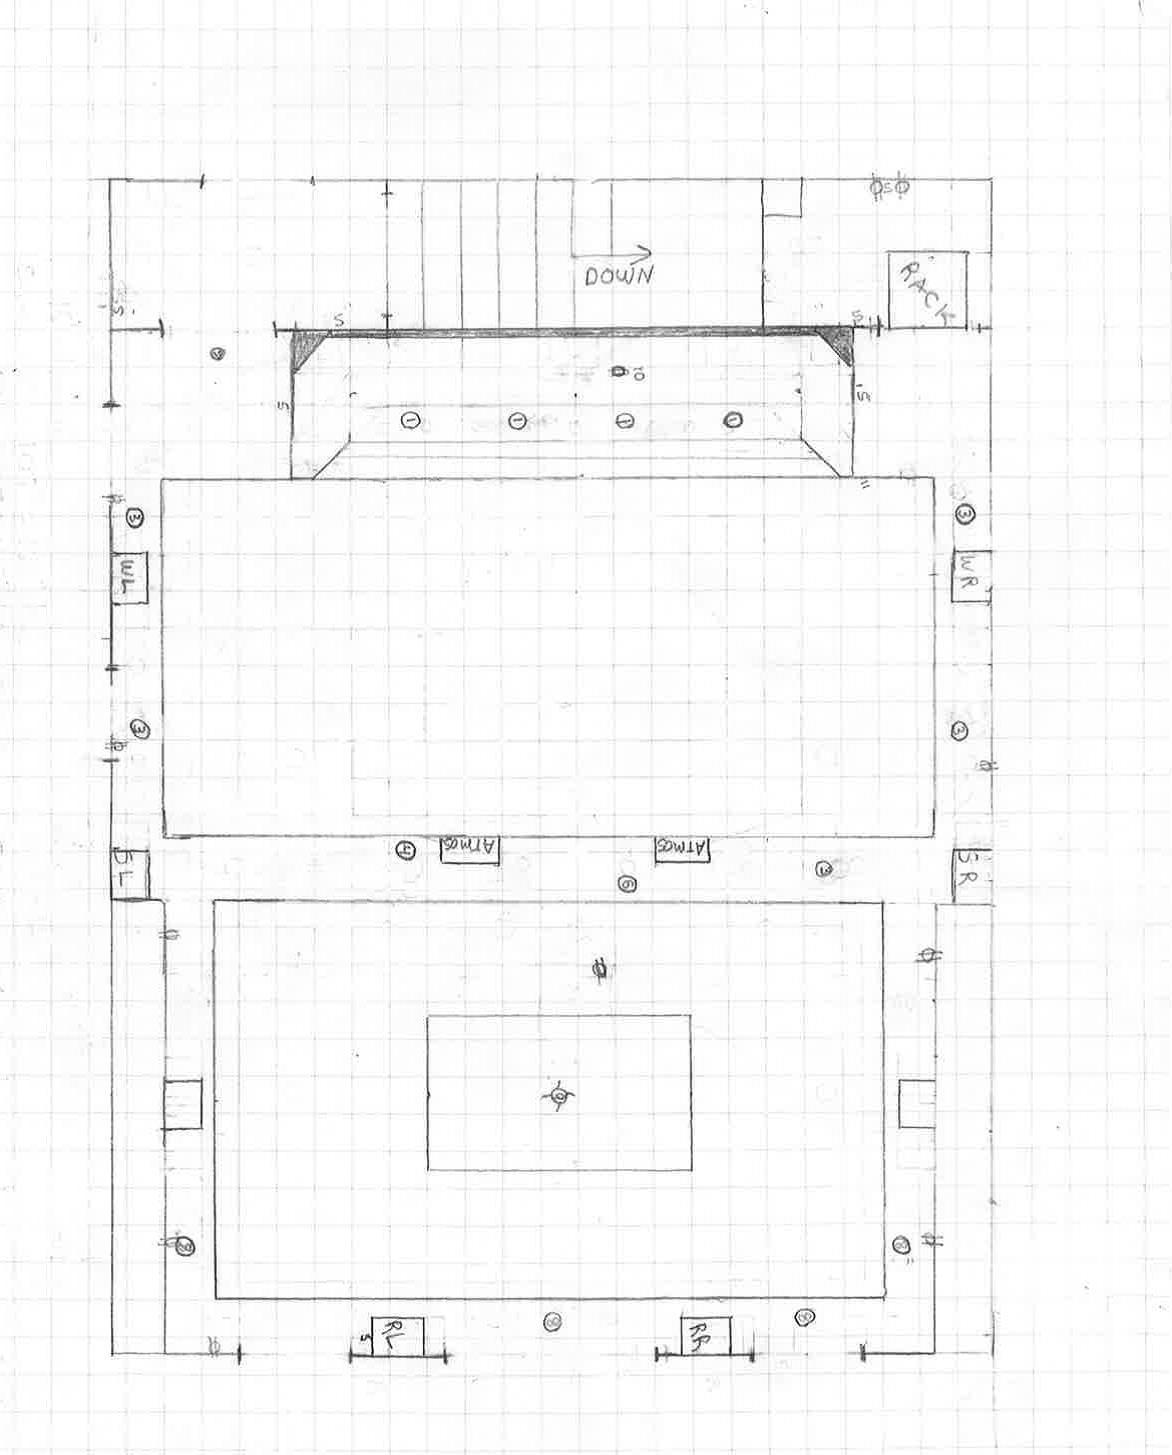
I'm low tech when it comes to this part. I use good old graph paper and a mechanical pencil.
You want the columns to be easily removable so that you can get to the speakers.
Home Theater Design Drawing
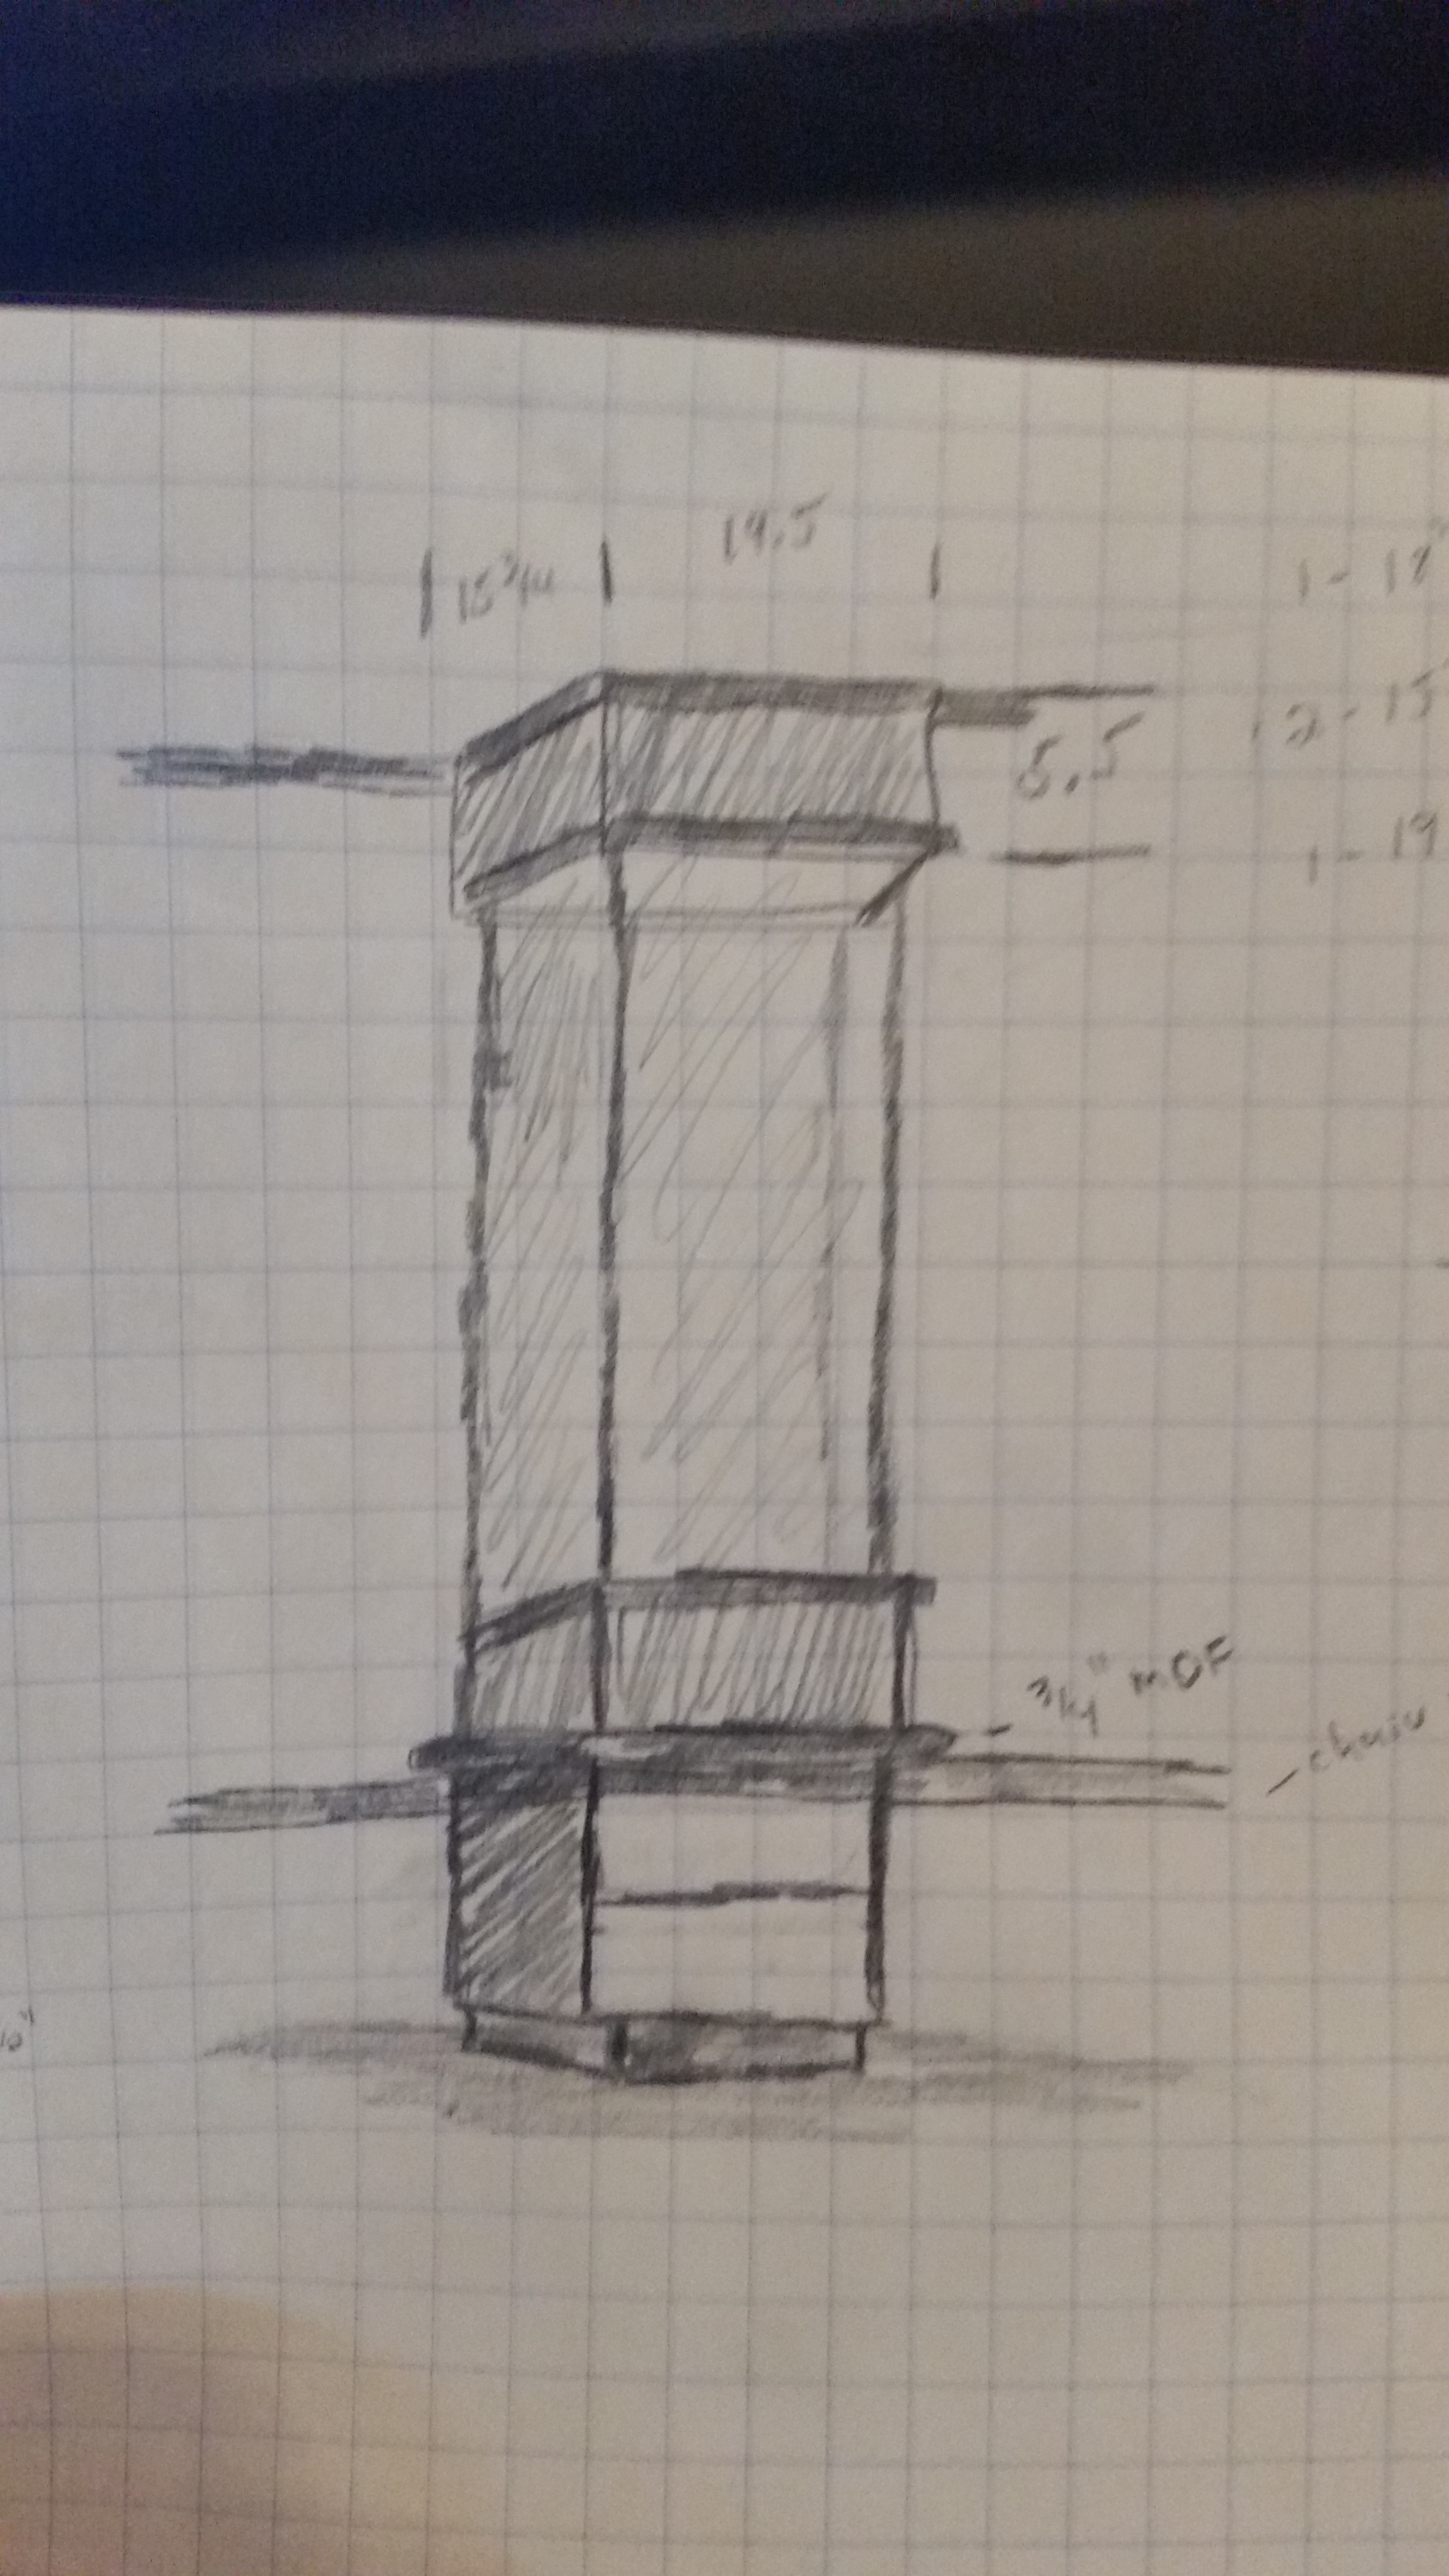
Column Design Drawing
My theater is designed to be 9.2.4 with two rows of surround speakers, so I needed 8 columns (2-Wide, 4-Surround, 2-Surround Back).
I also wanted cabinets in the back around the second row seating for a model train, so to get those columns to match the free standing wide and first row surround columns, I chose to make then in several pieces.
Column Tops and Bottoms
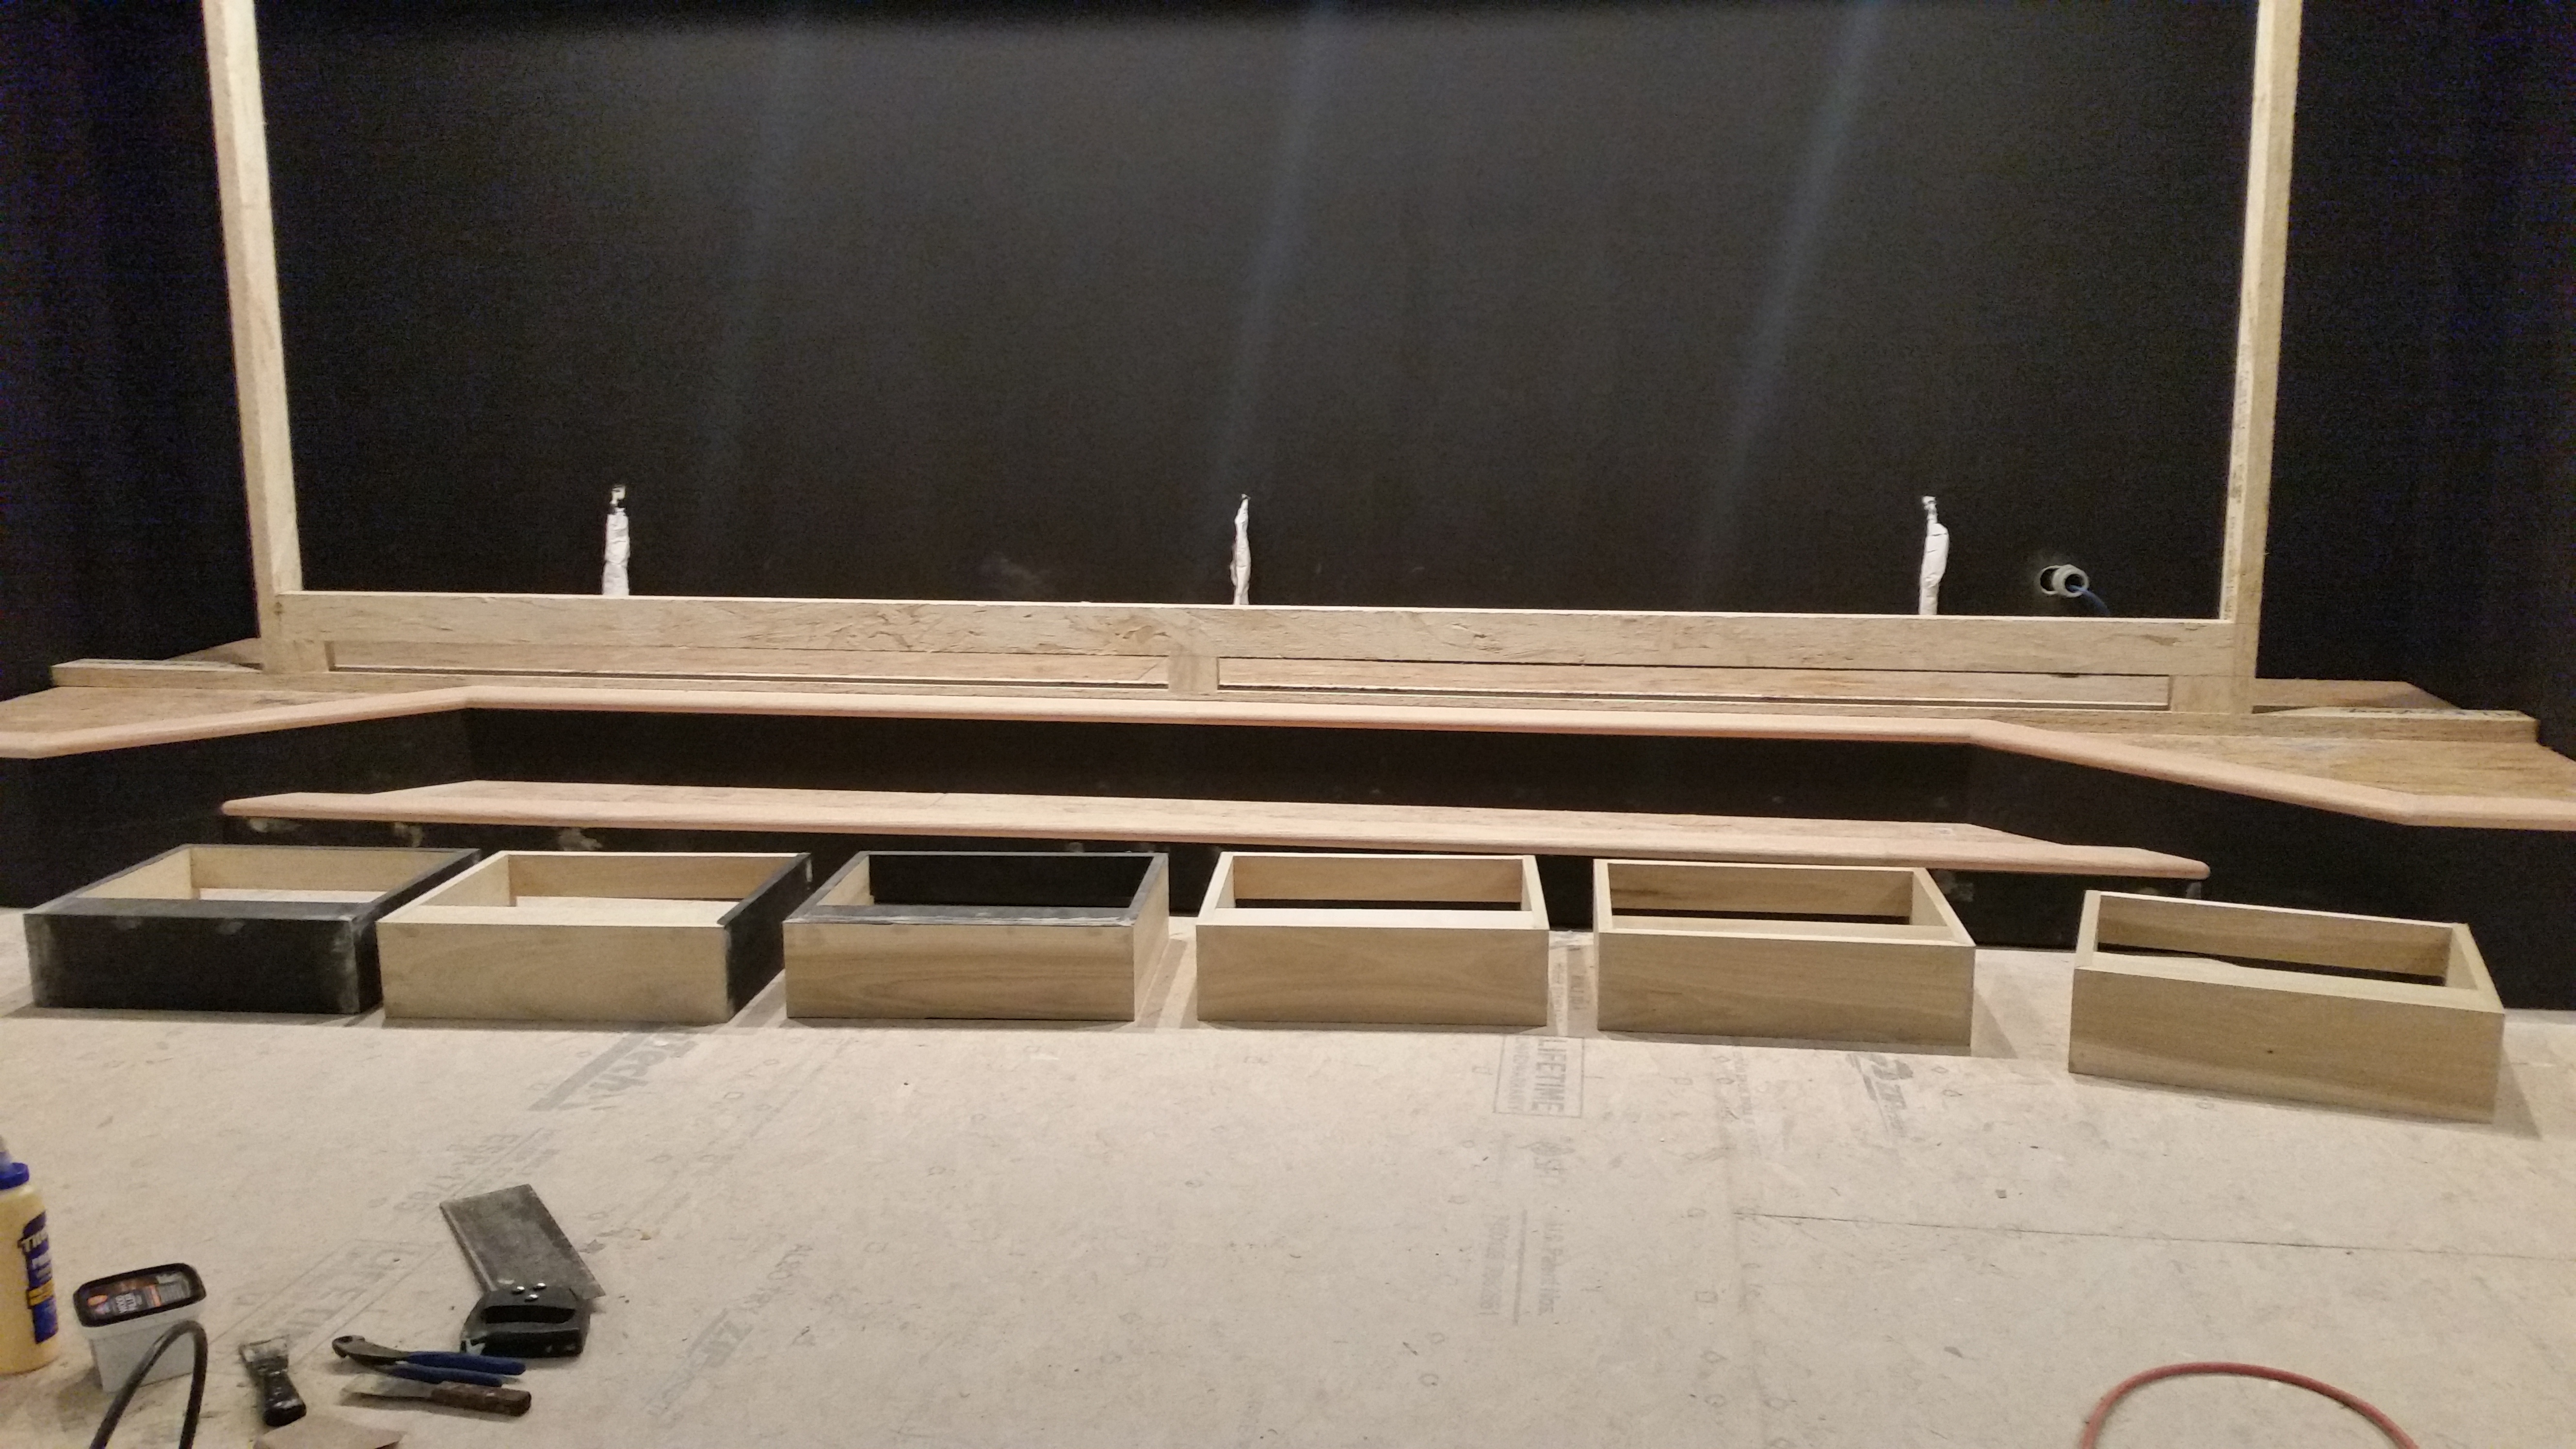
Column Tops and Bottoms
I built 16 simple rectangular boxes using poplar, a nail gun and wood glue. I attached a small horizontal piece to use as an attachment point. Make sure you build them big enough to hold the speakers you plan on using for your surrounds.
I'm using DIY Sound Group Volt 10's.
Two boxes were built for each column. One to attach to the ceiling (soffit actually) and one to attach to the cabinet base. It will become clearer as we continue on.
Attaching the Tops
Column Tops
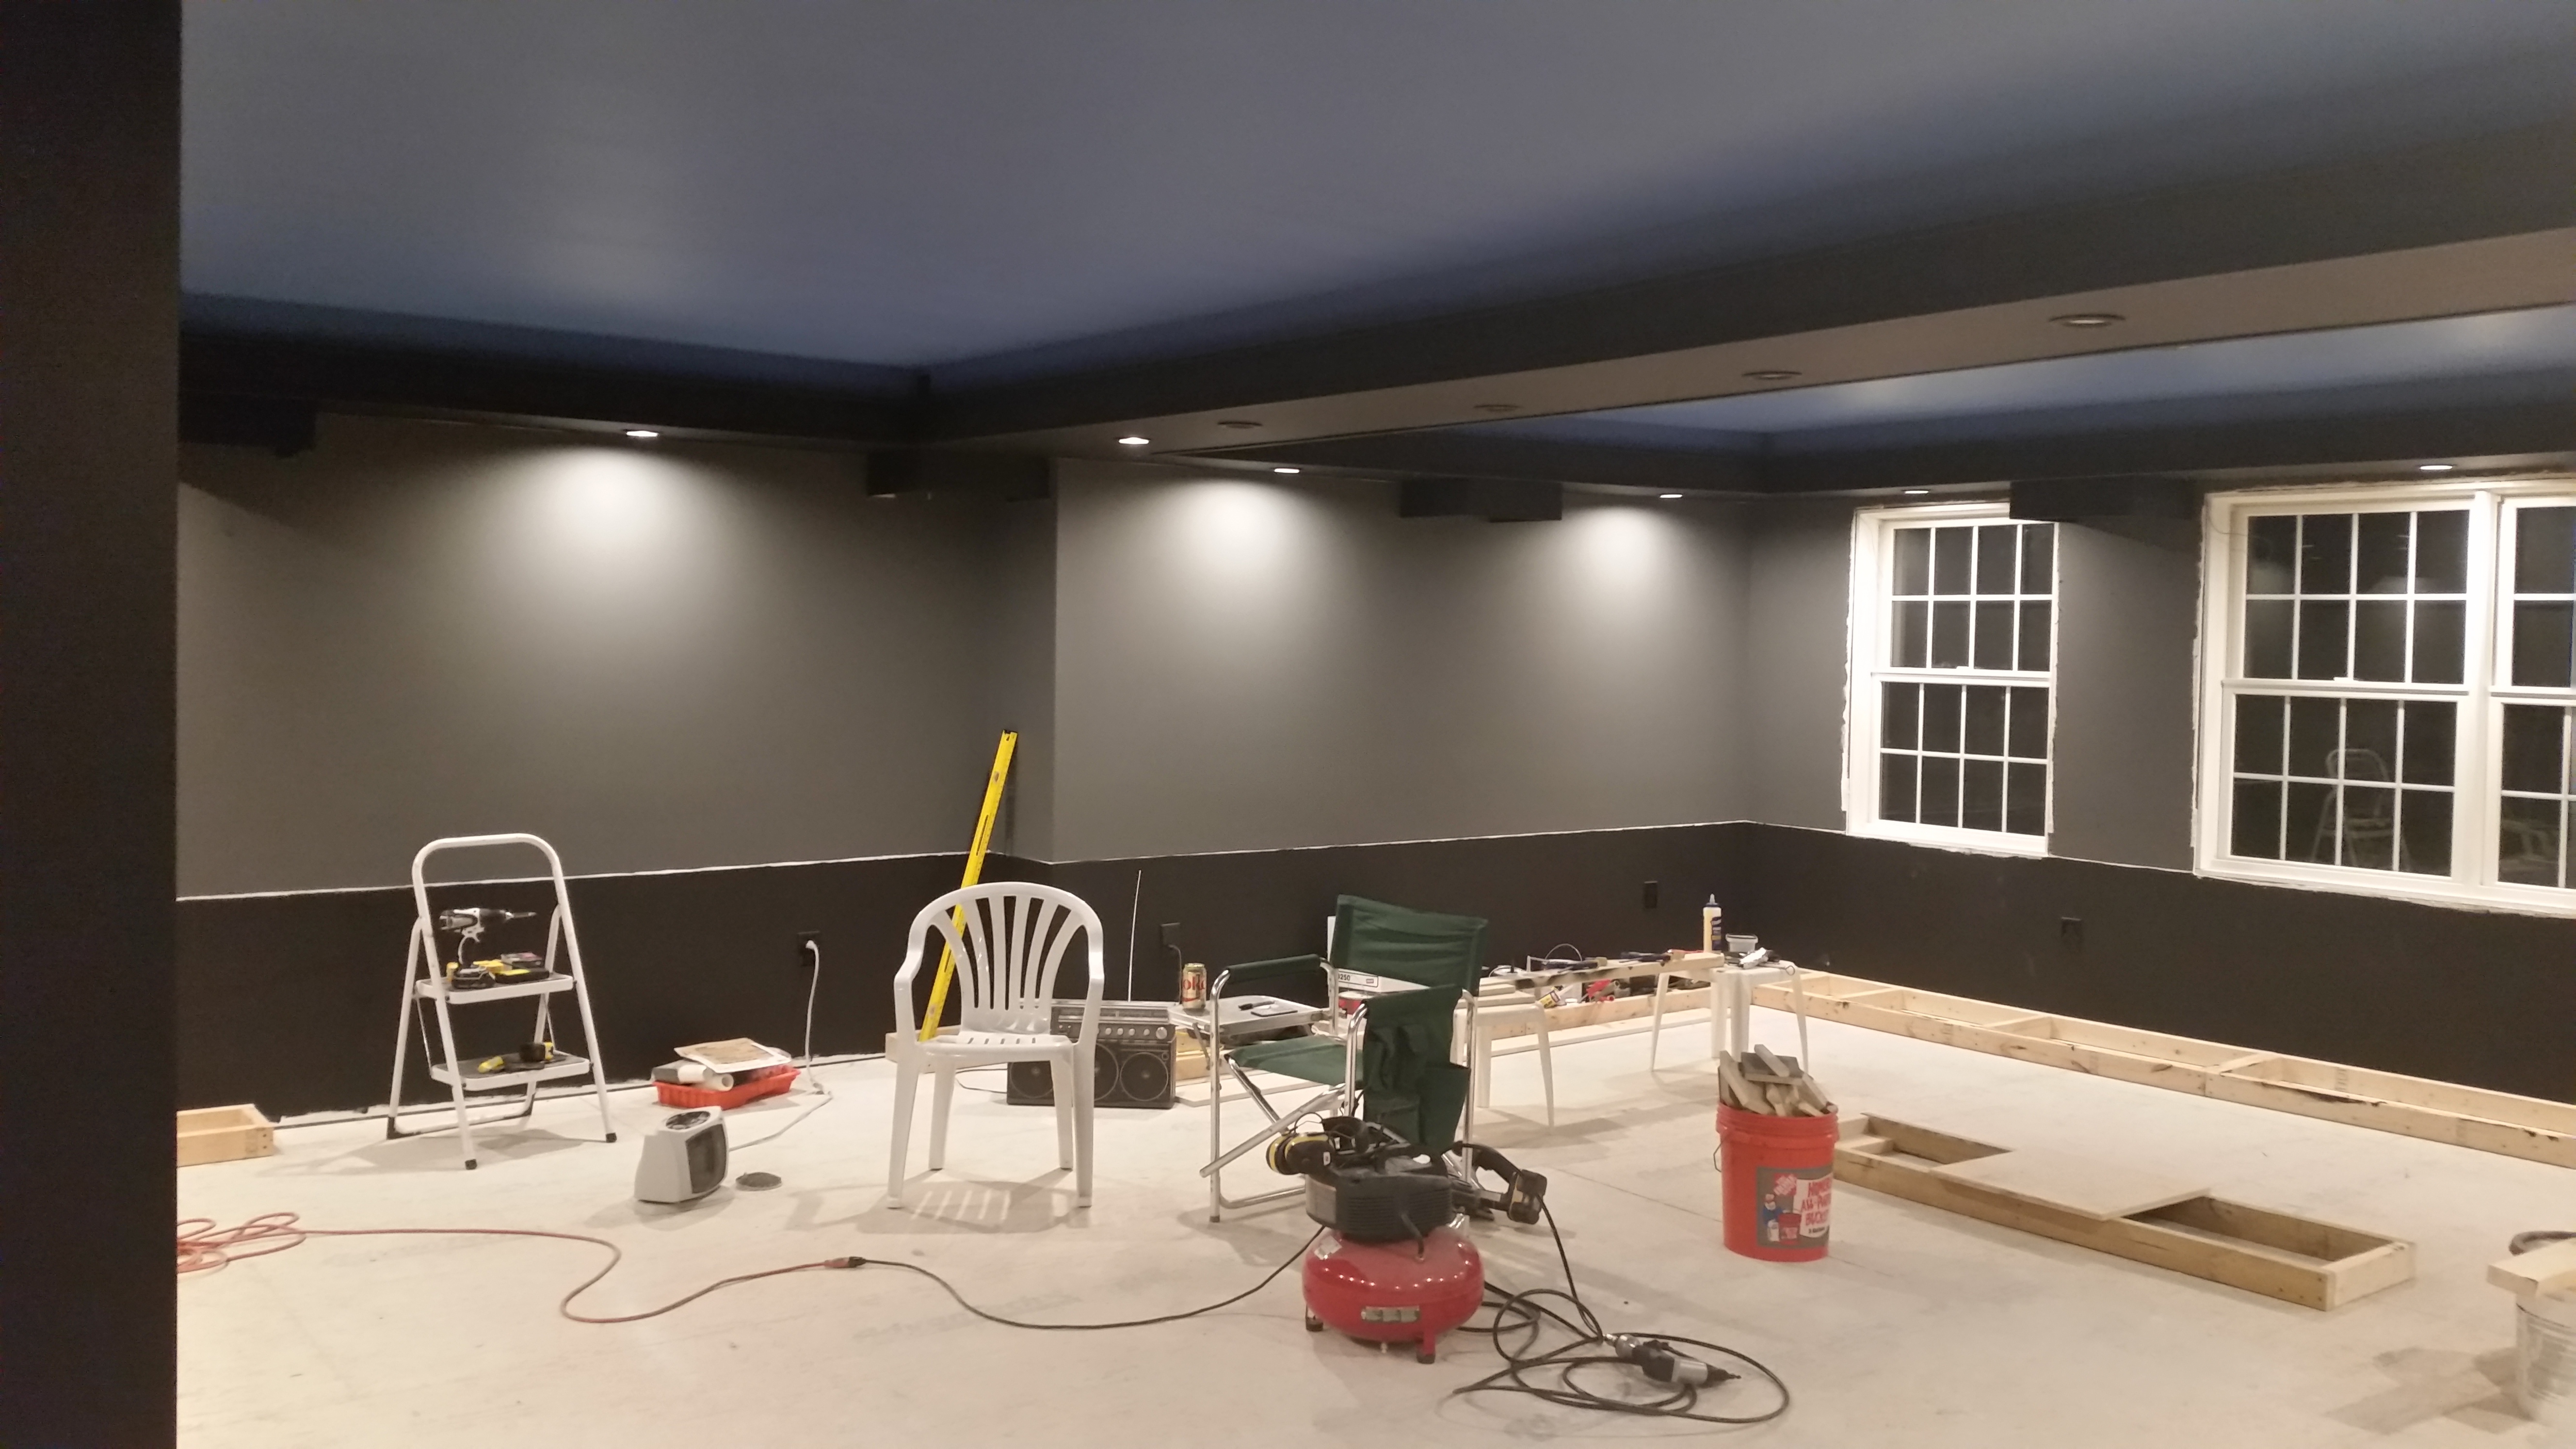
The tops were attached to the soffit using 3" drywall screws. After finding the studs, I located and pre-drilled a hole in the horizontal attachment point so that the column would be where I wanted it.
Building the Cabinets
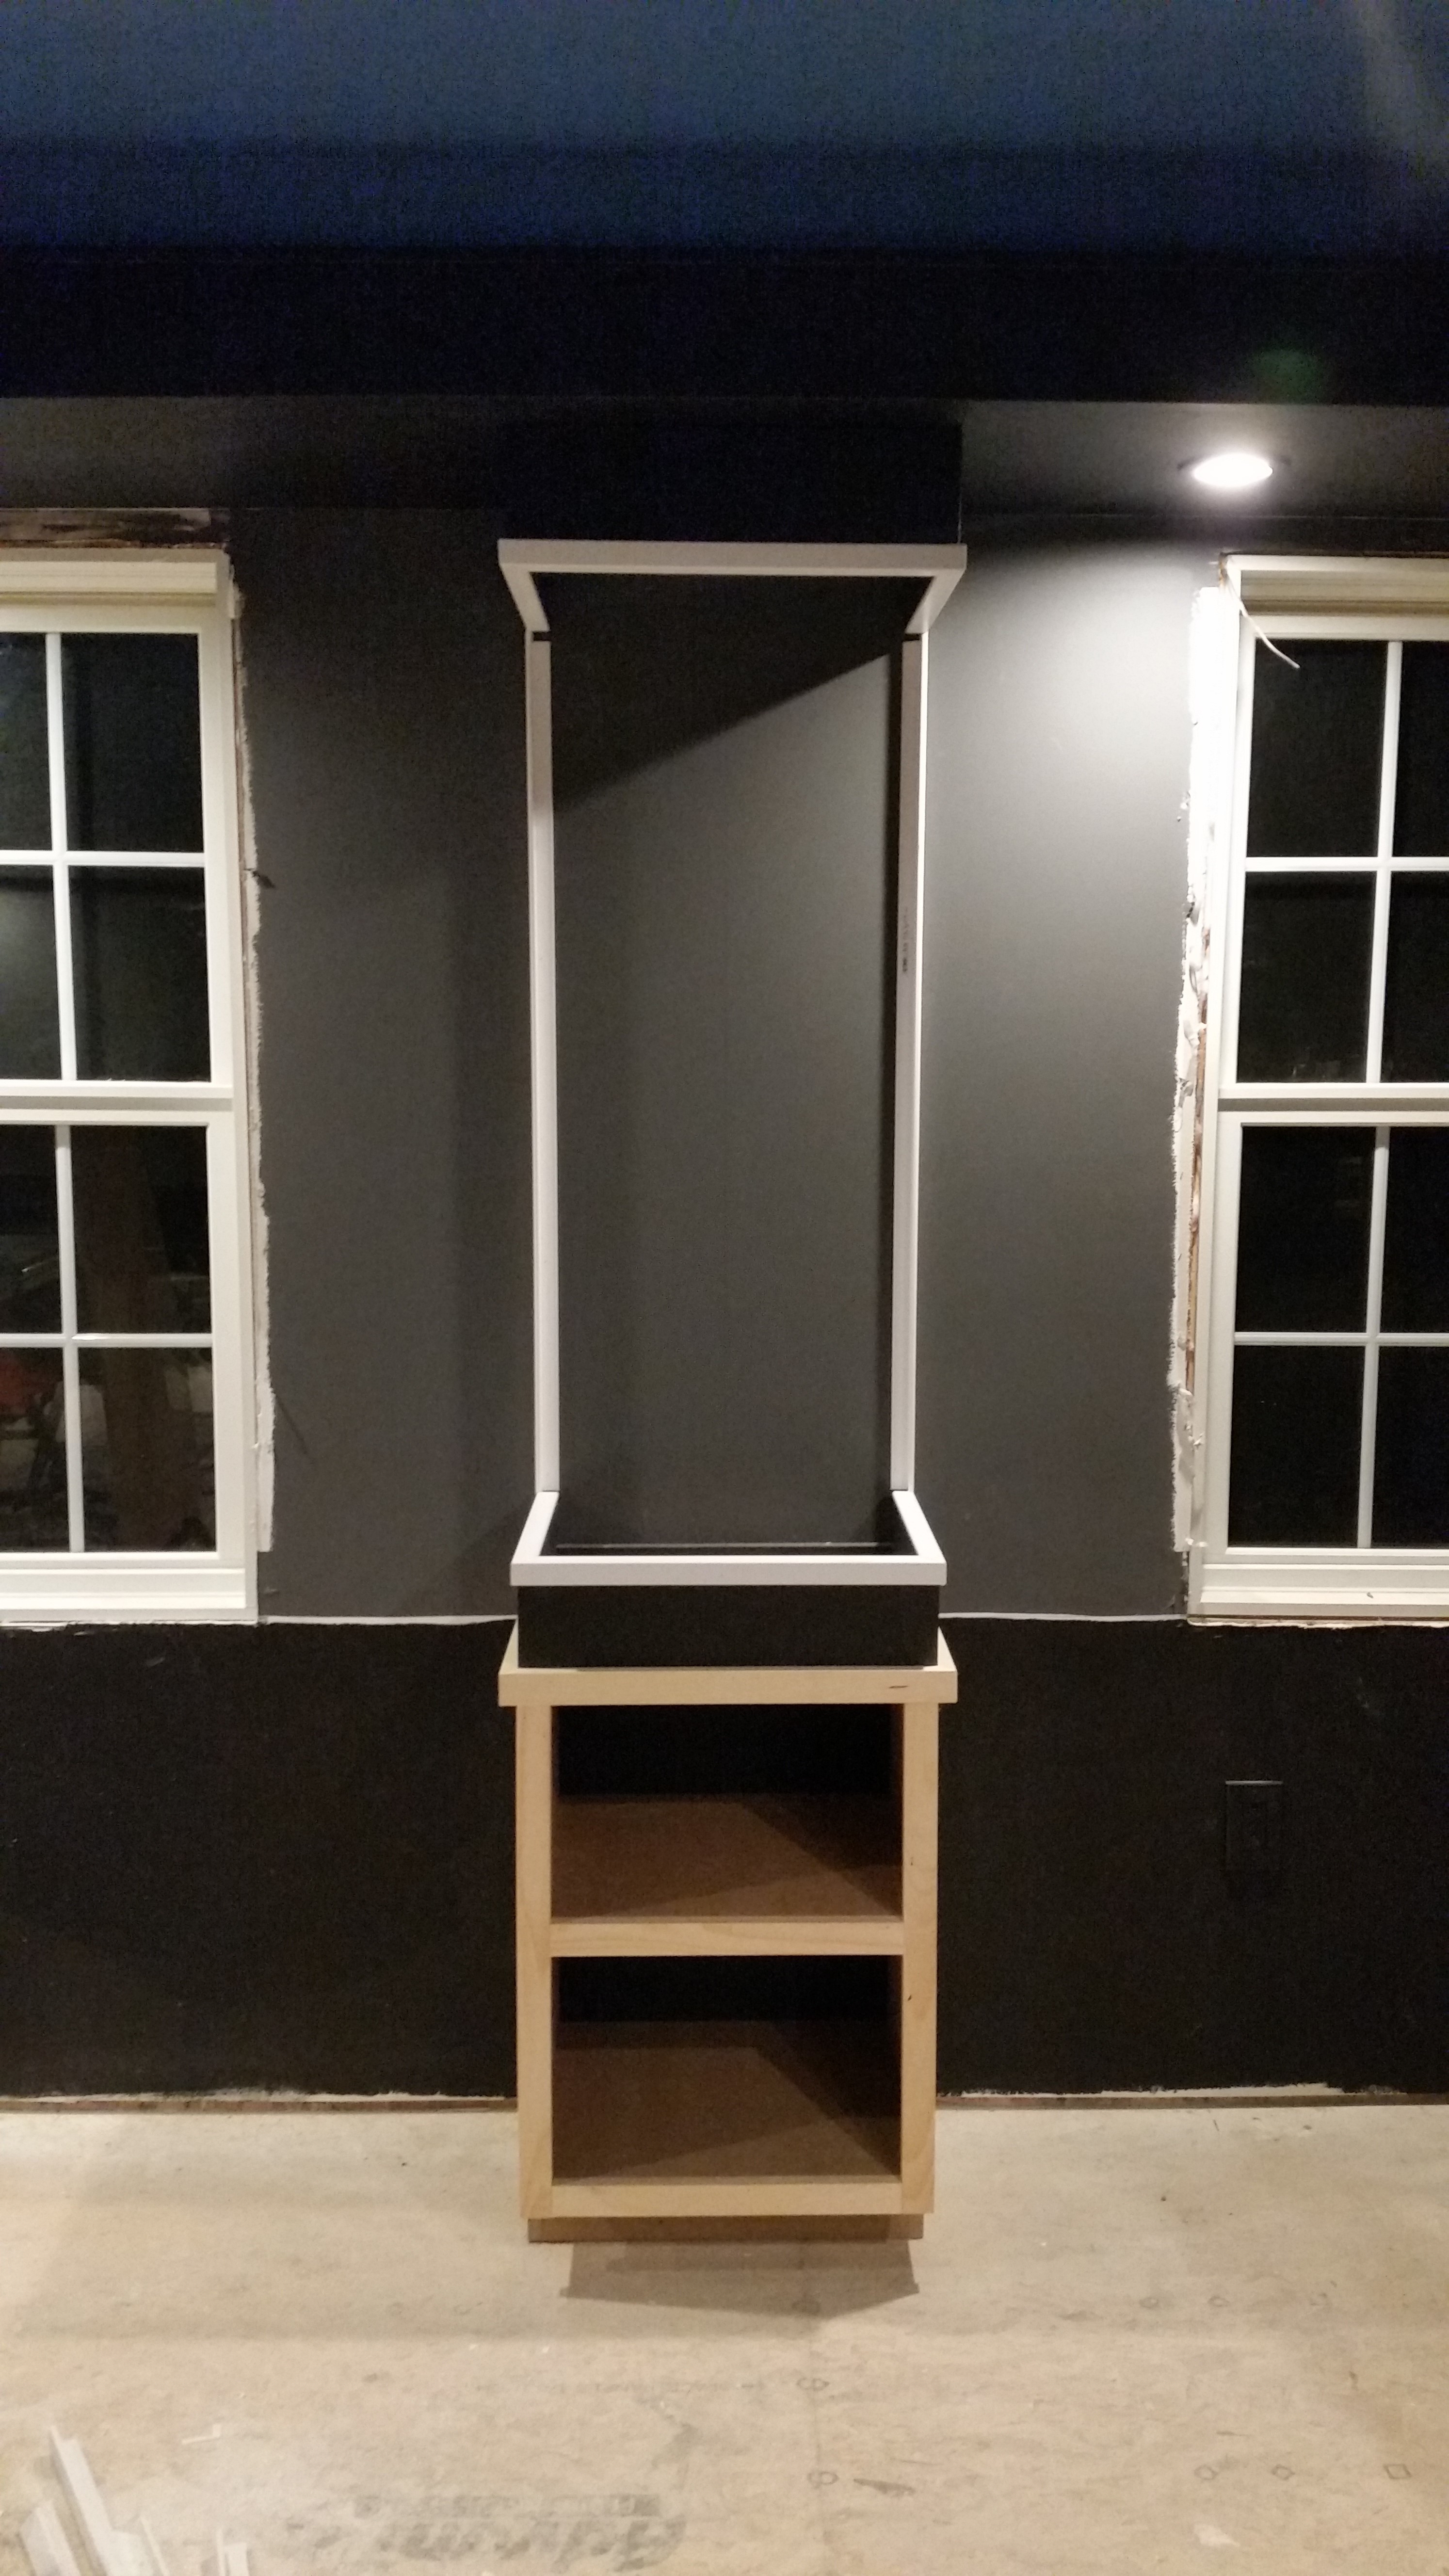
Free Standing Cabinet
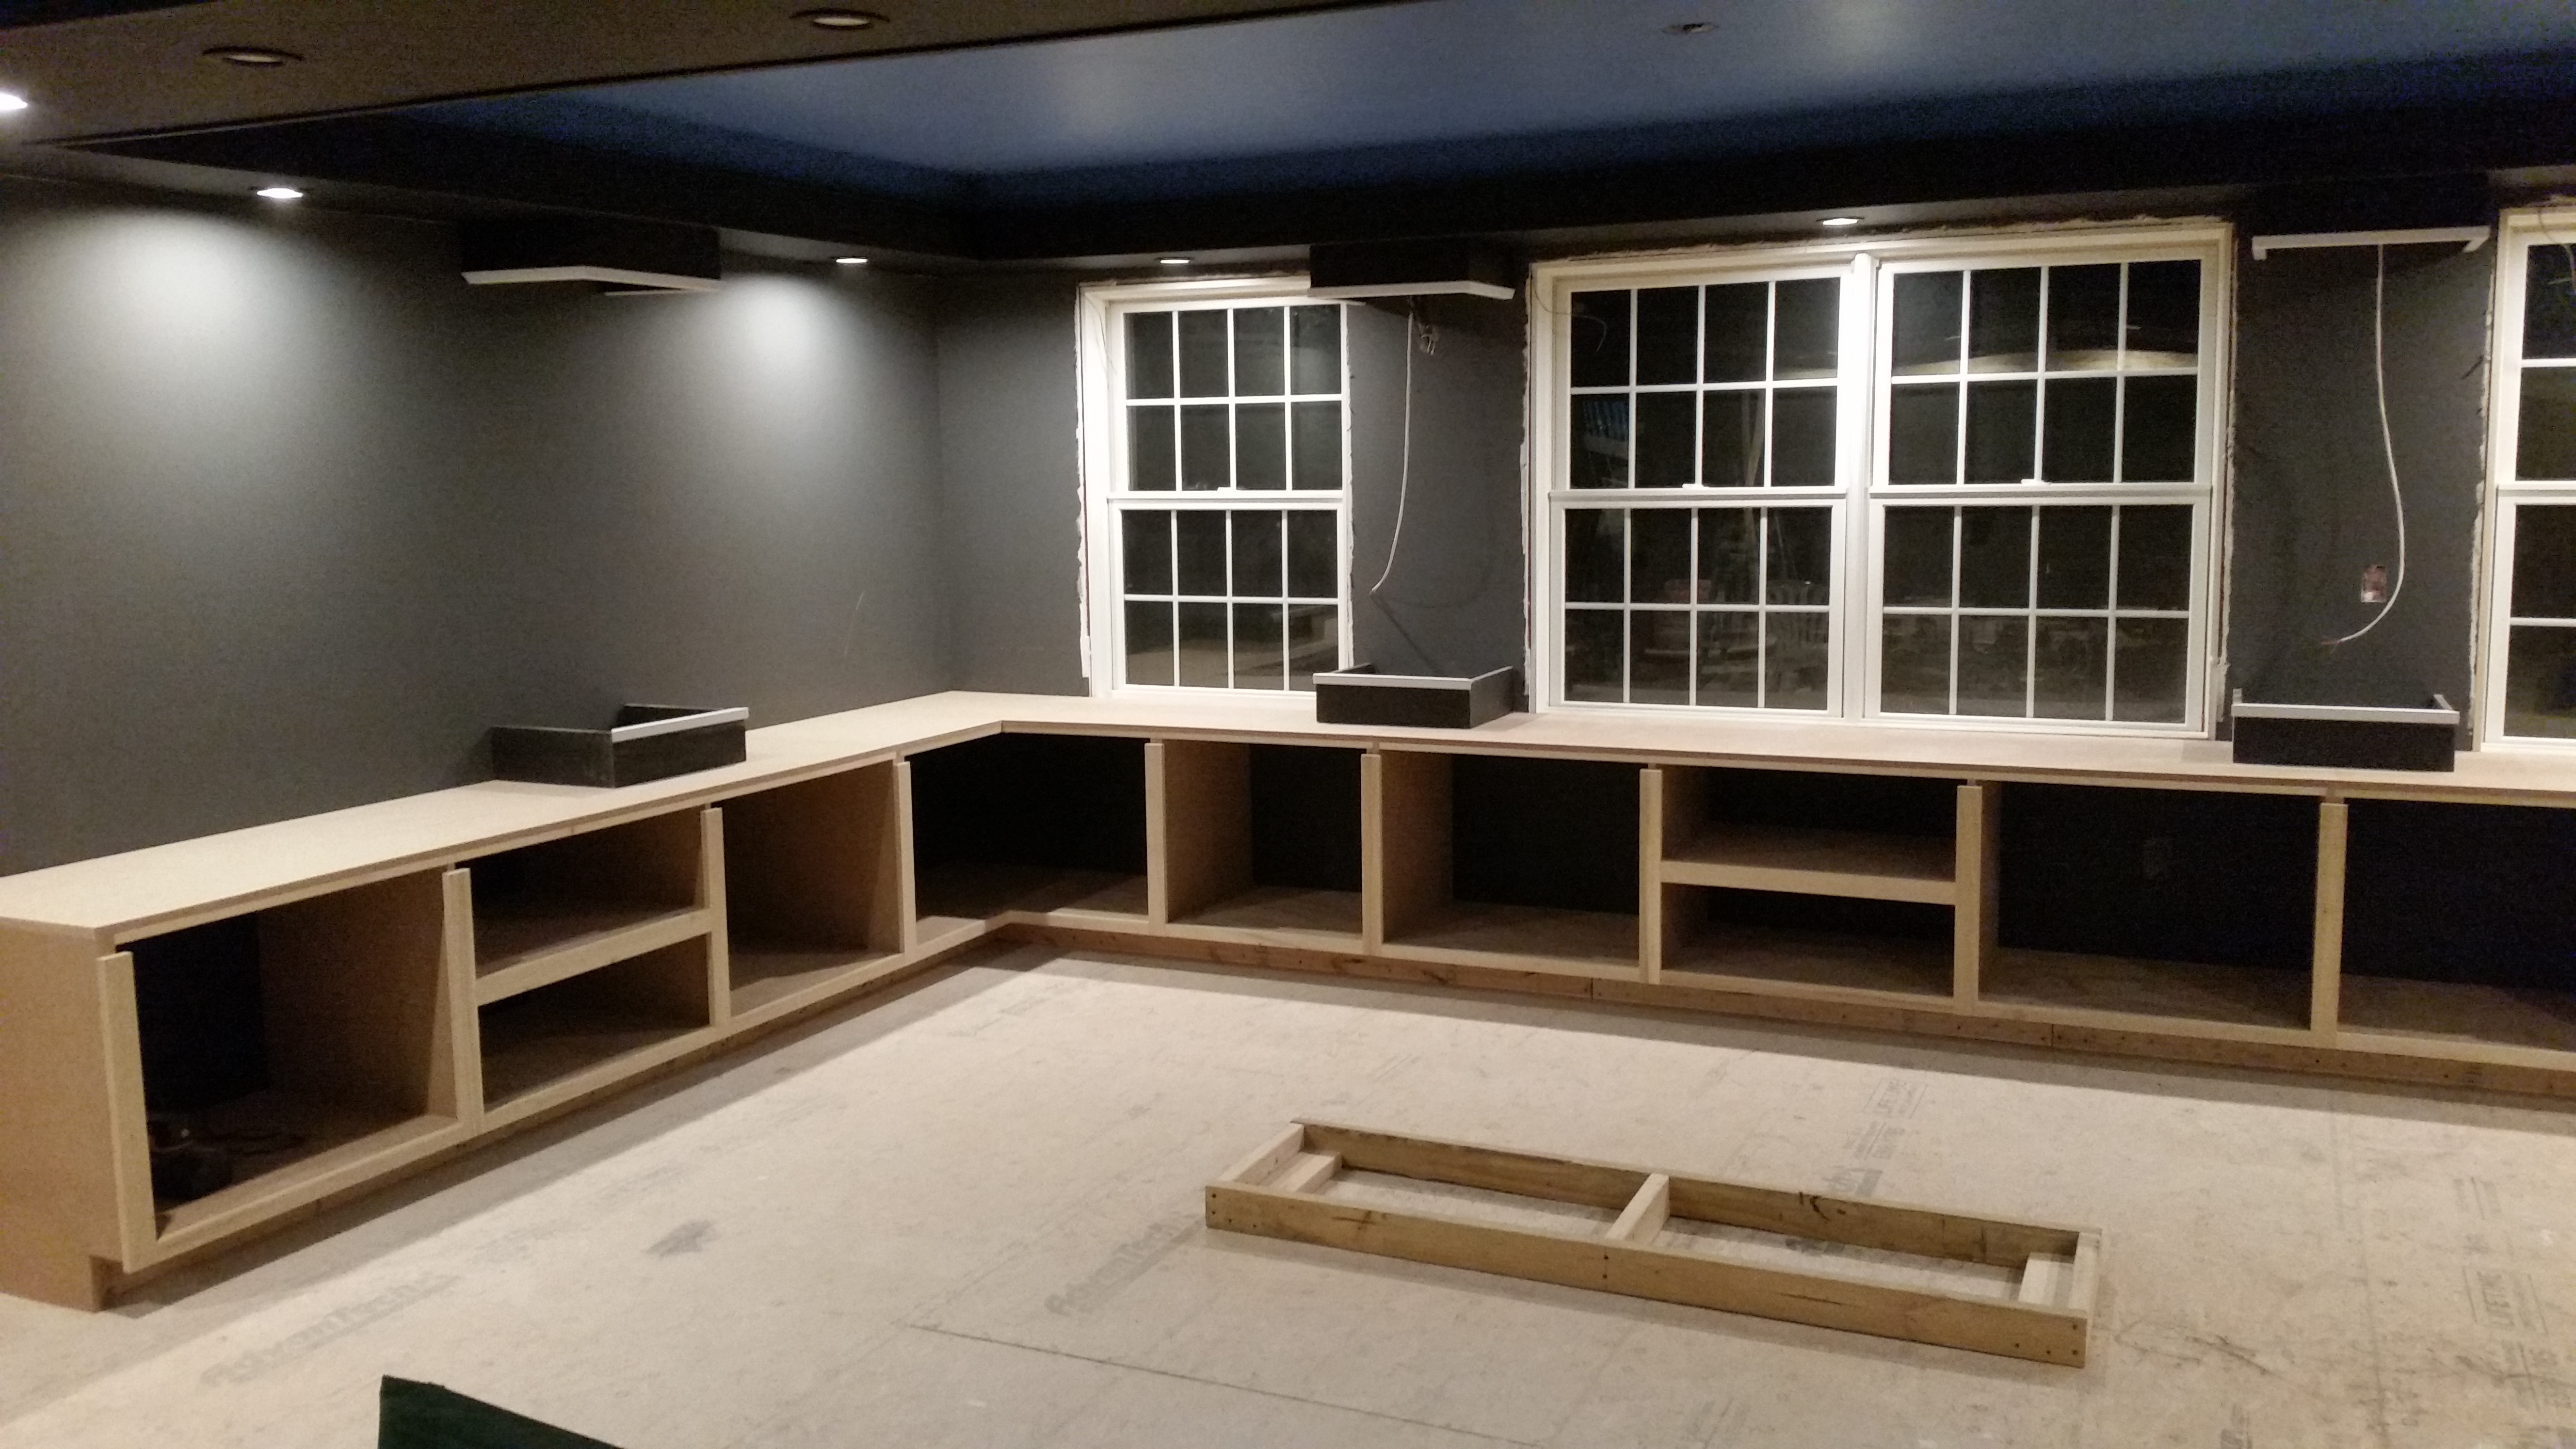
Built In Cabinets
I won't go into all of the cabinet building details, but they are just your basic box construction cabinets. I used MDF and poplar trim. Small free standing cabinets were built for the wide and surround columns. The remaining columns were going to be located on top of a full built in cabinet.
I then used basic PVC corner trim to trim out the top and bottom column boxes. I used the same trim along the back wall to create a channel between the top and bottom boxes. This is where the column frame will go.
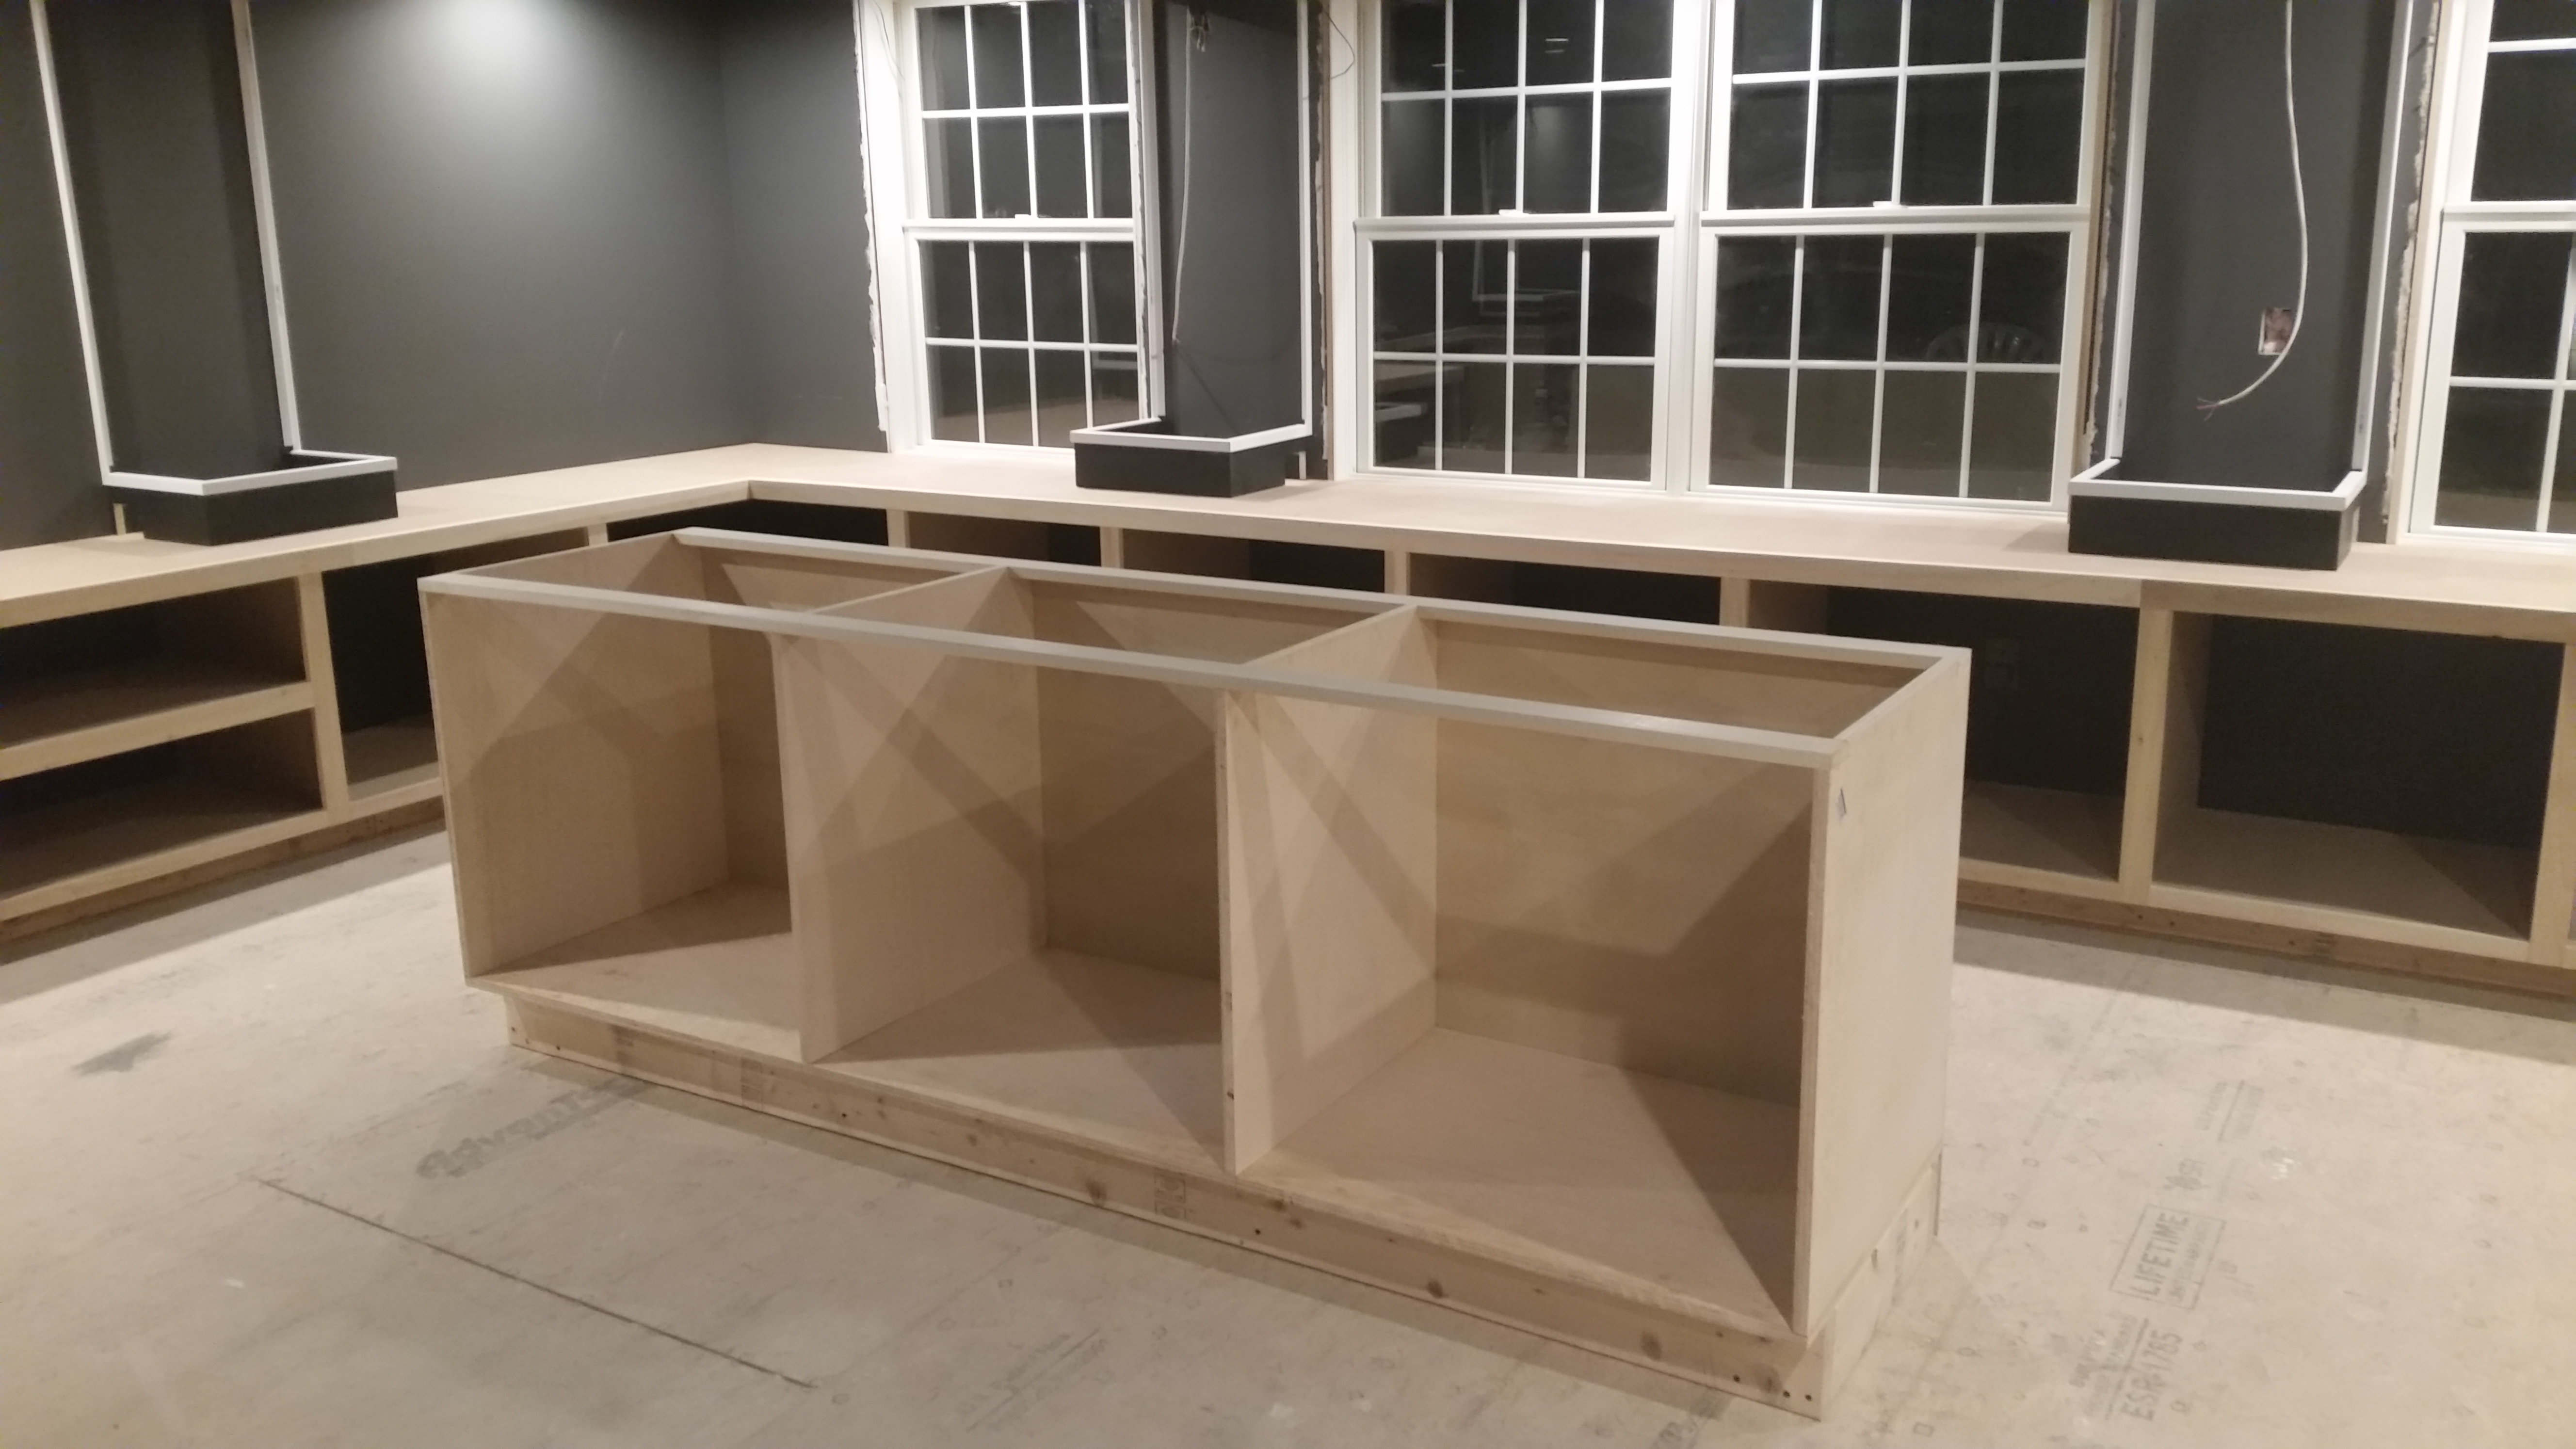
Built In Cabinets
Getting Ready for the Model Train
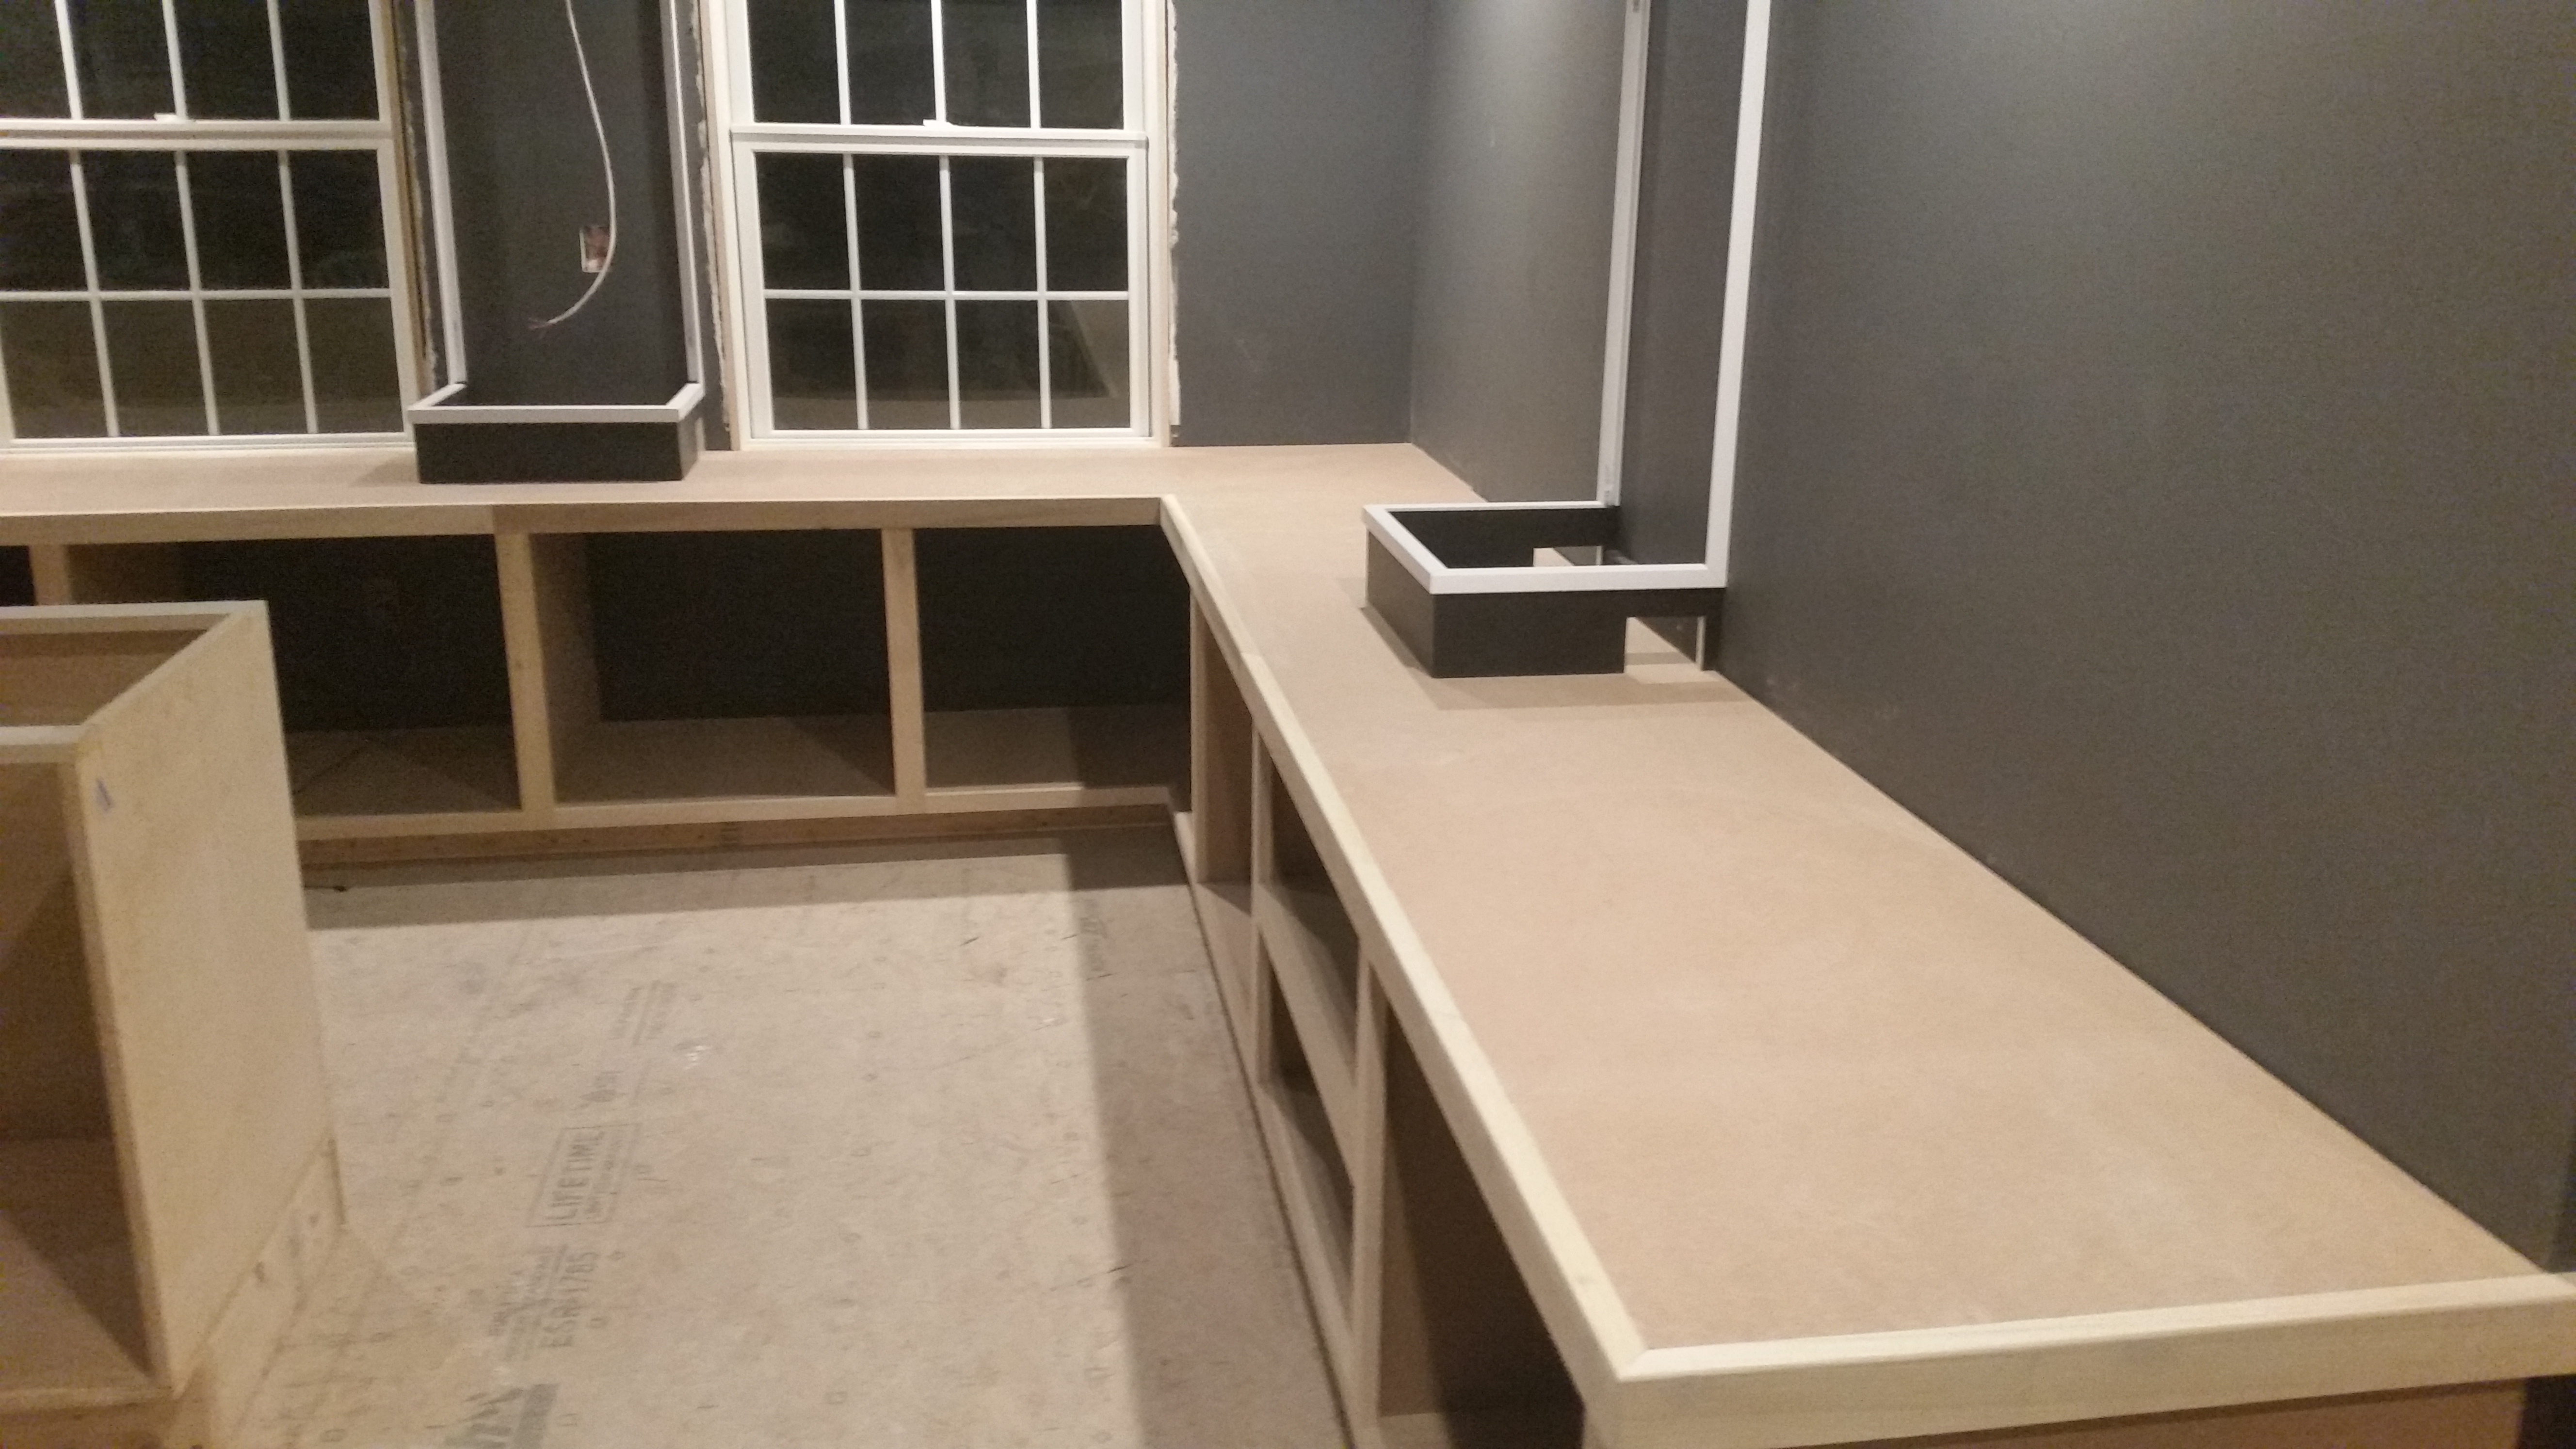
Model Train Prep
Passageways were cut out from the bottom parts of the columns that are on the built in cabinets. This is where the model train will pass through the columns.
Column Frames
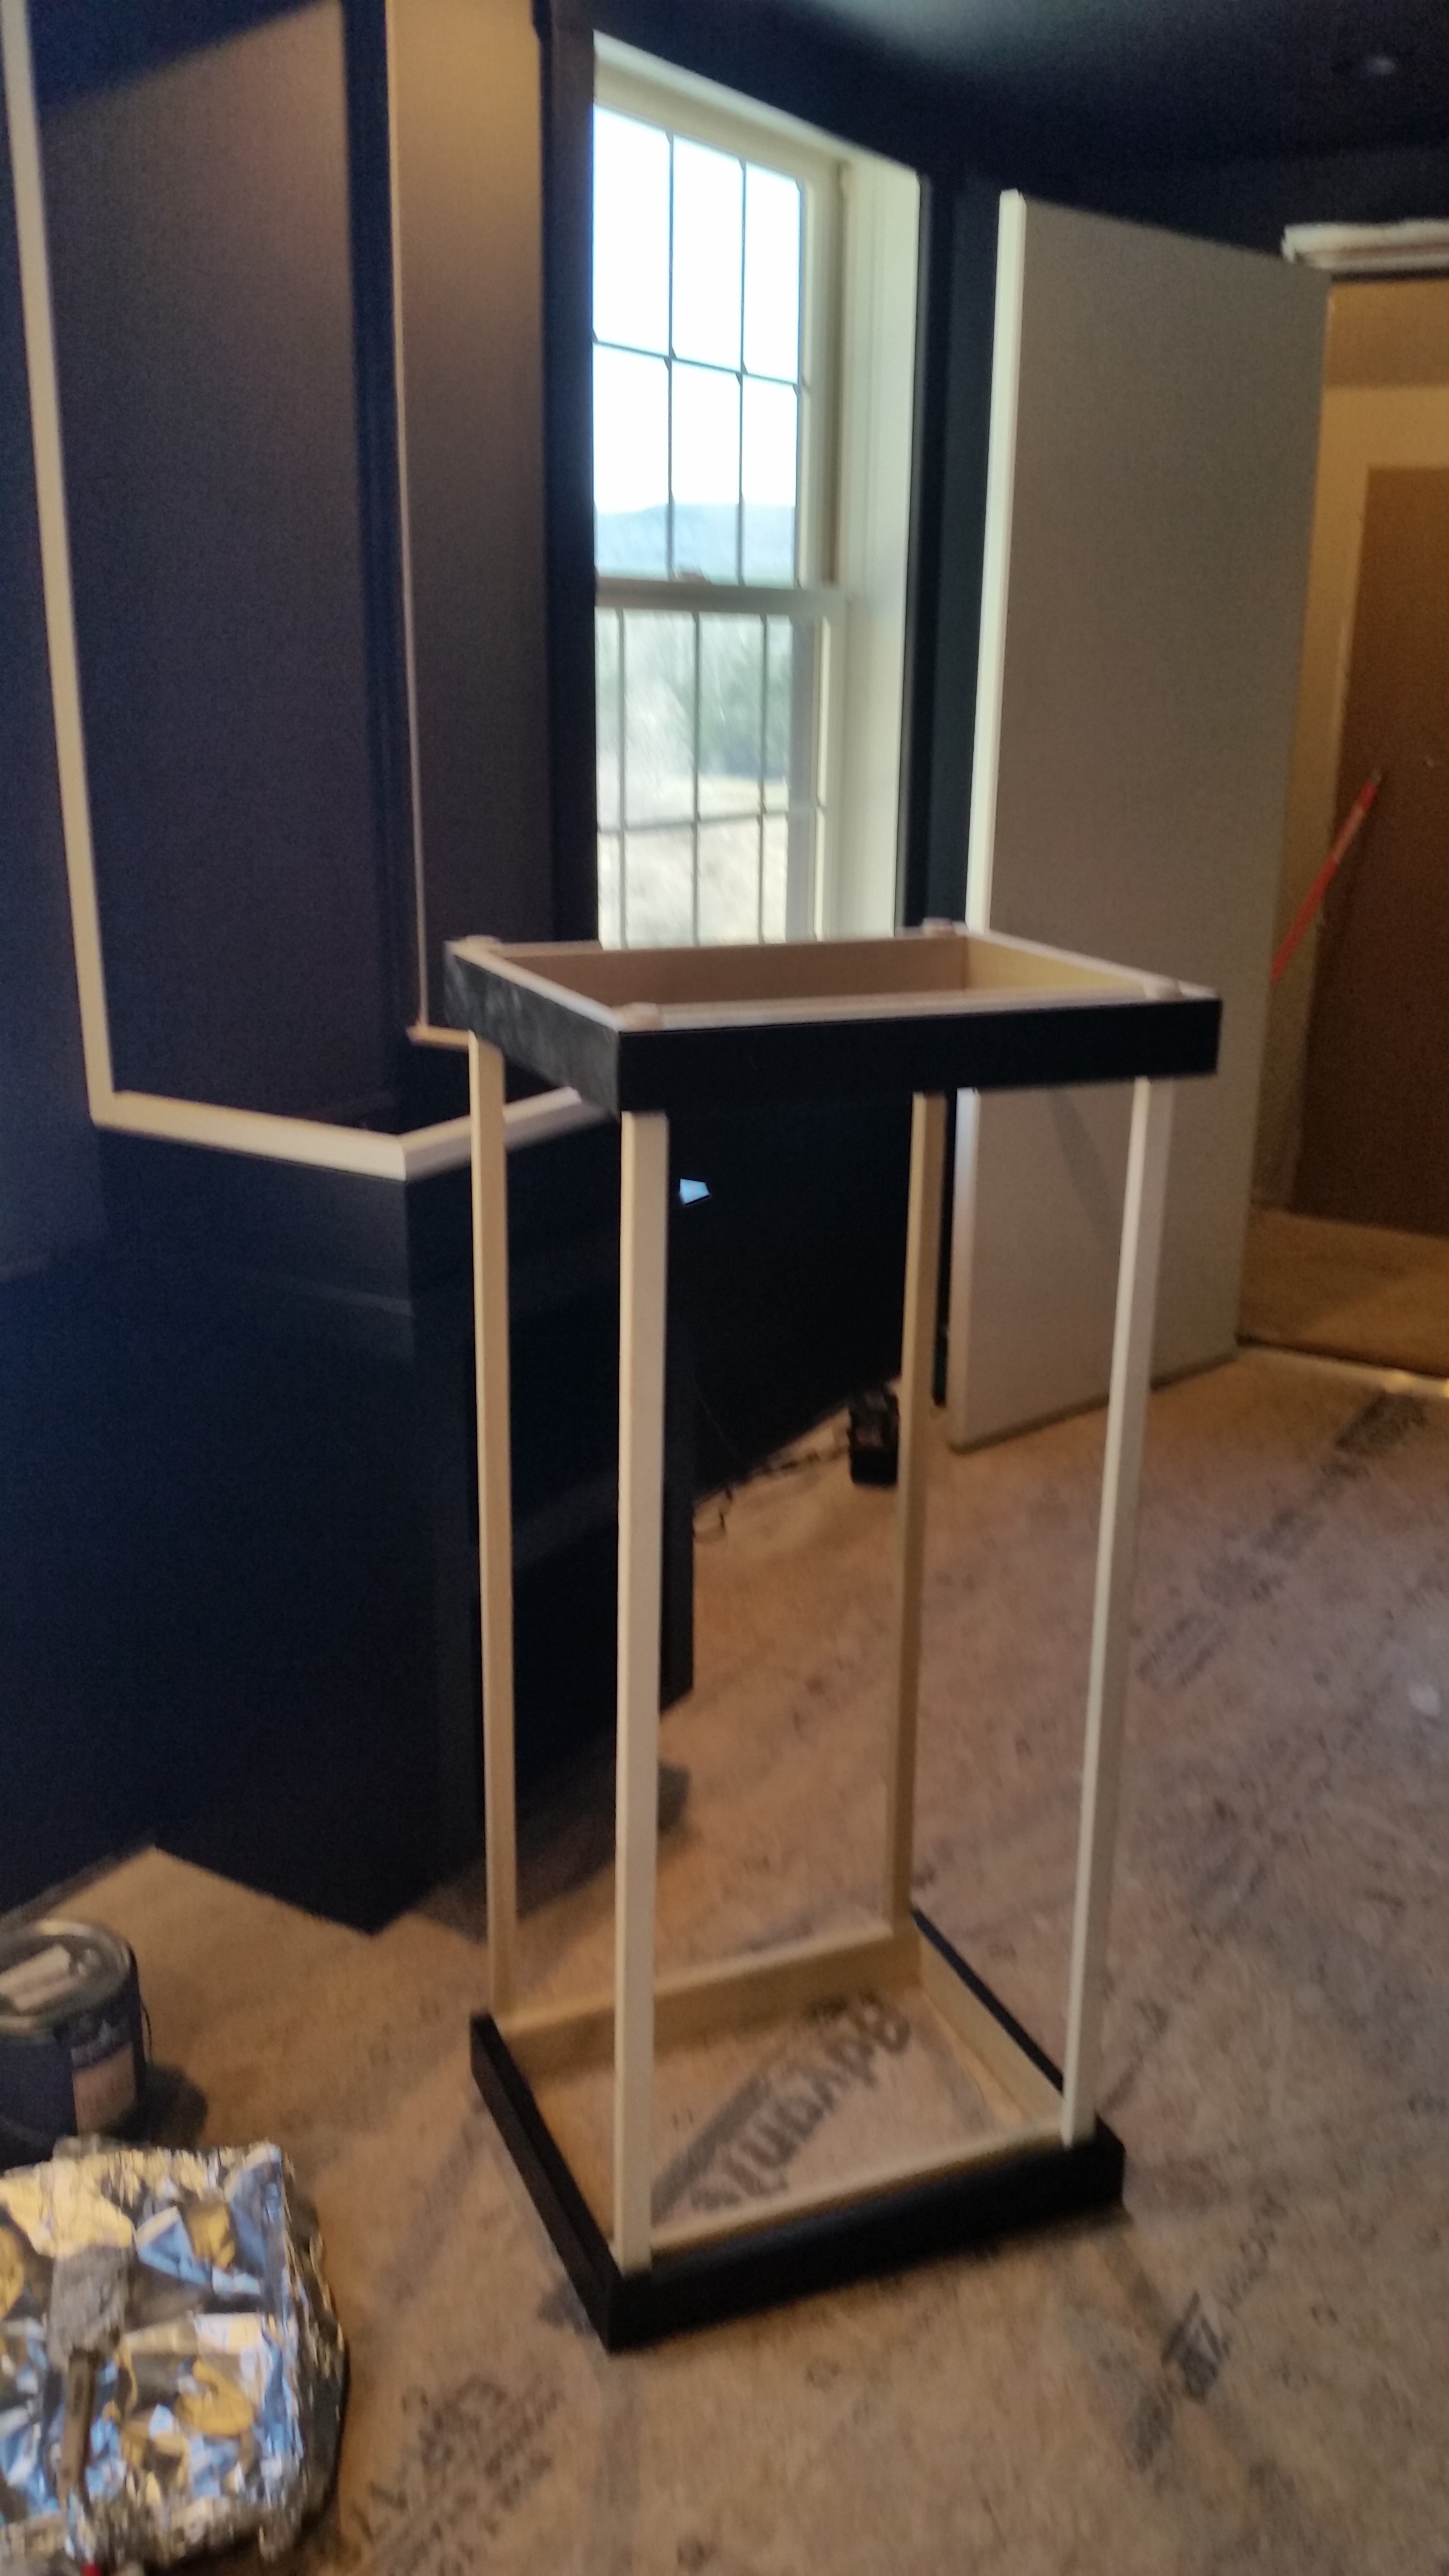
Column Frame
The column frames are also built with poplar. Again, I simply built small box frames for the top and bottom and then measured each column and cut the vertical post so that they were 1/4" shorter than the overall column height. This is because we will be adding rubber bumpers to the bottom box for the column frame to sit on.
The vertical posts need to be smooth. I used a router to round over the edges. The fabric will be wrapped around these, so you don't want any sharp edges.
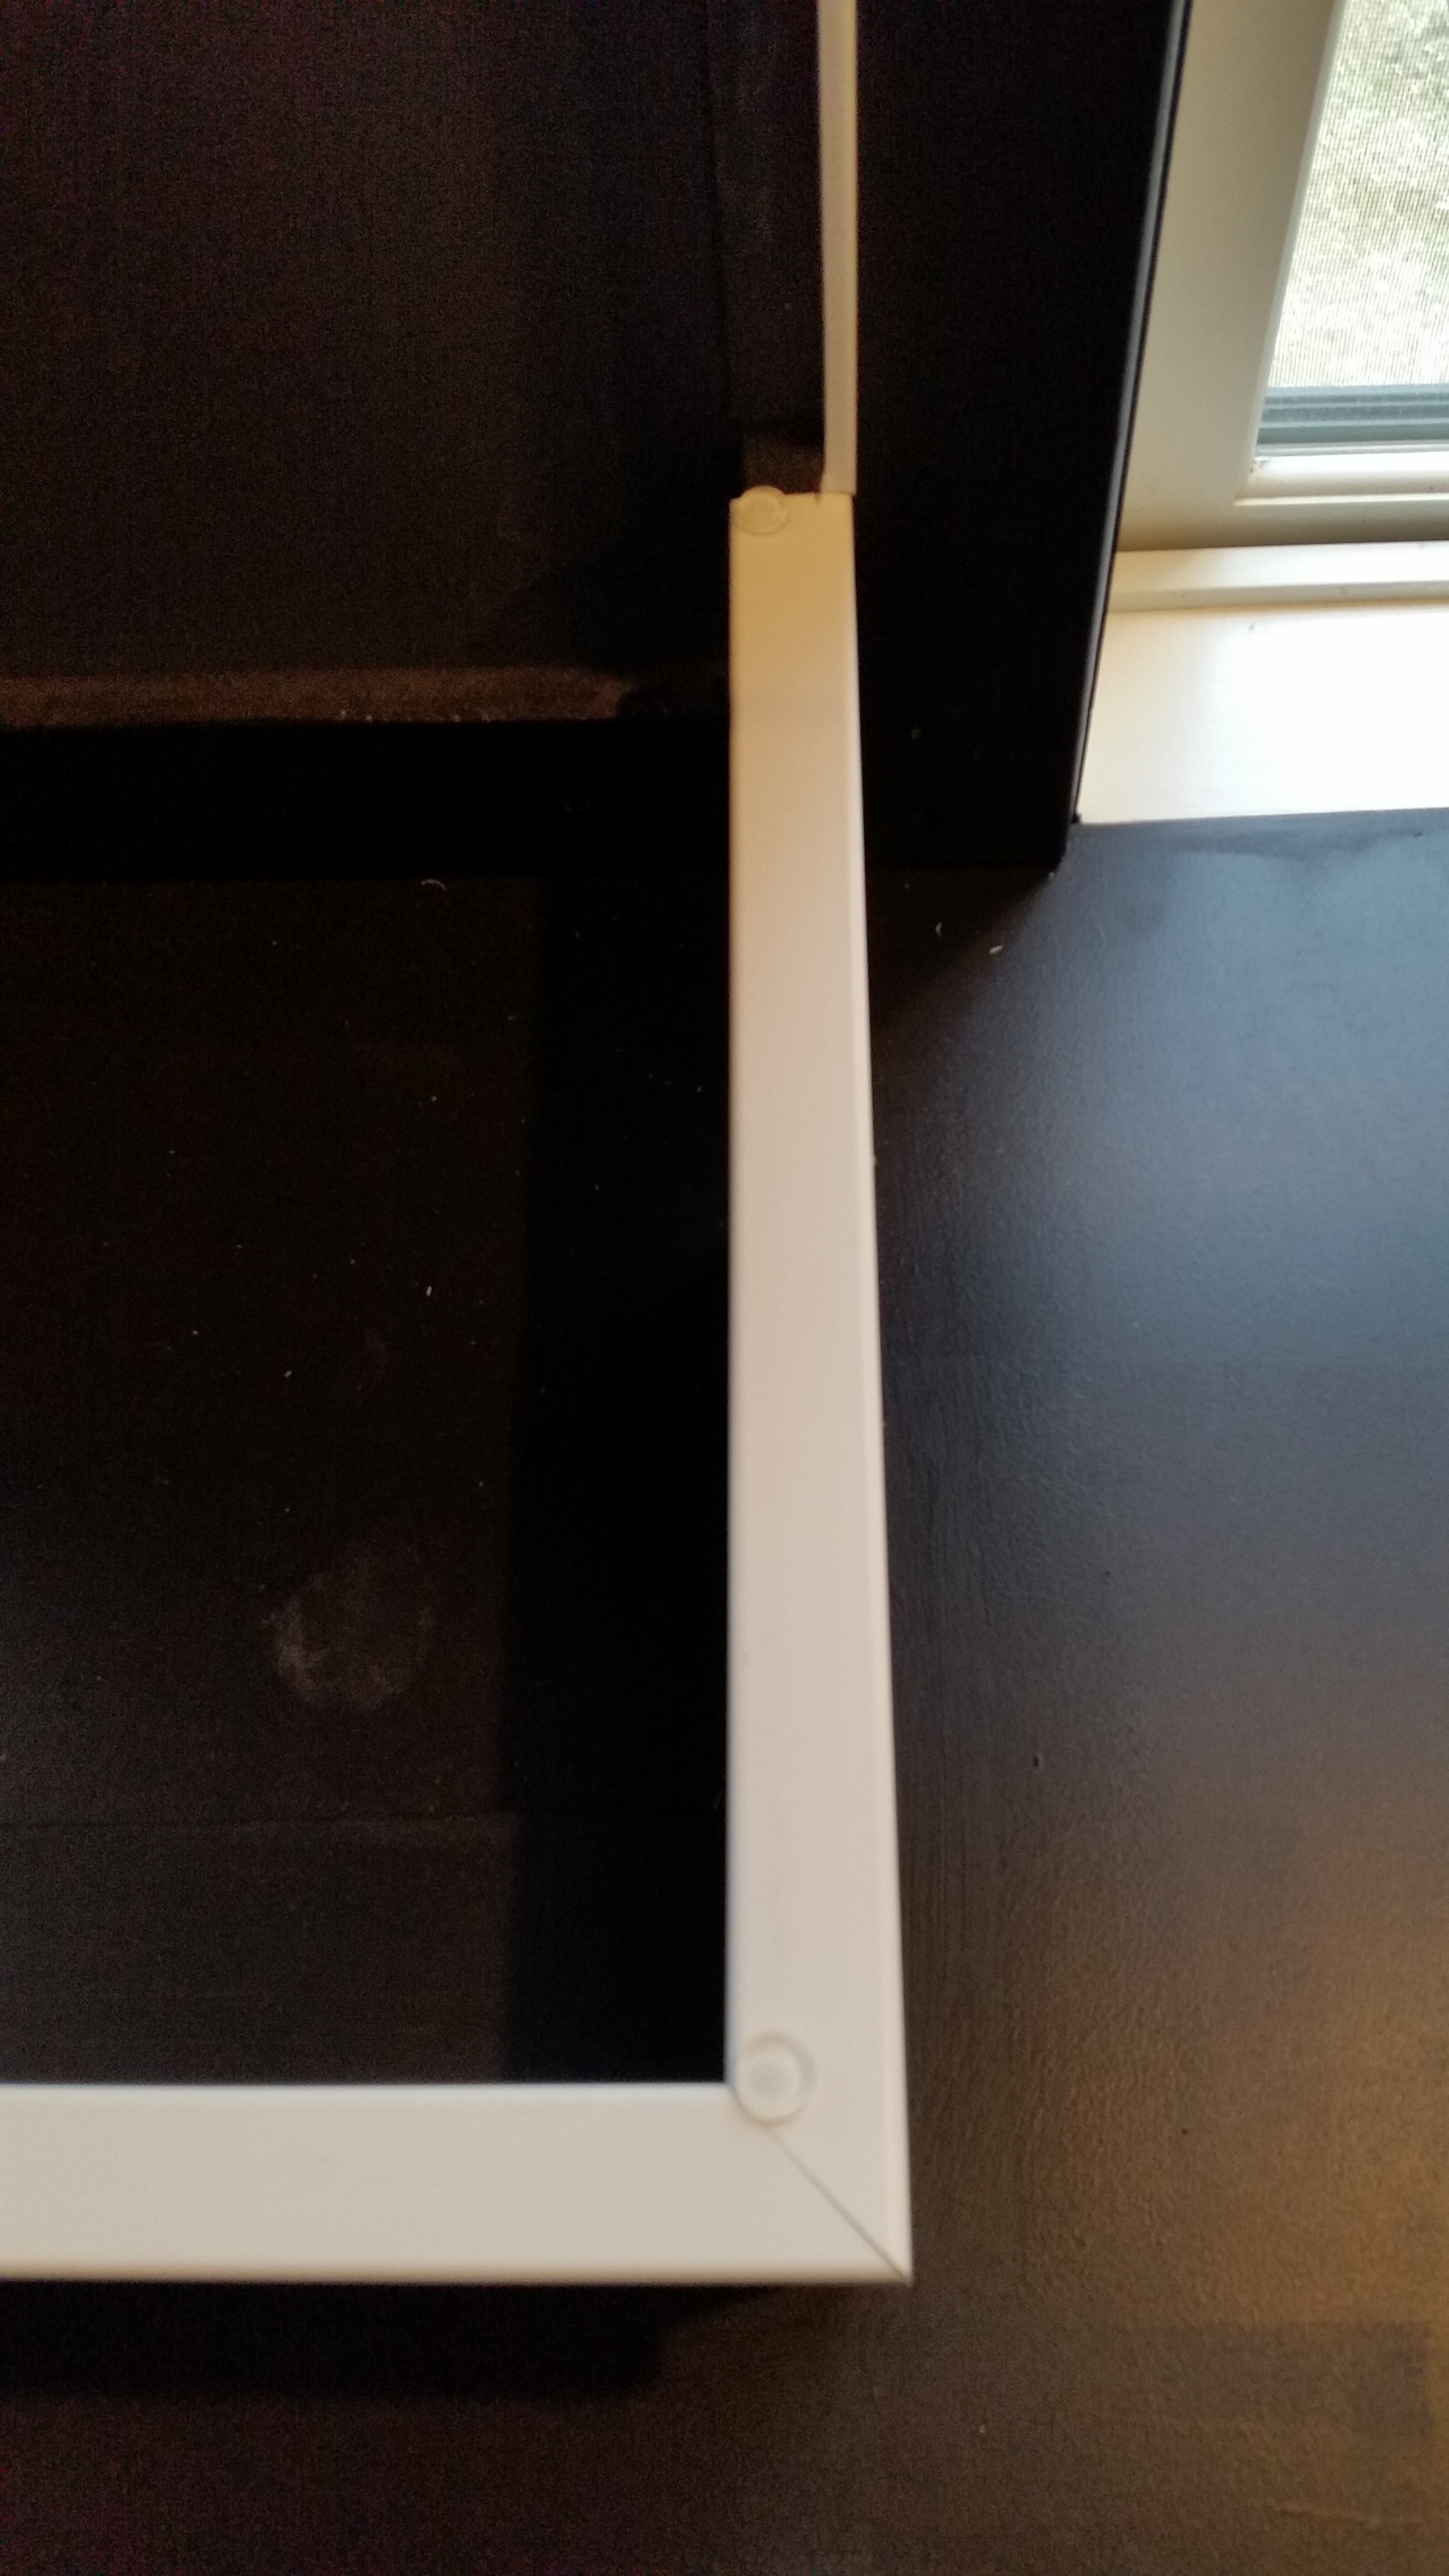
Rubber Bumpers
These are rubber bumpers that are used on cabinet doors to keep them from slamming. Put four on the bottom box of each column (one on each corner). This will keep the column frame securely in place.
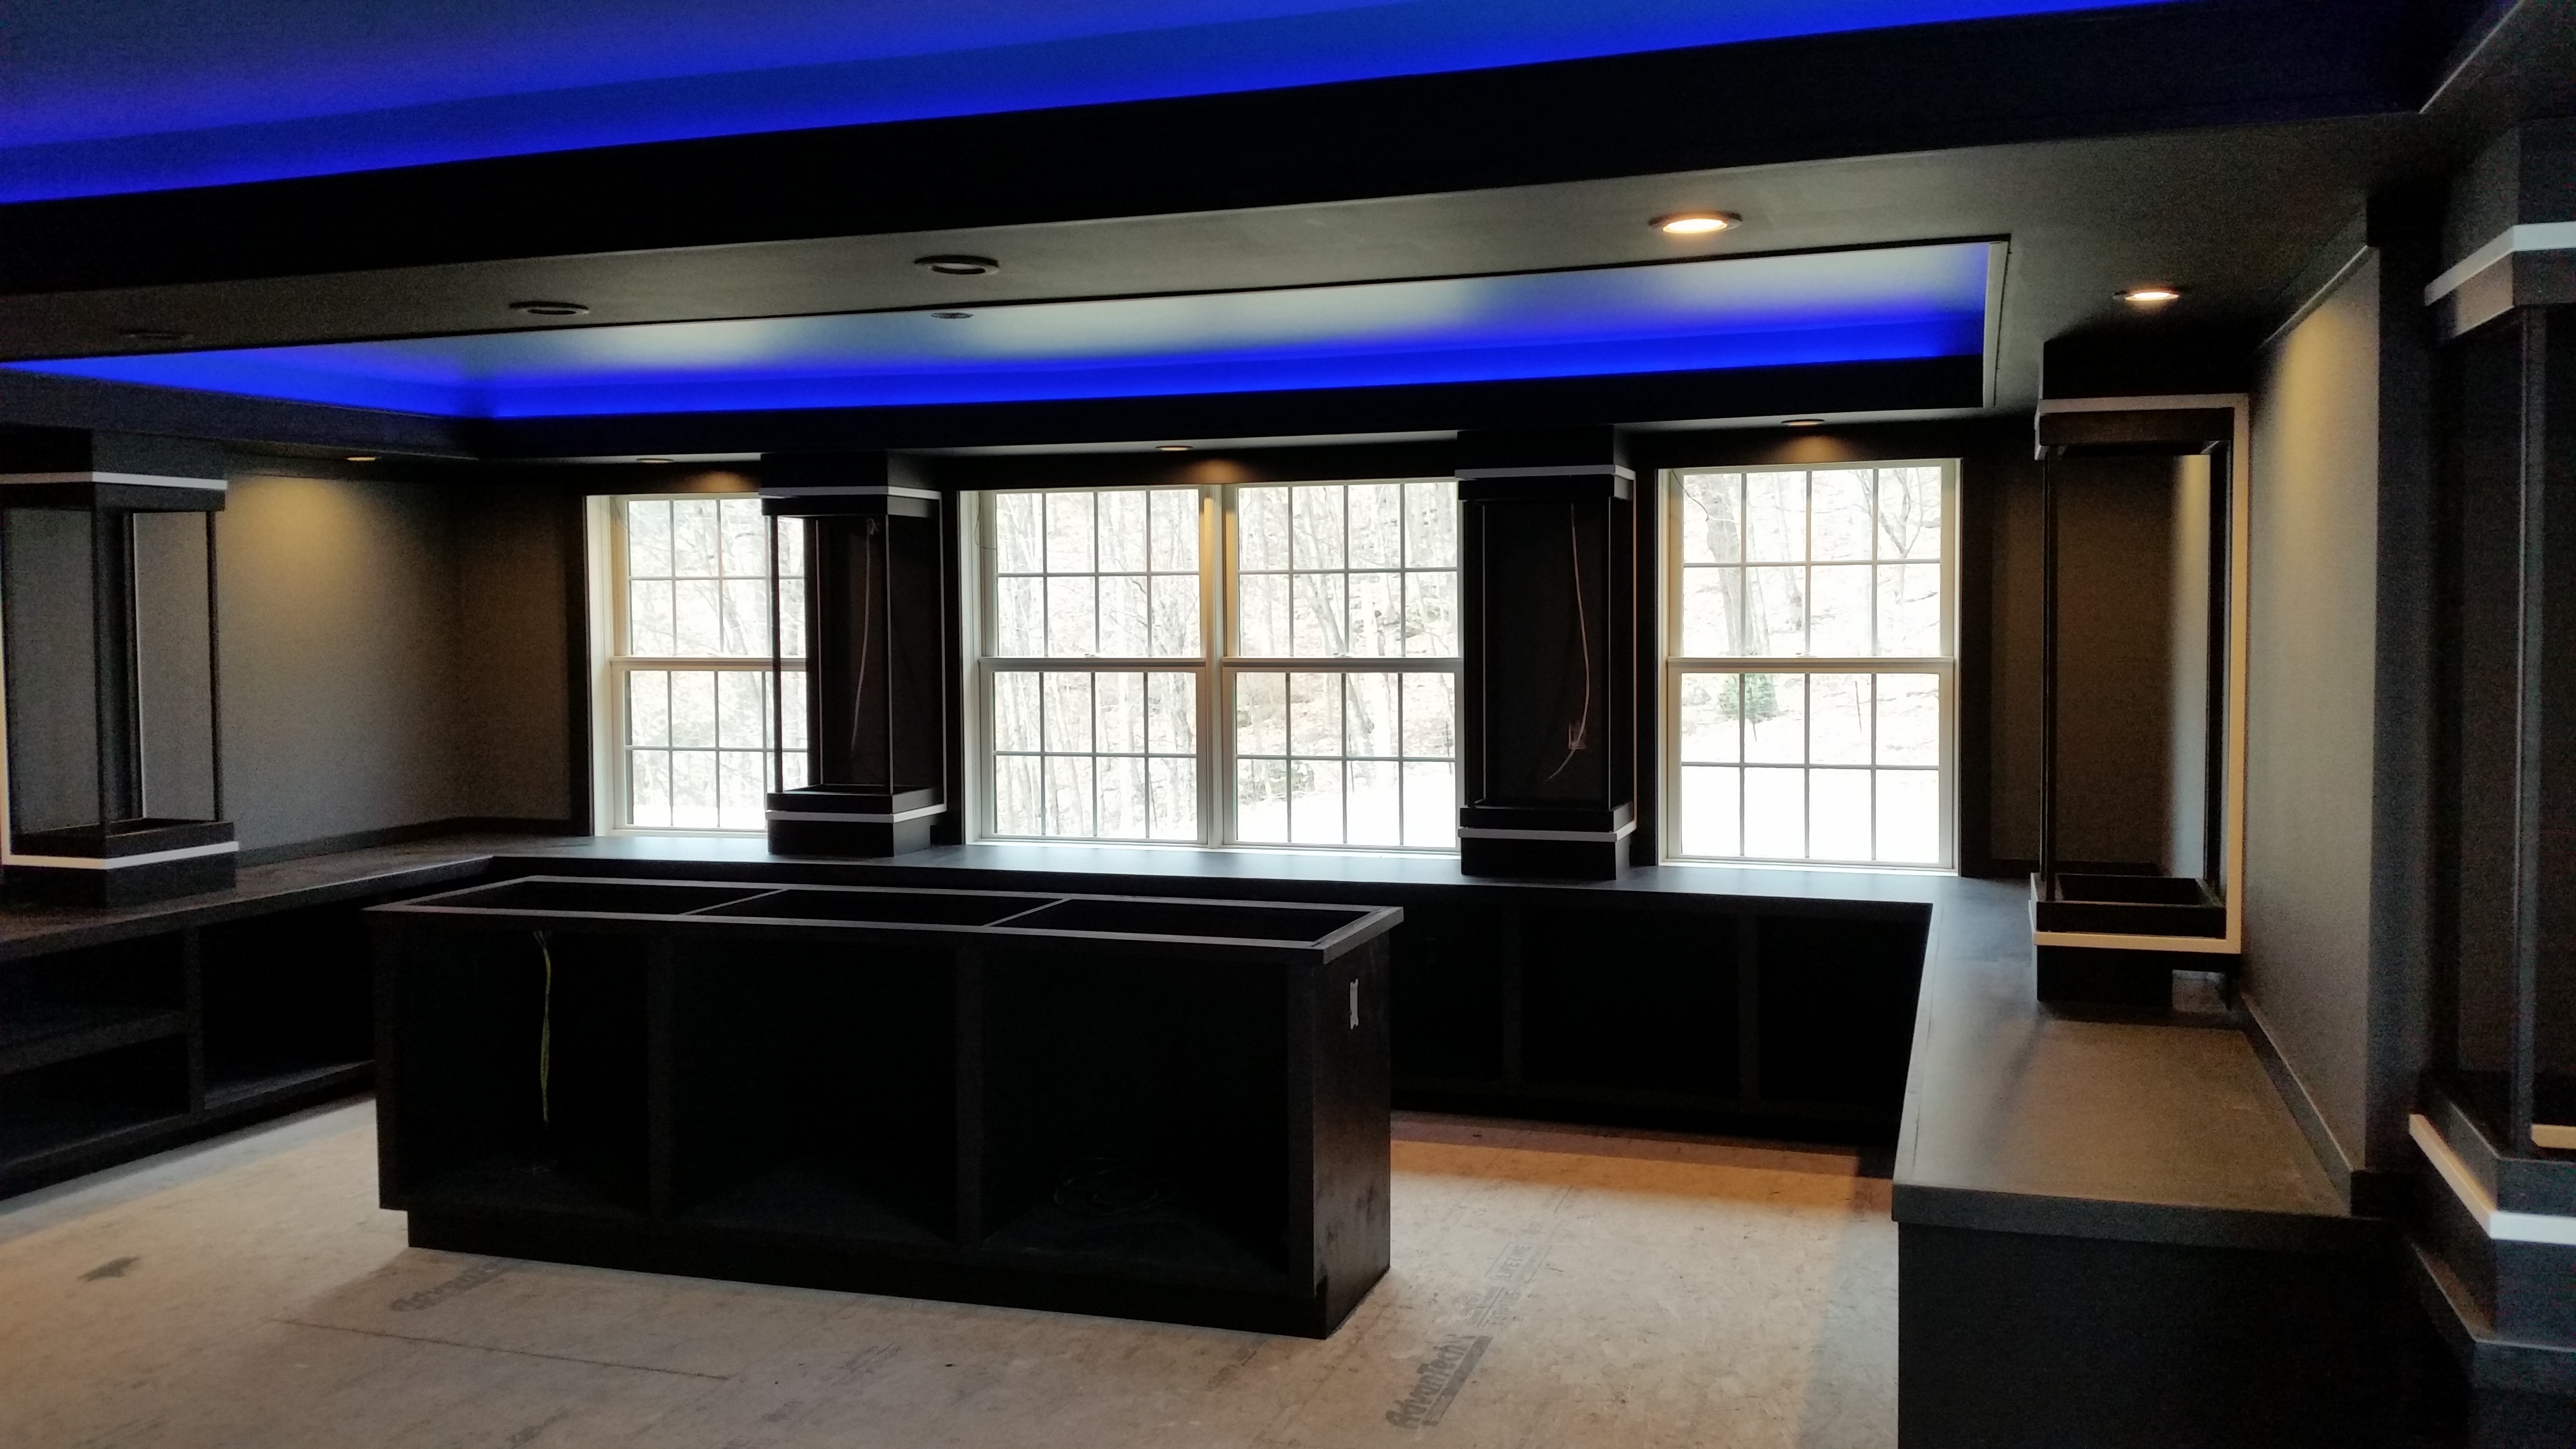
Rough Frames
The column frames will just slide in between the top and bottom boxes and sit on the rubber bumpers.
Now you can paint the frames. You will want to paint them the same color as your fabric so you won't be able to see them through the fabric. I used black.
Column Fabric
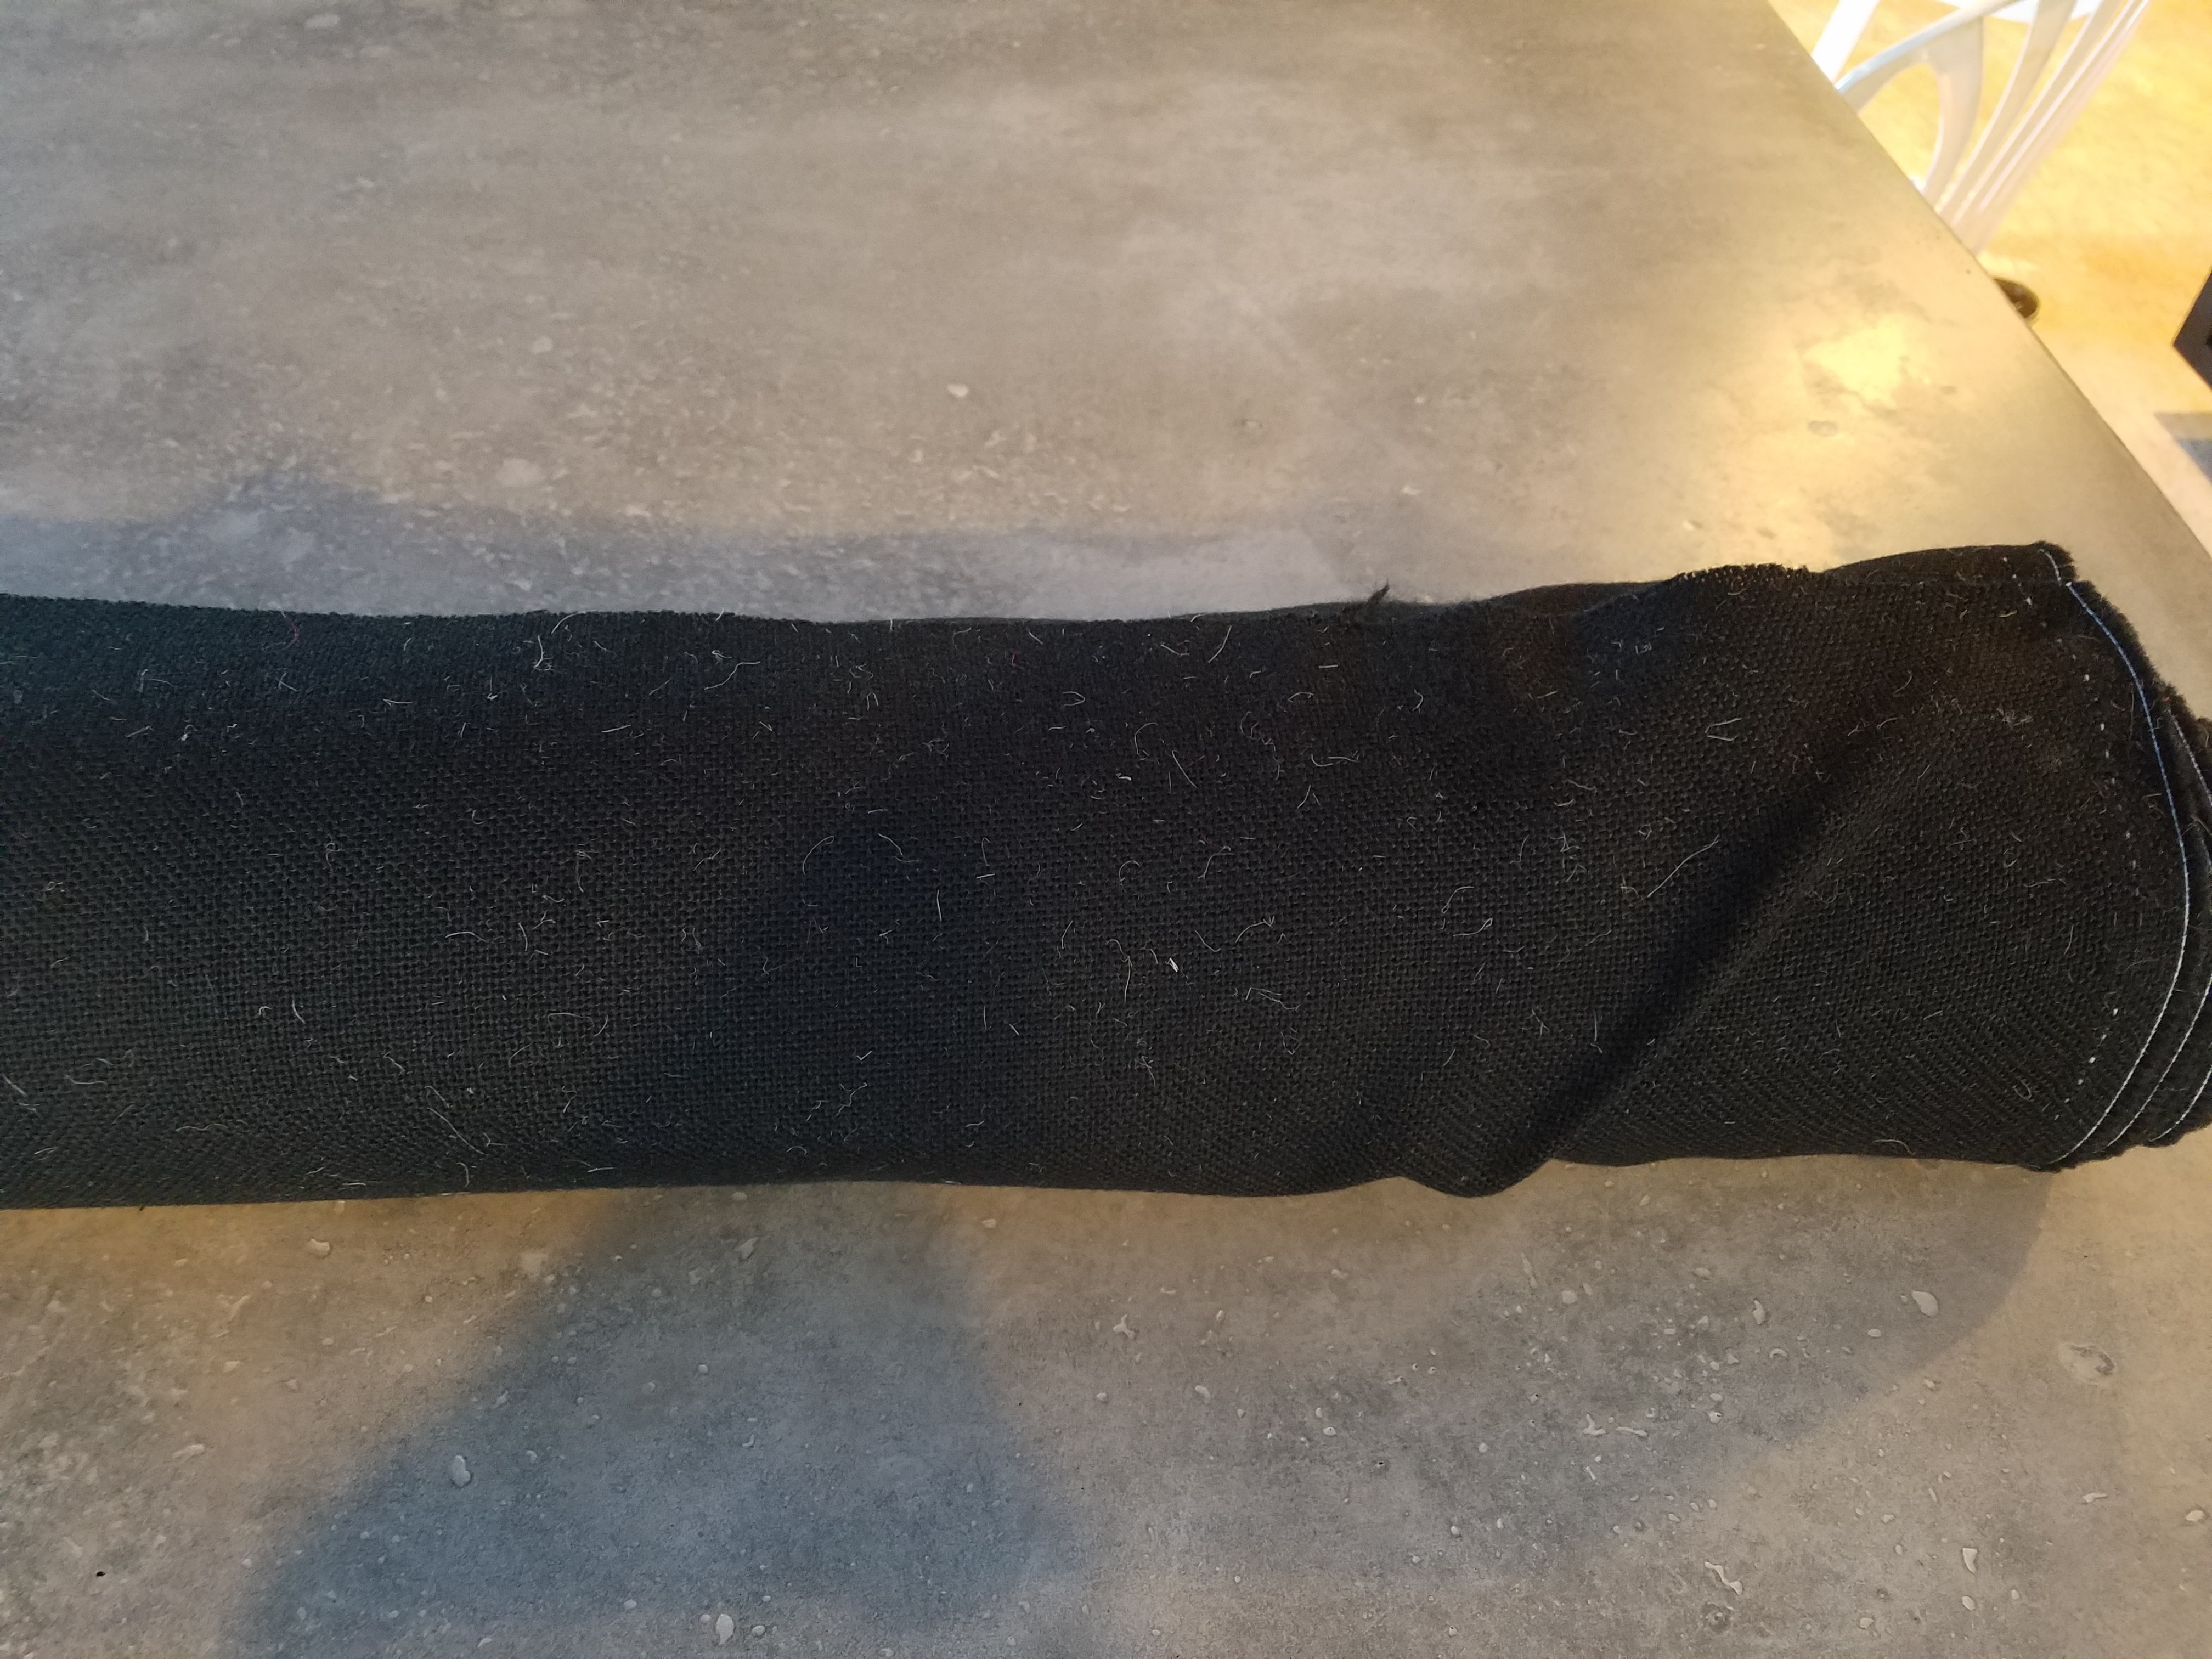
Column Fabric
I used Guilford of Maine (GOM) for my column fabric.
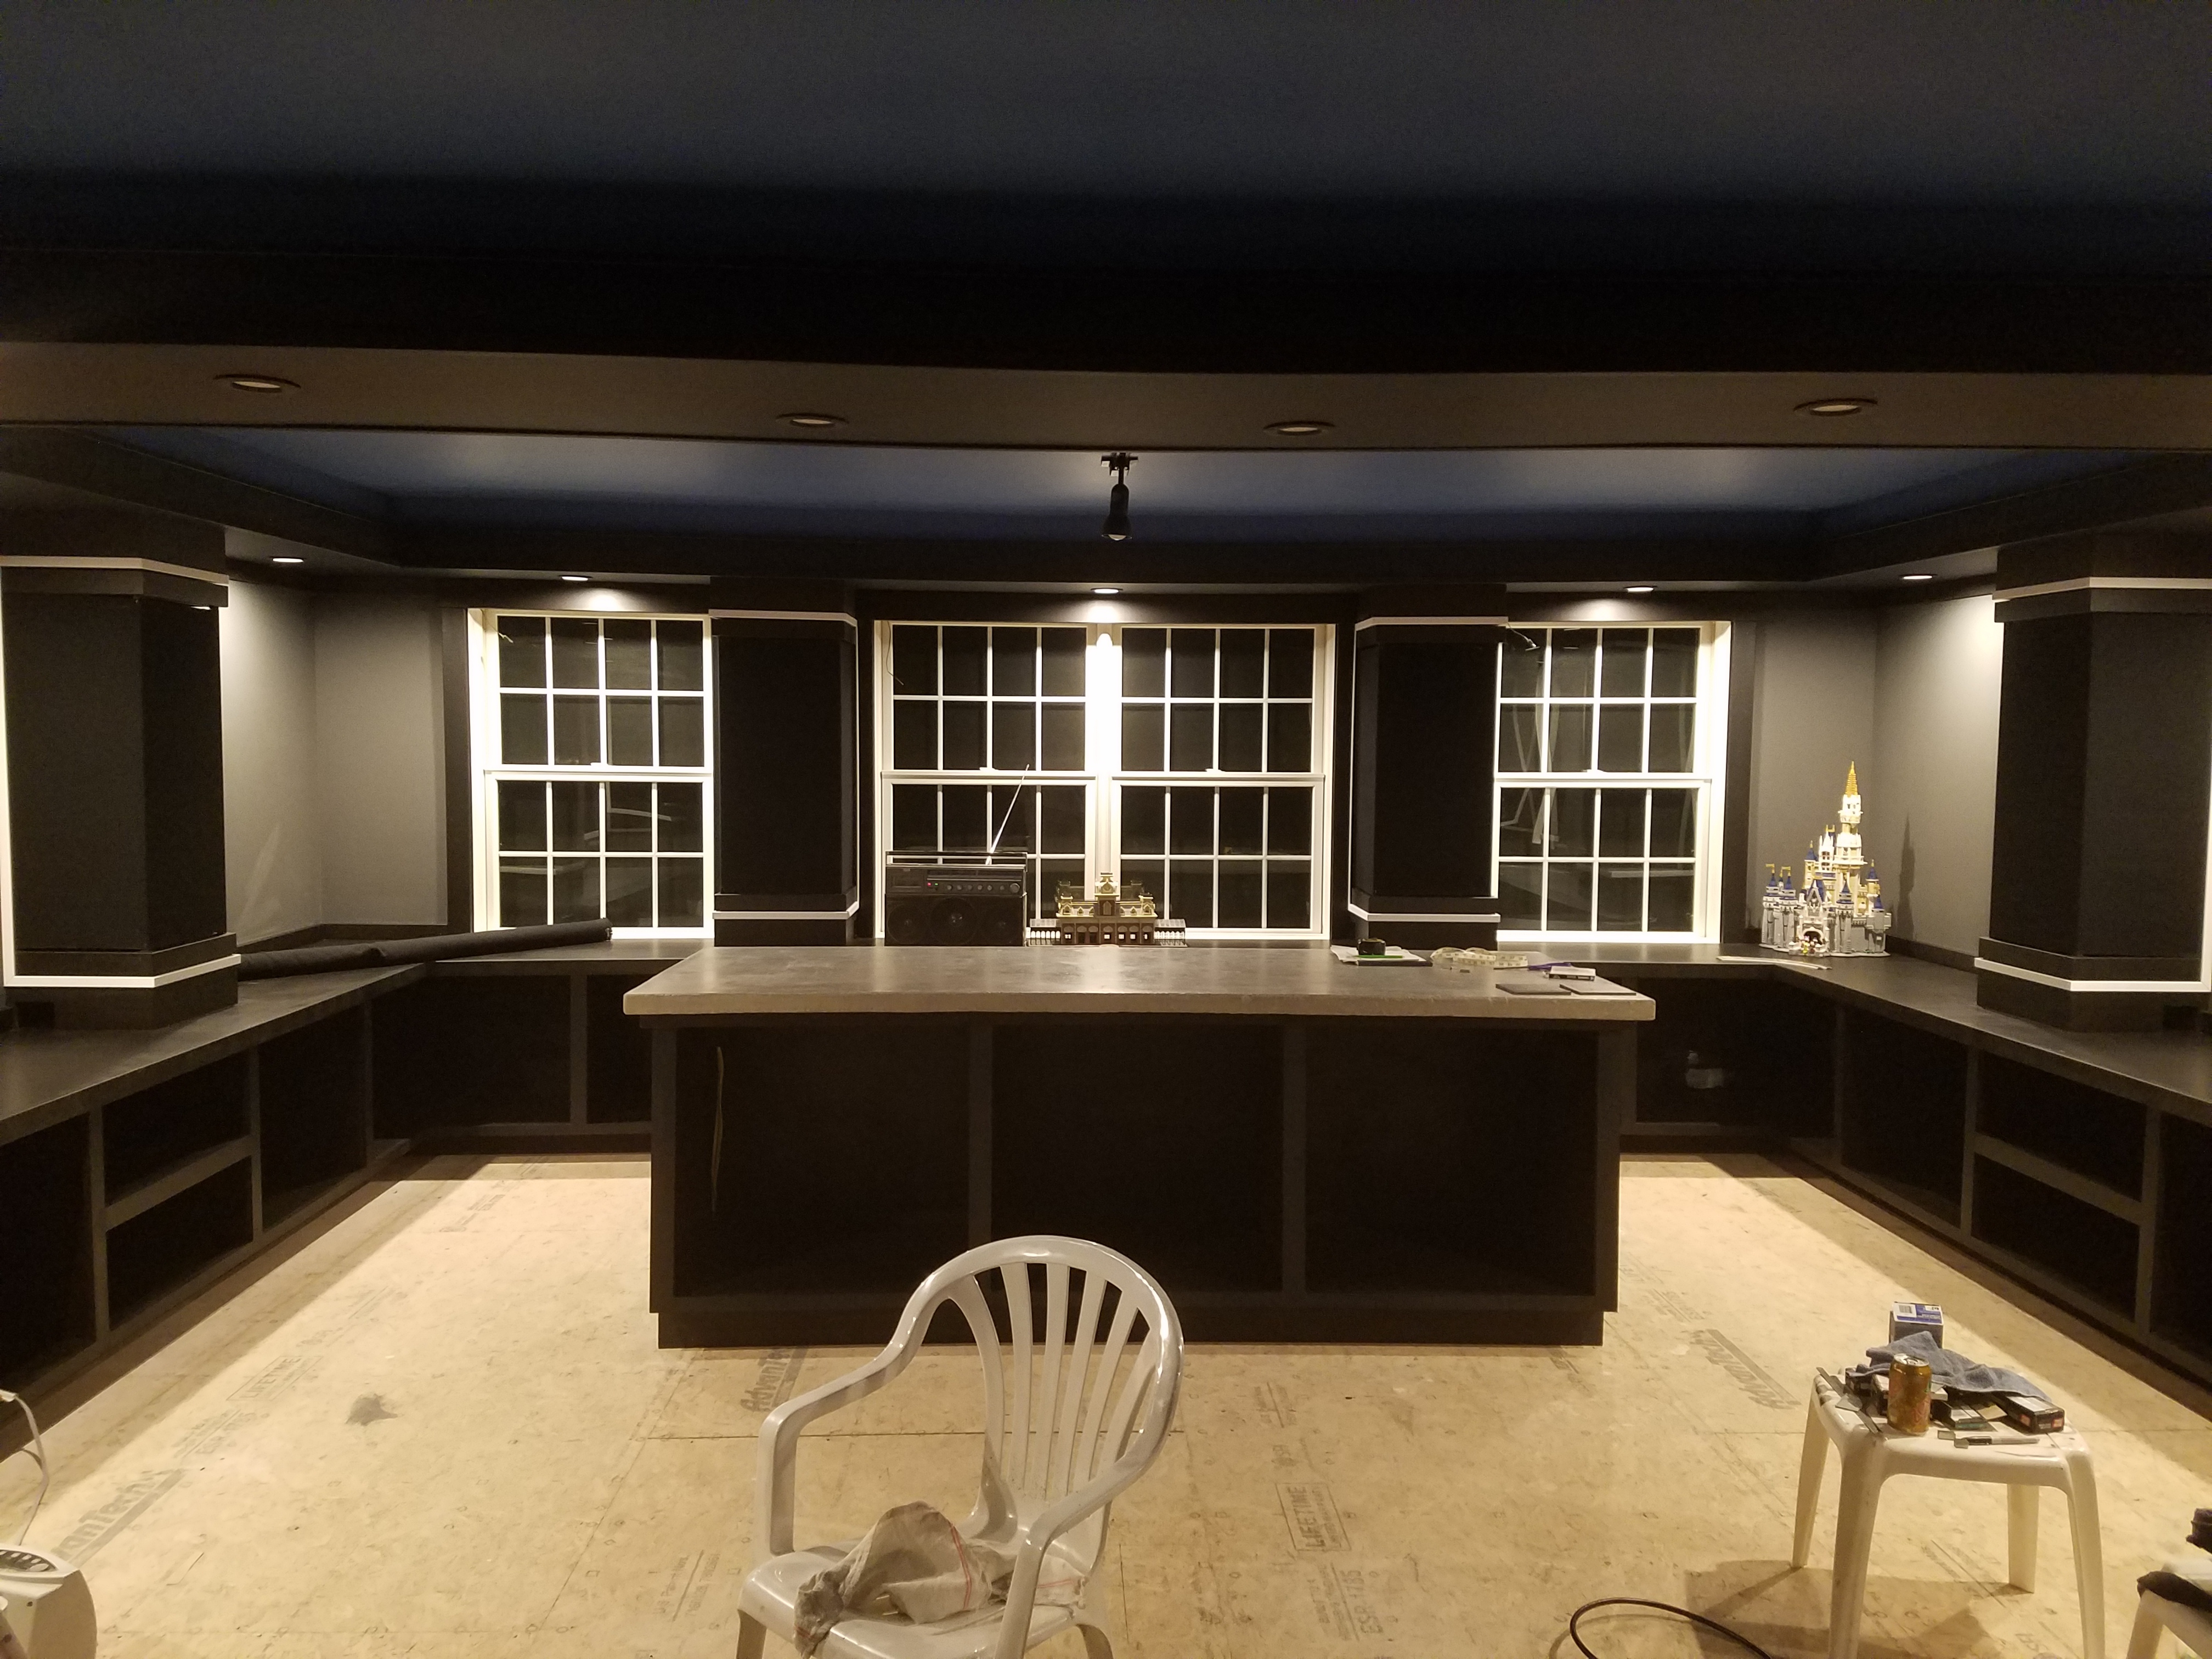
Columns With Fabric Installed
The fabric was cut and stretched around the vertical posts and then stapled to the inside.
Finish Trim
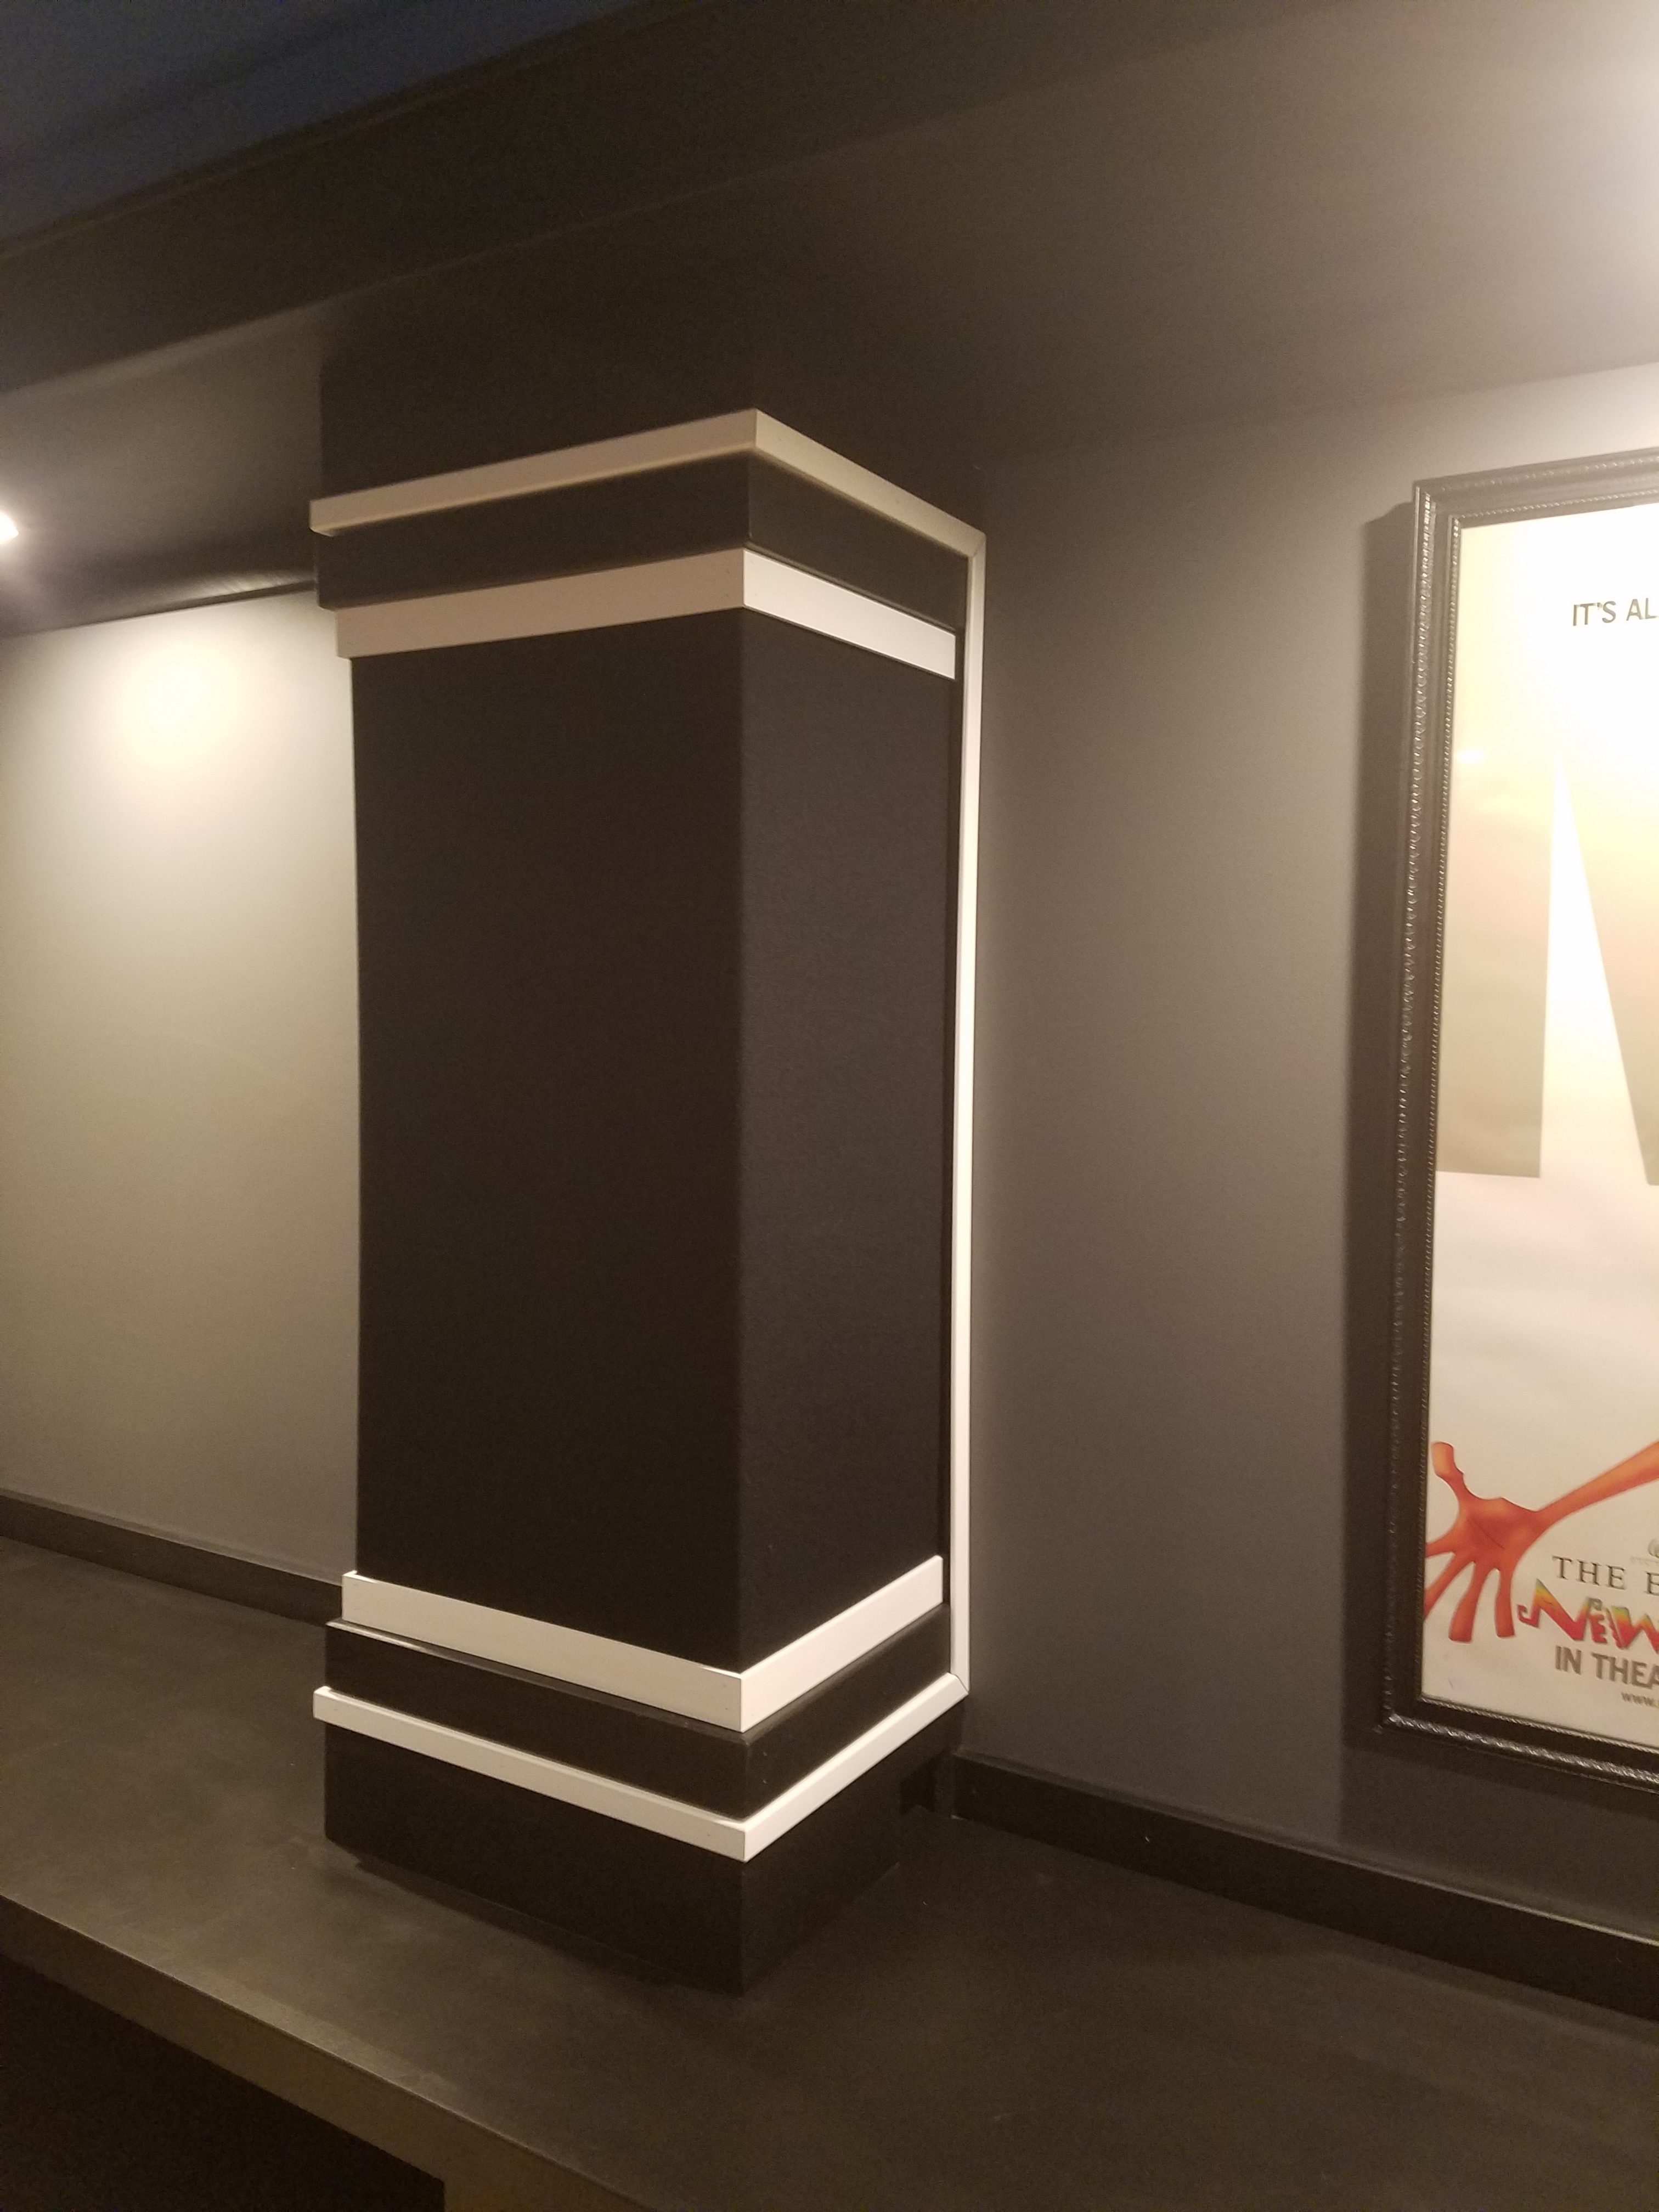
Completed Column
To finish them off I installed simple flat stock PVC trim along the top and bottom to cover the edges of the fabric.
Speaker Mounts
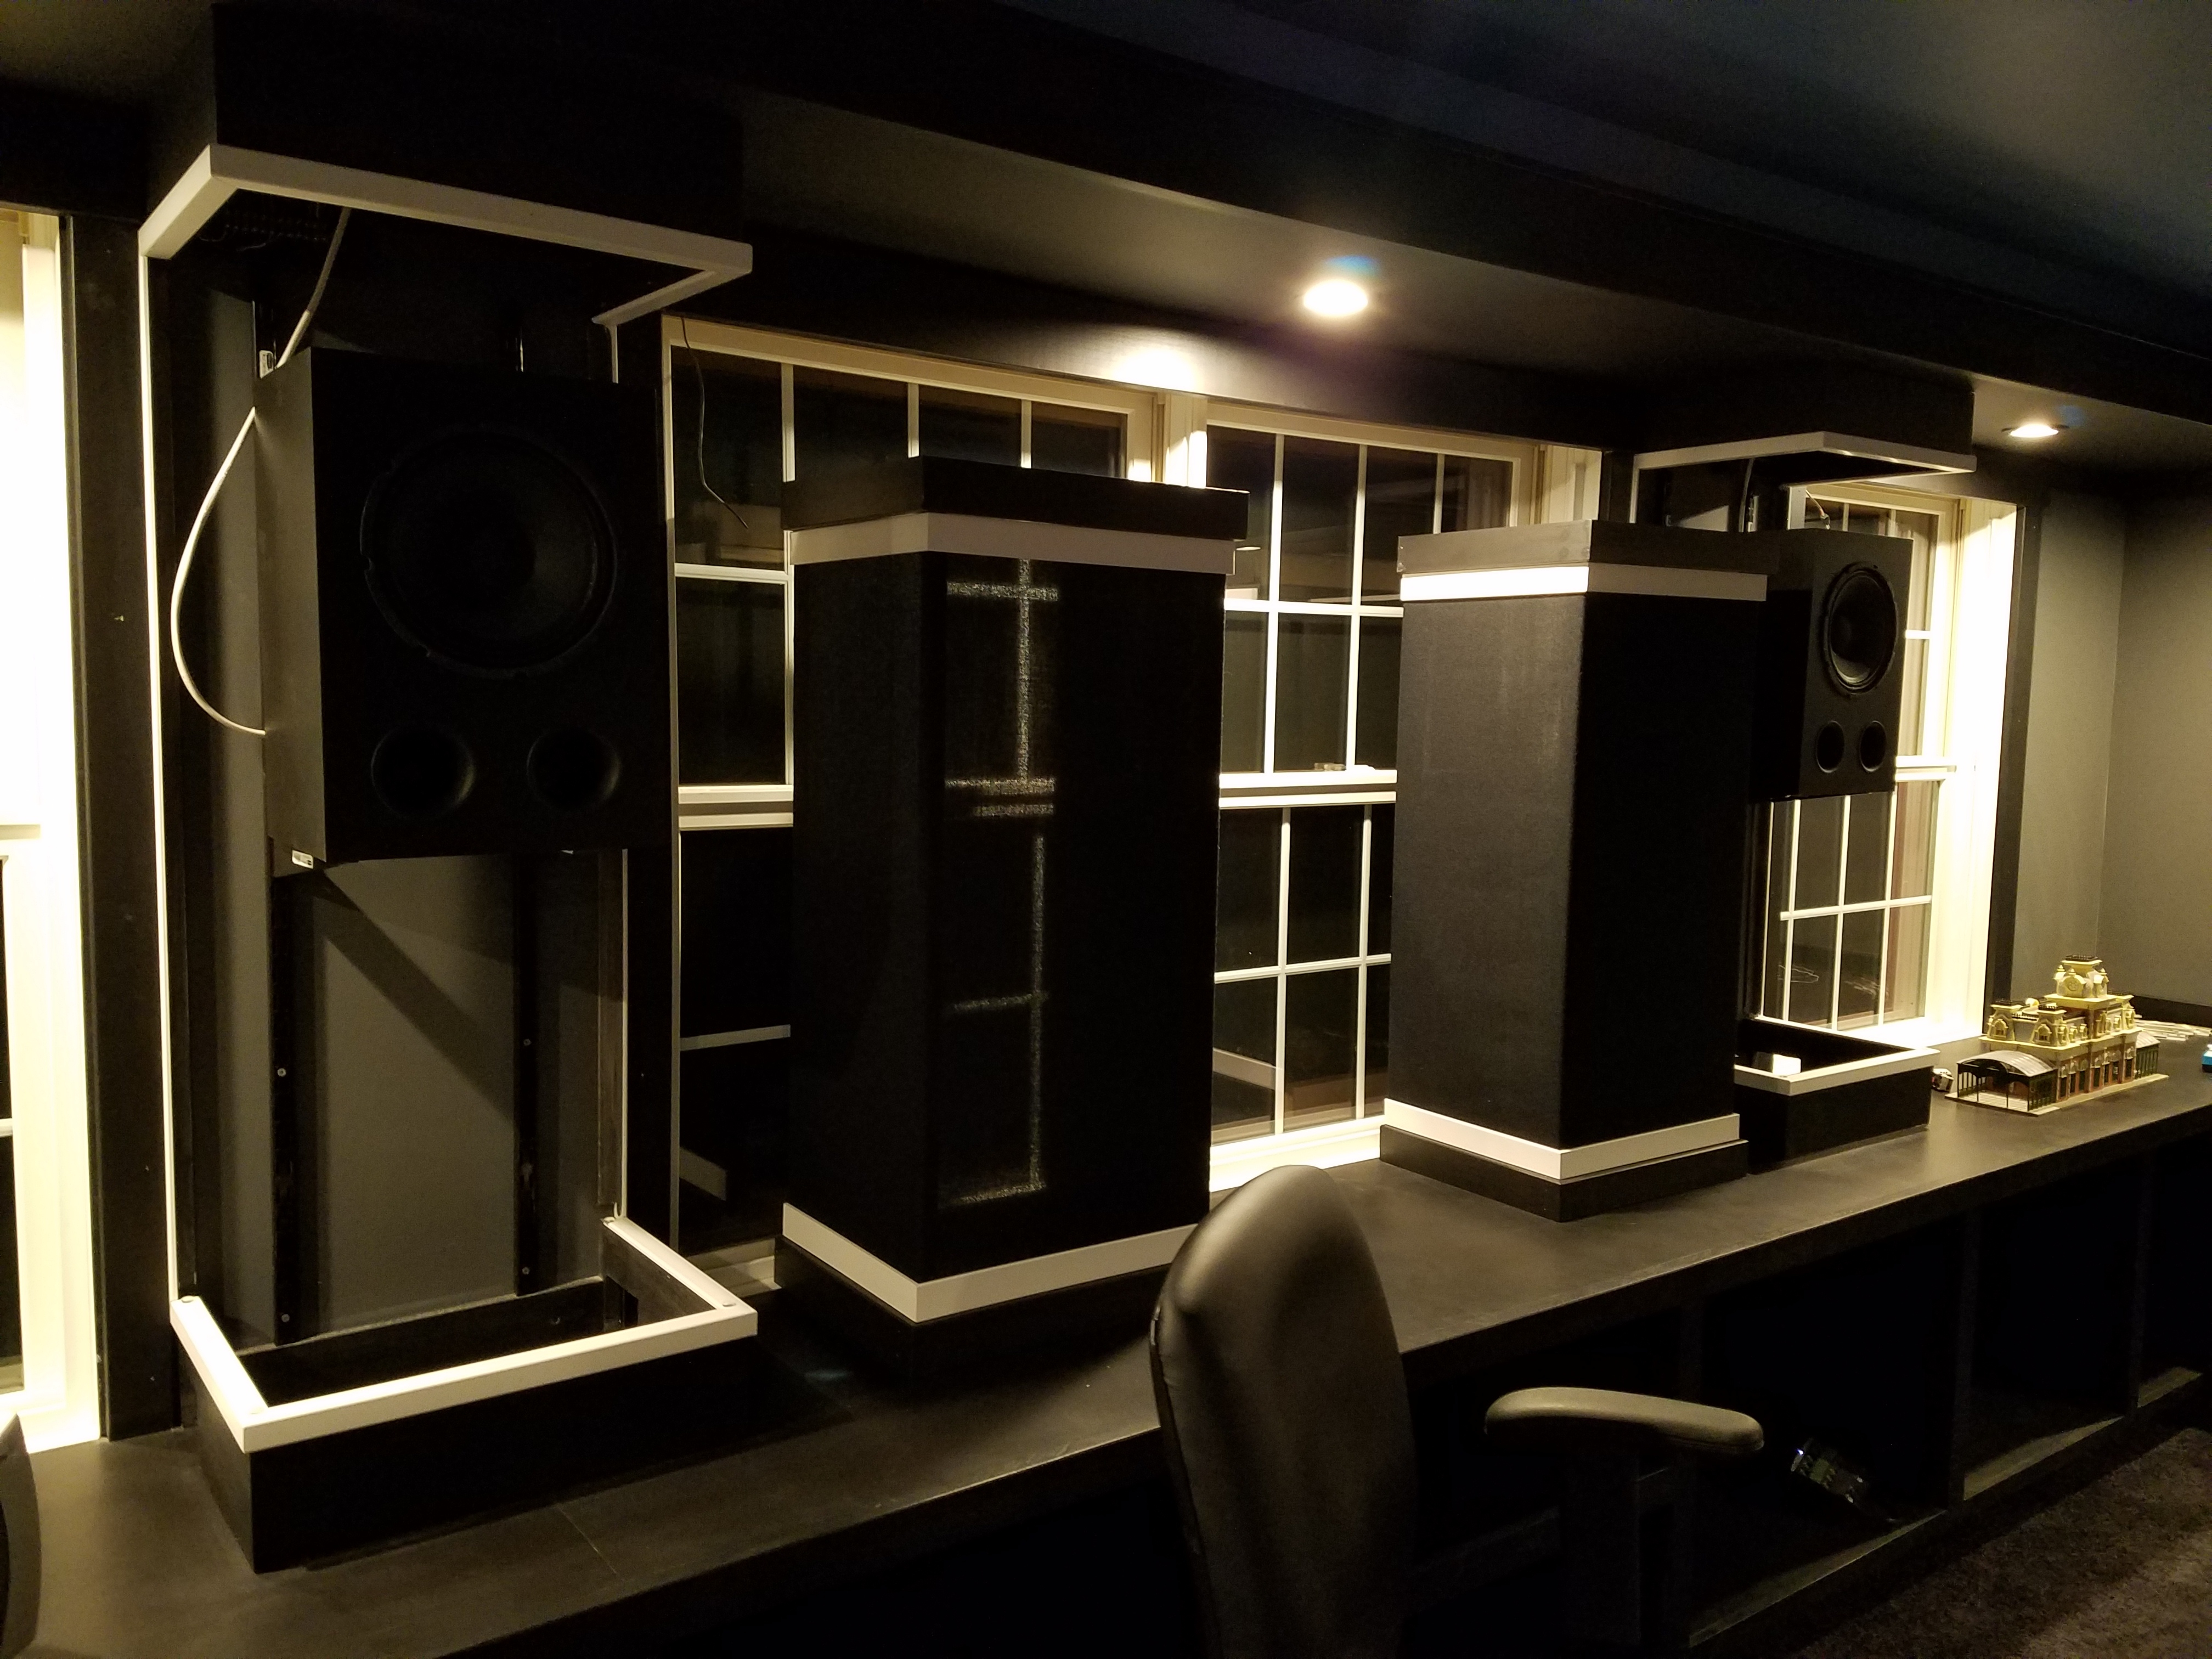
Speaker Mounted In Column
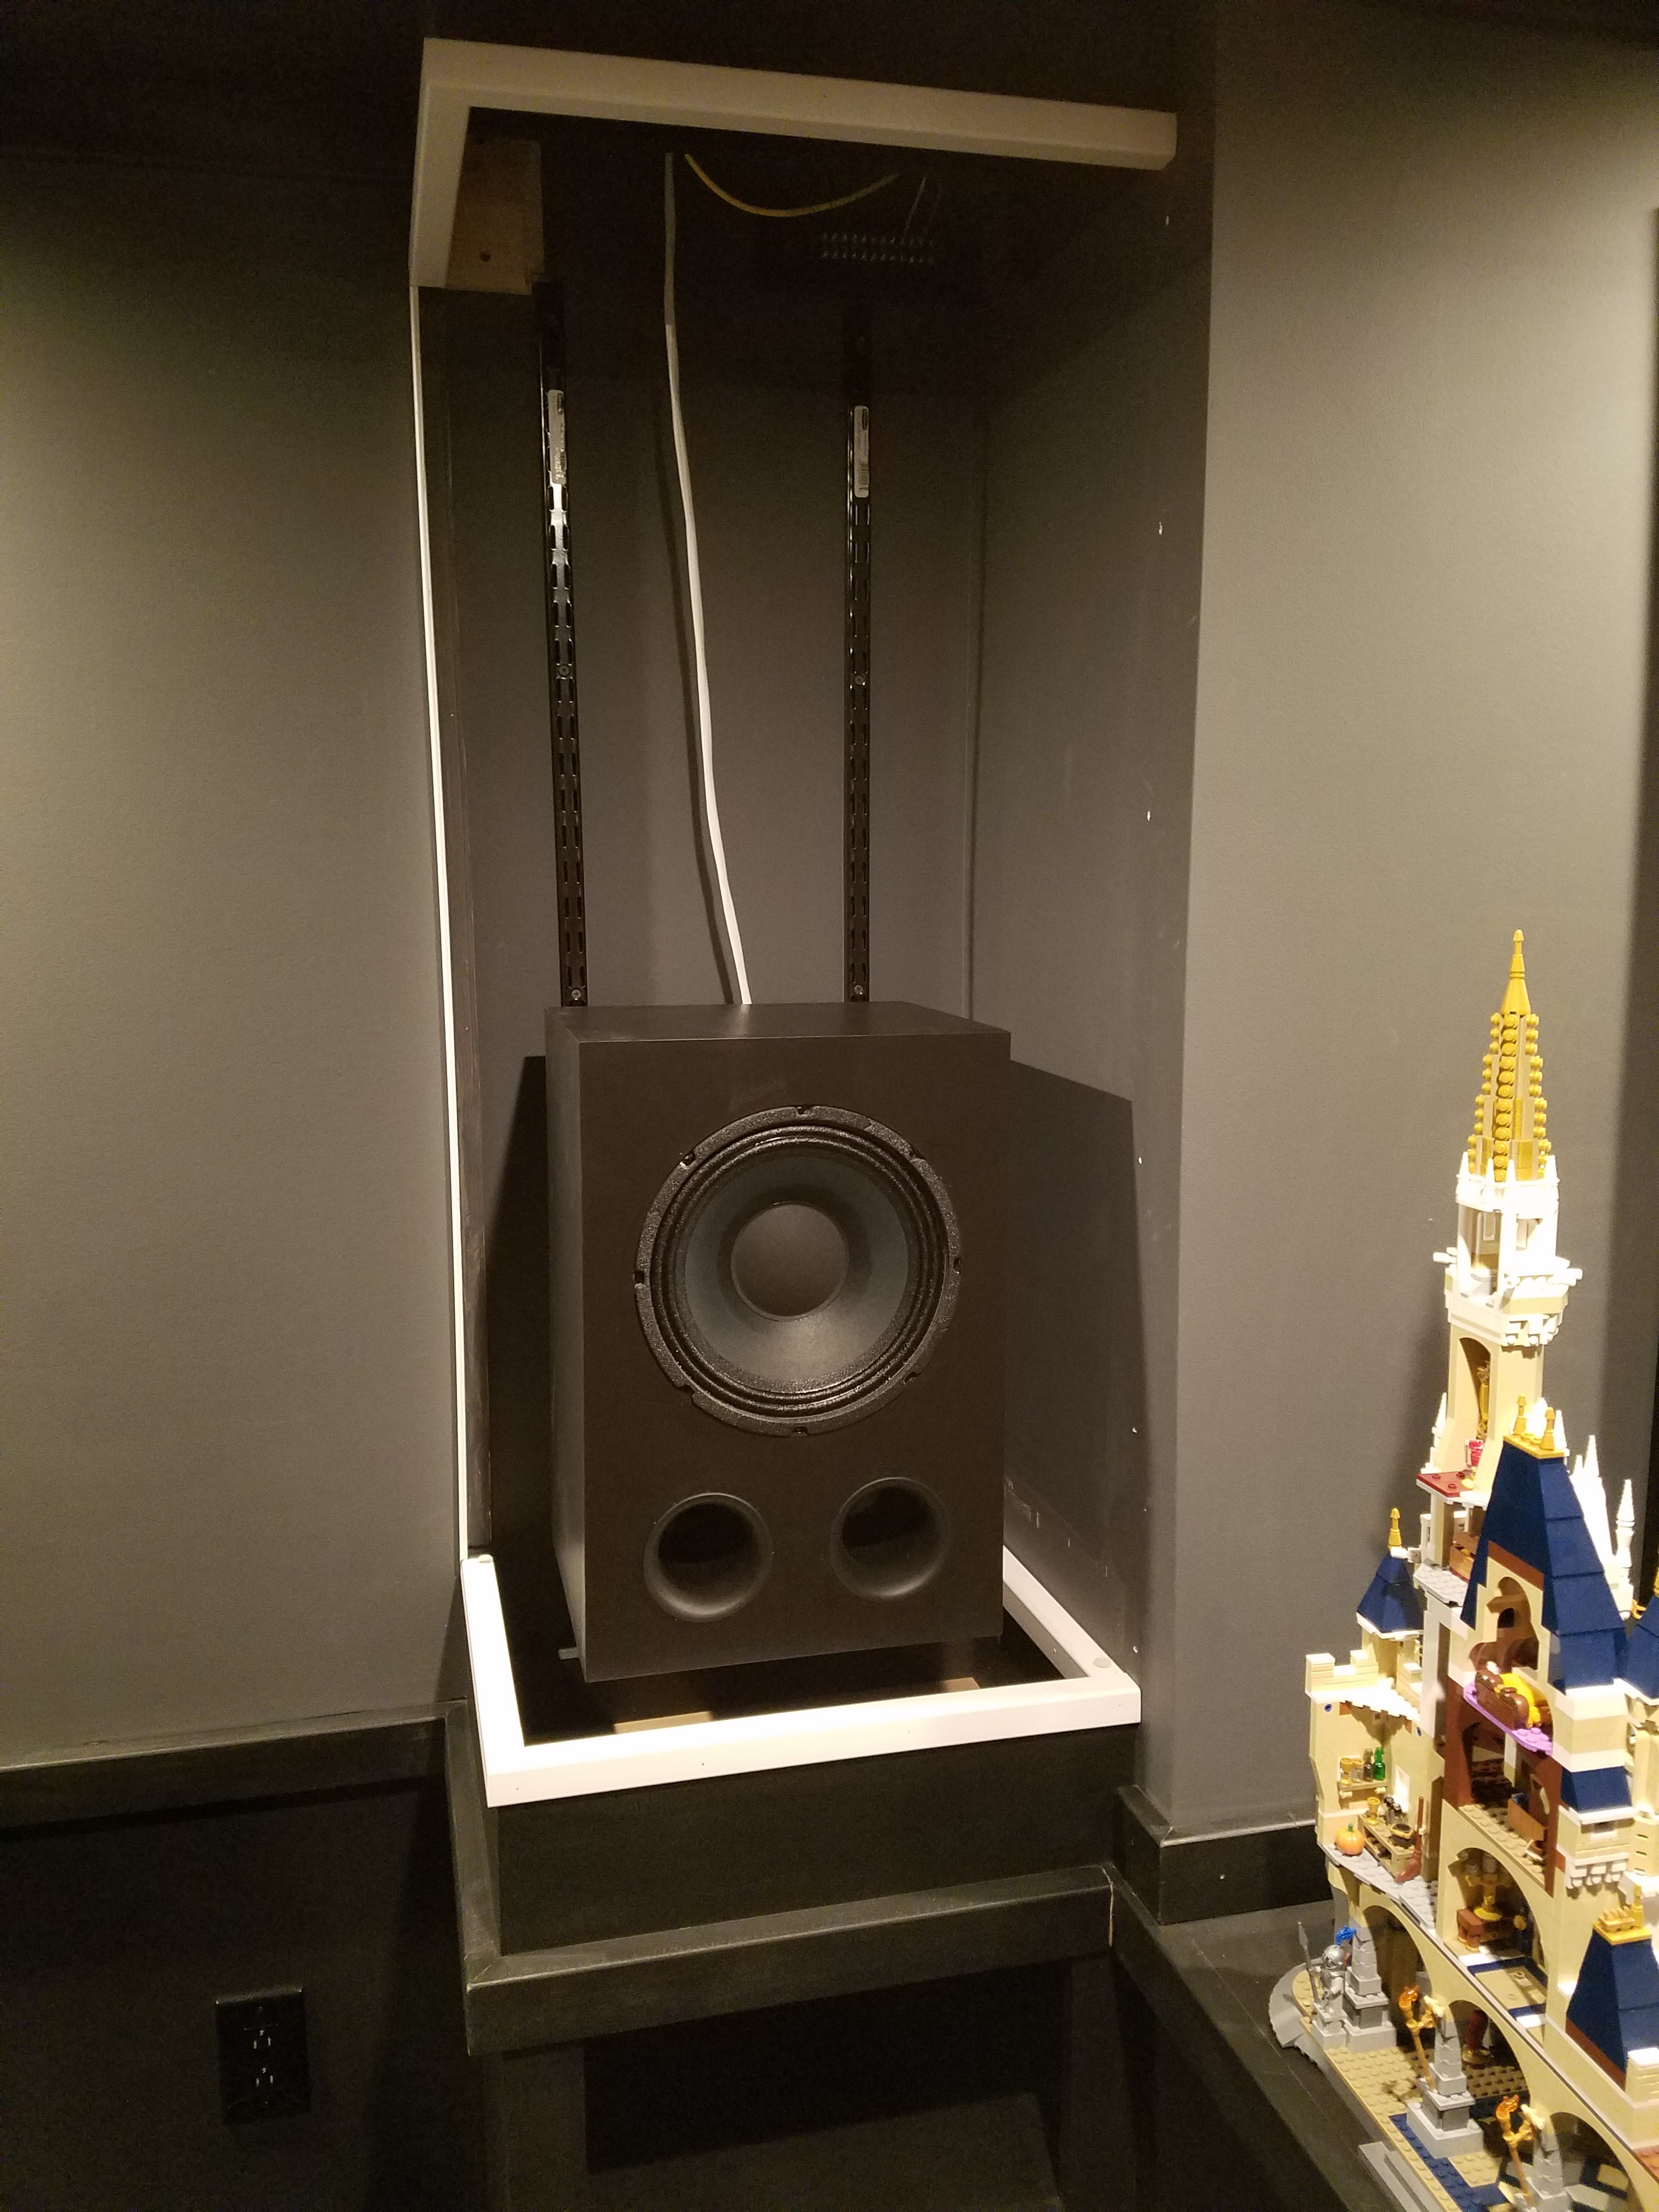
Speaker Mounted In Column
For the speaker mounts I used simple shelf brackets. This also the speaker to be easily adjust for height.
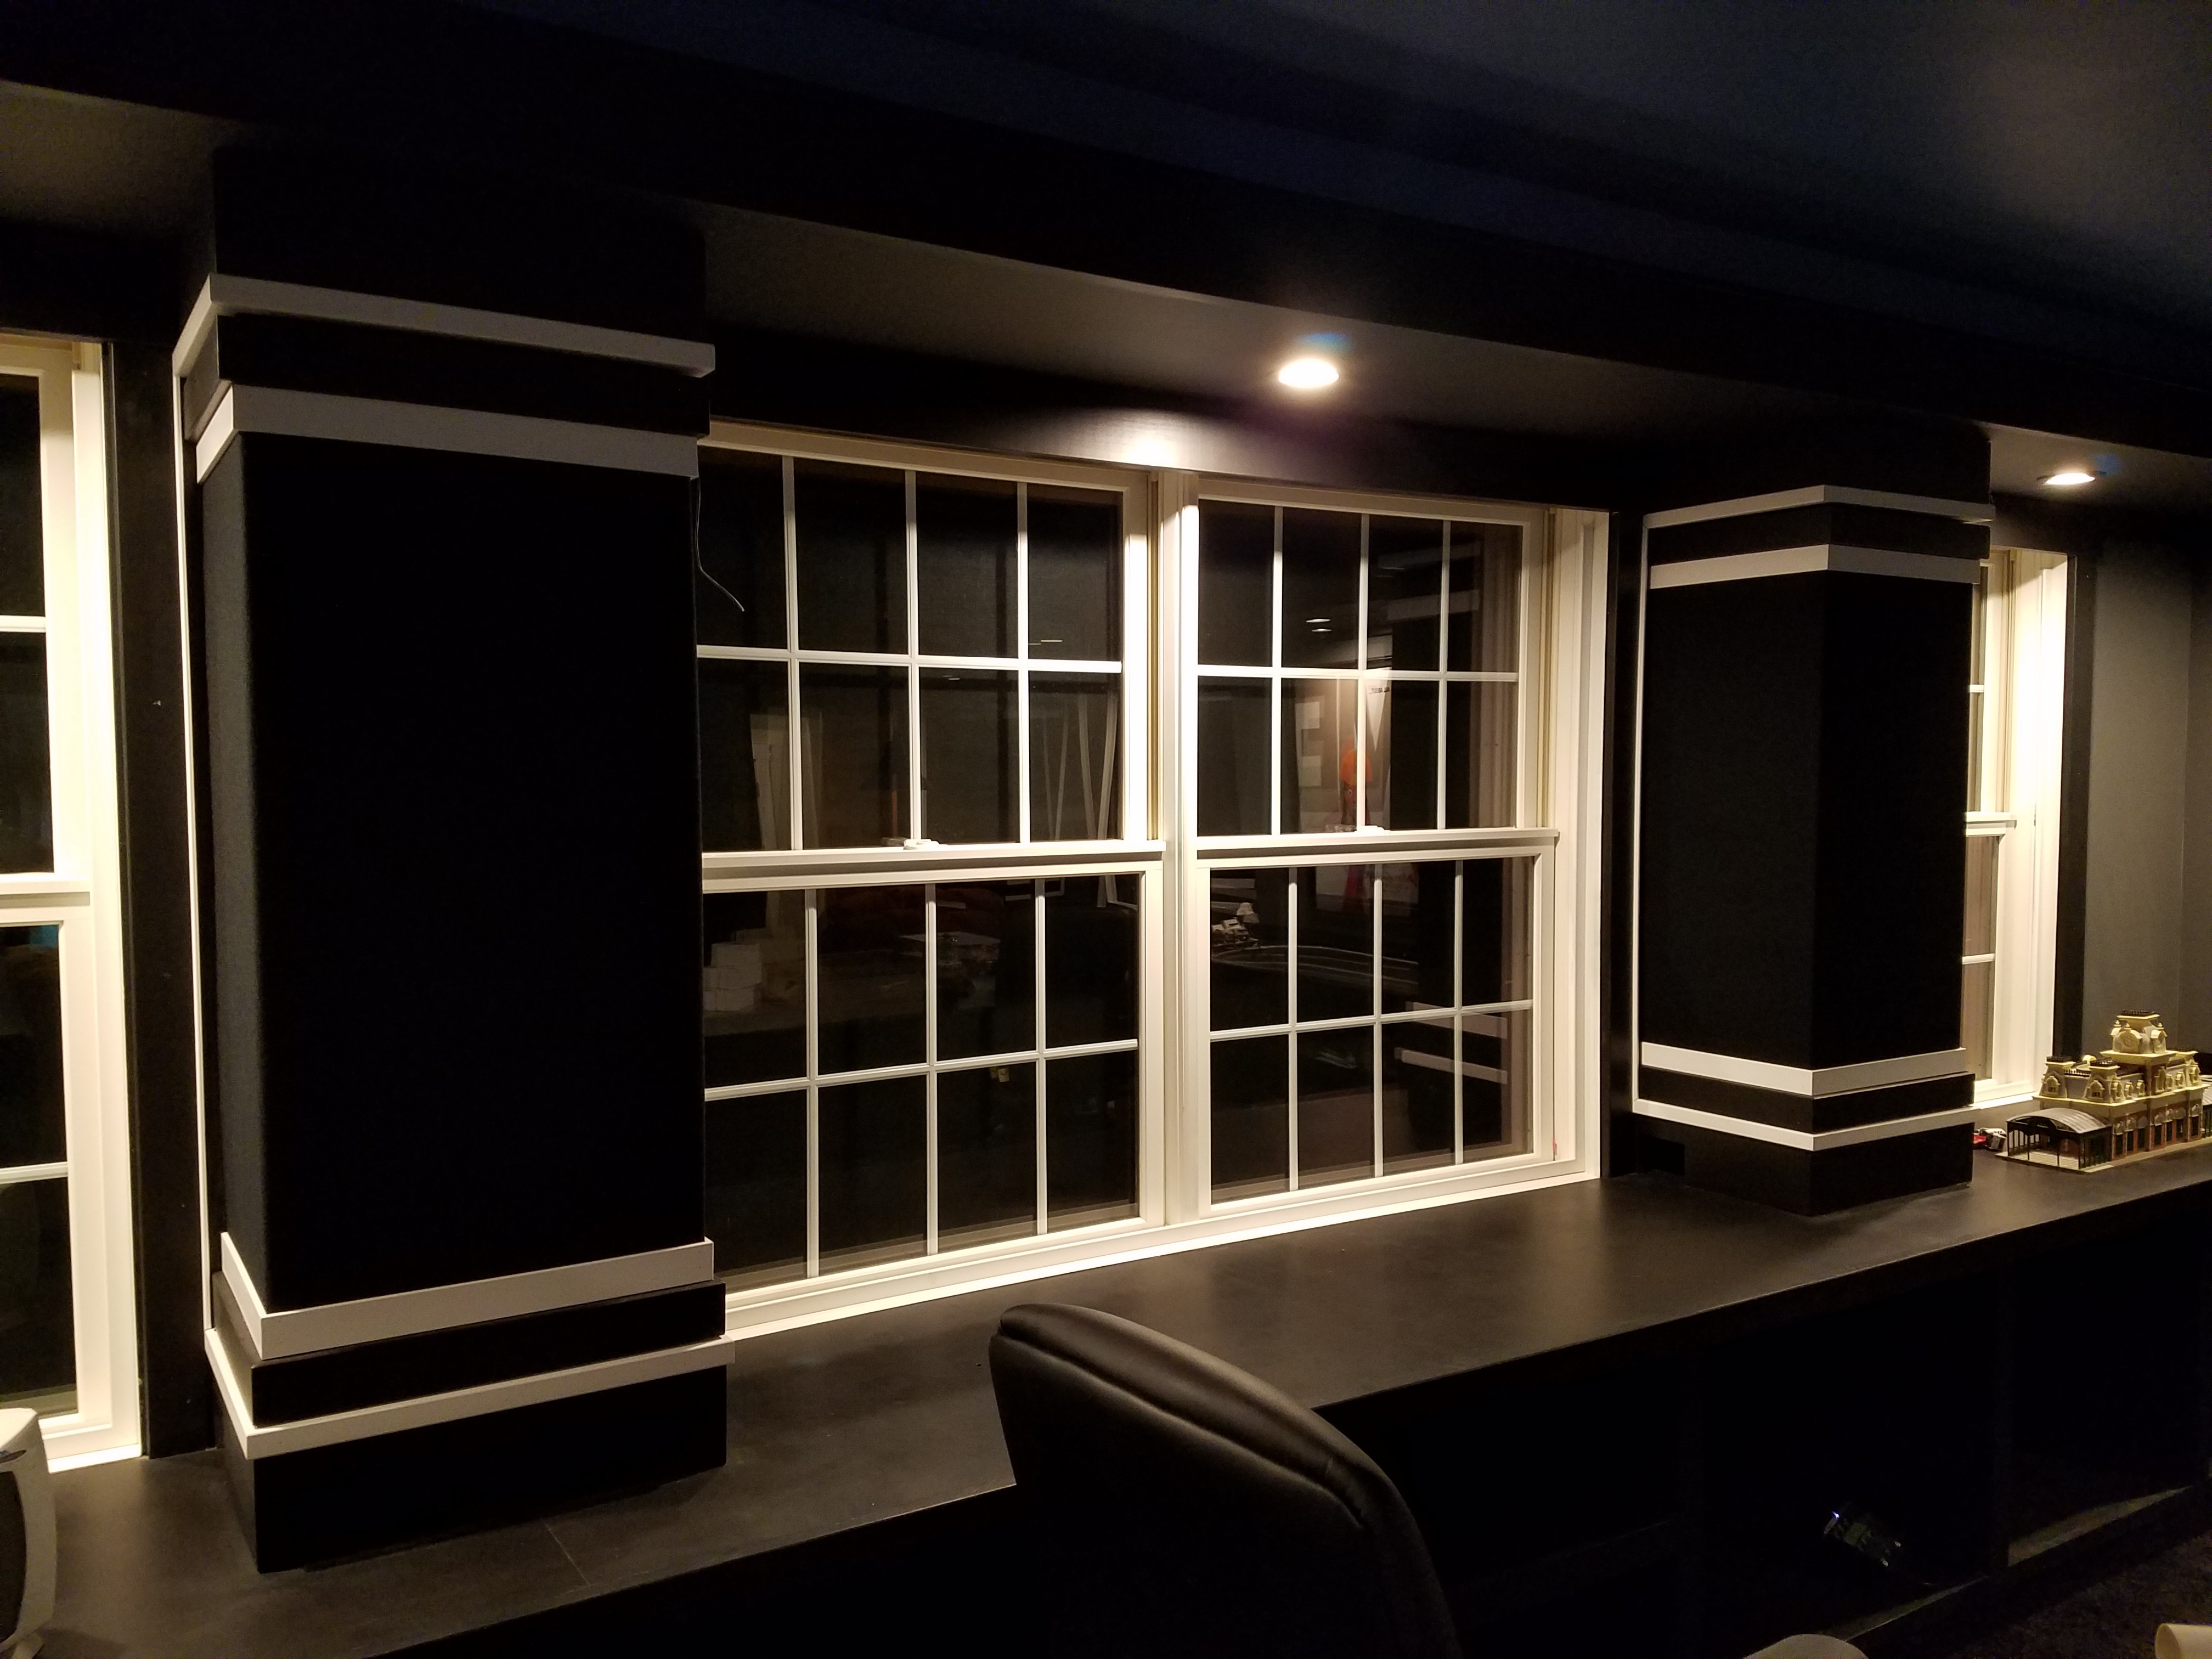
Hidden Speaker
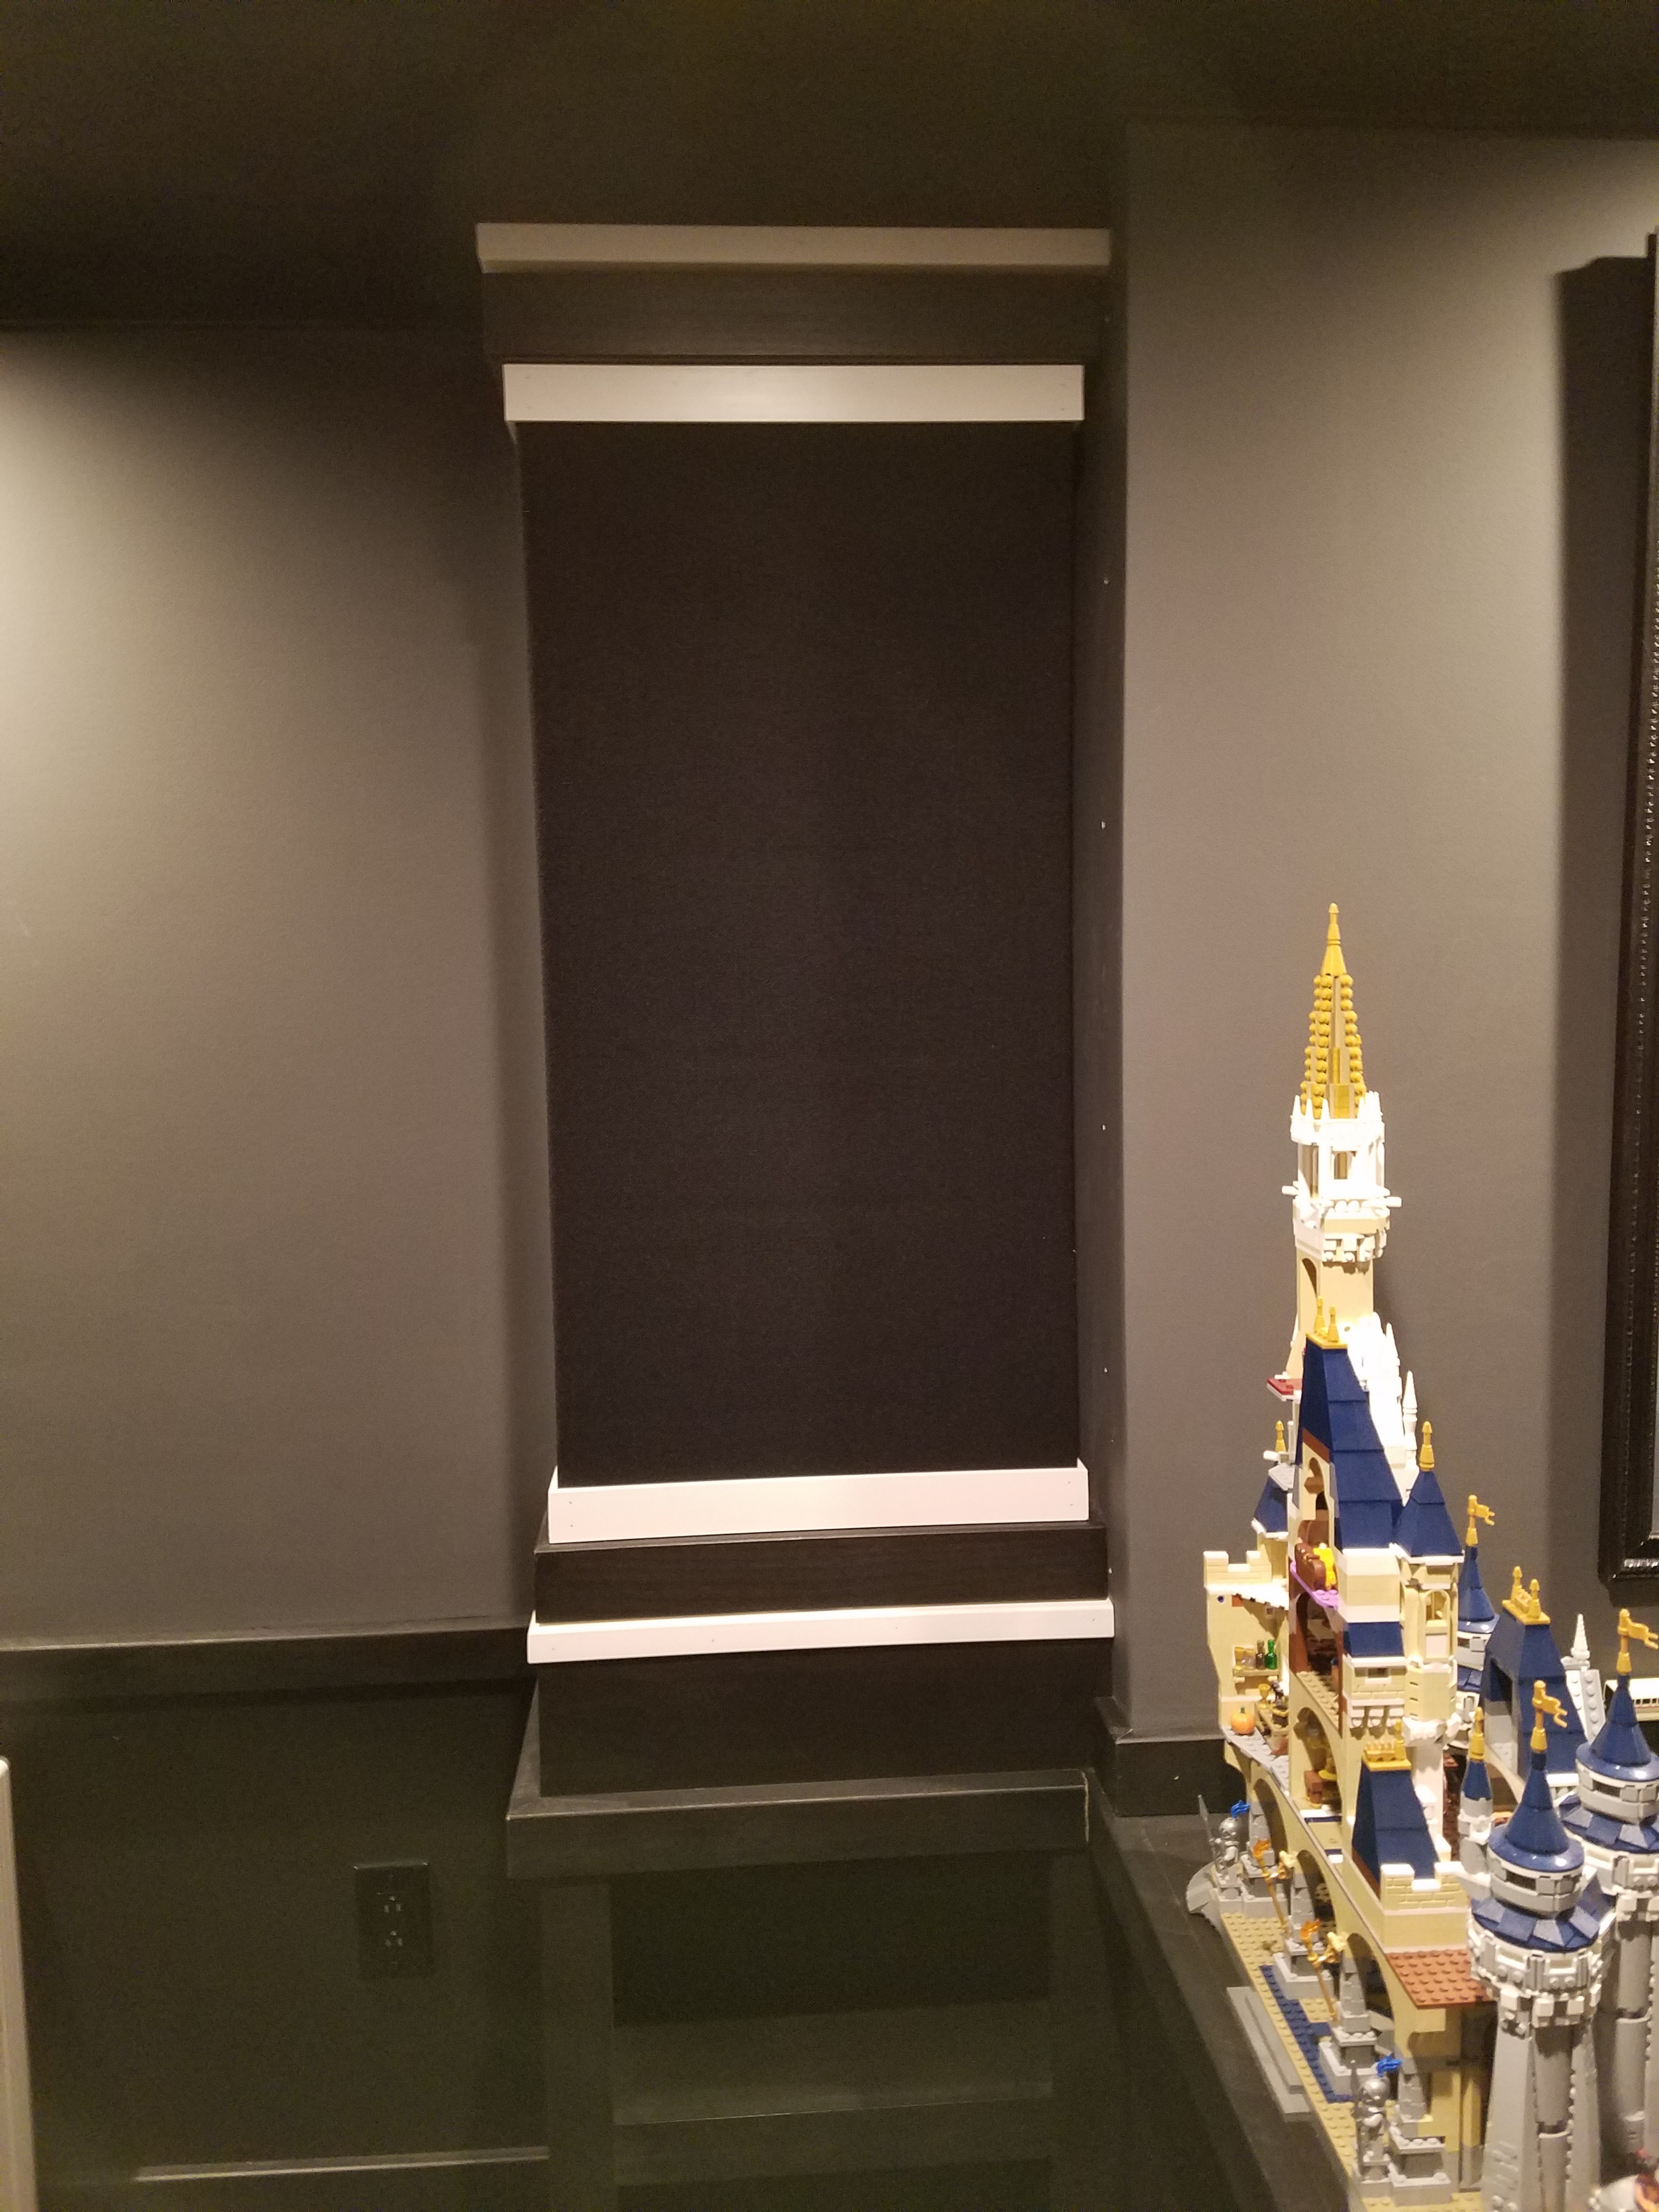
Hidden Speaker
Once the columns are reinstalled the speakers are completely hidden,
Conclusion
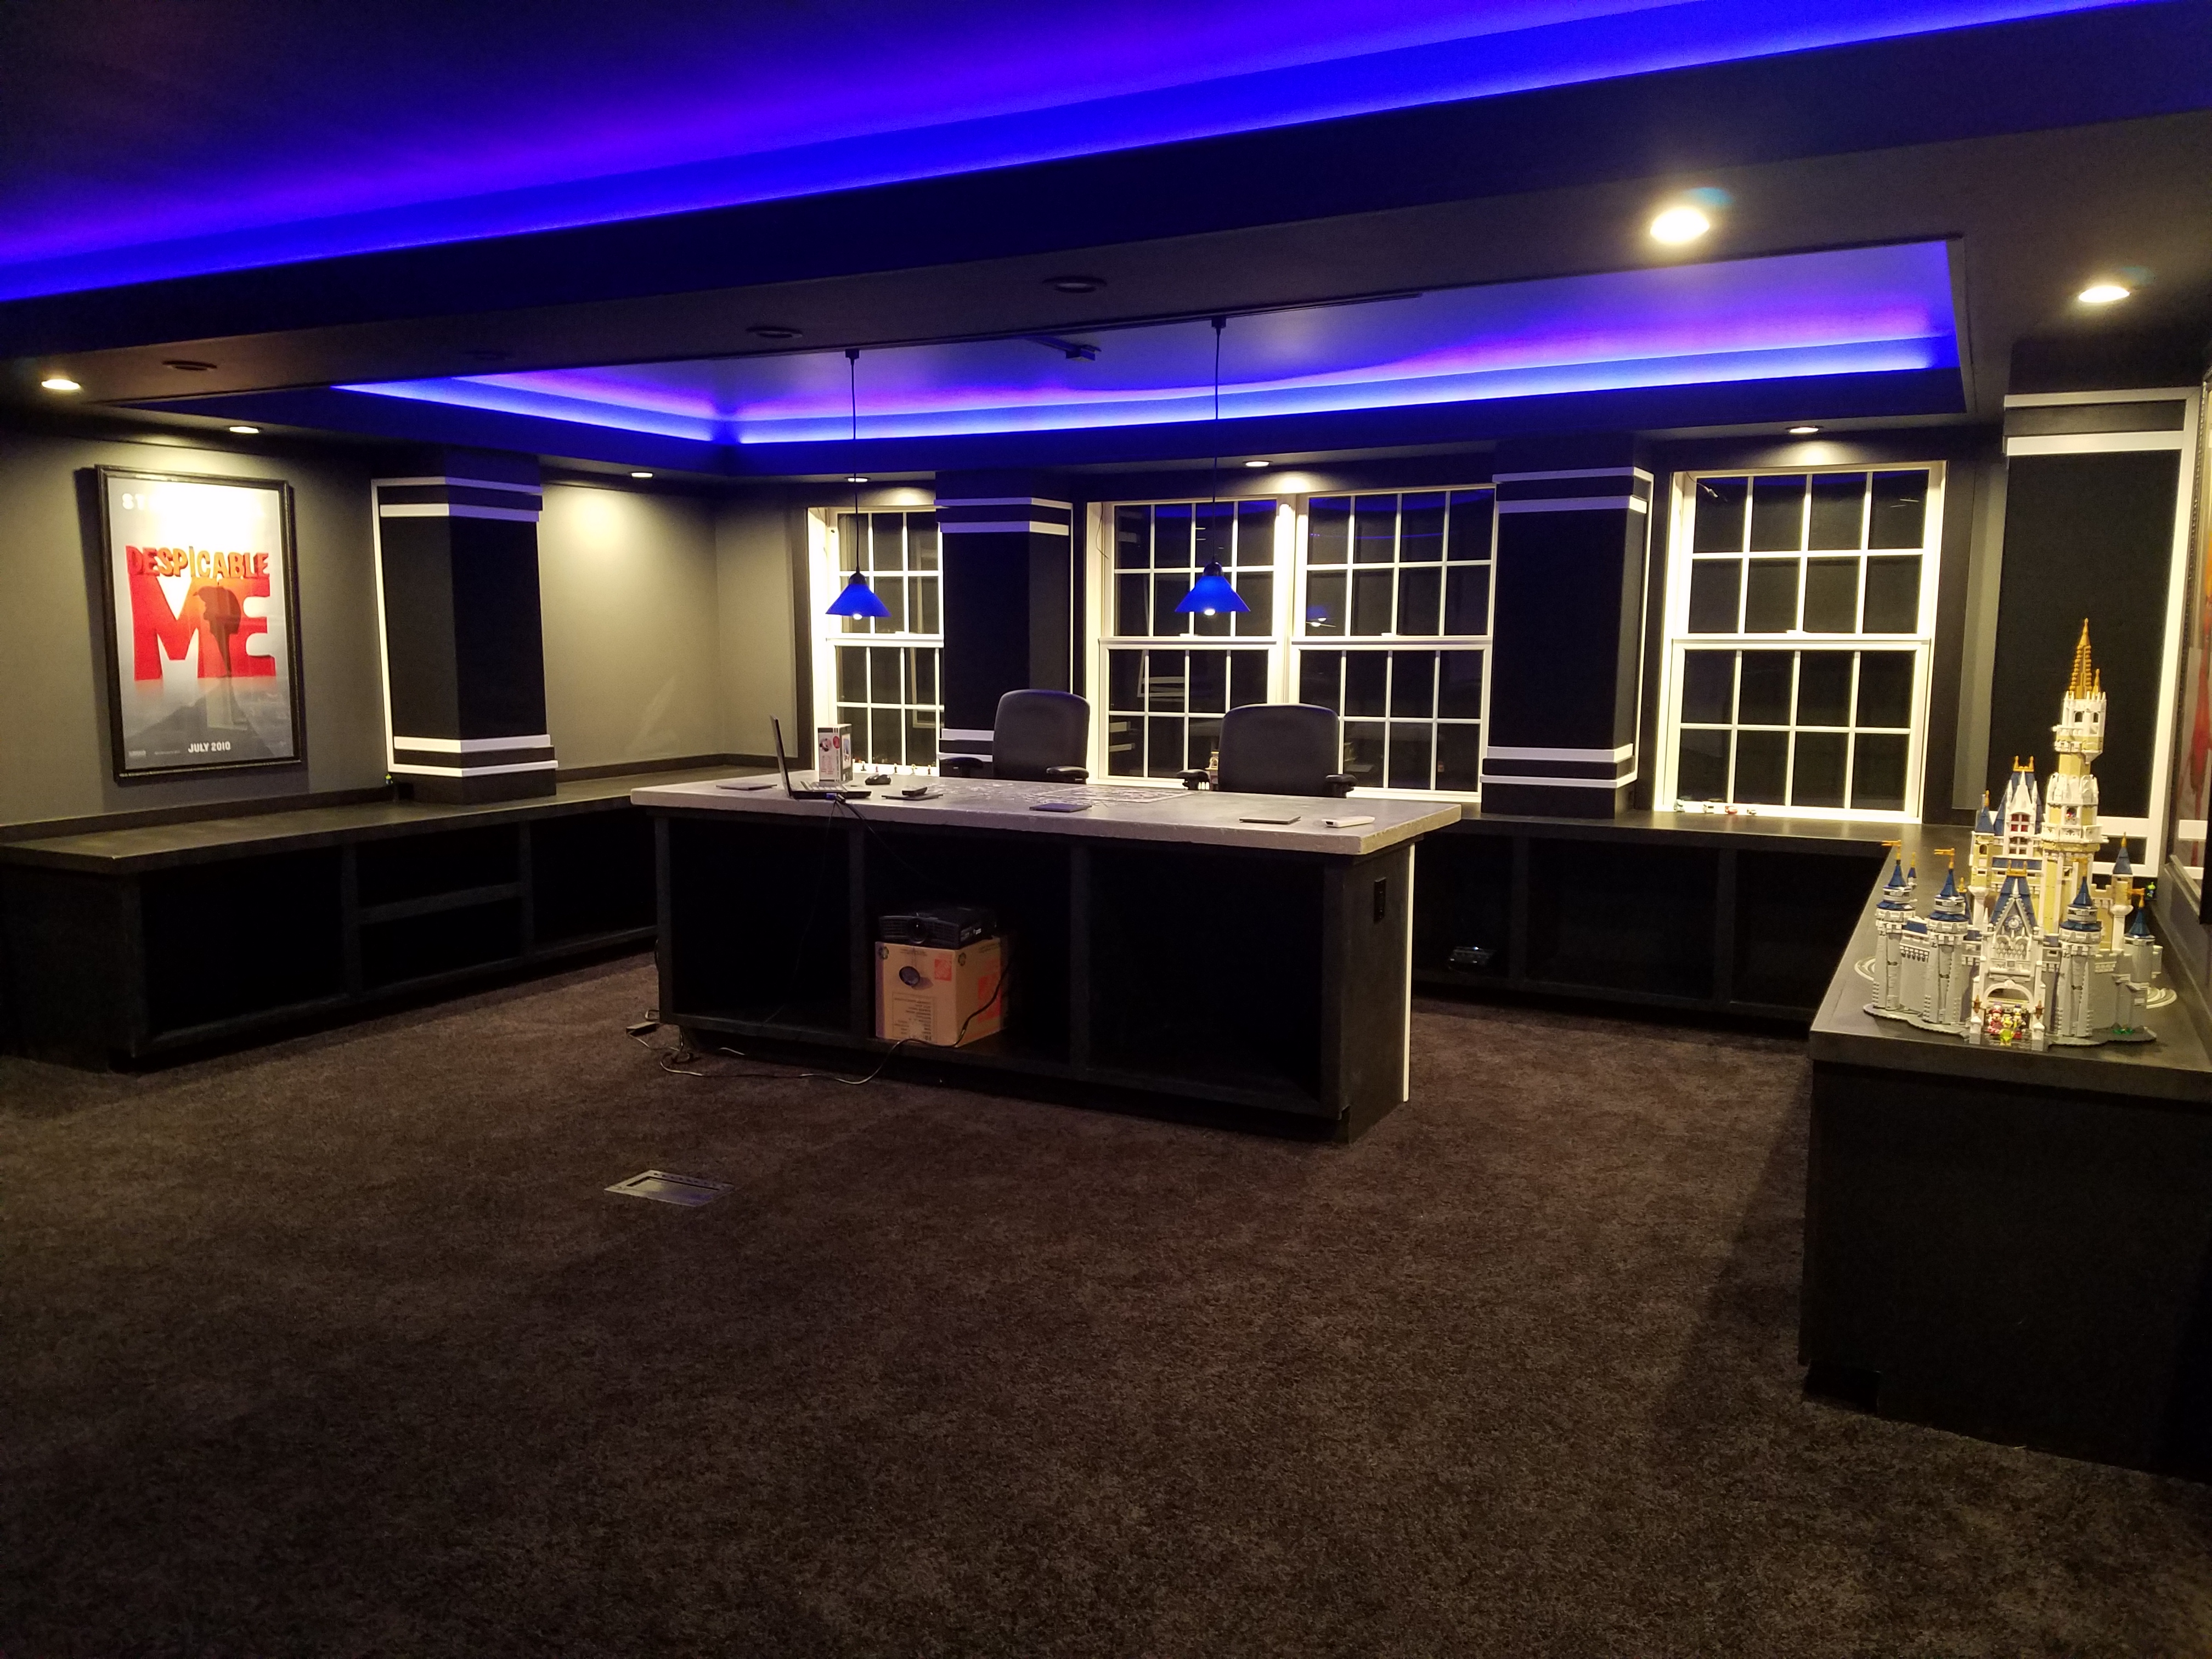
Home Theater
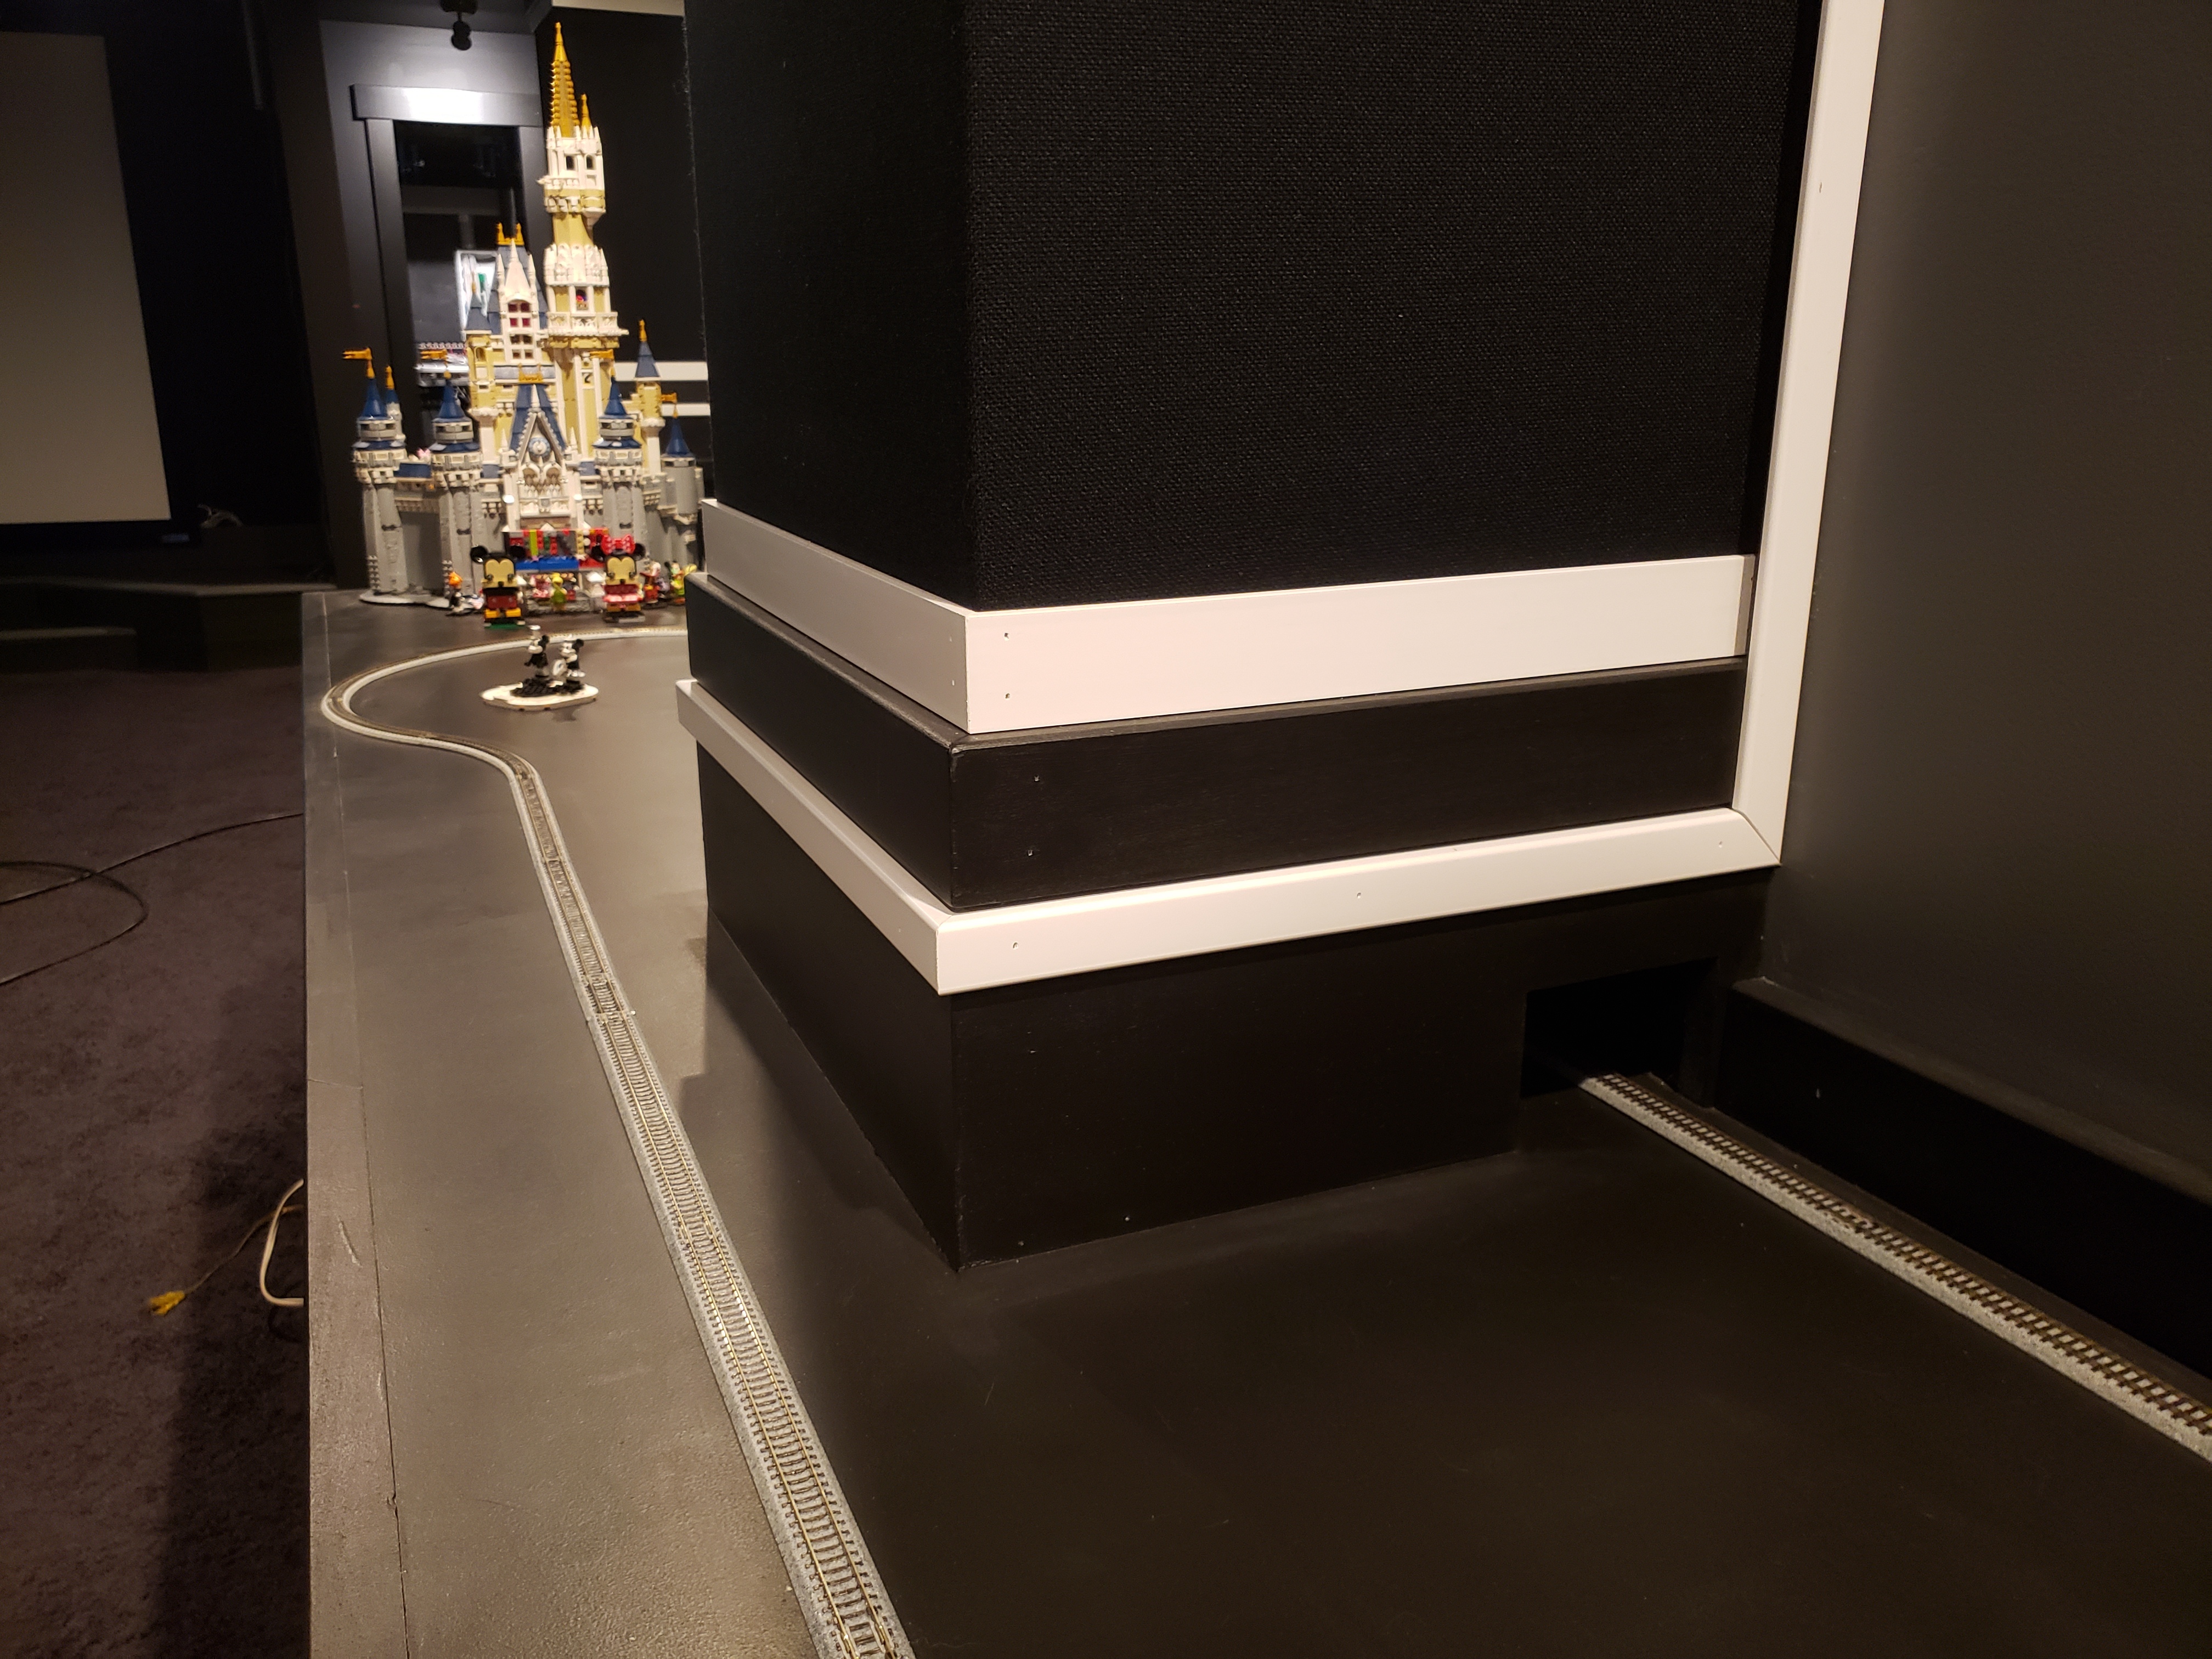
Model Train
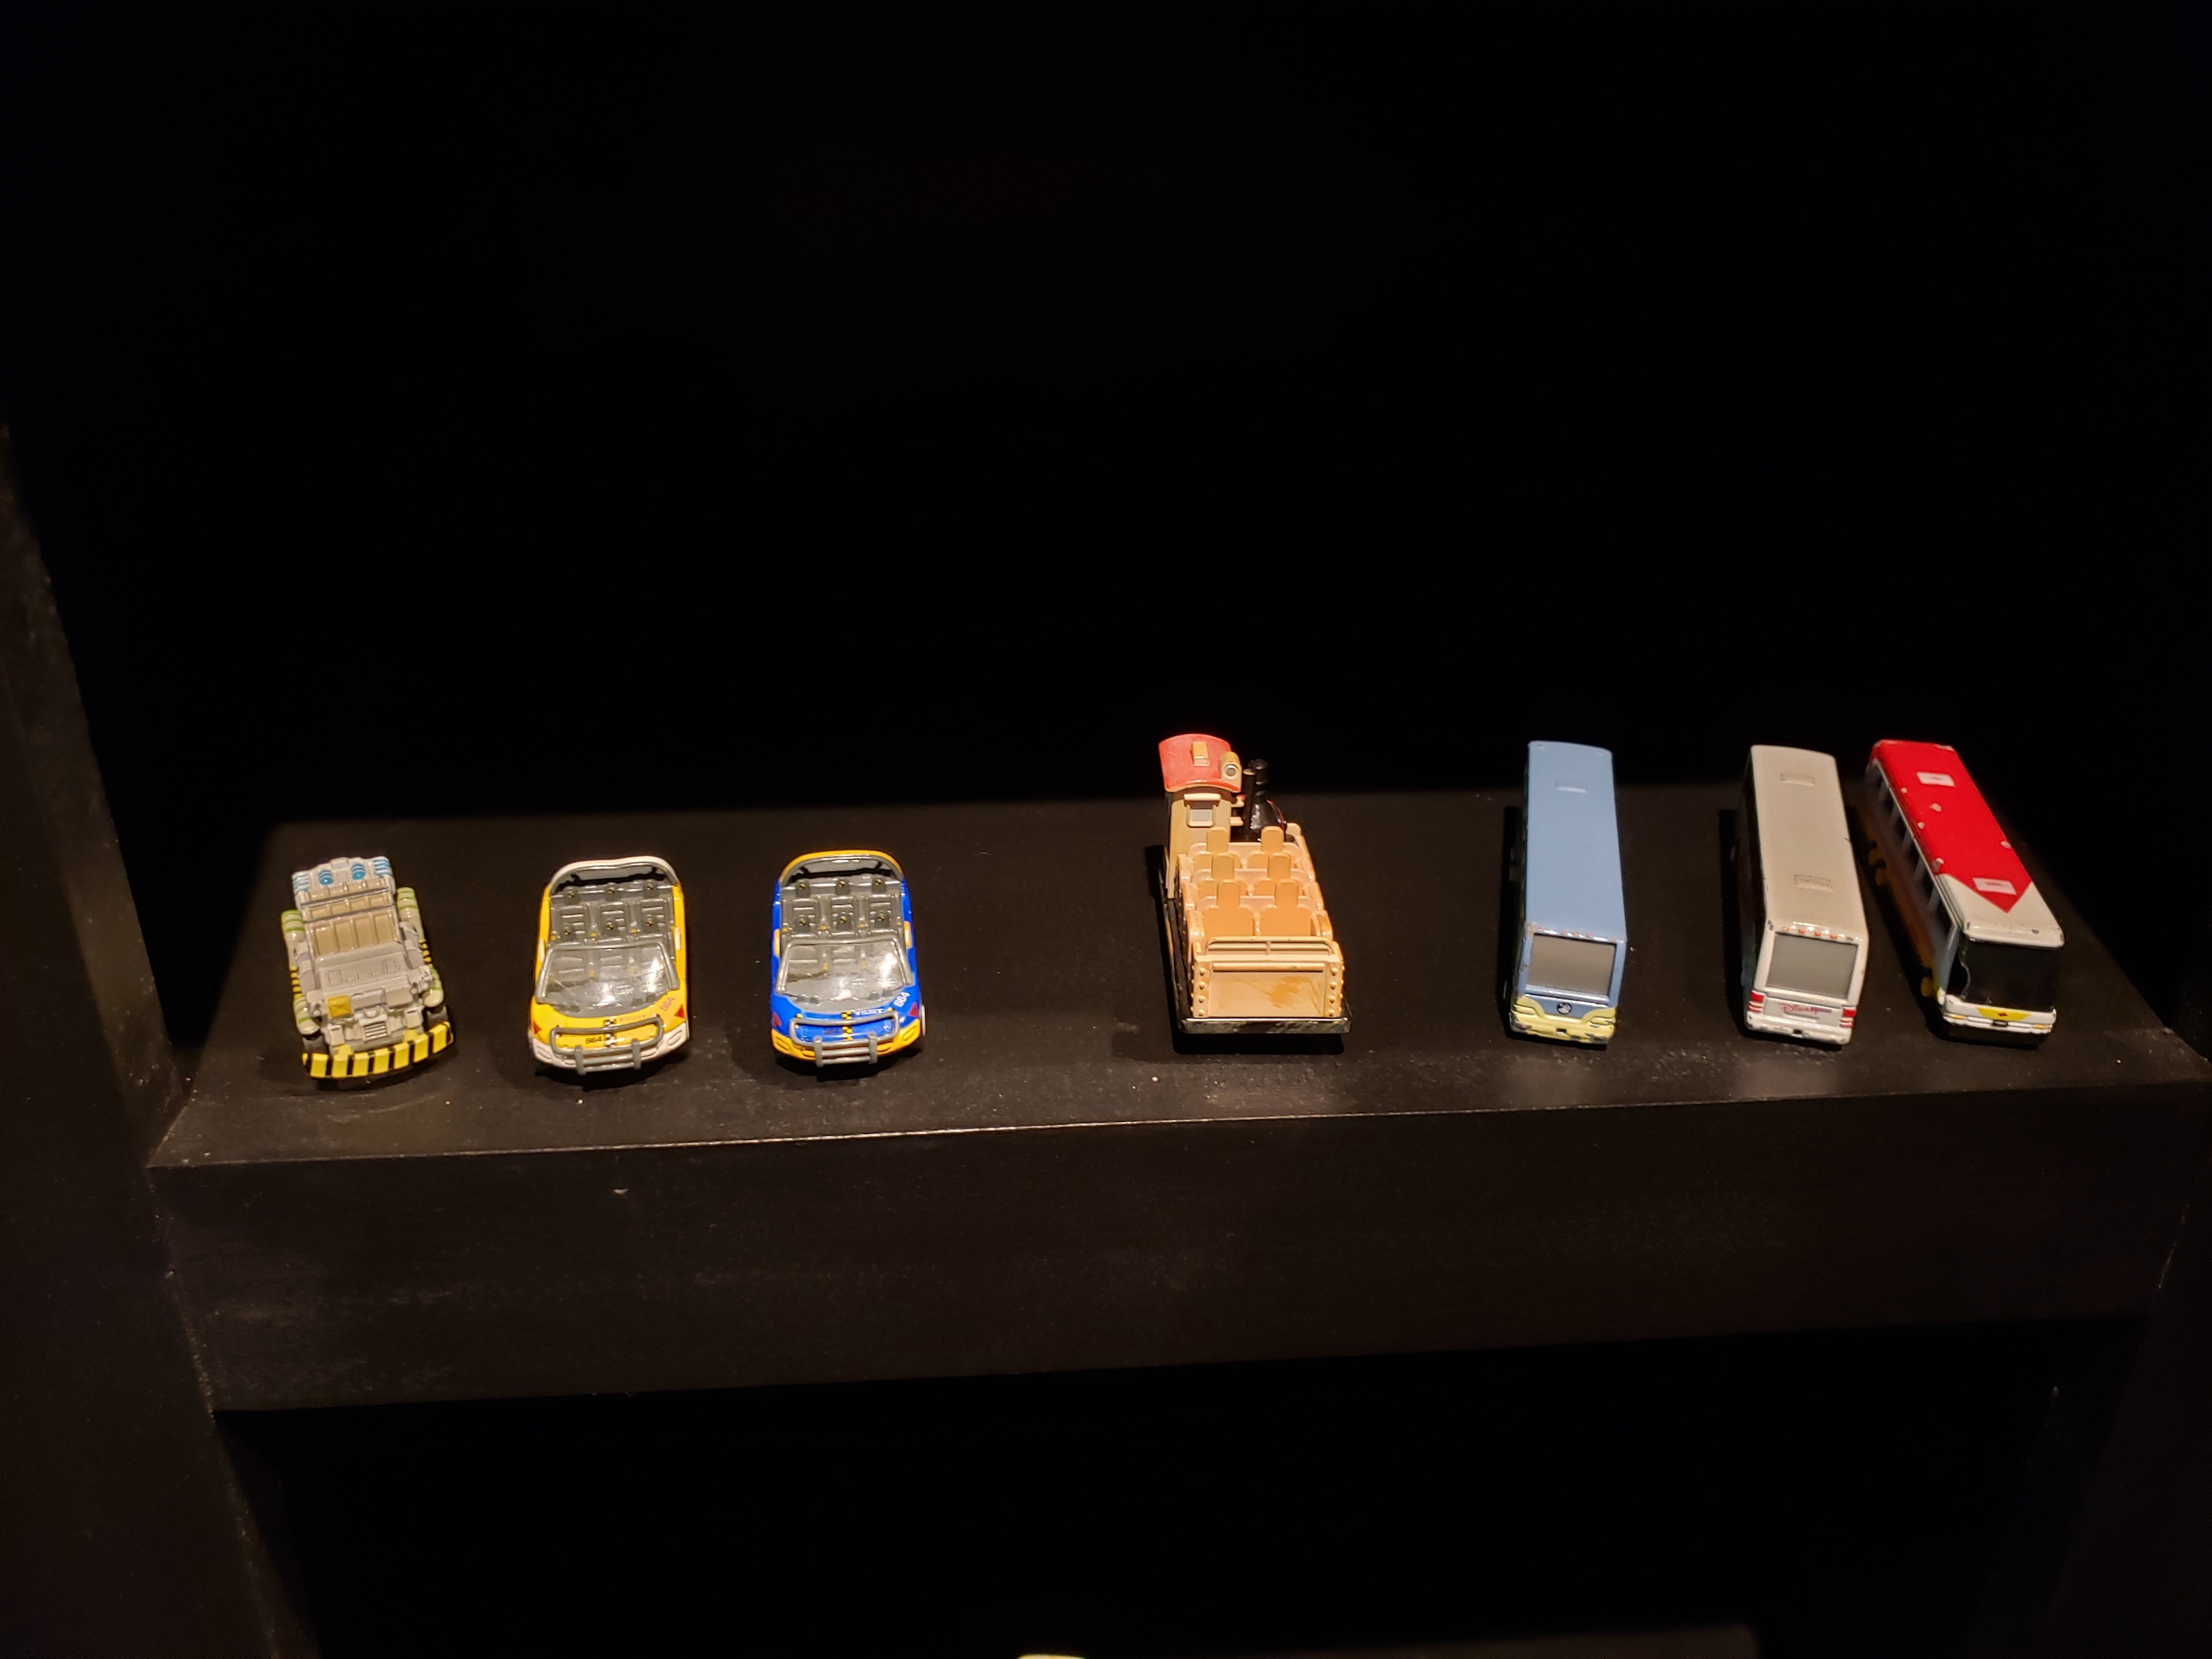
Column Uses
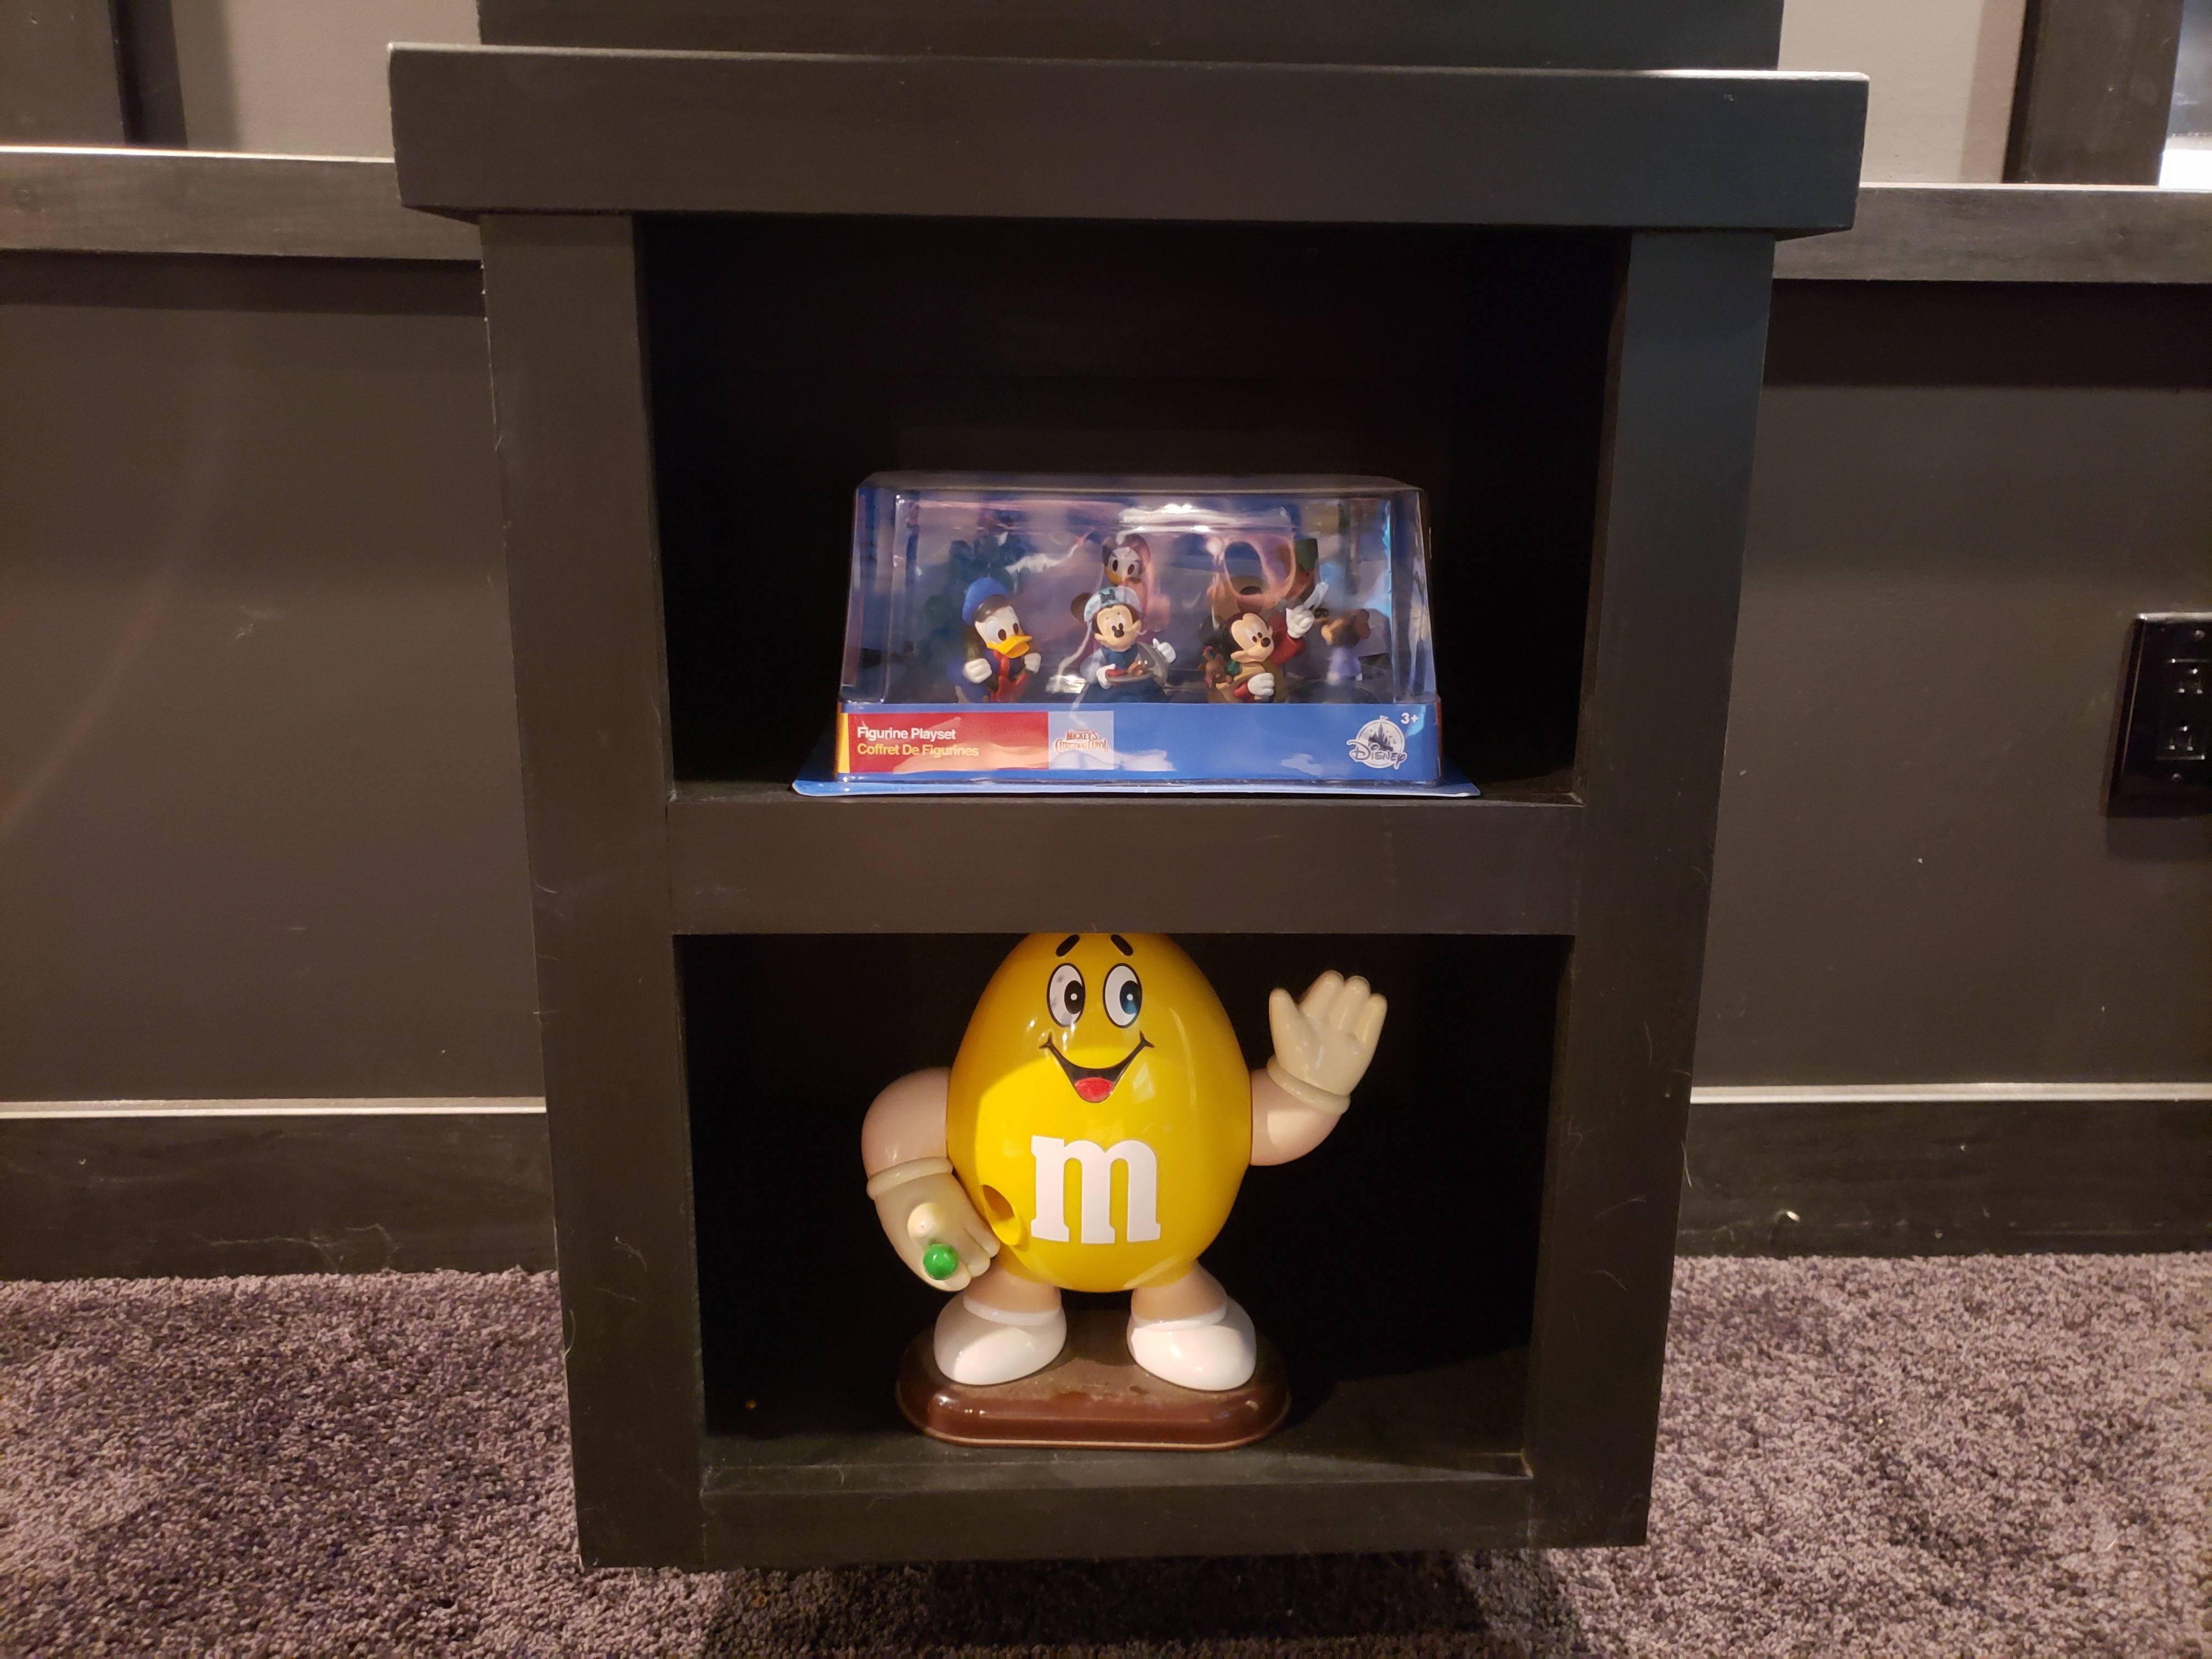
Column Uses
This type of speaker column isn't going to fit into the decor of all home theaters. Many like having their surround speakers built into the walls to save space. However, if you have the space and it fits your theater theme, speaker columns can be a great way to both conceal your speakers and provide additional storage and character. In my case I use them to display my Disney collectibles and as tunnels for a model railroad.

